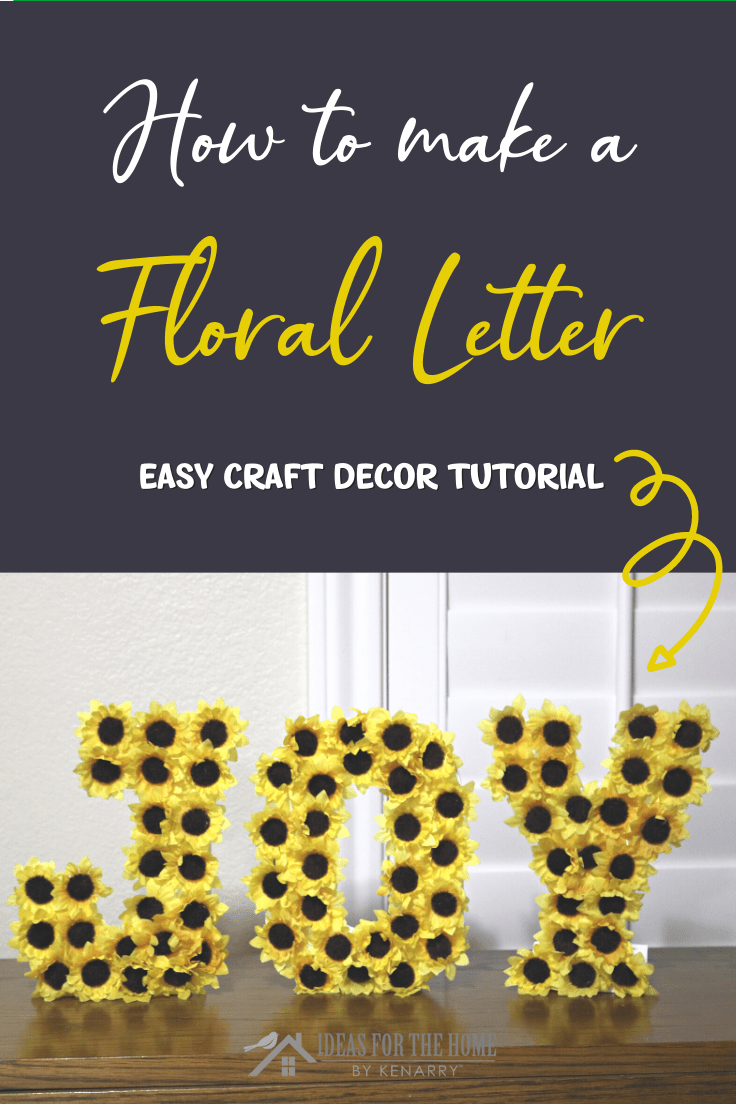
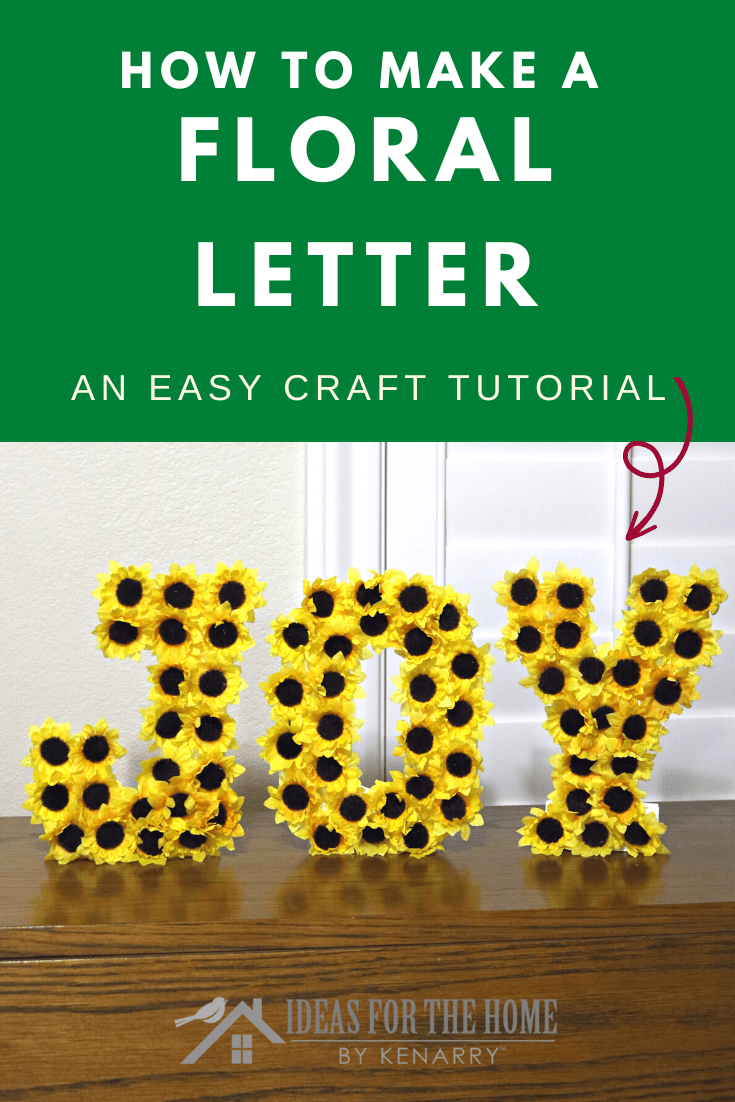
The Easiest Way to Make A Floral Letter
THIS POST MAY CONTAIN AFFILIATE LINKS. PLEASE SEE OUR FULL DISCLOSURE POLICY FOR DETAILS.
If you ever wondered if it would be in your budget to buy one of those beautiful floral letters you saw in a magazine, I’m here to tell you today’s the day! I’m going to show you how to make your floral letter. At the end of this tutorial, you will be asking yourself why you ever thought a floral letter was hard to make!
Hey Kenarry fam, it’s me again, Marina! As a Mama of an 8-year-old, 12-year-old, and 16-year-old, finding quick, easy ways to do something…anything is important to me. So yes, on my family lifestyle site Mommy Snippets, you will find just that, an easy craft, a quick recipe, a fun printable, an encouraging faith resource, it’s all there. Hop over and visit after you’ve gone through this easy floral letter tutorial.
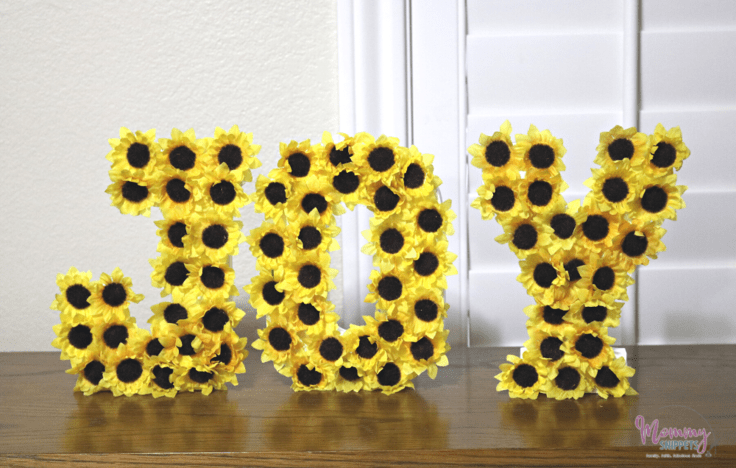
Floral letters have been front and center at birthday parties, Easter celebrations, weddings, baby showers, and even craft sales. People are known to pay a pretty penny for a simple floral letter. I’m here to show you how to save that money by making your own.
At yes, a fraction of the cost.
How to Make A Floral Letter
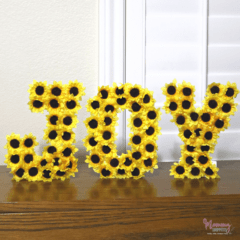
My tutorial uses smaller wood letters to make my floral letter word, but you can choose any size letter. The concept is the same, and yes, the materials needed will be the same.
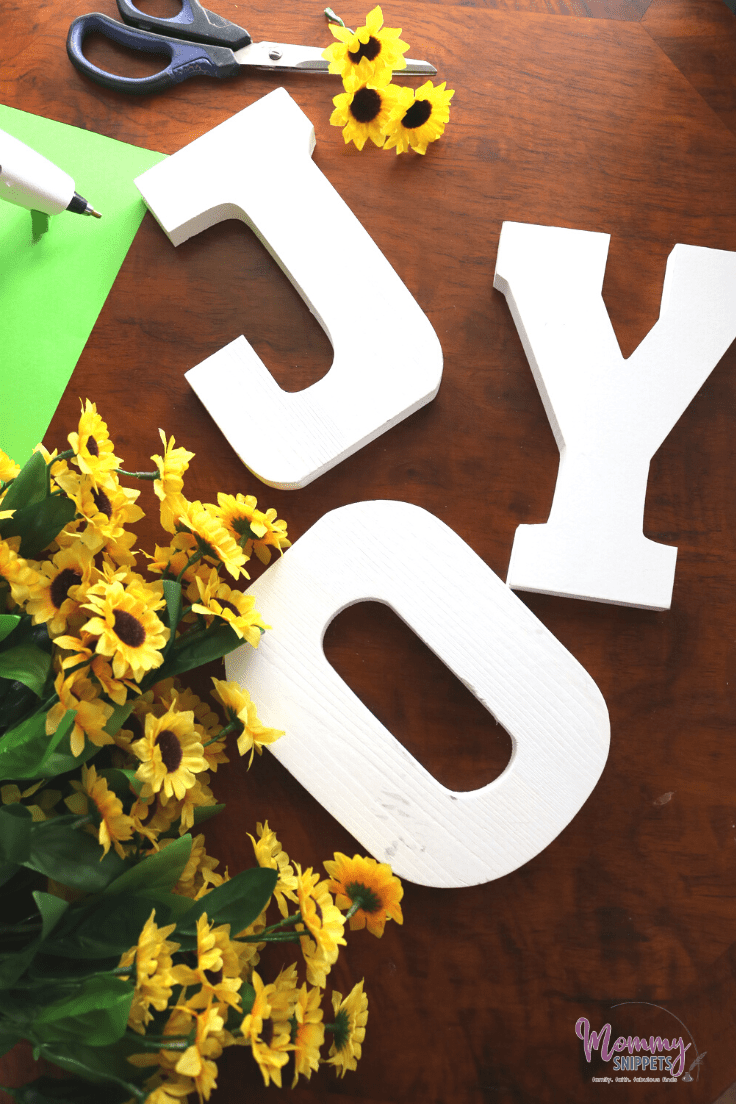
What you need:
Want more ideas like this? Subscribe today to get our weekly Ideas in Your Inbox newsletter plus other exclusive gifts and offers — all for FREE!
Craft Tools Needed:
- A pair of scissors
- A hot glue gun
Supplies Needed:
- Wood letter– size depends on what you will use the letter for
- Artificial flowers
You may be able to find these cheaper at your local flea market or a local craft store.
DIY Floral Letter Tips:
Make sure the back of Each Artificial Flower is Leveled off
When using artificial flowers, pull them off the stems and make sure the knobby bits attached to the stem are cut off.
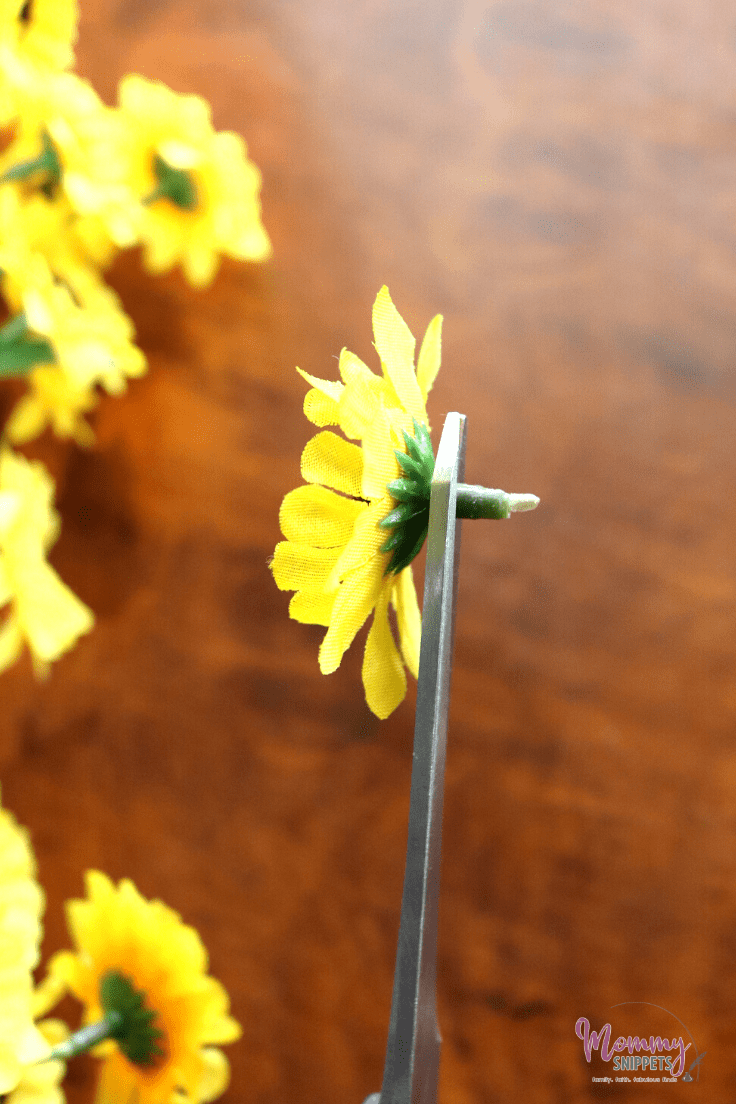
You will want the backs of your artificial flowers to be as level as possible.
This will ensure the flowers are glued onto the wood letter more securely.
Optional: Paint the Wood Letter
Depending on what color your wood letter is, you can choose to paint the wood letter or leave the letter as is.
The wood letters I bought were pre-painted white, and I thought this would complement the area my floral letter word choice would be in.
Ready to print off this easy tutorial?
Remember, this is your art. Your decor.
Pick the flowers you love and the colors that warm your heart.
And no, you don’t need to be a crafting pro to attempt this. It’s really that easy!
How to make a Floral Letter
Equipment
- 1 Pair of scissors
- 1 Hot Glue Gun
Supplies
- 1 Wood letter- size of your choice
- Artificial flowers enough to cover the wood letter
Instructions
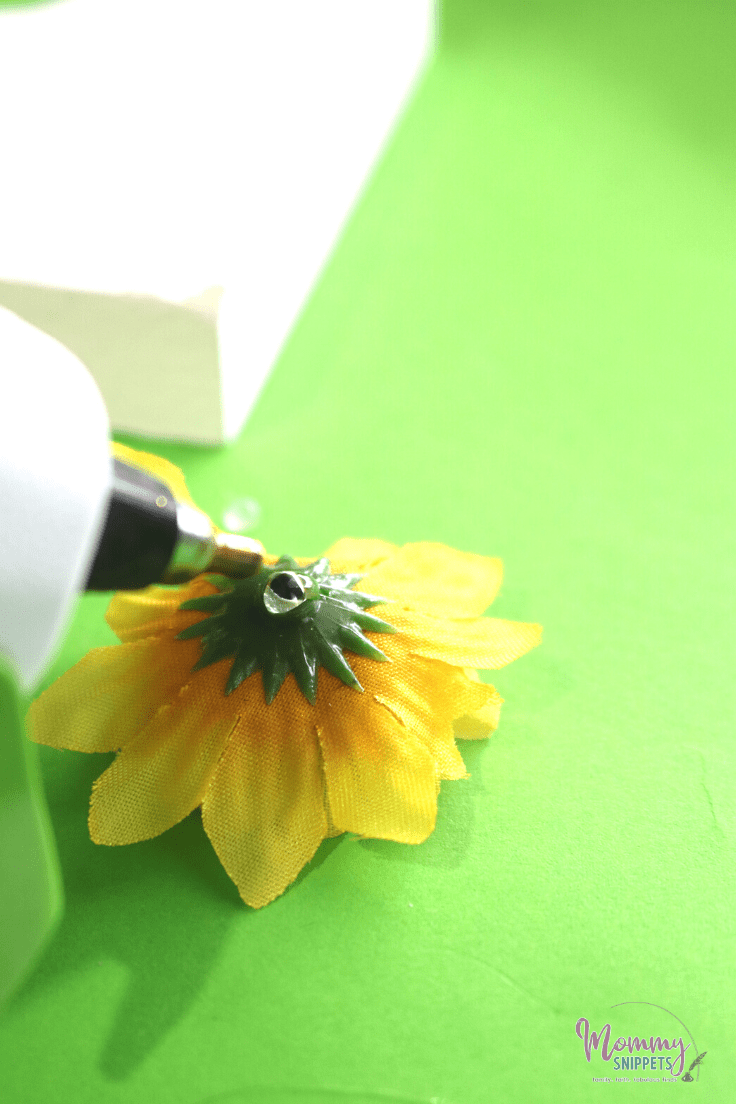
- Begin by cutting each artificial flower head off the plastic stem
- Level the back of each artificial flower by ensuring the knobbly bits are cut as close to the back as possible
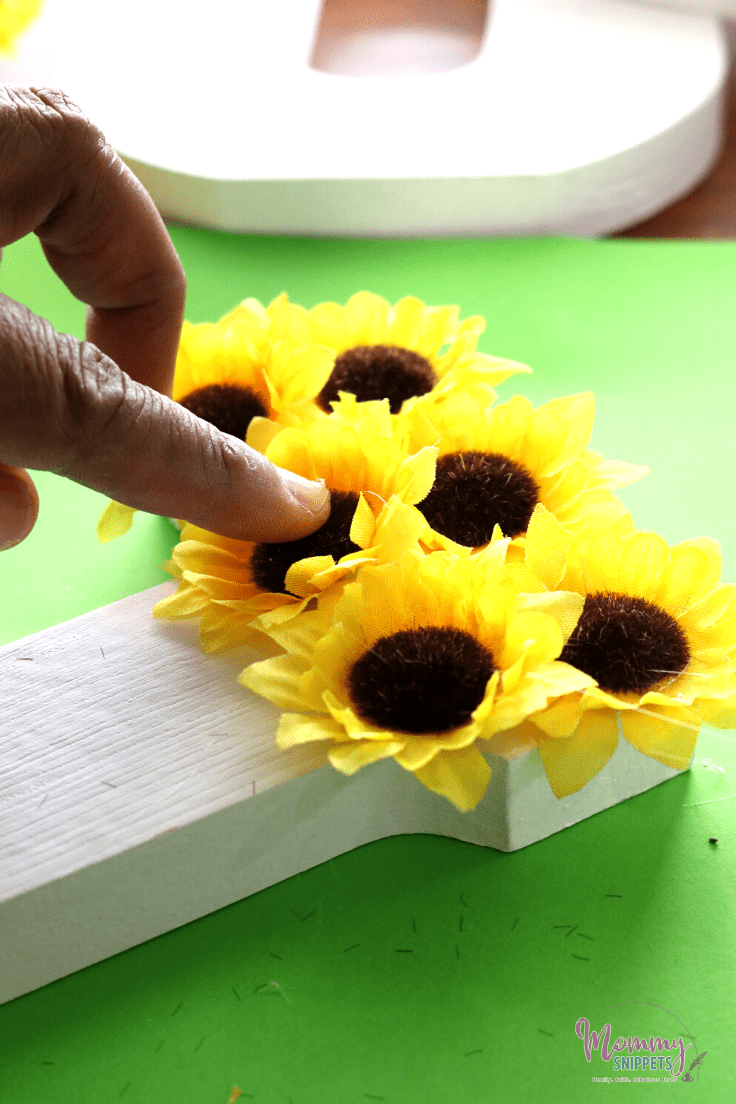
- Hot glue each artificial flower head to the wood letter, making sure the back of the flower head is stuck securely onto the face of the wood letter.
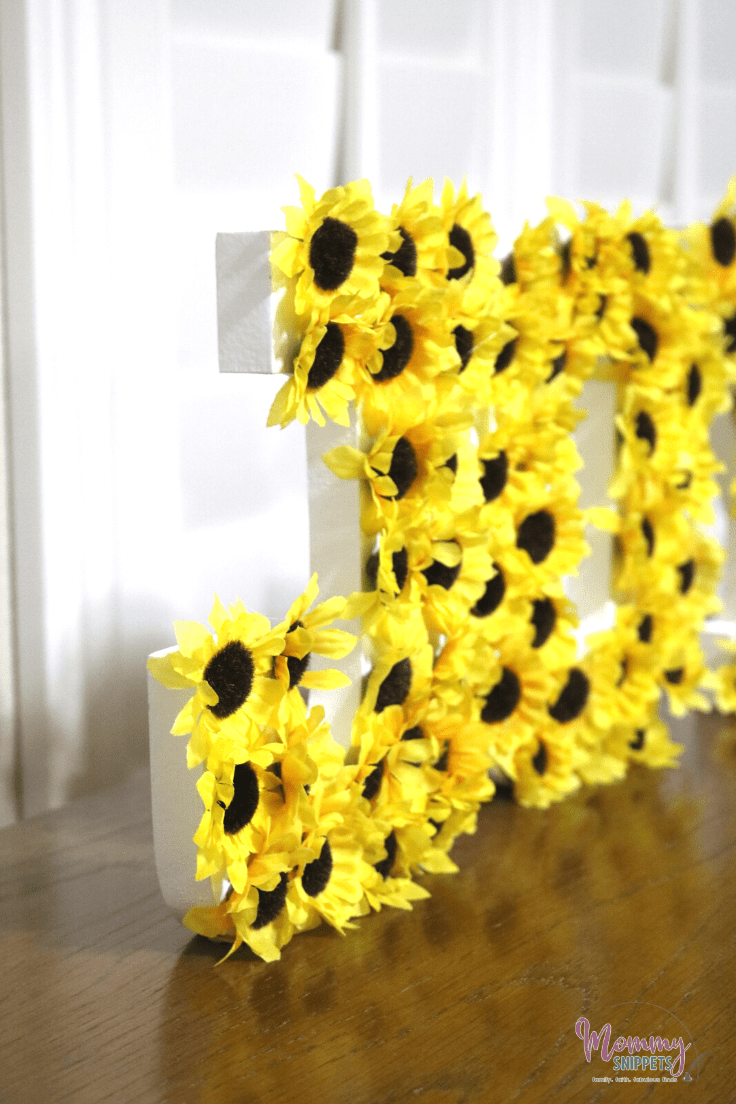
- Arrange and glue the flower heads onto the wood letter ensuring all parts of the letter's surface is covered.
- Repeat this process for each wood letter.
Love the ideas you see here on Ideas for the Home by Kenarry®? Subscribe today to get our FREE DIY & Craft Planning Calendar, plus our weekly Ideas in Your Inbox newsletter filled with creative tips and exclusive offers!
What’s Next?
If you enjoyed learning how to make a floral letter you’ll enjoy these easy craft tutorials too.
Stained Glass Cross Craft Using Tissue Paper Squares

You may also enjoy these craft ideas on Ideas for the Home by Kenarry® –