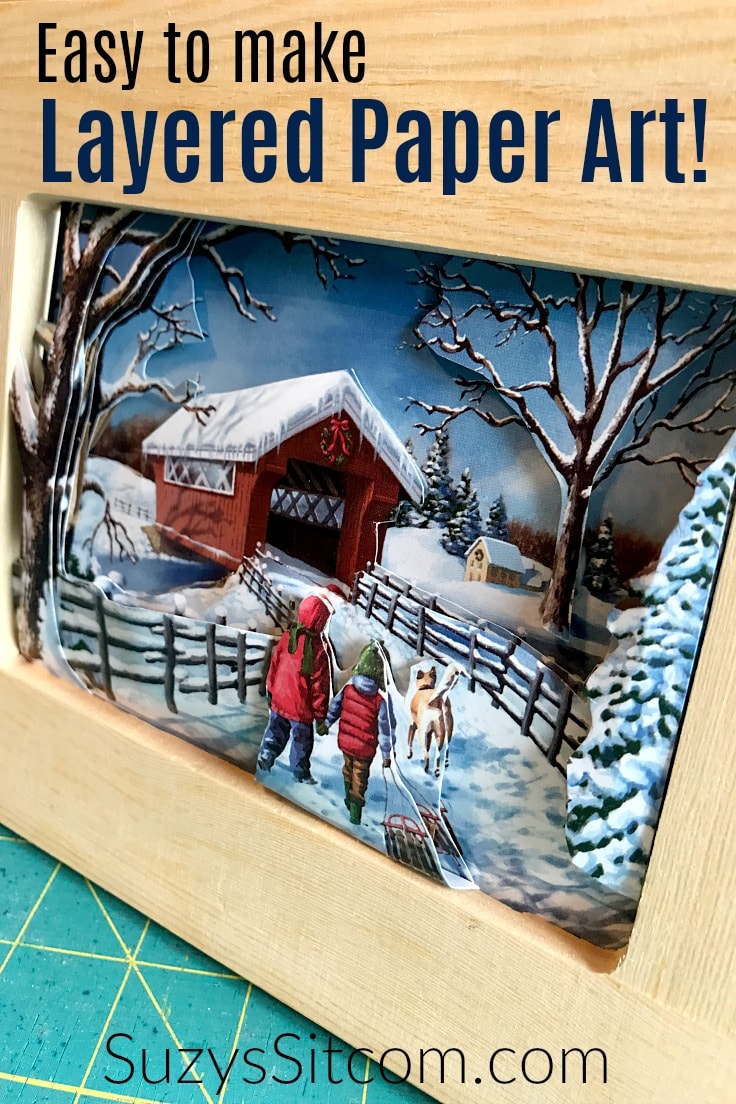
Easy To Make Layered Paper Art
THIS POST MAY CONTAIN AFFILIATE LINKS. PLEASE SEE OUR FULL DISCLOSURE POLICY FOR DETAILS.
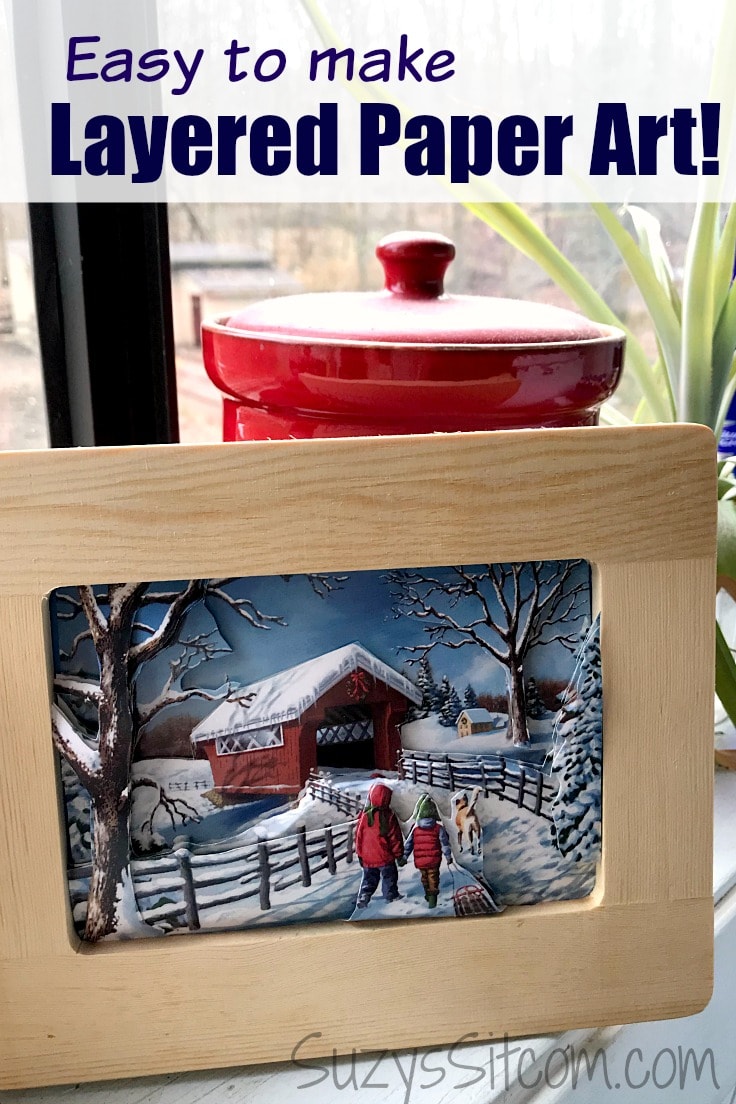
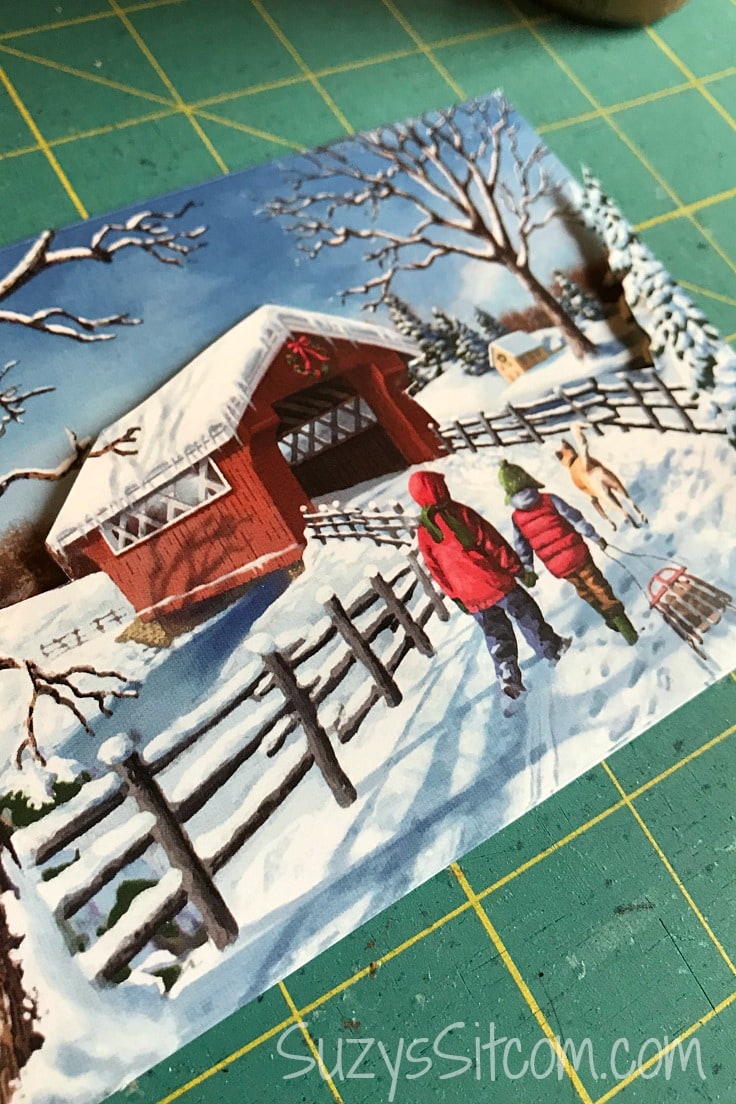
Create a 3D look with paper! This easy-to-make layered paper art is so simple to create using dollar store cards. Beautiful 3D scenes made with paper!
Layered paper art is all the rage right now – and not only is it truly beautiful to look at, but it can be incredibly relaxing to create! The perfect project for a cold winter day. All you really need to get started is a selection of dollar store cards, cardboard scraps, glue, and scissors.
This is Suzy from Suzy’s Sitcom. Creating with paper is one of my favorite crafting techniques. One of my most popular posts was a version of Starry Night that I created with strips of colored paper. Paper is such a versatile medium and there are many ways to use it for crafting.
I would love to show you how to create beautiful 3 dimensional scenes using a set of dollar store cards and scraps of cardboard. Create beautiful layered paper art!
How to Make layered paper art
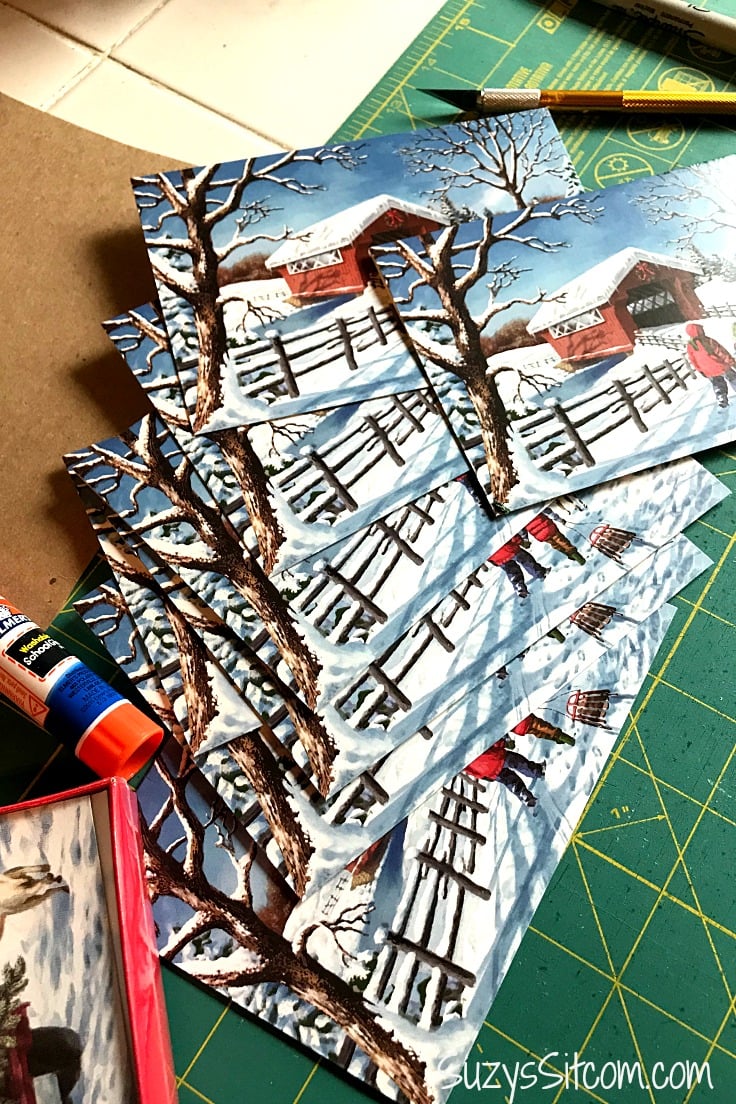
Any type of cards work for this project and this time of year, there is a deluge of holiday-themed cards. The local dollar store offers many pretty scenic cards to choose from, but any type of card or printout will work for this technique. You would just need at least five copies of the scene in order to create a great 3D look.
The entire tutorial is in a printable card at the bottom of this post. But first, here is a little bit of info about the tools and supplies you’ll need.
What you need:
Want more ideas like this? Subscribe today to get our weekly Ideas in Your Inbox newsletter plus other exclusive gifts and offers — all for FREE!
- Pack of 5 or more Scenic Cards
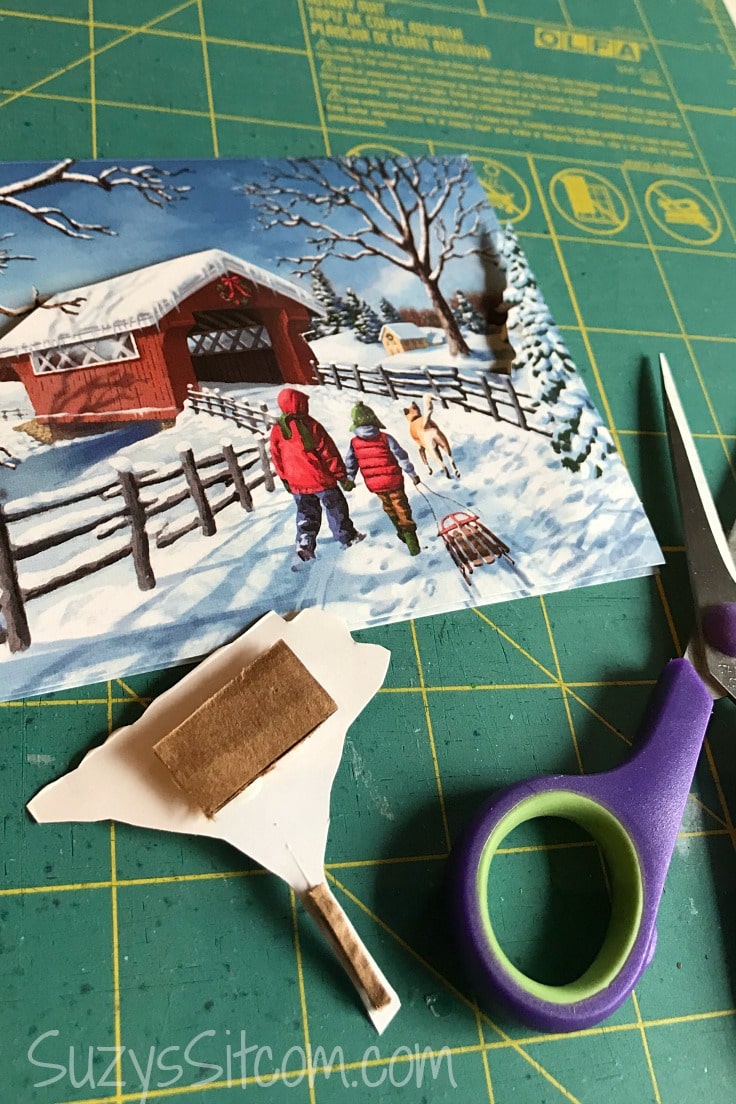
- Scraps of cardboard
- Tacky Glue
- Scissors or Craft Knife
- Frame (optional)
begin cutting your scene
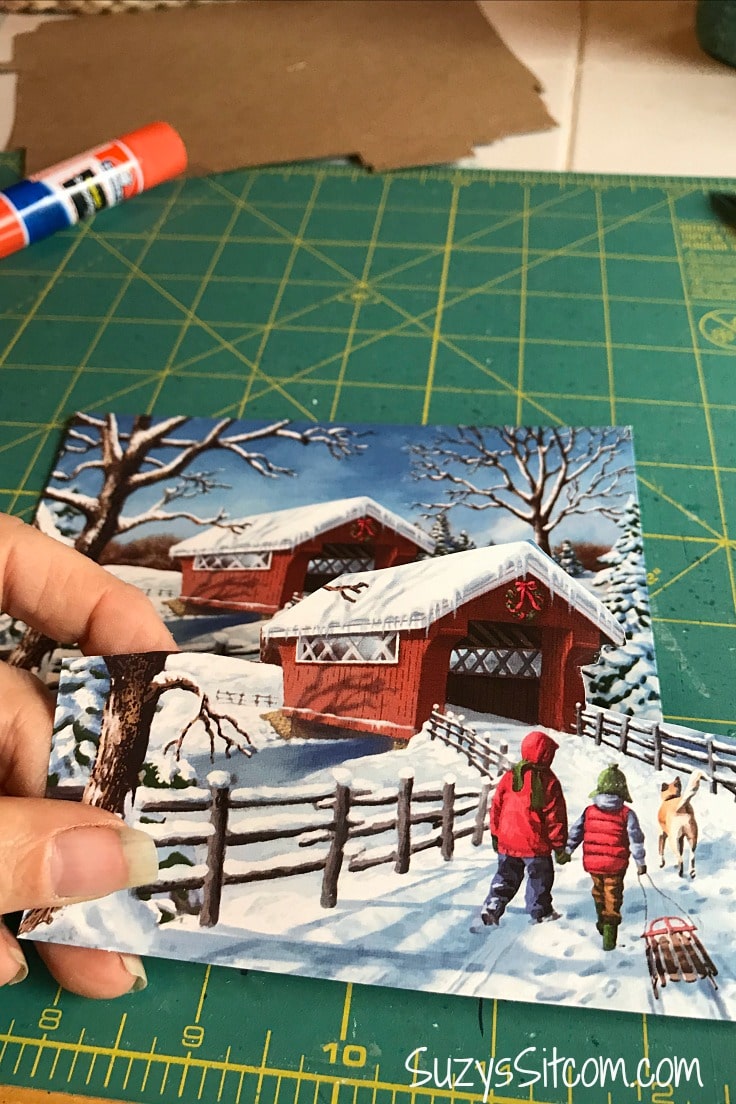
Use one full card for the background of your scene. This will be the basic background for your entire piece of art. Study the scene and determine what would be the furthest away from you. Cut a section from a second card of things that would be closer to you. In the photo above, I chose everything behind the covered bridge to be in the background.
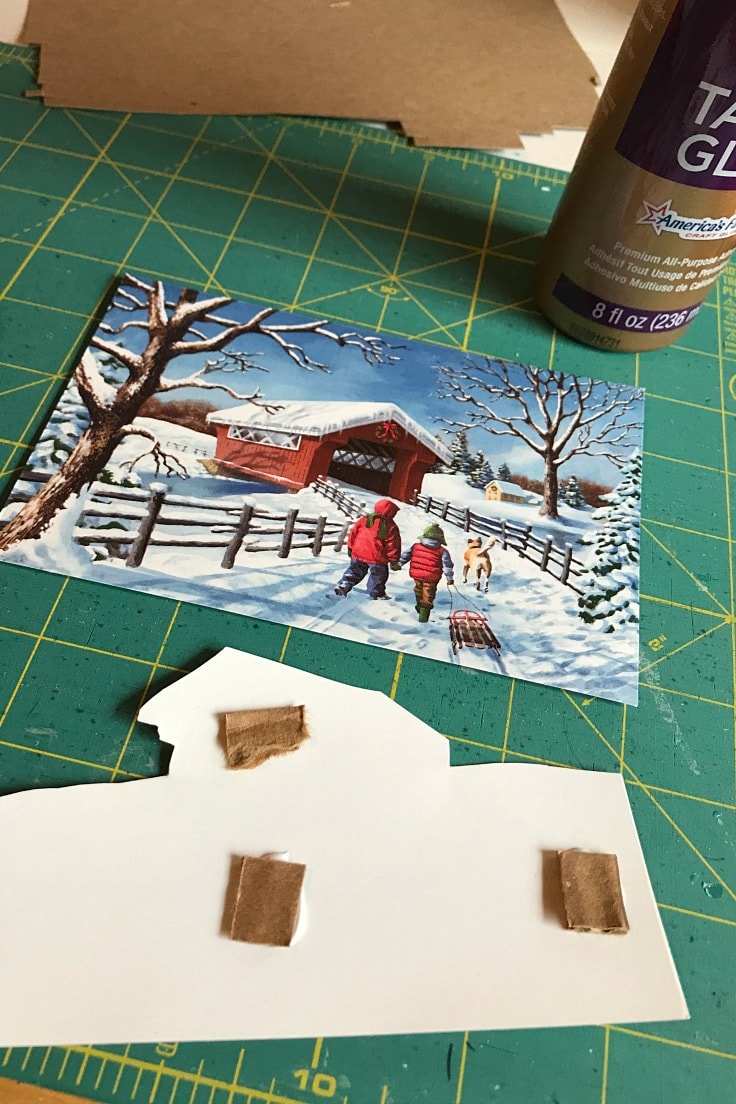
Add cardboard scraps to create depth
Any type of cardboard scraps or craft foam works well to help create the illusion of depth in your art. Use tacky glue to attach small pieces of cardboard to the back of your cut out piece.
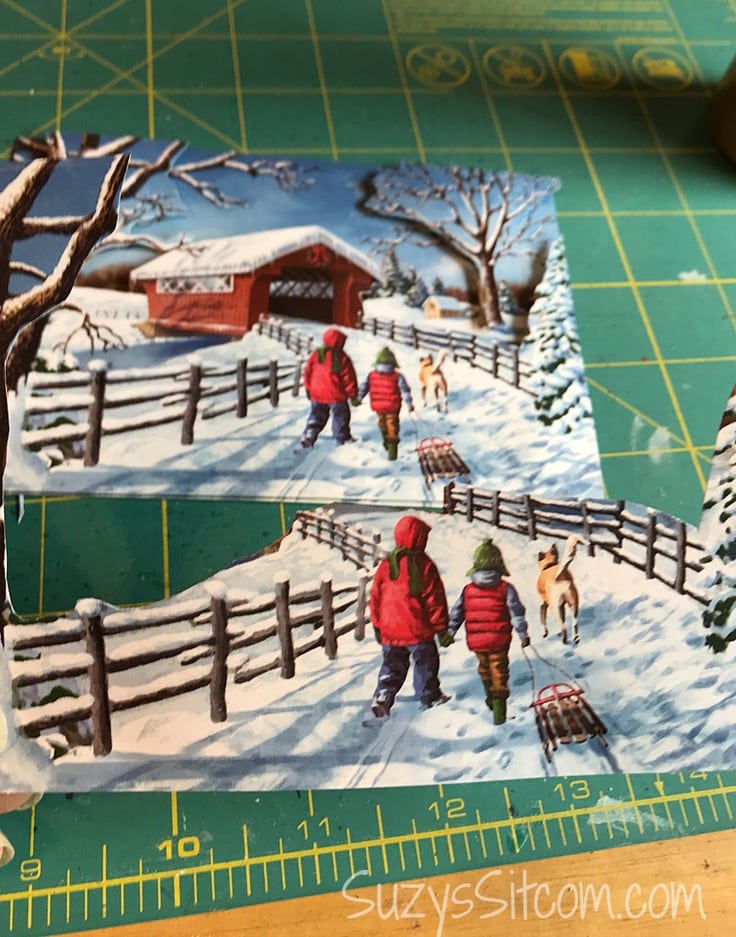
Use Tacky Glue
Glue the cut out piece directly over top of the base card. My tip here is to use tacky glue as it dries quickly and you do not have to wait very long between layers. As you can see above, the illusion of distance between the covered bridge and the background is already visible.
I decided to bring out the tree in the background also. Using another card, I cut out the tree and added cardboard to the back with tacky glue. There is no wrong way to do this!
Continue cutting out layers
Study your picture and decide what the next layer should be. What would be closer to you? In the case above, I chose everything in front of the covered bridge for the next layer. Add cardboard to the back of the layer and then glue in place.
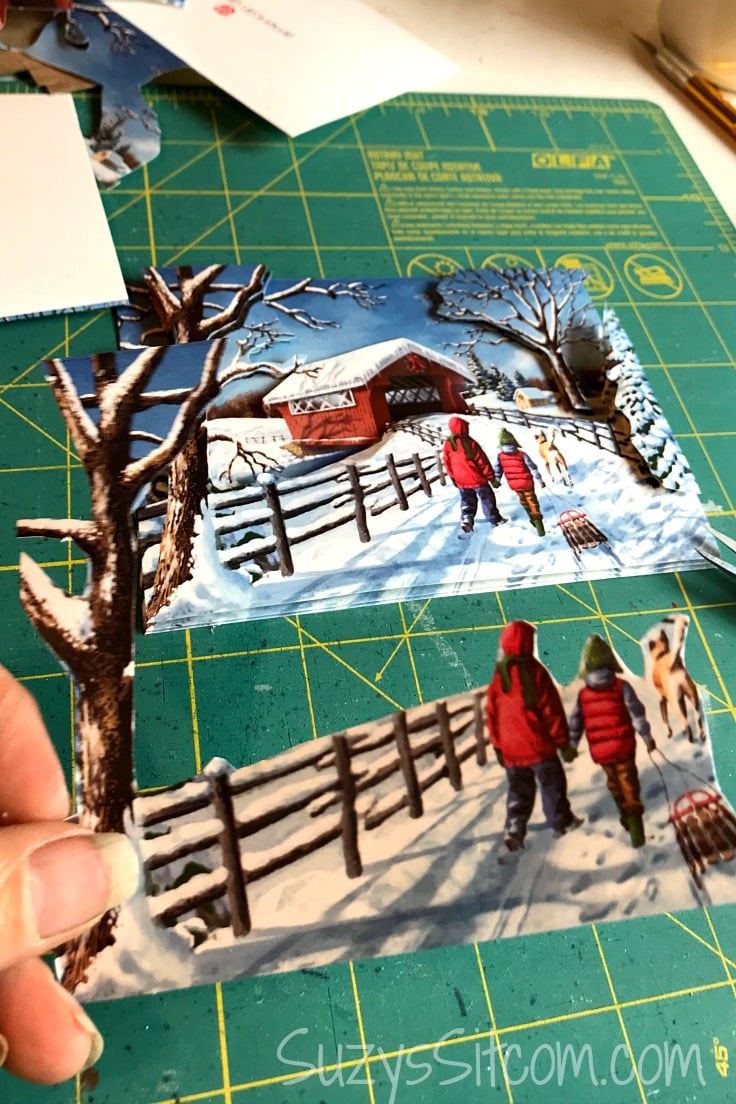
Create as many layers as you like. The more layers, the more depth the picture will have.
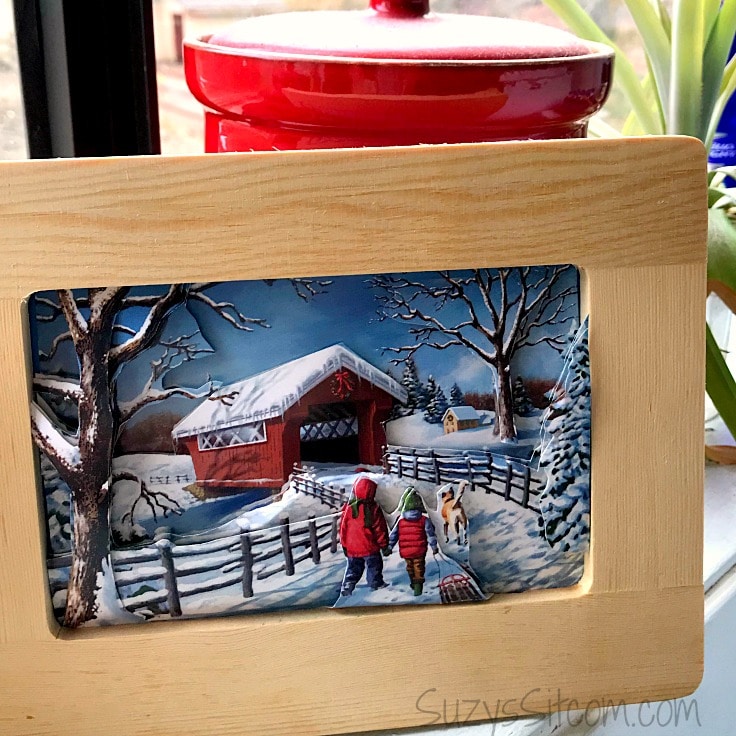
My final layer of paper included the boys and the sled and the tree in the foreground. Framing the finished art is totally optional. I just chose a frame that was the size of the original card. Pushed into the frame, the little scene takes on a great 3 dimensional illusion.
These pretty 3 dimensional scenes make great holiday decorations. If you choose to create layered paper art with a traditional scene, it could be a year-round decoration. The only limit is your imagination!
Frequently Asked Questions About Layered Paper Art
The entire tutorial is in the printable recipe card just a little further below. First, here are some questions people often ask about this craft.
You might hear other people calling it three dimensional decoupage or 3D paper art.
Yes, any paper will work. For this craft, I used leftover greeting cards, but you can use scrapbook paper too.
You can use any type of material that will help it stand away from the first image. Try this with some card stock folded like a fan, or use paper rolled up really thick.
Create something amazing with just paper! Here’s the printable card with everything you need to know about how to create beautiful layered paper art!
Easy to Make Layered Paper Art
Equipment
- Tacky Glue
- scissors
Supplies
- 1 box Scenic Holiday Cards
- 1 ea Scraps of cardboard
- 1 ea Frame (optional)
Instructions
- Use one full card for the background of your scene. This will be the basic background for your entire piece of art. Study the scene and determine what would be the furthest away from you.
- Cut a section from a second card of things that would be closer to you.
- Use tacky glue to attach small pieces of cardboard to the back of your cut out piece.
- Glue the cut out piece directly over top of the base card.
- Repeat the above steps for added layers. Create as many layers as you like. The more layers, the more depth the picture will have.
- Add an optional frame to the final layered paper art.
Love the ideas you see here on Ideas for the Home by Kenarry®? Subscribe today to get our FREE DIY & Craft Planning Calendar, plus our weekly Ideas in Your Inbox newsletter filled with creative tips and exclusive offers!
Love paper crafts?
If you love creating with paper, there are many projects on Suzy’s Sitcom that might interest you. Here are just a few!
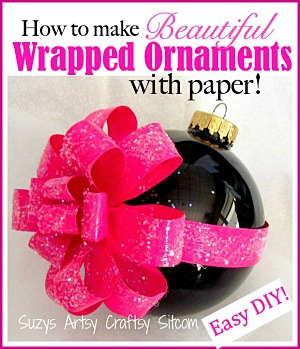
How to make Beautiful Wrapped Ornaments with Paper!
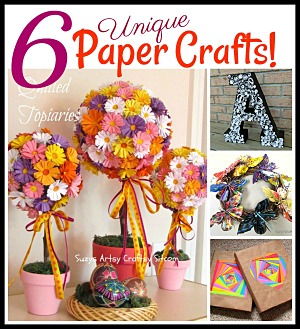
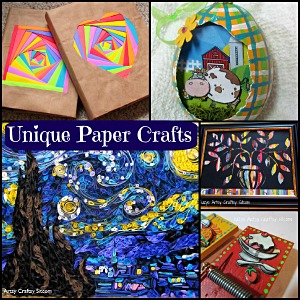
5 Unique Paper Craft Ideas from the Sitcom!
You may also enjoy these 3 paper ideas on Ideas for the Home by Kenarry® –