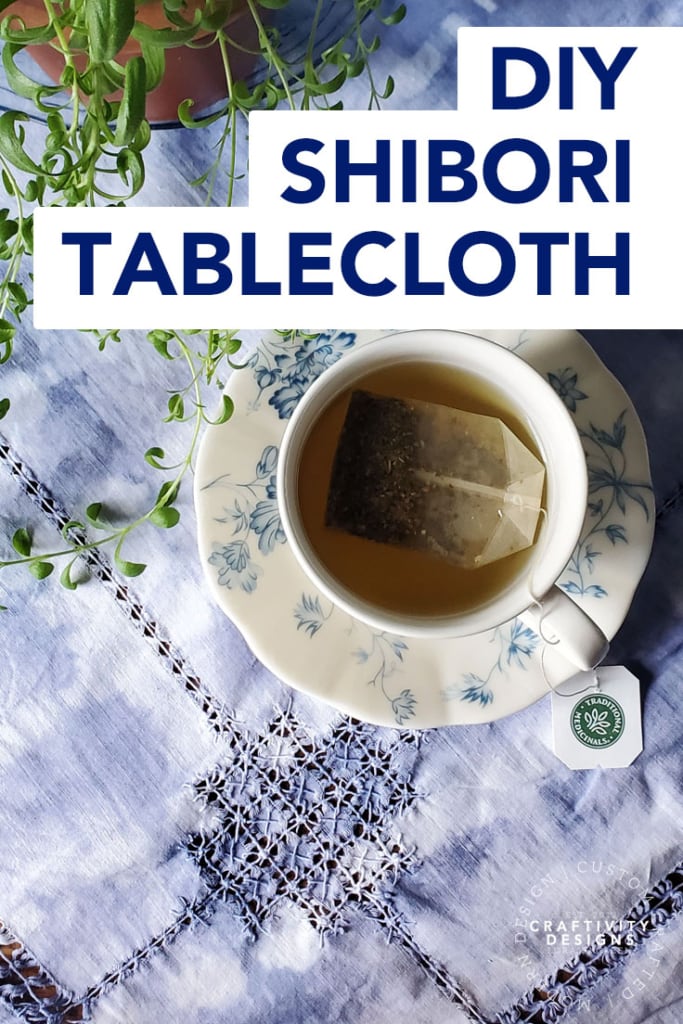
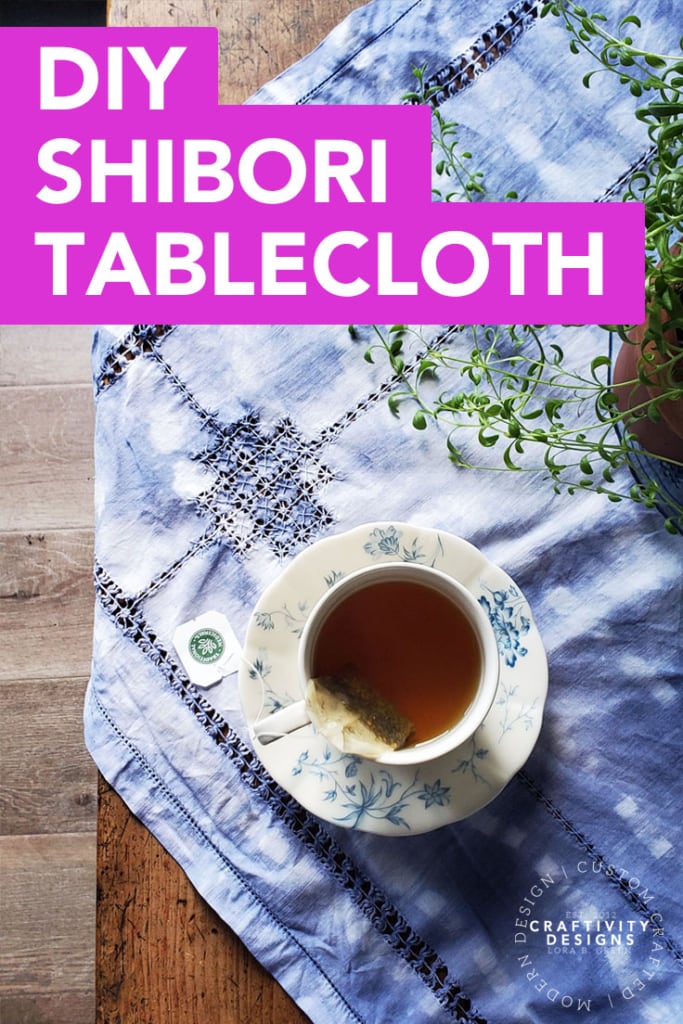
How to Make a DIY Shibori Tablecloth
THIS POST MAY CONTAIN AFFILIATE LINKS. PLEASE SEE OUR FULL DISCLOSURE POLICY FOR DETAILS.
Learn how to make a DIY Shibori tablecloth with this simple step-by-step tutorial. Set your table with an easy Shibori tablecloth made from vintage linen!
Freshen up your table for summer with a DIY Shibori tablecloth! The iconic indigo and white patterns are both organic and bold, perfect for a summery tablescape or your next barbecue.
What Is Shibori?
Are you familiar with Shibori? It’s an ancient Japanese tie-dye method that has made its way into modern design (ex: 12 gorgeous examples of Shibori fabrics). You’ve likely seen the blue and white prints on pillows, wallpaper, and more – even if you aren’t familiar with the term “shibori”. If you’re a fan of the look, you’ll be excited to know that it’s easy to recreate DIY Shibori projects at home!
I’m Lora, of Craftivity Designs, where I share quick and easy crafts. As a busy working mom, I love it when the kids can help with DIY projects – and Shibori tie-dye is very kid-friendly!
How to Make A DIY SHIBORI TABLECLOTH
For this project, you’ll need a 100% cotton or natural linen white tablecloth. It’s best to skip polyester or synthetic fabrics because they will not absorb the dye as well. I chose a vintage linen tablecloth from a favorite local flea market vendor and it took the dye beautifully.
What you need:
Want more ideas like this? Subscribe today to get our weekly Ideas in Your Inbox newsletter plus other exclusive gifts and offers — all for FREE!
Craft Tools Needed:
- 3 Buckets or Glass Bowls
- Mixing Spoon
- Clothespins
- Rubber Gloves
- Water Faucet or Hose
Supplies Needed:
- 100% Cotton or Natural Linen White Tablecloth (vintage or new)
- Shibori Dye (try this RIT dye recipe or buy an authentic indigo dye kit)
Instructions:
1. WASH AND DRY THE FABRIC
First, pre-wash and dry the white tablecloth before dyeing the fabric.
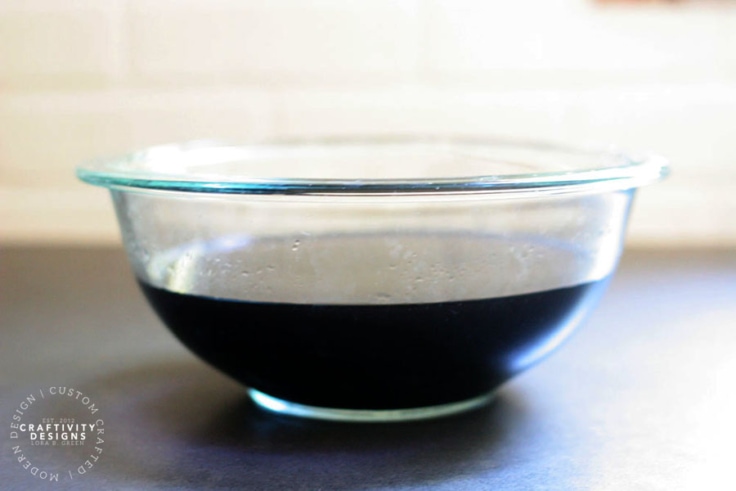
2. PREPARE THE DYE AND Soak Bath
In the first bowl or bucket, prepare the dye bath. I use an easy Shibori RIT dye recipe for a bold indigo color. If you prefer an all-natural DIY Shibori, you can use an authentic indigo dye kit.
Fill the second bowl or bucket with cool water for the soak bath.
3. PRE-SOAK the Fabric
Once the dye and soak bath are ready, it is time to begin the dyeing process. To begin, place the tablecloth into the soak bath until fully wet. Once wet, squeeze the fabric to remove excess water.
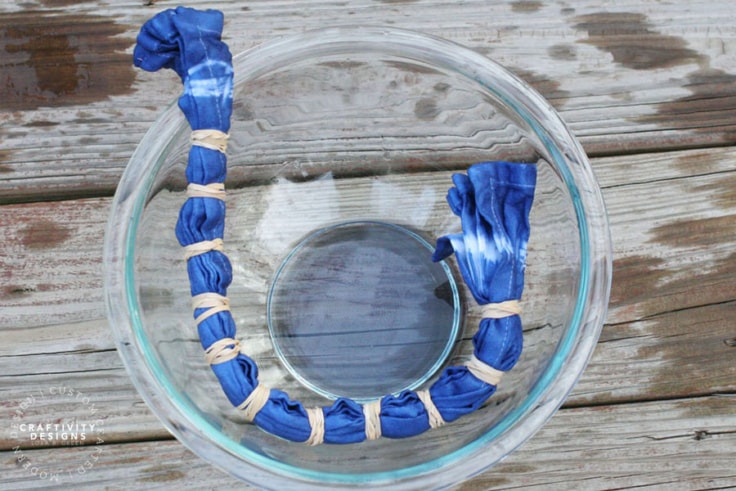
4. FOLD THE FABRIC and attach clothespins
Using an accordion fold, fold the fabric. Once folded, attach clothespins along the length of the fabric, directly across from one another. The clothespins serve two purposes:
- to hold the fold in place and
- create resist points where the fabric will not be dyed.

Would you like to try another resist method? Here are 5 easy Shibori techniques to try with supplies you likely have at home!
5. DYE THE FABRIC
Next, while wearing rubber gloves, place the folded fabric into the dye bath for 3-5 minutes. The longer the fabric is left in the dye, the more the dye will penetrate the fabric into the folded and resist areas.
6. REMOVE EXCESS DYE AND WATER
Once dyed, remove the folded tablecloth from the dye bath and place it into the (empty) third bucket. Let the excess water and dye drip into the bucket for several minutes.
7. RINSE AND OPEN THE FABRIC
Finally, run the folded fabric under a faucet or hose until the water runs clear. Then, remove the clothespins and open the folded tablecloth to reveal the design! Lay flat to dry.
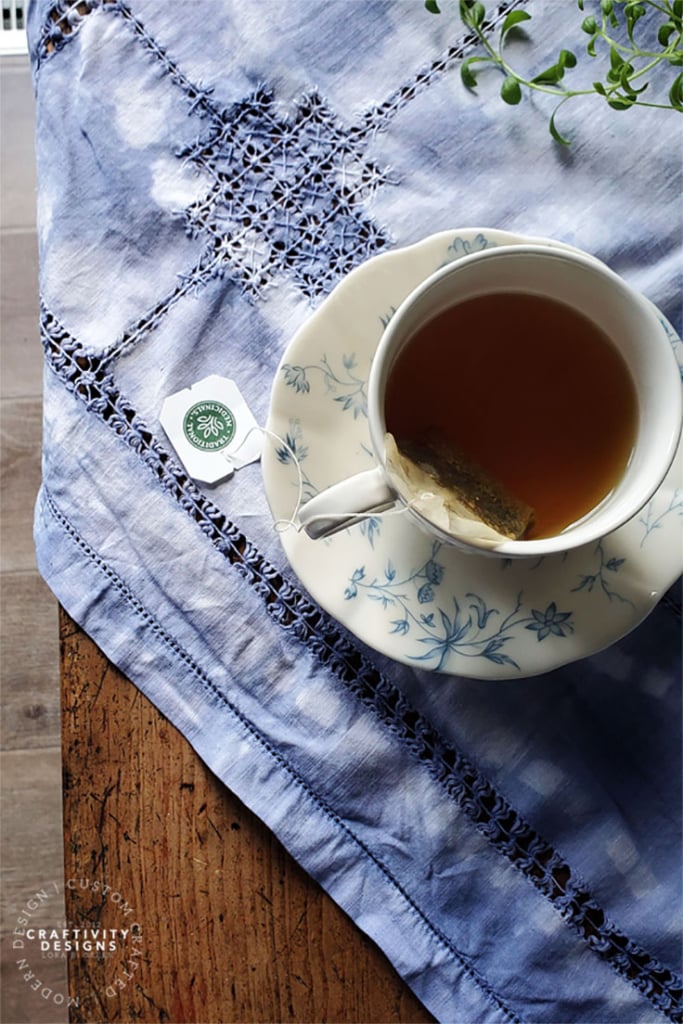
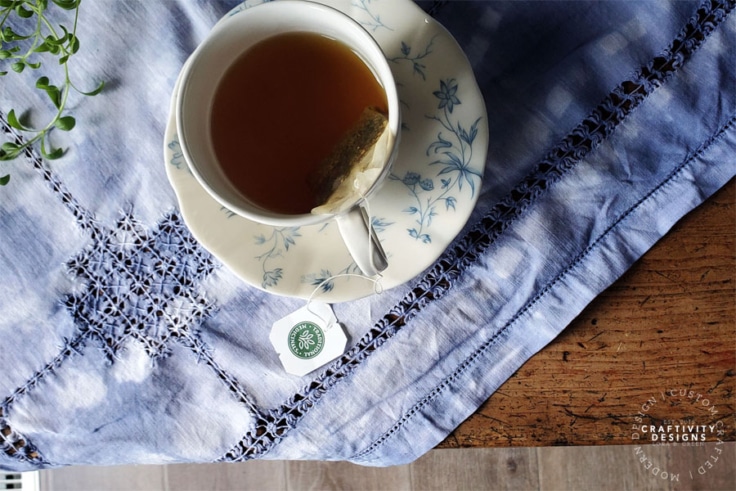
DIY SHIBORI TABLECLOTH
When you’re all done, brew a hot cup of tea and enjoy your new tablecloth! Don’t need a tablecloth? Make cloth napkins, throw pillows, or hand towels. Of course, that’s just a few ideas… there is an array of options, from decor to fashion and clothing.
What’s Next?
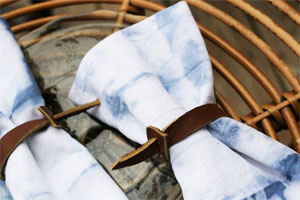
If you enjoyed making a DIY Shibori tablecloth then you’ll enjoy these table decor projects, too!
How to Make Leather Napkin Rings
How to Make Magnolia Leaf Napkin Rings

You may also enjoy these table decor ideas on Ideas for the Home by Kenarry® –