DIY Mini Standing Chalkboard Easel
THIS POST MAY CONTAIN AFFILIATE LINKS. PLEASE SEE OUR FULL DISCLOSURE POLICY FOR DETAILS.
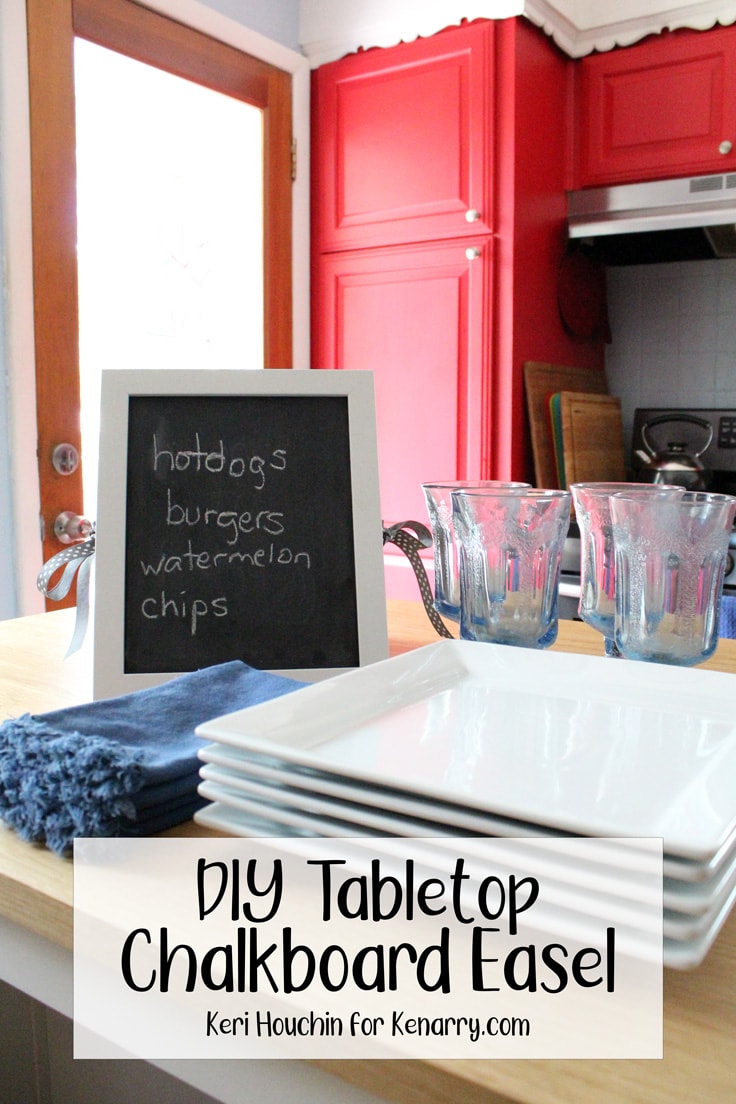
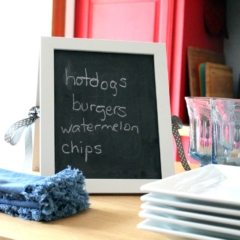
A DIY mini standing chalkboard easel is a cute way to organize your weekly meal plan, label the buffet at a cookout, or decorate your home.
Hello, I’m Keri from One Mama’s Daily Drama. I love planning and organizing, and that includes making signs to display important information. Whether you’re looking for a cute way to display your weekly meal plan or you want to write out a custom list for a cookout, this mini standing chalkboard easel is the perfect DIY. It’s quick to make with a pair of picture frames in any size.
My family has always hosted gatherings for our group of friends for Thanksgiving, July 4th, and other holidays. We are hoping that can happen again soon, so I’ve been daydreaming about party decor and ideas for making our first gathering in a while easier.
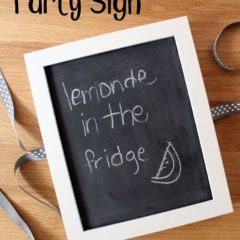
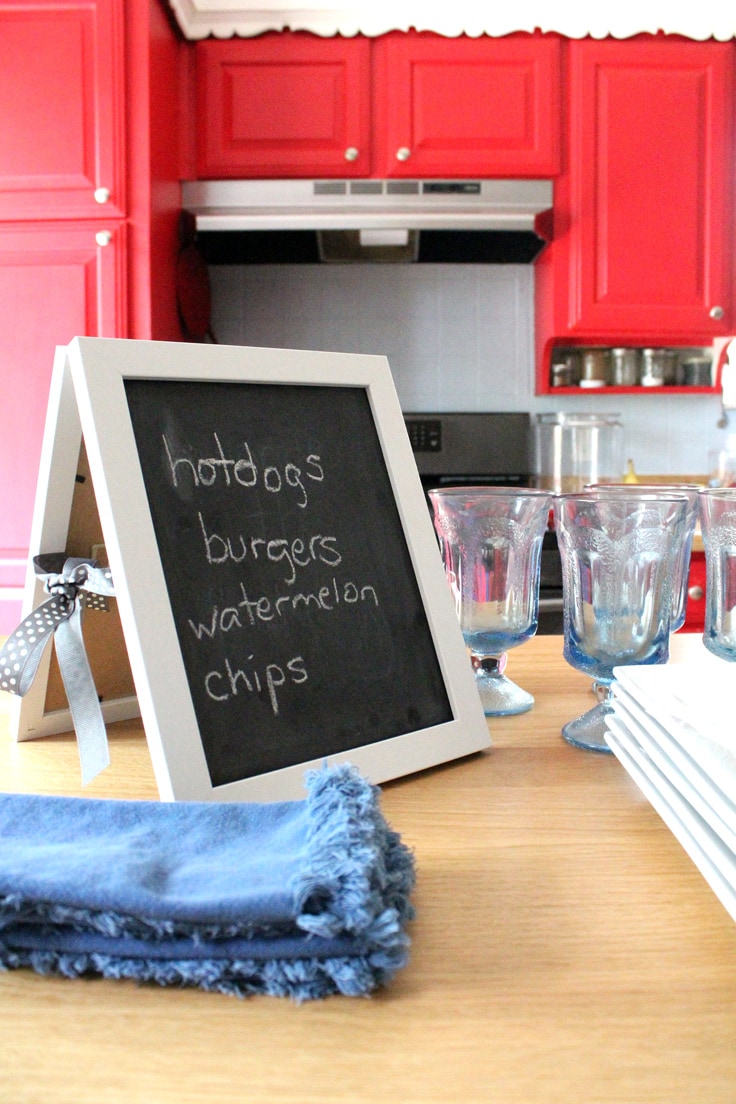
I like to keep it simple and this standing chalkboard easel is really versatile. You can use it to write on with chalk, of course. Since the frames can open, you could also use printables that you download here on Ideas for the Home by Kenarry or anywhere.
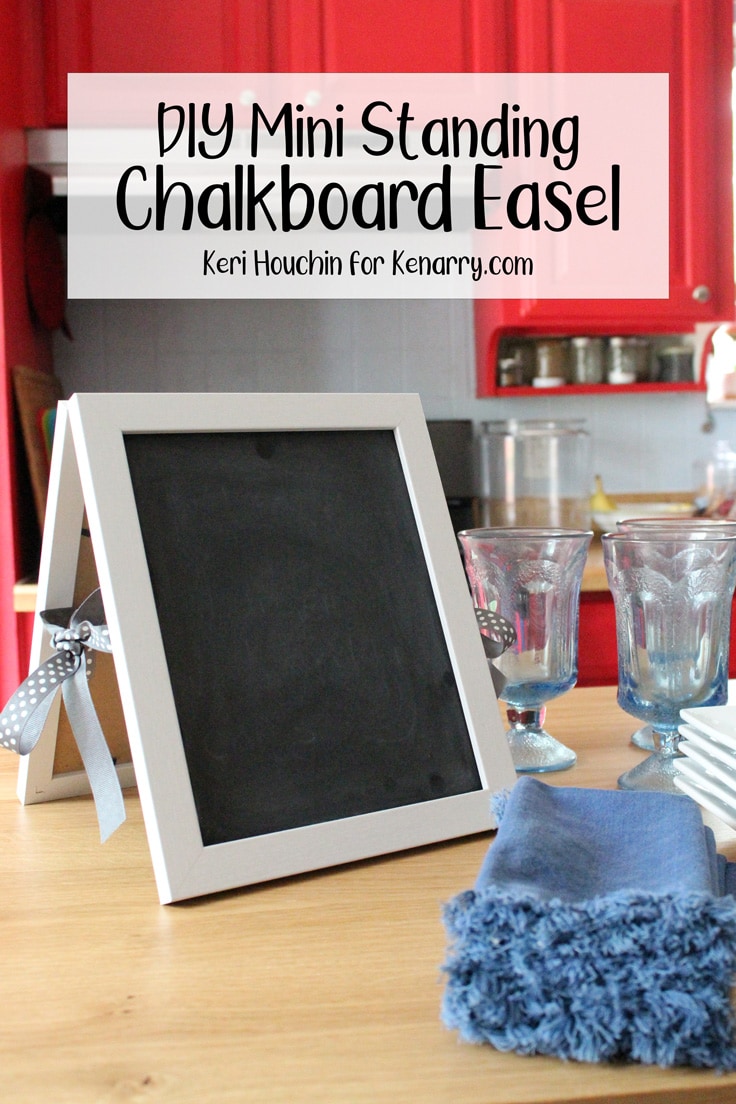
I was inspired by those giant sandwich boards you see outside of restaurants advertising the daily special. I wanted something a bit smaller – so it can sit on a tabletop and also doesn’t take up too much space to store when I’m not using it.
How to Make a mini standing chalkboard easel
This mini chalkboard easel makes cute tabletop decor, but you can make it any size by choosing a larger pair of frames
What you need:
Want more ideas like this? Subscribe today to get our weekly Ideas in Your Inbox newsletter plus other exclusive gifts and offers — all for FREE!
Craft Tools Needed:
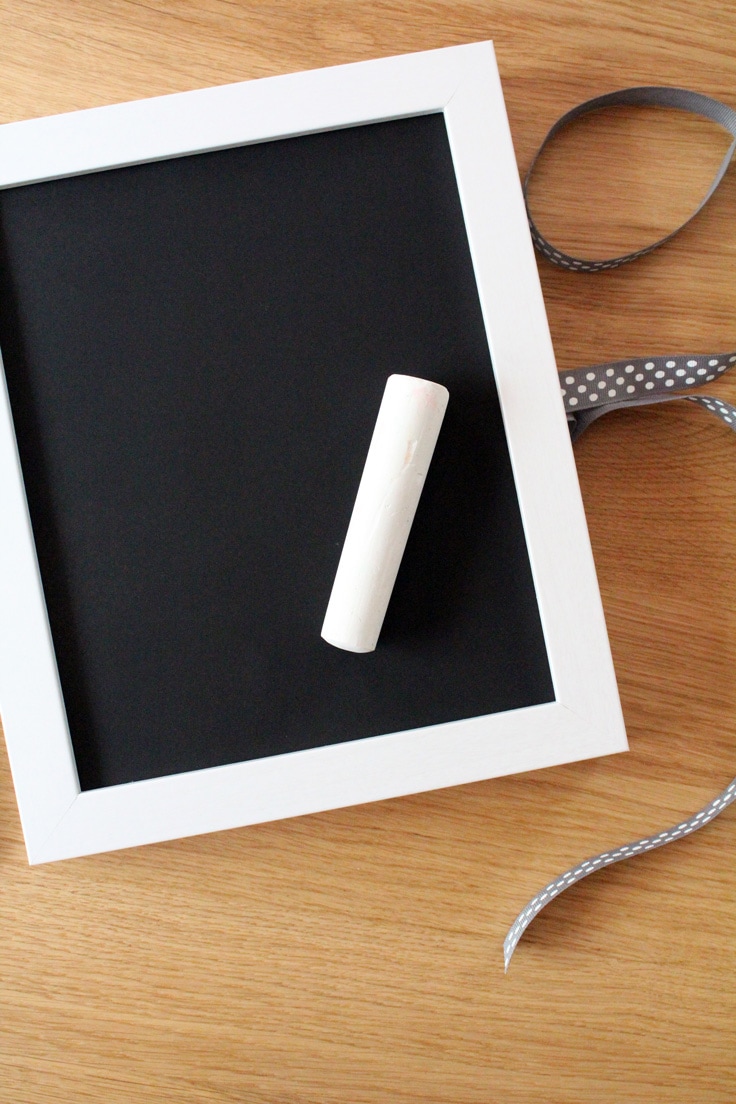
Supplies Needed:
Standing chalkboard easel Tips:
How to make a homemade chalkboard
I used two picture frames and removed the glass, then spray painted cardboard pieces with chalk paint. You’ll want to paint several thin coats and let each one dry to avoid over-saturating the cardboard. Alternatively, you could use another material, like thin wood or plastic.
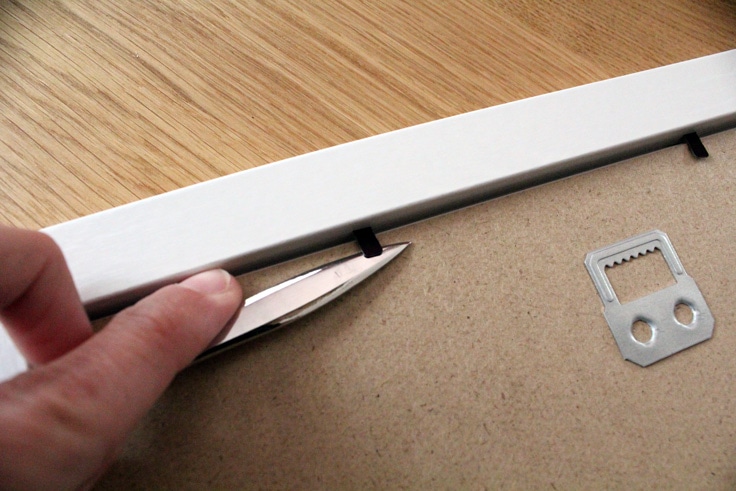
The easiest way to open the back of a picture frame
I always seem to pinch my fingers trying to open the tabs on the back of a frame, so I use a letter opener to slide under and lift them. You can use any thin metal object, like a ruler or a small screwdriver.
The best glue for attaching ribbons to picture frames
The type of glue needed depends on what the picture frames are made of. You can use craft glue or hot glue if your frames have a lot of texture. These wood frames are smooth, so I used superglue to make sure the ribbons held securely.
What to do if the ribbon is fraying
My favorite ribbon for crafting is grosgrain, which usually doesn’t fray if you cut it on a diagonal. If the ribbon on your easel is fraying, a synthetic ribbon can be carefully melted with a lighter. You can also use a product like Fray Check or clear nail polish to seal the ends.
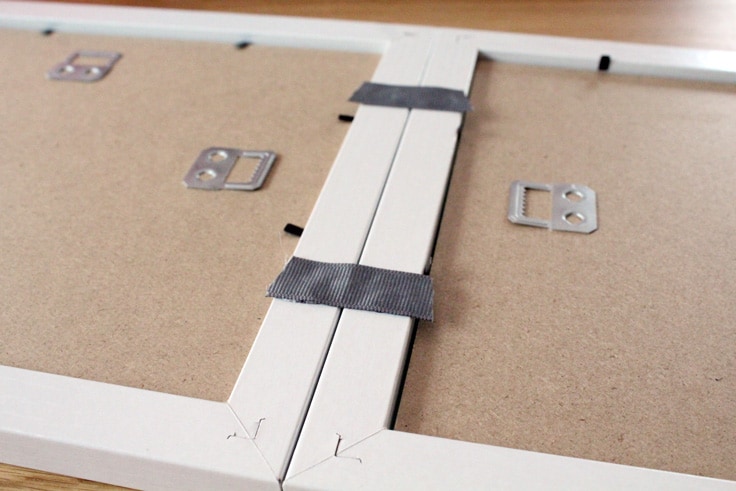
How to make the easel stand
An easel or sandwich board needs to be at a wide enough angle to stand without wobbling. The best way to measure this is to attach the top edges of the frames, then stand them up until they feel sturdy. Cut your side ribbons long enough to tie and support the frame.
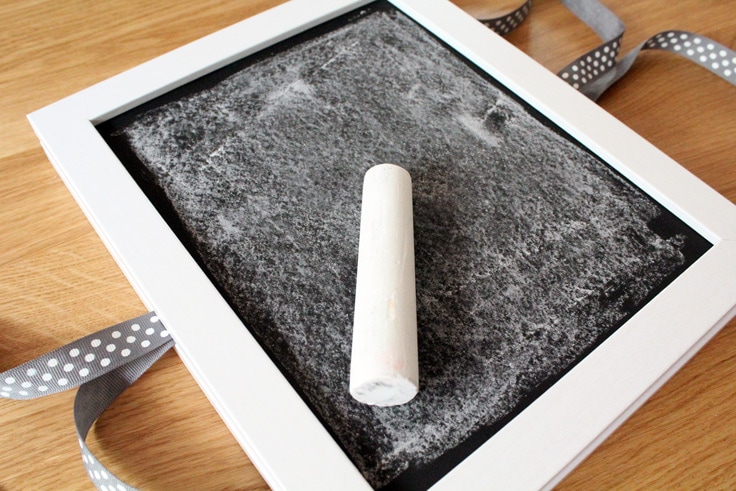
The best way to prep the chalkboard for writing
Clean white lettering on a pristine black chalkboard always looks fantastic. But before you start writing on your new chalkboard, it needs to be seasoned. Lay each piece flat and cover it solidly with chalk, then wipe it away. Then you can erase the chalkboard and write on it as usual.
Mini Standing Chalkboard Easel
Equipment
- scissors
- Superglue
- Ruler
Supplies
- 2 pieces cardboard cut to 8×10 inches
- 1 can chalkboard spray paint
- 2 picture frames 8×10 inches
- 1 spool ribbon approximately 80 inches
- chalk and eraser optional
Instructions
- Make chalkboard insert.Cut the cardboard to fit inside one (or both) picture frames. Protect your workspace and spray paint the cardboard with chalk paint. Set it aside to dry completely.
- Attach the ribbon hinges.Cut the ribbon into two 2-inch pieces. Lay the frames face down with the tops lined up. Glue the ribbons pieces to the back of the frames at the top.
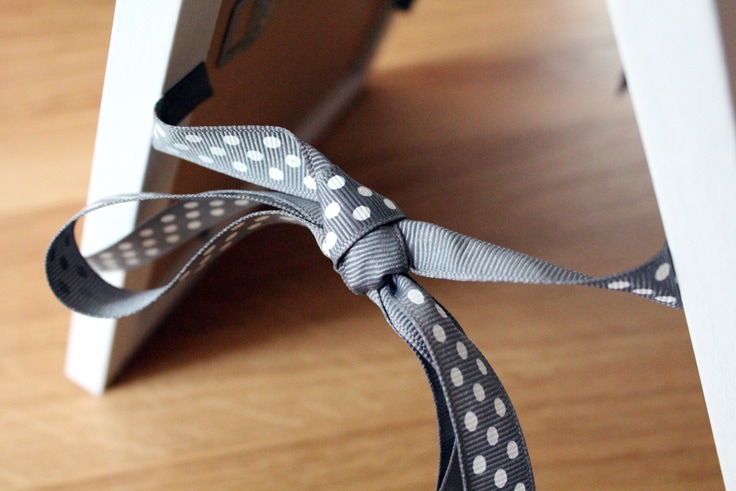
- Attach the ribbon ties.Cut additional ribbon into four 18-inch pieces. Glue them to opposite sides of each frame, about in the center.
- Assemble the frames.Open the frames and place the chalkboard insert where the photo would go. Close the back of the frames and stand them up. Tie the side ribbons together with enough spacing to stand up.
Love the ideas you see here on Ideas for the Home by Kenarry®? Subscribe today to get our FREE DIY & Craft Planning Calendar, plus our weekly Ideas in Your Inbox newsletter filled with creative tips and exclusive offers!
What’s Next?
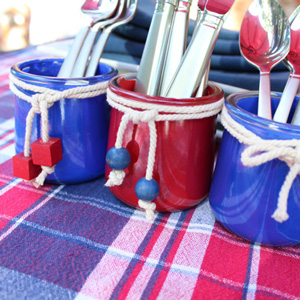
If you enjoyed this mini standing chalkboard easel then you’ll enjoy these party table ideas too.
You may also enjoy these DIY signs on Ideas for the Home by Kenarry® –