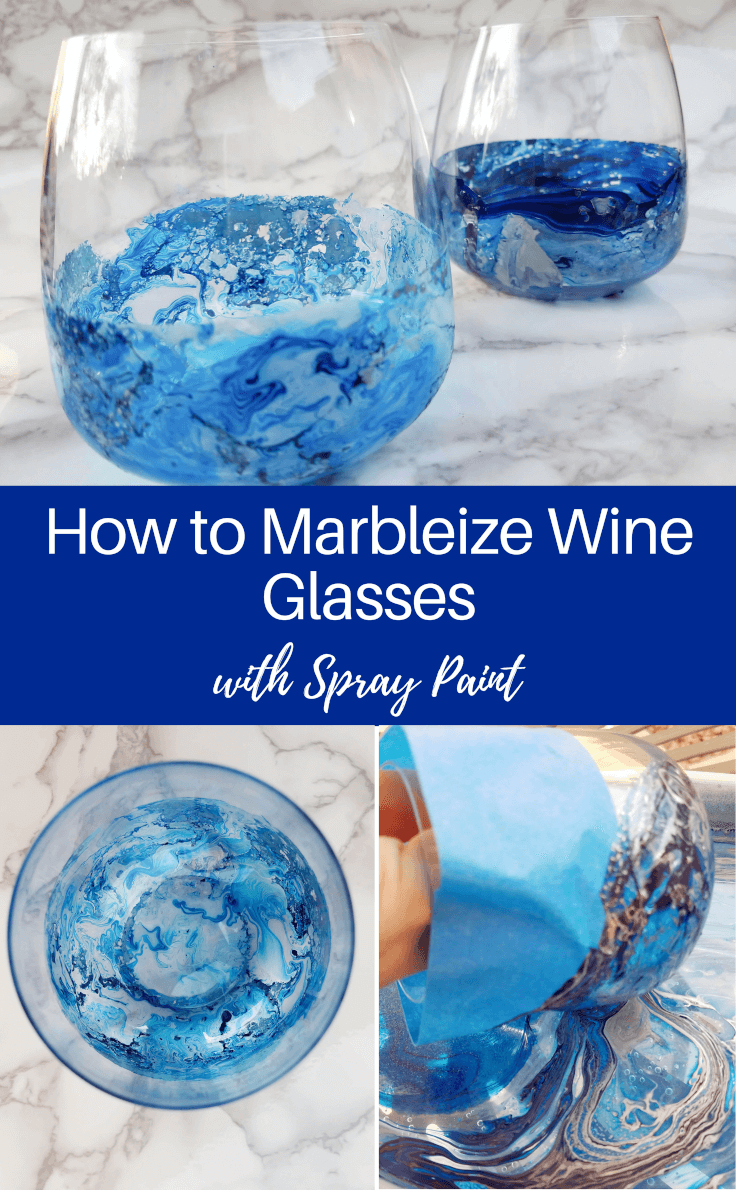
DIY Marbleized Wine Glasses
THIS POST MAY CONTAIN AFFILIATE LINKS. PLEASE SEE OUR FULL DISCLOSURE POLICY FOR DETAILS.
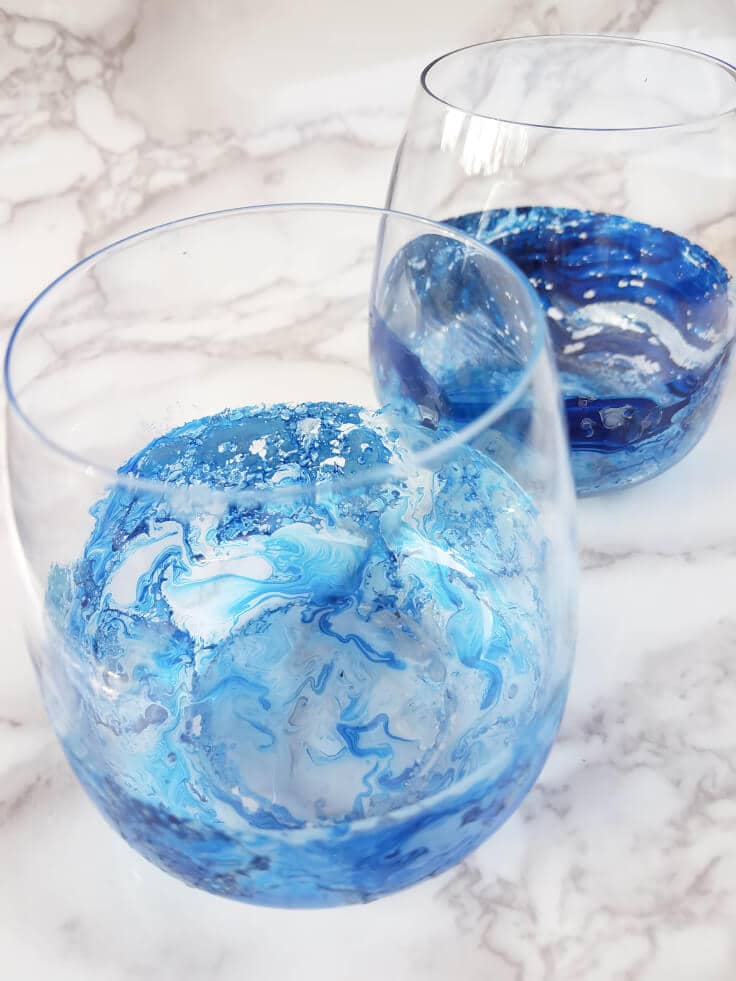
Upgrade your plain glasses into beautiful DIY marbleized wine glasses in 10 minutes with this easy tutorial. You probably already have everything you need.
The holiday season is over, and you likely have more wine glasses now than you did before you hosted gatherings with all your friends and family. If you are anything like me you not only bought extra wine glasses, you likely received several more as gifts. Instead of shoving all those wine glasses into the back of your cabinet for the next holiday, it’s time to make them beautiful statement pieces that you will be excited to pull out each time you have company over. Today, we used a technique to marbleize our wine glasses. The end results were stunning, and now I want to marbleize all kinds of things.
DIY Marbleized Wine Glasses
Disclosure: This blog post contains affiliate links for products or services we think you’ll like. This means if you make a purchase from one of these links, Ideas for the Home by Kenarry® will make a small commission at no additional cost to you so we can keep the great ideas for the home coming your way. All opinions expressed are derived from personal experience.
Marbleizing wine glasses is easy and can be done in about 10 minutes. You likely have everything at home.
Material:
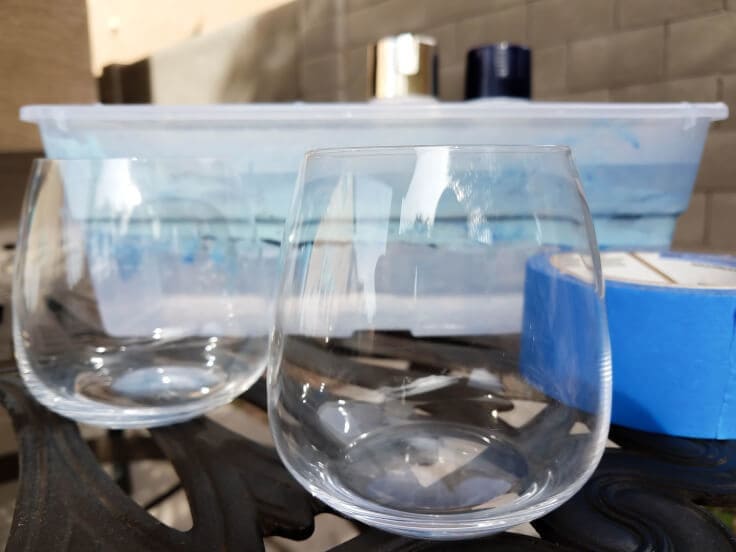
- Stemless wine glasses
- 2-4 colors of spray paint or nail polish
- Deep container that can be thrown away
- painters tape or duct tape
Instructions:
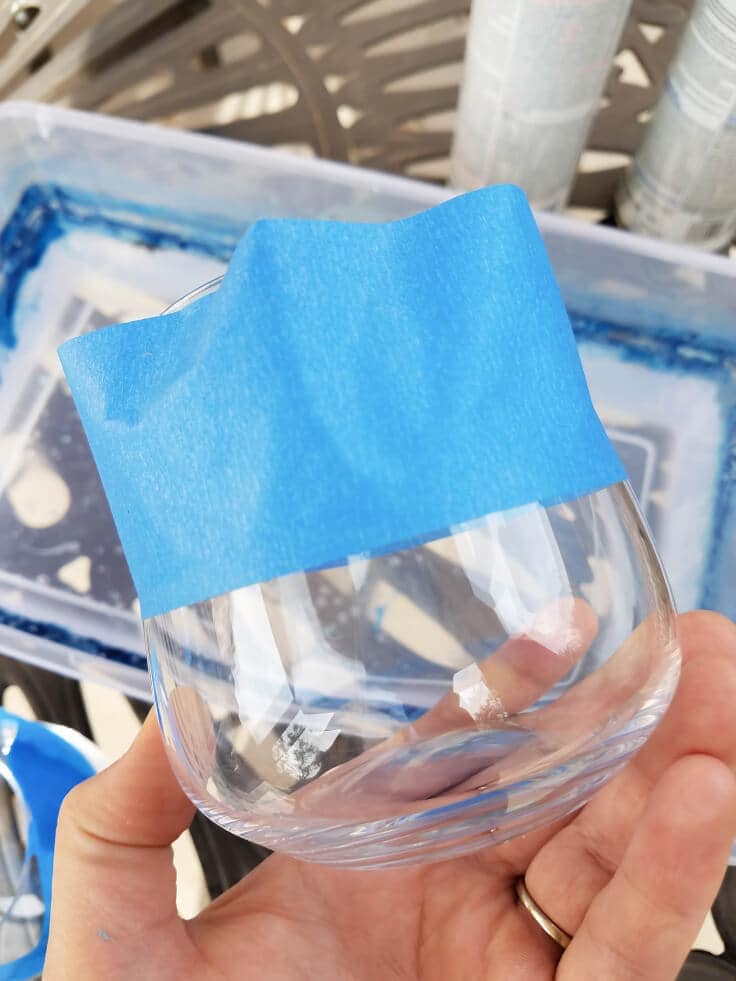
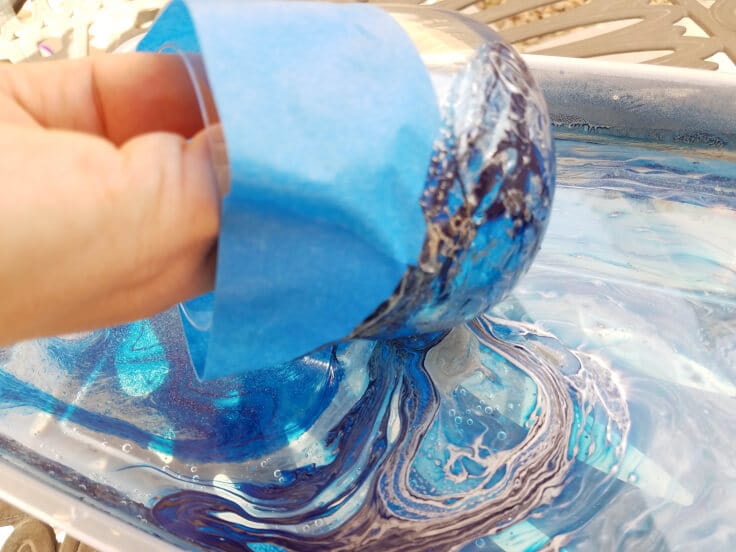
The first thing you want to do is tape off the portion of the glass you don’t want marbleized. I taped off the top half so that paint wouldn’t get on the lip.
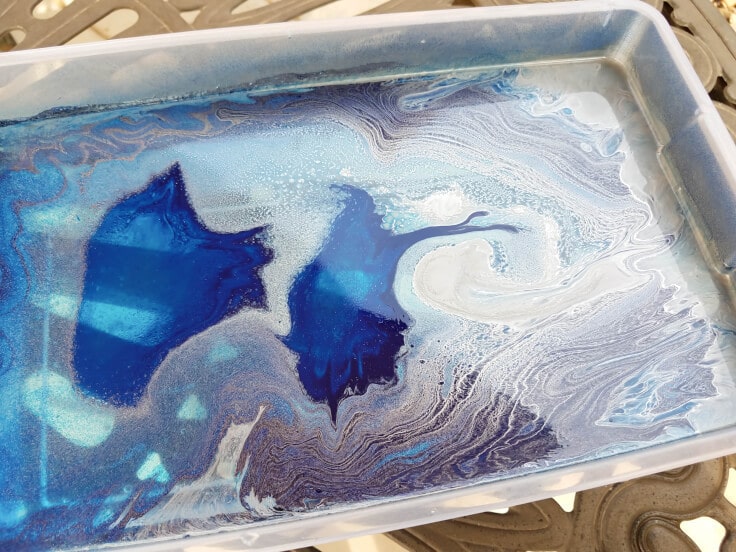
Next fill the container with water. Spray the water with spray paint or drizzle the nail polish in the water. Apply the paint in layers with the darkest being first and the lightest last. The paints will float on top and swirl.
Roll your wine glass on the surface of the water to pick up the paint. Do not dip it all the way or the paint will not stick to the cup correctly. When the outside is covered let the glass dry upside down. Keep the tape on for about 10-15 minutes to protect the rim of the glass.
Remove the tape and you have some pretty awesome wine glasses. Let it cure for about 28 days before using. I don’t know if it is dishwasher safe. Your best bet would be to hand wash it. If you can’t wait 28 days for it to cure, wait at least 48 hours for the paint to dry before using. Wash only the inside of the cup with a scrubber and keep out of the dishwasher until the cure period has passed. Never paint the lip of your glass unless you are using food grade paint, and even then be safe.
I will be honest, the first glass I did turned out terrible. I took my time after spraying the paint in the water. The first glass came out lumpy because the surface dried. Then I dipped the glass in the water instead of rolling it. So, move quickly and remember roll don’t dip.
Love the ideas you see here on Ideas for the Home by Kenarry®? Subscribe today to get our weekly Ideas in Your Inbox newsletter plus other exclusive gifts and offers — all for FREE!
What’s Next?
If you liked this idea, you may also enjoy these craft tutorials:
What type of Paint did you use? Latex or oil based.
Hi Shirley,
For this project, Rachel actually used spray paint. You could also do it with nail polish.
Good luck and happy crafting!
Best wishes,
Carrie
Hi there,
I think I will attempt to do this project this week. My only question is how can it be sealed? Is there a sealant spray, modpodge sealant? Anything of that sort to make it a gossy finish.
Thank you in advance!
Hi Jennifer,
Great question! We haven’t attempted making marbleized wine glasses and applying a sealant, so we can’t advise you on it. Give it a try following the tutorial and then see if you like the look of the glassware once the paint has fully cured in 28 days. If you do end up deciding to apply some sort of sealant, please do us a big favor and circle back to let us know how it turned out.
Good luck and happy crafting!
Best wishes,
Carrie
Ideas for the Home by Kenarry
What type of spray paint did you use?
Hi Tina,
Rachel who created this project for us is no longer on our team so unfortunately we can’t ask her your question. I believe any type of spray paint ought to work though since she didn’t specify. Hope that helps!
Best wishes,
Carrie
Ideas for the Home by Kenarry