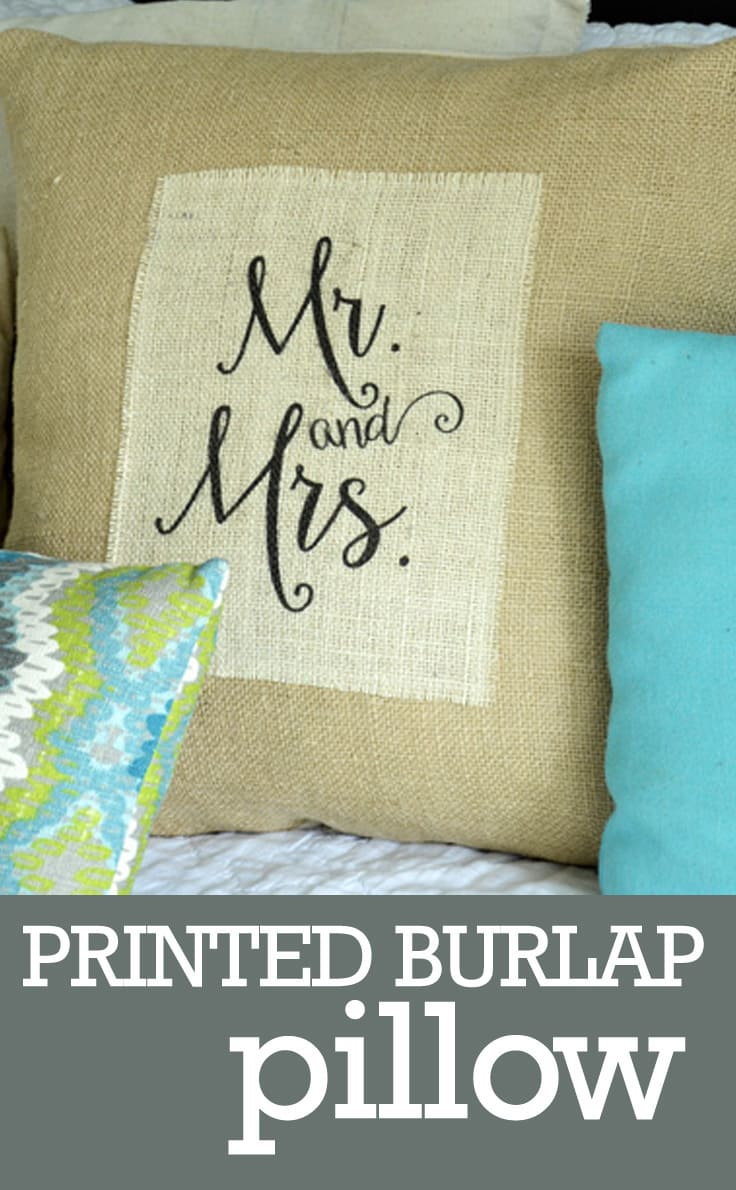
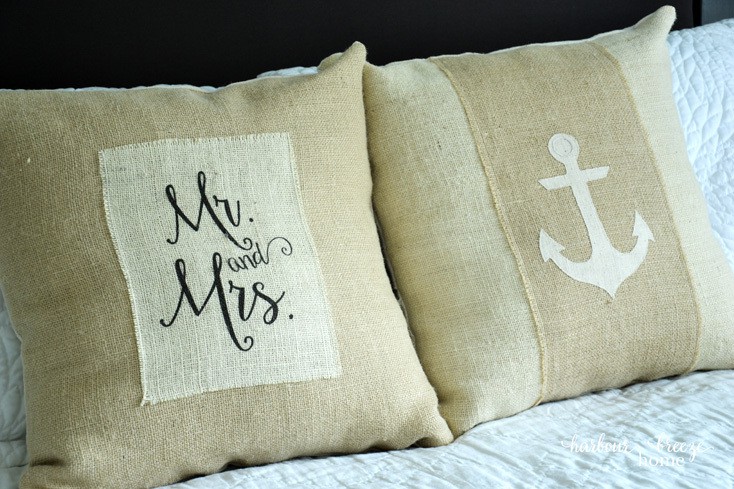
DIY Printed Burlap “Mr. and Mrs.” Pillow
THIS POST MAY CONTAIN AFFILIATE LINKS. PLEASE SEE OUR FULL DISCLOSURE POLICY FOR DETAILS.
This DIY printed burlap Mr. and Mrs. Pillow makes a perfect wedding or homemade anniversary present.
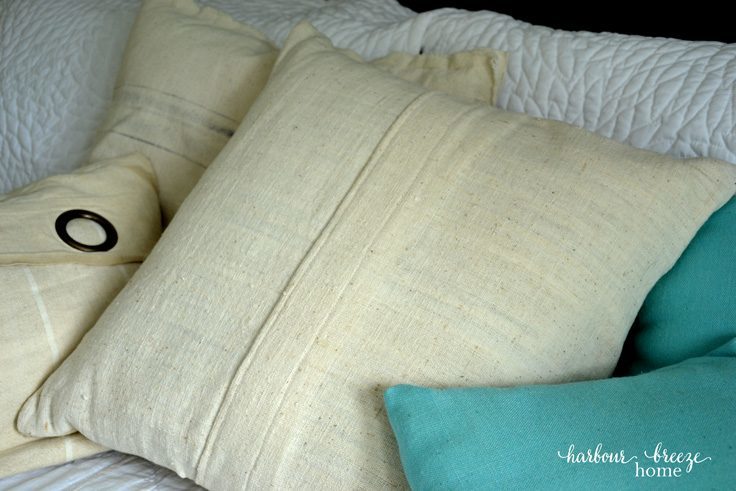
Hi, Friends! I’m Rita Joy from Harbour Breeze Home and am so excited to be here today to share my latest DIY project ~ a printed burlap pillow.
This particular idea came from seeing some darling pillows in a local gift shop. They got my creative ideas flowing. I went home, pulled out the burlap from my sewing cupboard and got busy. It was so much fun to design and create some special gifts for a few brides to be!
How to Make a Printed Burlap Pillow
This is such an easy DIY project. And it fits perfectly in a rustic-chic home, matching almost any decor theme.
Celebrate love with this adorable pillow. Here’s how to make your own.
Burlap wreath guide
Get our e-book The Ultimate Guide to Making a Burlap Wreath when you subscribe to be an Idea Insider. It’s totally FREE!
Your privacy is important to us. We promise not to spam you or share your information. You can opt-out at any time. See our privacy policy for more information.
Disclosure: This blog post contains affiliate links for products or services we think you’ll like. This means if you make a purchase from one of these links, Ideas for the Home by Kenarry® will make a small commission at no additional cost to you so we can keep the great ideas for the home coming your way. All opinions expressed are derived from personal experience.
Materials Needed:
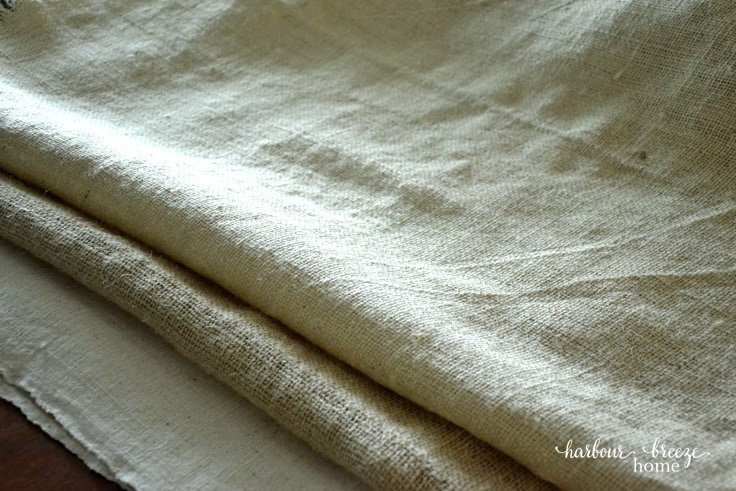
- Burlap (I used light brown/natural and white for this pillow)
- Fabric for lining the front and pillow back. (I used a textured linen for this one, but canvas drop cloth works nicely, too.)
- Pillow form
- Basic sewing supplies:
How to make the DIY printed burlap pillow
Here’s how to make your own pillow. I included some step-by-step pictures so you can follow along.
1. Wash the burlap
Wash the burlap in the washing machine, hang to dry, and iron the wrinkles out.
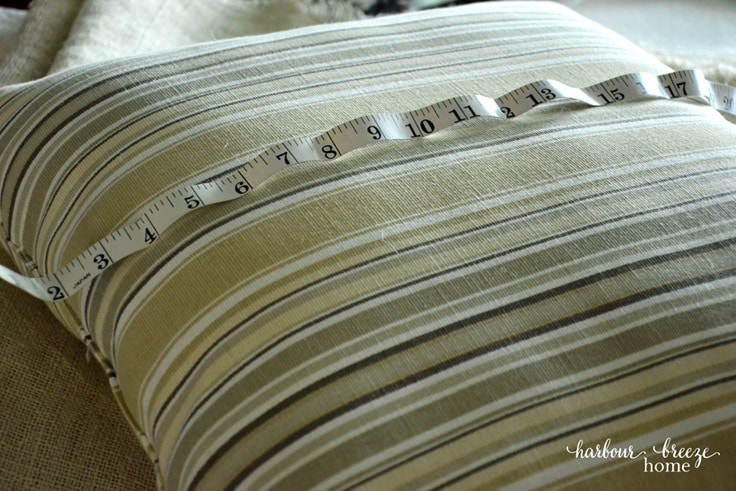
2. measure the pillow
Measure the pillow form. Add 1/2 inch (on all sides) to that measurement for your cutting measurement. (For instance, if the pillow form measured 20 inches square, the pillow front would be cut out to be 21 inches square.)
3. cut out the pieces for the pillow
Cut out all pieces for the pillow. For this design, I cut out the following:
- 1 pillow front out of tan burlap 21 inches square
- Lining for the pillow front (You can see through burlap!) out of cream linen ~ 21 inches square
- 2 pieces of cream linen for the pillow back 21 inches wide x 14 inches tall
- 1 piece white burlap 8 1/2 inches by 11 inches for the printed “Mr. & Mrs.”
**Tip: Burlap is a loosely woven fabric, and it’s important to cut it so it’s in line with its weave. In order to get a straight line, pull a strand of the weave out like this:
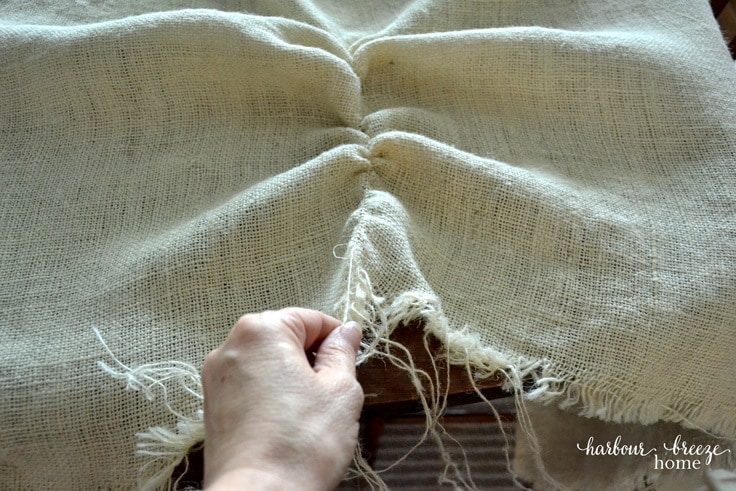
Once it is pulled out, there will be a perfectly straight line that you can use as your cutting line:
Once all your pieces are cut out, it’s time to put your pretty pillow front together. For this one, that meant printing a design onto the burlap with a home printer.
How to Print on Burlap
Supplies needed:
- 8 1/2 x 11 inch piece of white burlap
- Home printer
- Freezer Paper
- Spray adhesive
- 1 piece of regular printer paper
**Please note: All printers are not created equal, and I’m quite sure that none were designed with burlap in mind. So, please try this method at your own risk. I’ll admit that I had to work very hard to get this to work with my little old printer, and in the process got 3 pieces of burlap jammed into my printer! But, perseverance and patience paid off and in the end, it worked.
Method
Here’s how to print on burlap. Again, please be careful when you are using your home printer.
- Cut out a piece of freezer paper the same size as regular printer paper (8 1/2 x 11 inches).
- Iron (shiny side down) freezer paper onto the burlap.
- Spray a thin layer of spray adhesive onto the freezer paper and firmly press down a piece of regular printer paper onto it.
- Trim away any threads of burlap that might be hanging off the edges.
- Tape down the top edge of the burlap with scotch tape.
- Place burlap into printer, find this lovely Mr and Mrs free printable from Blooming Homestead, and hit print. (Then, hold your breath and pray that it’ll work… Jump up and down with excitement when it does!!)
Facebook live video showing how to print on burlap
I did a Facebook Live after I finished (successfully) printing on the burlap. It may help you to see the steps explained in person.
How to Assemble the Pillow
Now that you have the pieces cut and the Mr. and Mrs. printed out, you are ready to put it all together. Here’s how to do just that.
1. Layer the pieces of fabric
Layer the following pieces of fabric on your table as follows:
- Front pillow lining.
- Light Brown Burlap pillow top
- White printed burlap with Mr and Mrs on it.
2. Pin the lining and front together
Pin the lining and front together at the corners, ensuring that both pieces are lined up correctly. Pin the Mr. & Mrs. fabric to the center of the pillow.
3. Sew the Mr. and Mrs. to the front of the pillow
Using a sewing machine, stitch the Mr. and Mrs. to the front of the pillow using a 1/4 inch seam allowance.
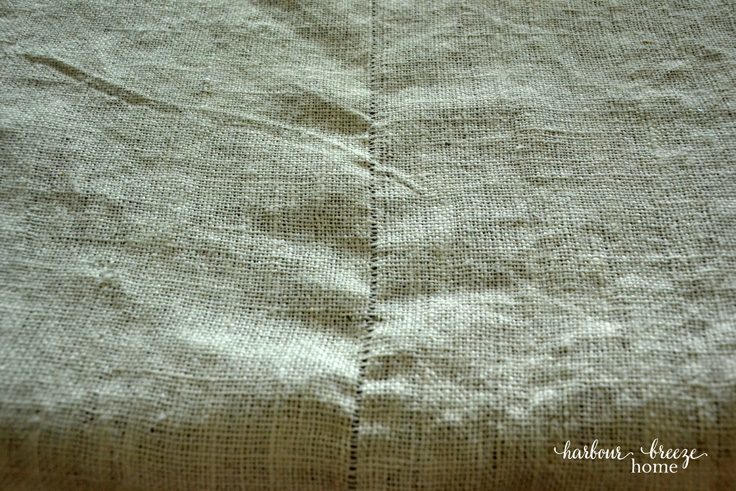
For the pillow back, hem each piece 2 inches on one side. (See photo below.)
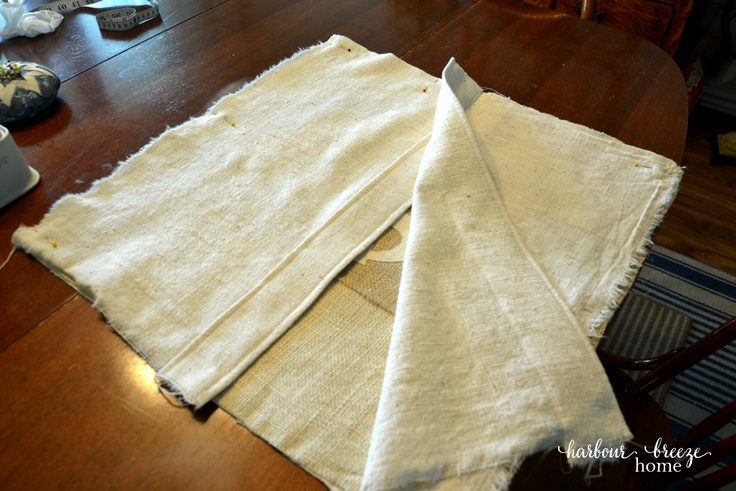
4. Place the back pieces onto the front pieces
Then, pinning right sides together, place the back pieces onto the front piece, overlapping the back pieces like this:
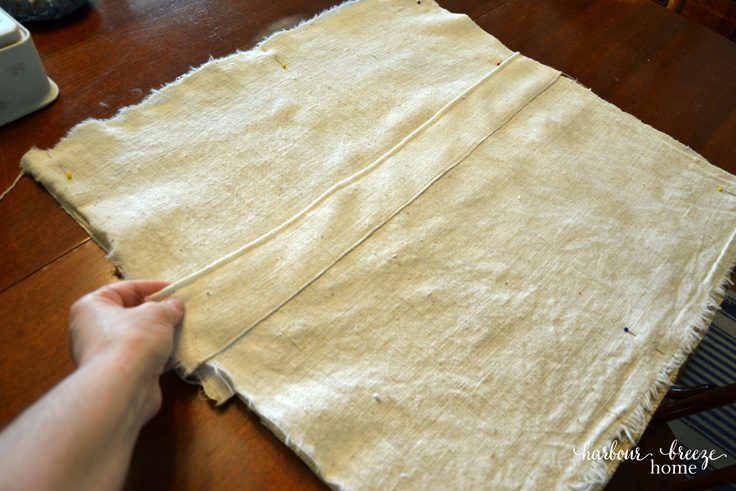
5. Trim the edges and stitch
Trim the edges if needed so that all edges line up nicely. Stitch around the pillow with a 1/4 inch seam allowance.
6. Insert the pillow
Turn right side out and insert the pillow form.
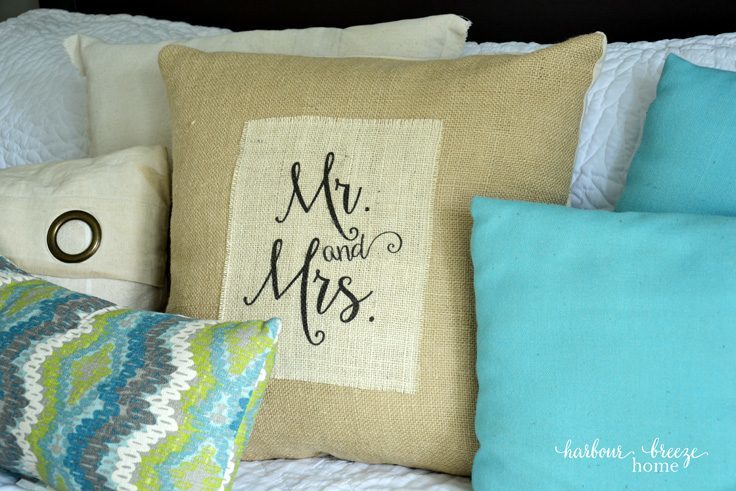
You did it!
Assembling the pillow as I showed, allows the cover to be easily removed. If you choose, you could also decorate the back with a row of buttons to become a reversible pillow!
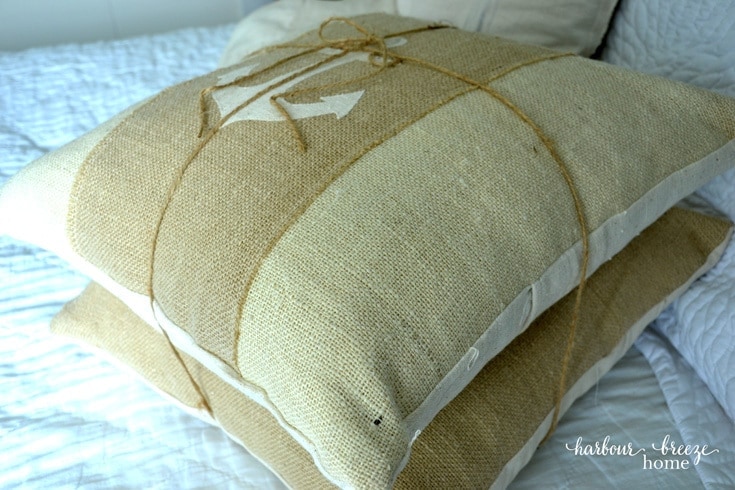
Since I was taking this to a bridal shower, I made a set of two pillows:
I tied them up with a piece of jute and added a card.
I’d love to know if you’ve ever done any projects with burlap? If so, let us know! I’d love some more creative ideas for burlap. It’s so fun to use!
Here are a few similar crafty projects from the archives:
Flour Sack & Burlap Tree Topper
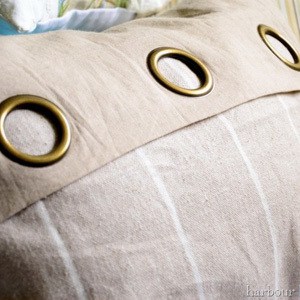
Turn a Grommet Curtain into a Pillow
Hand Painted Pillows (How to Paint on Fabric)
Love the ideas you see here on Ideas for the Home by Kenarry®? Subscribe today to get our FREE DIY & Craft Planning Calendar, plus our weekly Ideas in Your Inbox newsletter filled with creative tips and exclusive offers!
While you’re here, be sure to check out other easy DIY burlap ideas on Ideas for the Home by Kenarry®
Originally published June 2017. Updated July 2018.