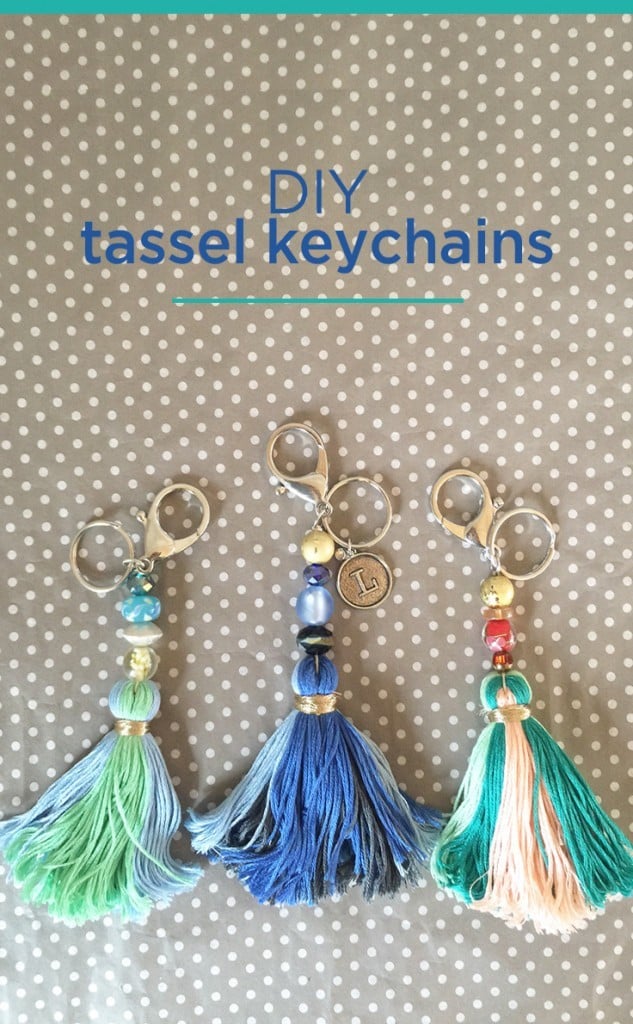
DIY Tassel Keychains 15-Minute Craft
THIS POST MAY CONTAIN AFFILIATE LINKS. PLEASE SEE OUR FULL DISCLOSURE POLICY FOR DETAILS.
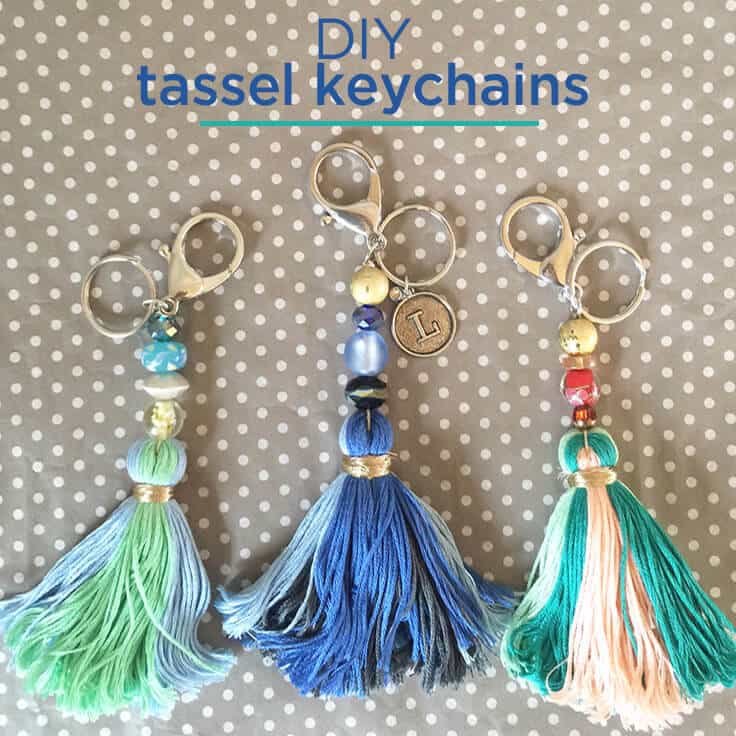
Learn how to make your own DIY Tassel Keychains with fun colorful beads and embroidery thread. These make great Mother’s Day gifts for that special someone!
Hi all! It’s Lori from Greco Design Company here today to share with you my DIY Tassel Keychains. These are fun, super trendy items that can be used for so many different purposes – and would make really sweet gifts for Mother’s Day or for that special teacher too!
Simple DIY Embellished Tassels
I’ve seen these embellished tassels everywhere – on necklaces, attached to purse zippers, on sandals, and as keychains. I love them! And you can really have fun making them and adding some beads or charms to make them more personal.
Today, I’ll show you the step-by-step technique that I thought worked best. Since Mother’s Day is right around the corner, these would be such a thoughtful gift for the special mom, sister, daughter, grandmother or friend in your life.
Looking for another easy teacher appreciation gift idea? Grab this Thank You For Helping Me Grow Free Printable to pair with a plant!
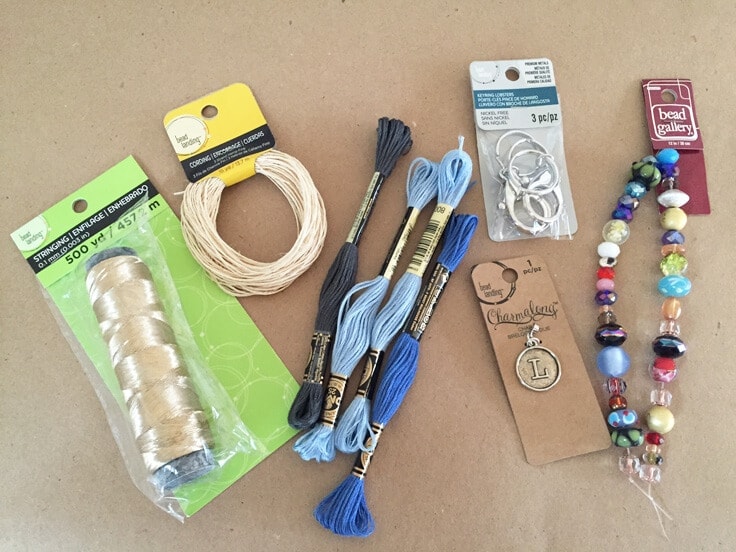
Materials:
- Embroidery thread in the color(s) you choose (I used 2 or 3 packs her tassel)
- White hemp fine cord
- Gold metallic stringing .003 (found at Michael’s but not online)
- Large clasp or lobster clasp with split key ring (found at Michael’s but not online)
- Various beads
- Monogram beads
- Scissors
How To Make Tassel Keychains
Just follow these simple steps to make your own DIY keychains with tassels. It will only take you 10 minutes.
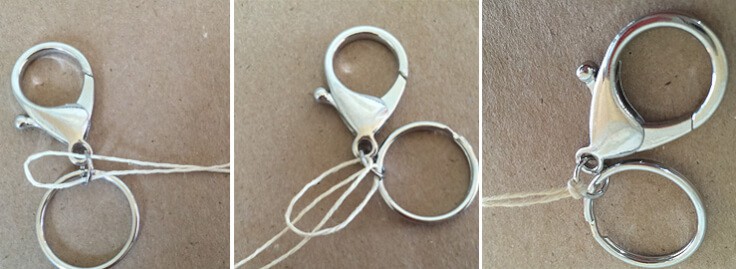
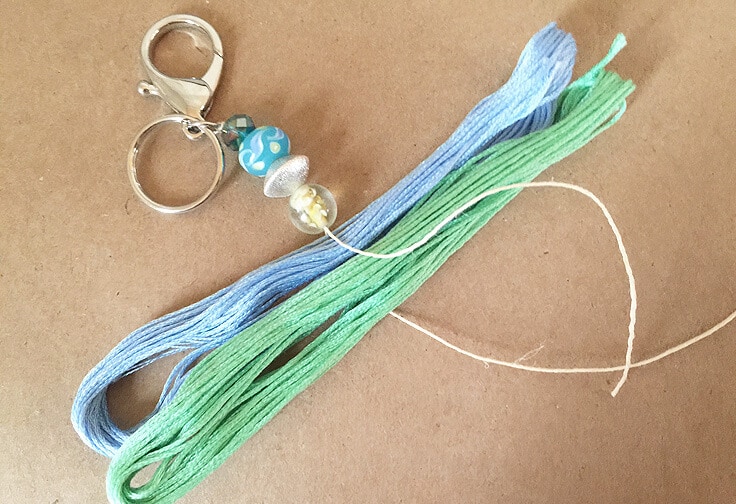
1. Loop The Hemp Cord Through the Keychain
First, cut a piece of the hemp cord about 12-inches long and loop it through the bottom ring of the clasp. Tuck the ends through the loop and pull until tight.
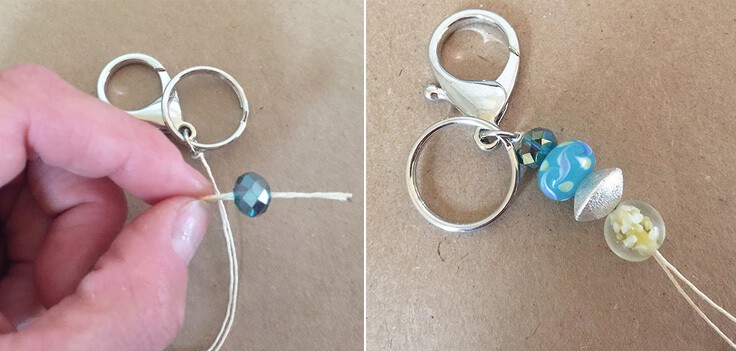
2. Thread the Beads
Thread your beads through the hemp cord as you’d like them. The more beads you use, the longer the keychain will be. I used anywhere from 3-5 beads on my keychains.
3. Layer the embroidery thread
Next, take your embroidery thread and slide the wrappers off. They’re already wrapped in a 6-inch loop so just layer your colors on top of each other and tie the ends of the hemp cord tightly around the center of the threads. Trim the leftover hemp cord.
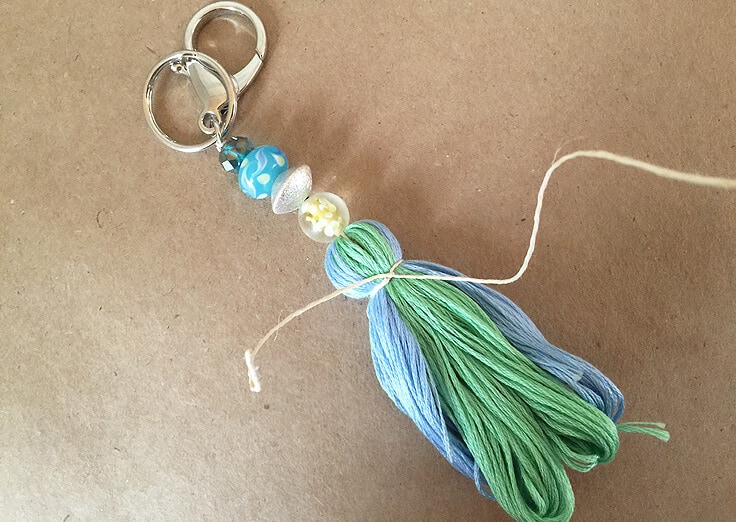
4. Tie the hemp cord around the thread
Then, fold the two ends of the embroidery thread down and tie another piece of hemp cord down around the folded thread – about 1/2″ down. Tie 2 knots and trim off any excess hemp cord. This gives a nice circle shape at the top of the thread and just under the beads.
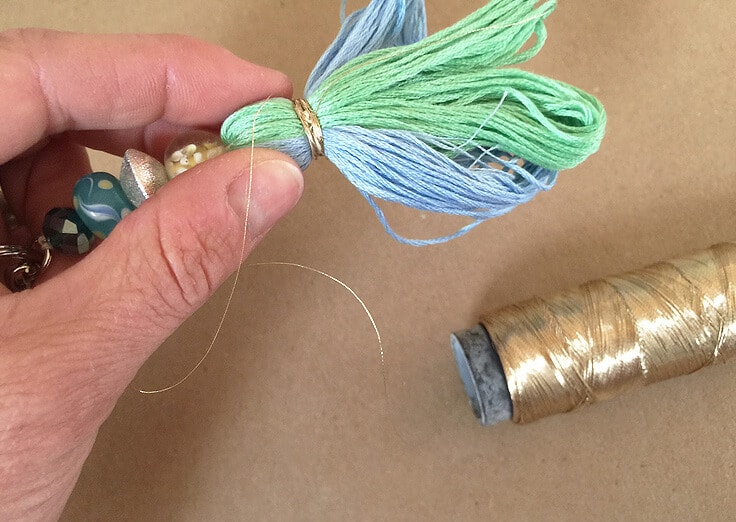
5. Cover the hemp cord with metallic string
Tie a piece of your metallic string around the white hemp cord and then continue to wrap it tightly around the hemp cord until you cover it completely. I tied the end of my metallic stringing to one of the strands from the first knot. Trim off any excess stringing.
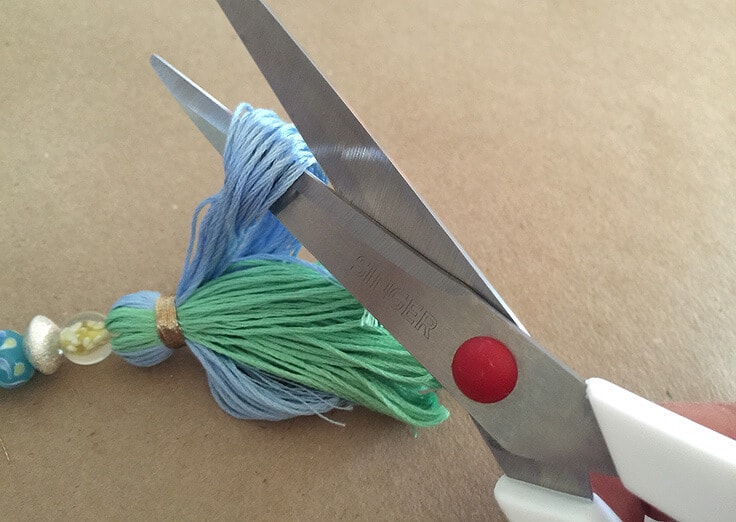
6. Trim the embroidery thread
Arrange the bottom of the tassel and cut the folded ends with sharp scissors.
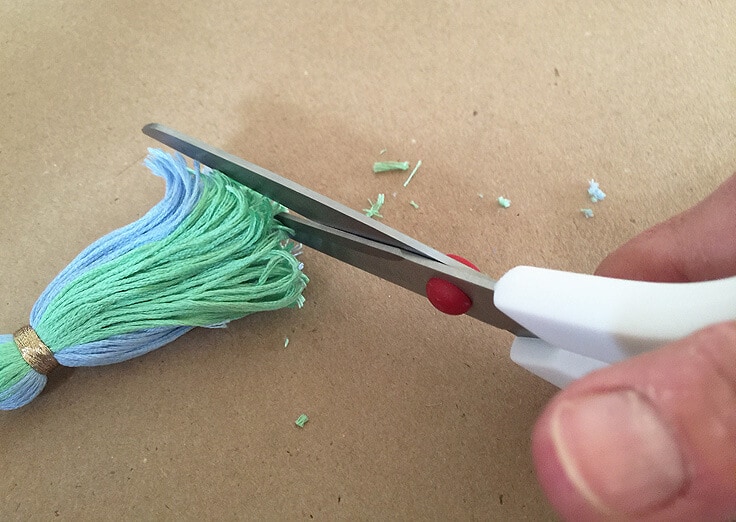
Give the ends of your tassel a little trim so the ends are even.
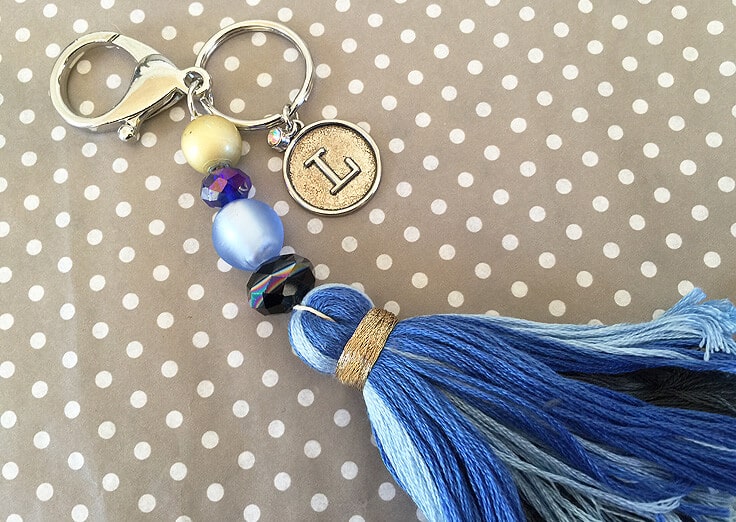
I added a personalized charm to one of my tassels by attaching it right onto the key ring.
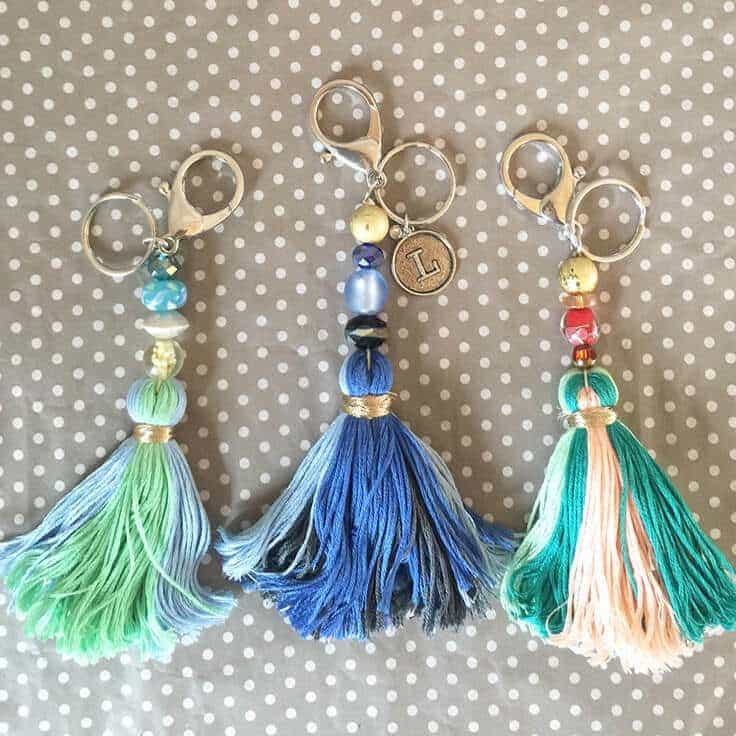
Now you have a fun beaded tassel keychain! Use different colored threads and beads to change up the look.
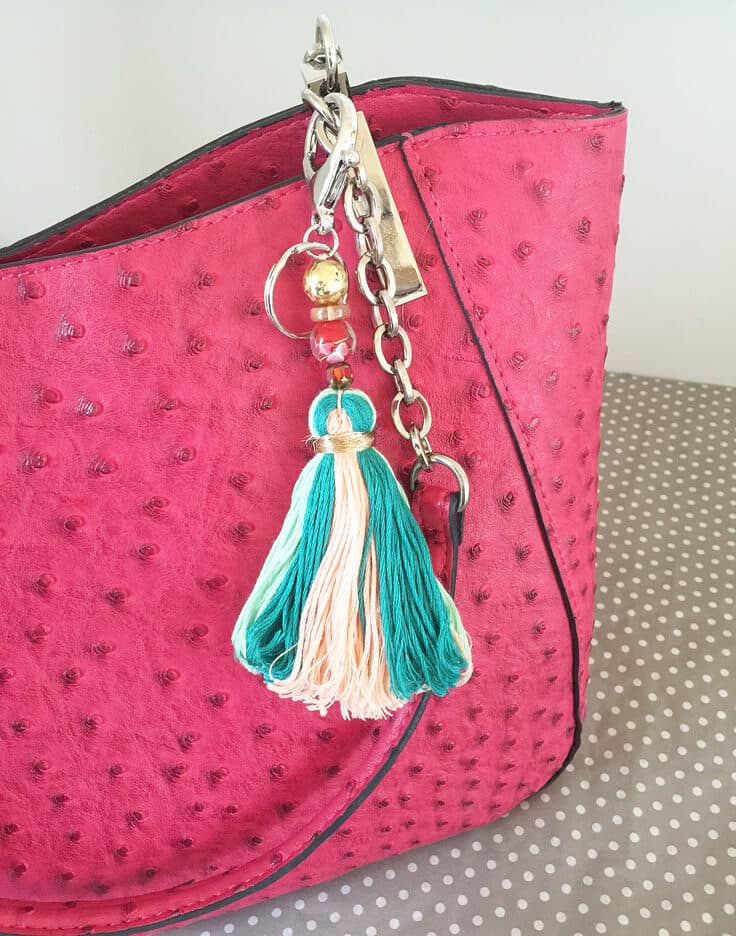
How to use DIY tassels on your accessories
You can also use these tassels as an embellishment on your favorite purse. Or you can use a metal jewelry loop instead of a key ring and add it to a necklace chain. This is a great Mother’s Day gift or it makes a pretty graduation gift topper!
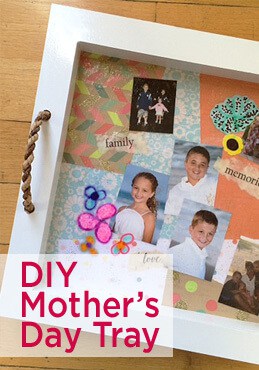
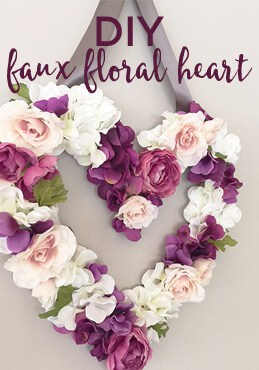
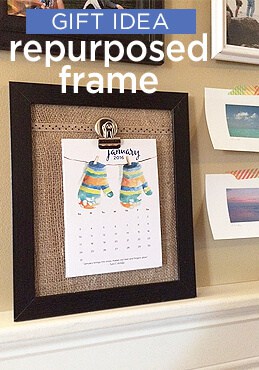
If you enjoyed this post, check out these other great DIY gift ideas:
Love the ideas you see here on Ideas for the Home by Kenarry®? Subscribe today to get our weekly Ideas in Your Inbox newsletter plus other exclusive gifts and offers — all for FREE!
What’s Next?
While you’re here be sure to check out other craft projects on Ideas for the Home by Kenarry® –
- How To Make A Decorator Tassel: Easy DIY Tassel
- DIY Fabric Garland No-Sew Scrap Buster Project
- How to Make a Tassel and Beaded Bookmark
Originally published May 2016. Updated May 2019.


Hi, I’m confused on where/how you tied off the metallic cord after wrapping it…. Is there any way you can explain it to me? Thanks
Hi Jessica – this is a great question! When I started the cord I kept about 3″ extra, holding it down with my thumb and I didn’t tie it. I just kept wrapping the metallic cord until it covered the hemp completely. I tied that end of the cord to the to the 3″ from the start of the cord. I hope that makes sense! Thanks for your comment! – Lori
What fun – will be making these for holiday gifts! Thanks for sharing.
That’s so great, Peggie Sue! I bet your friends and family will love them.
Great use of lovely coloured embroidery thread and beads.loved your keyrings.
Marcia, thanks for taking the time to swing by Kenarry to check out these DIY Tassel Keychains. We’re so glad you liked them!