Castle Playroom Shields and Decor: Setting a Medieval Scene
THIS POST MAY CONTAIN AFFILIATE LINKS. PLEASE SEE OUR FULL DISCLOSURE POLICY FOR DETAILS.
Learn how to make your own castle playroom shields and decor to dress up a kids play area with medieval style.
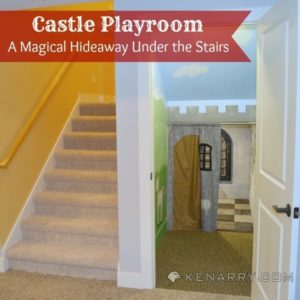
If a boy’s playroom is his castle, he’s definitely going to need some castle playroom shields and decor to give it a medieval appearance. See how we added shields, a window and more to create a special hideaway fit for a prince or two.
Over the past several weeks, we’ve been sharing how we created a castle playroom under our basement stairs for our sons. The castle playroom is designed for boys to be make-believe princes, knights and pirates, so it needed some masculine touches. Once we painted the stone walls of the castle and installed wall-to-wall flooring, we needed to add castle playroom shields and decor to set the stage for a medieval scene. Today, I’m sharing how to secure a mirror to use as a window and how to create simple medieval shields. I’ll also share a sign about princes I made for the wall and a delightful dragon.

Disclosure: This blog post contains affiliate links for products or services we think you’ll like. This means if you make a purchase from one of these links, Ideas for the Home by Kenarry® will make a small commission at no additional cost to you so we can keep the great ideas for the home coming your way. All opinions expressed are derived from personal experience.
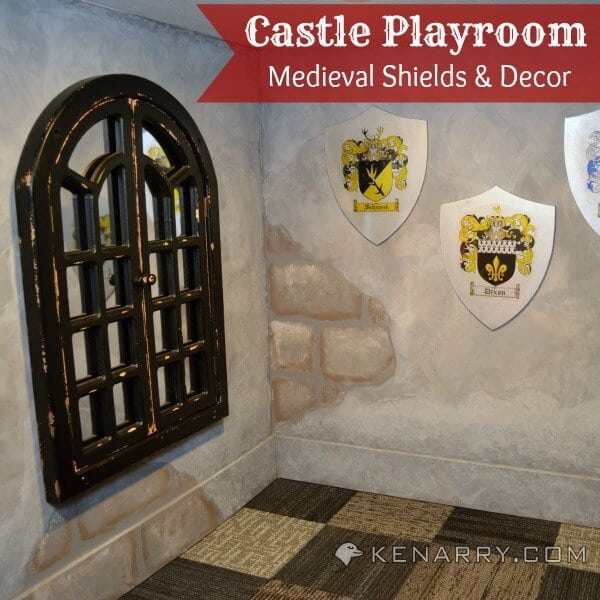
Castle Playroom Shields and Decor
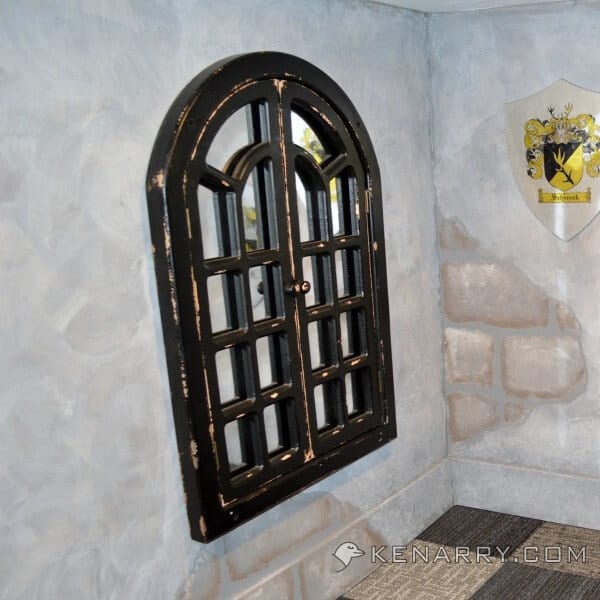
The Window: When I first saw the whimsical garden playroom that inspired our castle, the mirror they used as a “window” was one of the most prominent things that caught my attention. Children love to look at themselves in a mirror! More importantly, though, a mirror also adds light and depth to a small space. I shopped around until I finally found the perfect “window” mirror at Hobby Lobby. Even on clearance the mirror cost $80, but it was worth it to me. It was already painted black with a distressed appearance. The mirror “window” was actually the first thing I bought for this project. I designed everything else around it.
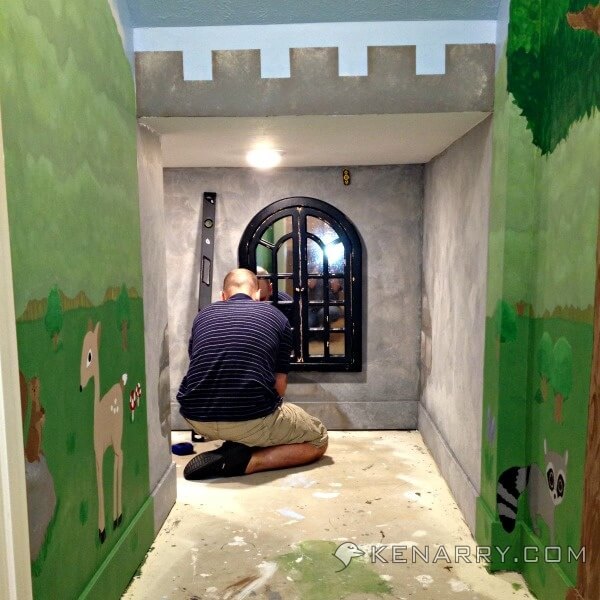
Safety was my only concern with adding a glass mirror into the castle playroom. I was so afraid rough housing boys would break the mirror and shatter it into millions of tiny pieces of glass. To help prevent injury, we did four things to secure the mirror:
- We removed the mirror from the frame so I could apply sticky contact paper to the back side of the mirror. I used clear contact paper because that’s what I had on hand, but any color will do since it’s the back side and will not be visible.
- While I had the mirror out of the frame, I thought about applying clear contact paper to the front of the mirror, but was concerned I wouldn’t be able to get it smooth enough. Instead, I had some thick clear vinyl leftover from when I created the castle curtain. I placed the clear vinyl on top of the mirror and cut it to fit. I then used thin clear packing tape to secure it all the way around the edges and put the mirror back into the frame. If the mirror ever does break, the contact paper on the back and the vinyl on the front should help keep the tiny shards of sharp glass from spreading everywhere.

- The shutters on the front of the mirror can open. I used double sided tape to hold them closed and help protect the mirror.
- The mirror is incredibly heavy. Kent drilled holes through the frame. Then we bolted the mirror to the wall with large screws, so there was no way the boys could accidentally knock it off the wall. Afterwards, I filled the holes with black paint to hide the screws and raw wood from where we drilled.
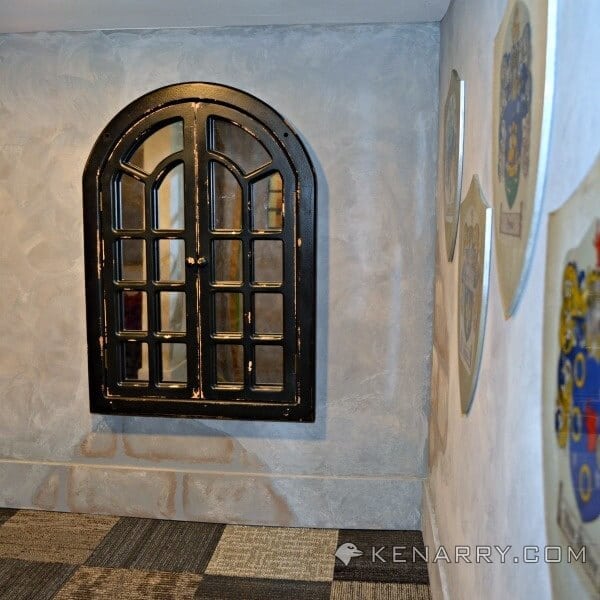
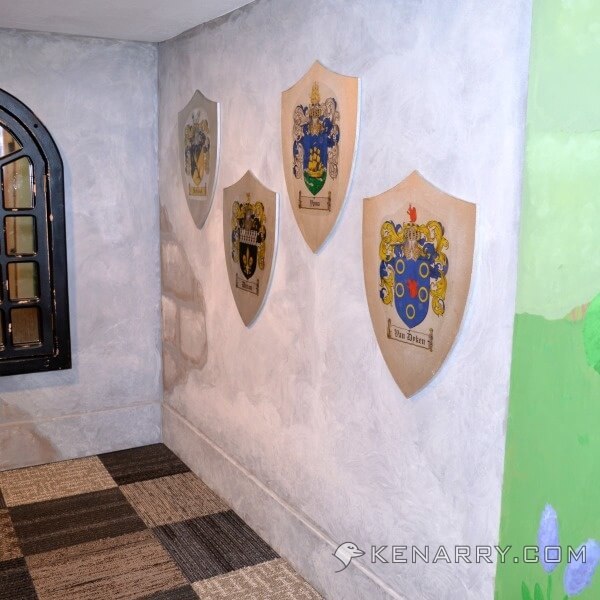
The Shields: To create the medieval shields for the wall, I searched the internet to find our family crests or coat of arms. I wanted four shields, one to represent each of the boys’ grandparents. I ordered digital files of our crests from Coat of Arms and Family Crest Store. The crests were $11.99-12.75 each for a 300 dpi file they e-mailed to me within 24-48 hours after I placed my order.
Next, I placed a custom order for MDF boards shaped like shields from ZZBob’s Creative Woodworking on Etsy. Bob and Pam Holt from ZZBob’s provided great customer service. They helped me understand my options and were quick to produce and deliver my custom order. The boards I ordered are 15″ tall and 1/4″ thick. At the time, they were only $12 each. I primed each of the boards and then did two coats of metallic silver spray paint.
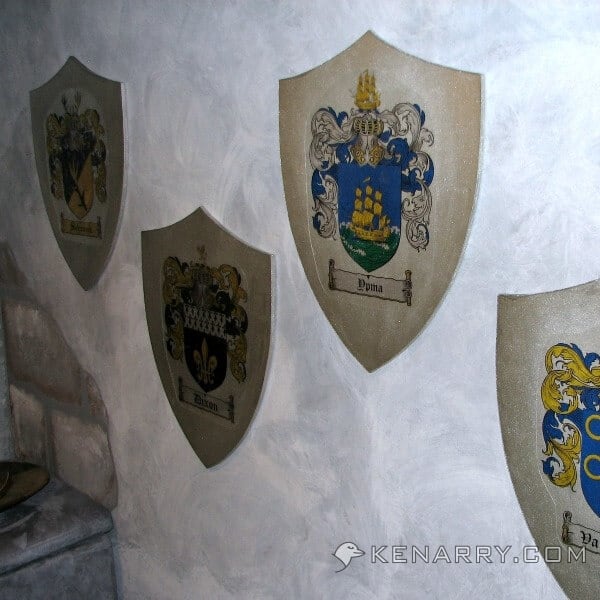
I printed the family crests on my inkjet printer at home using Grafix Ink Jet Clear Adhesive Film, 8-1/2-Inch by 11-Inch. Unfortunately, even after allowing the ink to dry on the adhesive film for several days, it still smeared if I touched it. I tried spraying it with a clear protective spray, but that didn’t prevent the ink from smearing either. Finally I just decided to carefully cover the printed adhesive film with another sheet of clear adhesive film. I removed the backing, applied it to the silver shields and decided it was good enough. I used double sided tape to attach the shields to the castle playroom wall.
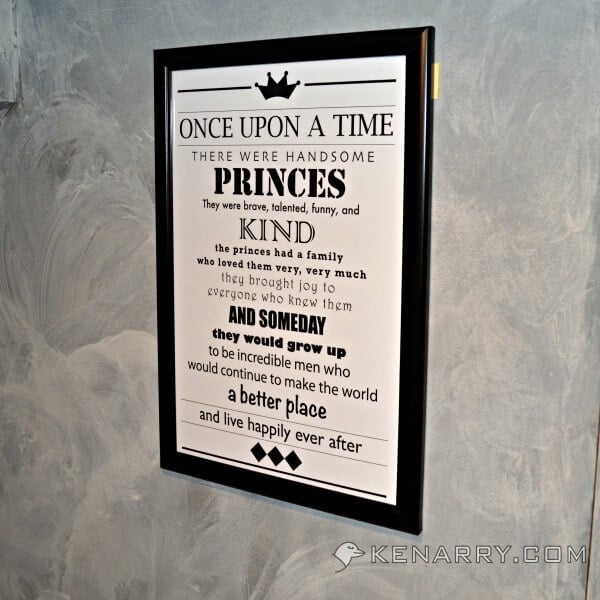
The Sign: I saw this great quote online for a boy’s nursery about the virtues of a prince. I recreated it on my computer and pluralized it since I have two little princes who will be sharing our castle playroom. I ordered it through the Costco Photo Center as a 12 x 18″ print with lustre finish for only $2.99. I chose to put it in an inexpensive black poster frame that used clear plastic rather than glass, so I didn’t have to worry about it getting broken in the castle playroom. I attached it to the wall with double sided tape.
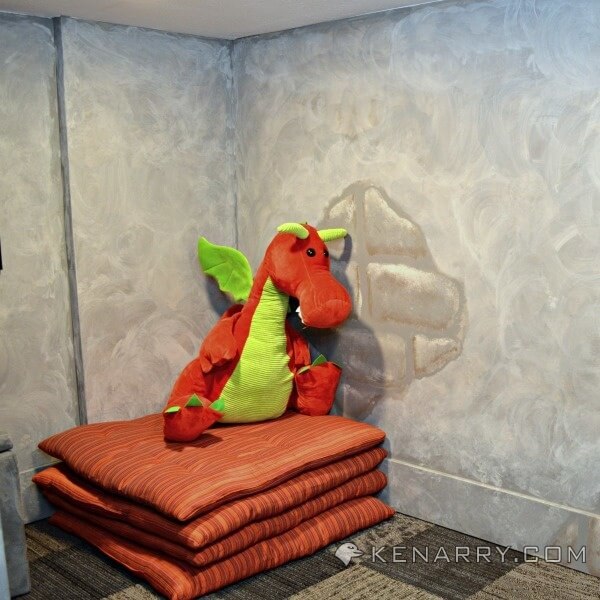
The Dragon: Our son who was, 3 years old at the time, got it in his head he needed a dragon for the castle. We found this one at Costco for only $9.99 last Christmas. After he saw the dragon, it was the only thing he wanted on his Christmas list. If anyone asked him what he wanted, he’d excitedly say “I want a red dragon with a green tummy!” He was just as excited when he actually opened the gift. It was the funniest thing. He completely ignored the rest of the pile of wrapped gifts and immediately carried the dragon over to the castle and started playing.
Next in this series, we’ll share about the seating and toy storage in the castle playroom along with some of our favorite costumes. If you’d like, you can subscribe to Kenarry to follow along with our castle playroom series. You’ll get an e-mail in your in-box every time we publish a new castle playroom post, so you don’t miss a thing.
———-
Previous in the Castle Playroom Series on Ideas for the Home by Kenarry®
Castle Playroom: How to Create A Magical Hideaway for Kids
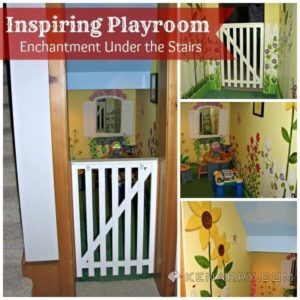
Castle Playroom Inspiration: A Whimsical Garden Playroom
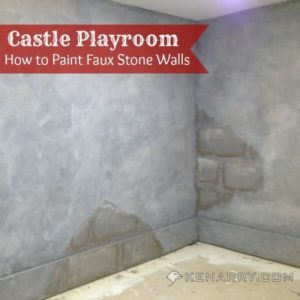
Castle Playroom Walls: How to Paint Faux Stone Walls
Castle Playroom Woodland Mural: Painting Animals and Trees

Castle Playroom Floors: Creating Space with Carpet Squares

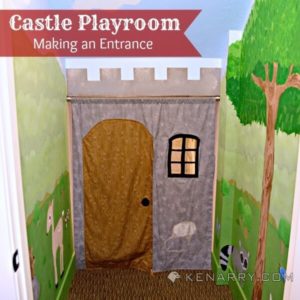
Castle Playroom Curtain: Making an Entrance
What’s Next?
While you’re here, be sure to check out other kid ideas on Ideas for the Home by Kenarry® –
Thanks, Angela! Glad you came by and even more glad you liked the playroom.
Love love love this! I’m pinning to keep track of the places you got the coat of arms and wooden shield blanks. Our family will study castle times next school year, and I think we need to make those! 🙂
That’s wonderful, Shecki! So glad we could help with your lesson on castle times. Thanks for stopping by to let us know.
Very cool! I want one… for my kids of course! Haha.
I claim I made it for my kids too! 🙂
Thanks, Kelly! I think I definitely made it into something I would have LOVED when I was younger.
I love love love ideas for the playroom. I just recently re-did our front formal living room into a playroom. Thanks for stopping by our Cook it! Craft it! Share it! Link Party. I hope you can join us tonight at 8:30 PM EST – Doree
Thanks for your sweet words, Doree! I’ll be by tonight for sure!
The room looks amazing with that awestruck look of window pane. The room looks same as that of flintstones cartoon which was very popular on cartoon network except it didn’t have medieval swords and shields.
Thanks, Zonia! It’s probably a good thing the Flintstones didn’t have swords and shields. Thanks for stopping by.
I really love how you’ve decorated this house to look like a castle. I would love to have medieval decor in my house. I think my favorite part of how this house is decorated are the family crest shields posted on the wall. That looks really great. The dragon in the corner is also a really nice touch. Dragons are probably my favorite medieval creature. If I were to create a medieval theme for my home I would put some type of dragon decor in every room.
Thanks, Deanna! We’re so glad you like our castle playroom. The crest shields that represent the four grandparents are one of my favorite parts too.
Well, I like to compliment fine work when I see it. The window is also quite nice. What other themes have you used to decorate rooms? Personally, I think that a steam punk decorated room would be pretty cool.
Thanks, Deanna. Our son’s nursery has an alphabet theme with a big tree painted on the wall in the corner. Our family room downstairs has a “movie” theme. Our living room has a “travel” theme. But none of those are as elaborately decorated as the playroom. I was curious about how you’d decorate a room in “steam punk” style, so I googled it. I totally agree, that metal/industrial look would be so fun to use to decorate a home.
That’s so cool that you use different interesting themes to decorate the rooms in your house. I bet that must take a lot of time and resources to accomplish. I’m glad that you agree about the whole “steam punk” style idea for a room. I’ve always been a huge fan of the aesthetics behind steam punk. There’s a massive steam punk community in my city. There’s an annual convention in town that I attend every year with all of my friends. It seems fitting for me to decorate my entire house with steam punk decor since it’s such a huge part of my life.
Oh wow! I didn’t know there were entire steam punk conventions. I just like the metal/industrial home decor look. What fun!
They’re a blast to go to. I always go with a group of friends every year. There’s always a lot of people with really cool outfits, and everyone makes up their own character with an intricate back story.
How cool! Thanks for sharing, Deanna. Have a great week!
Thanks! It was good talking to you.
You, too, Deanna! Happy Wednesday! 🙂
What a cute little project for a playroom. I personally loved the shutter on the mirror, especially since they can open. Seems like it would be a great room for kids. I hope your son and his friends like it.
Thank you so much, Taylor! The boys love playing in there.