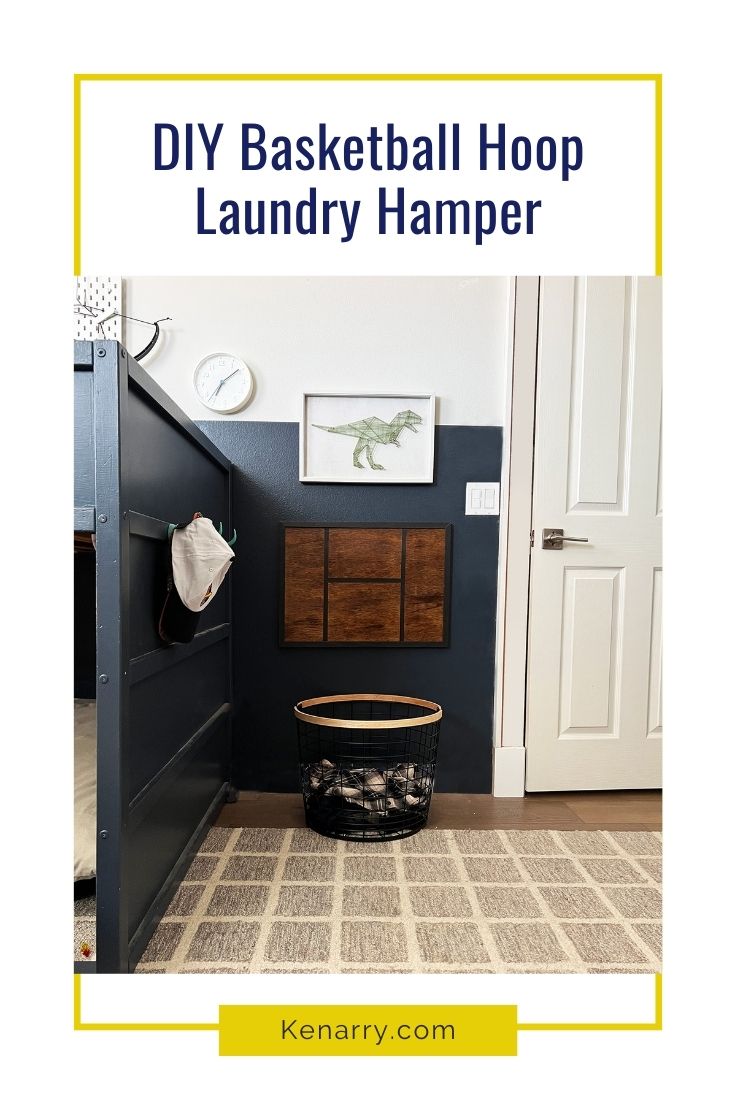
DIY Basketball Hoop Laundry Hamper
THIS POST MAY CONTAIN AFFILIATE LINKS. PLEASE SEE OUR FULL DISCLOSURE POLICY FOR DETAILS.
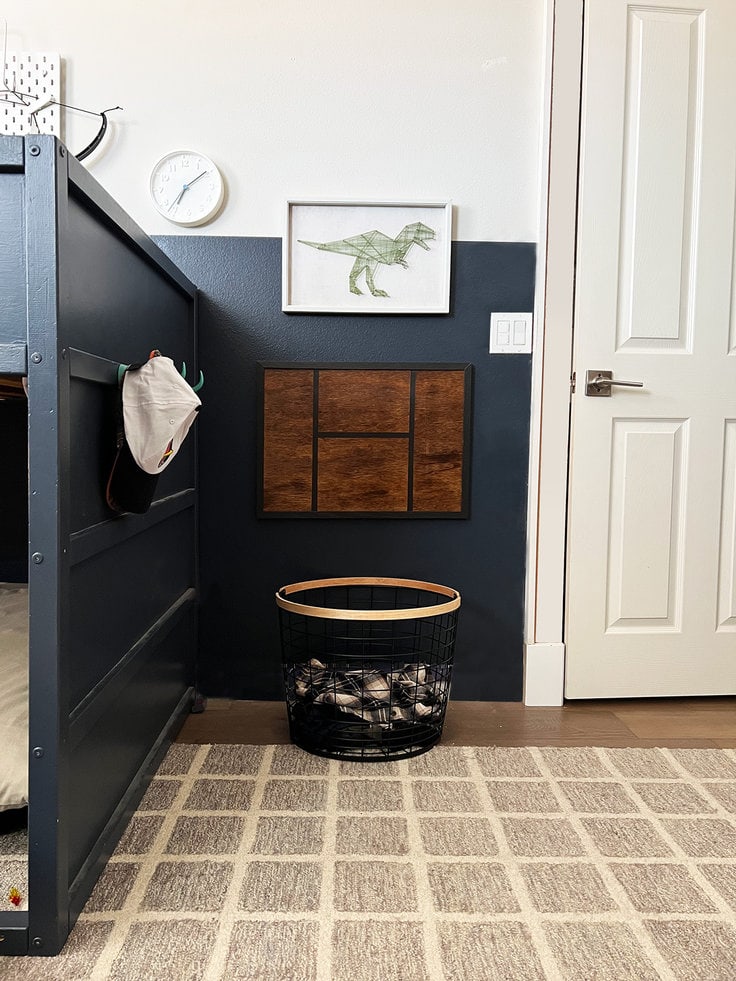
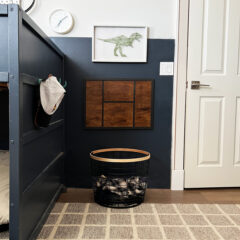
Here is a fun way to get your kids to keep their clothes off of the floor and in to the hamper! Make a DIY basketball hoop laundry hamper for kids.
Hi my Kenarry friends! I’m Joannie Hambel, from Hambels Get Real – a DIY home improvement blog. Lately, I have been working on ways to organize my son’s room. I recently added a couple of shadow box shelves for his toy storage. Today, I am going to show you how I got him to stop leaving his clothes on the floor. I made throwing them in the hamper a fun activity, and now he looks forward to picking up his laundry.

I found a my basket from Target. The wood folds up and creates handles. However, you can use any basket you like. Save money by using something you already have!
How to Make A Basketball hoop Laundry Hamper
You will need some basic wood shop tools for this project. The skill level is beginner and you can even involve your kids to help.
What you need:
Want more ideas like this? Subscribe today to get our weekly Ideas in Your Inbox newsletter plus other exclusive gifts and offers — all for FREE!
Tools:
Supplies for the basketball hoop hamper:
- 1 – 1/2″ sheet of plywood cut to 22″ x 16″
- 1 – 3/4″ pine square stock 8′ long
- Black Paint
- Stain
- Caulk
- Painter’s tape
- Wood glue
- 1″ brad nails (optional see tips)
- Polyurethane
- Picture hanging supplies such as PicGenie 123 or OOK D-ring hangers

DIY Basketball Hoop Laundry Hamper Tips:
Cut your wood
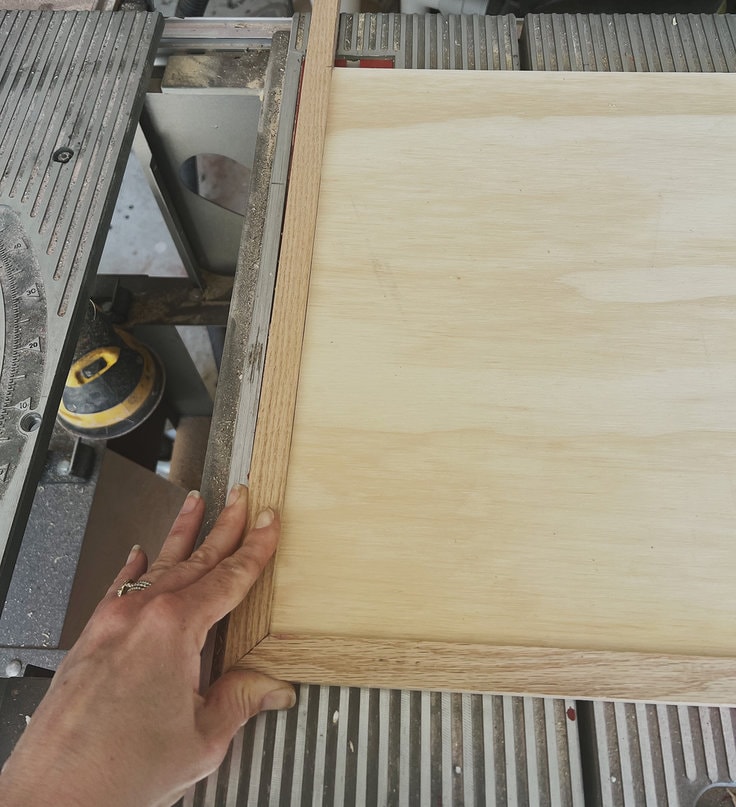
Most home improvement stores have 2’x4′ x 1/2″ plywood project boards. They can cut it for you if you don’t have a table saw. Cut the project board to 22″ x 16″.
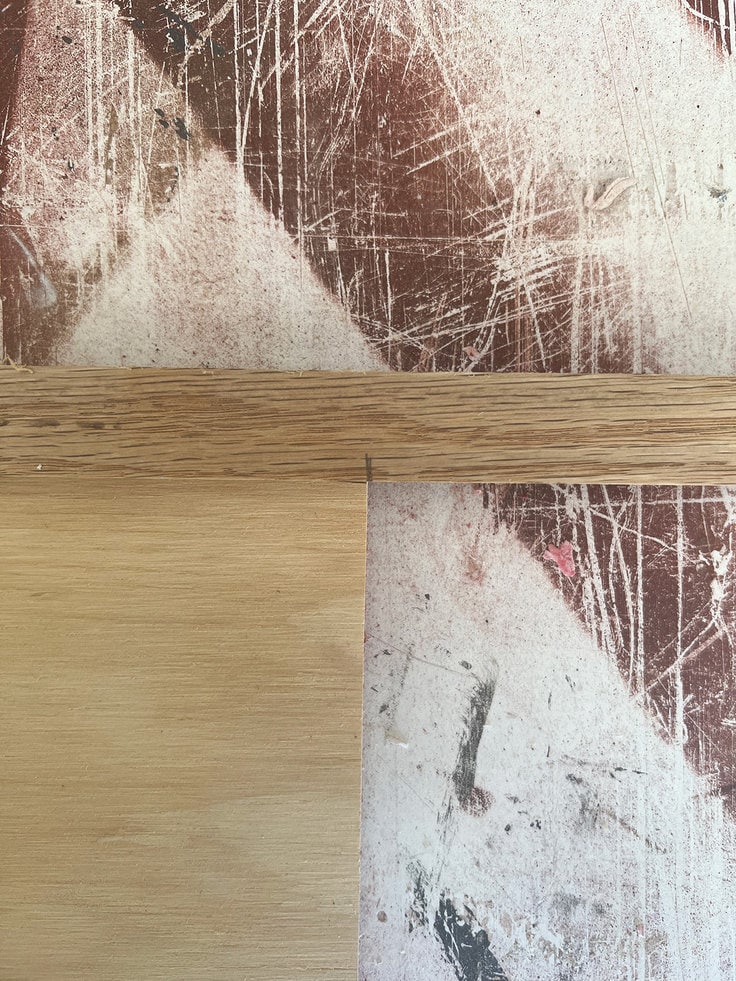
Cut your 3/4″ square stock to frame the 22″ x 16″ plywood. You can use a miter box or miter saw to make your 45 degree cuts. When you are cutting your square stock, it is easier to place your wood next to the sheet of plywood and mark your cuts.
You will save time measuring and still be accurate. This is because the short side of your 3/4″ stock will be the exact same length as the side it will attach on to. This means you will have 2 lengths around 22″ and 2 lengths around 16″ with 45 degree cuts on either ends.
After you cut your 45 degree corner cuts, you can press them together to mark the cuts on the other corners.

Paint Your Wood Before Assembling your backboard
Use tape to create a stencil for your backboard design on to the 1/2″ plywood. Get creative with your design or use a traditional square on the backboard. I made an H on the backboard – for our last name and as a place to aim.

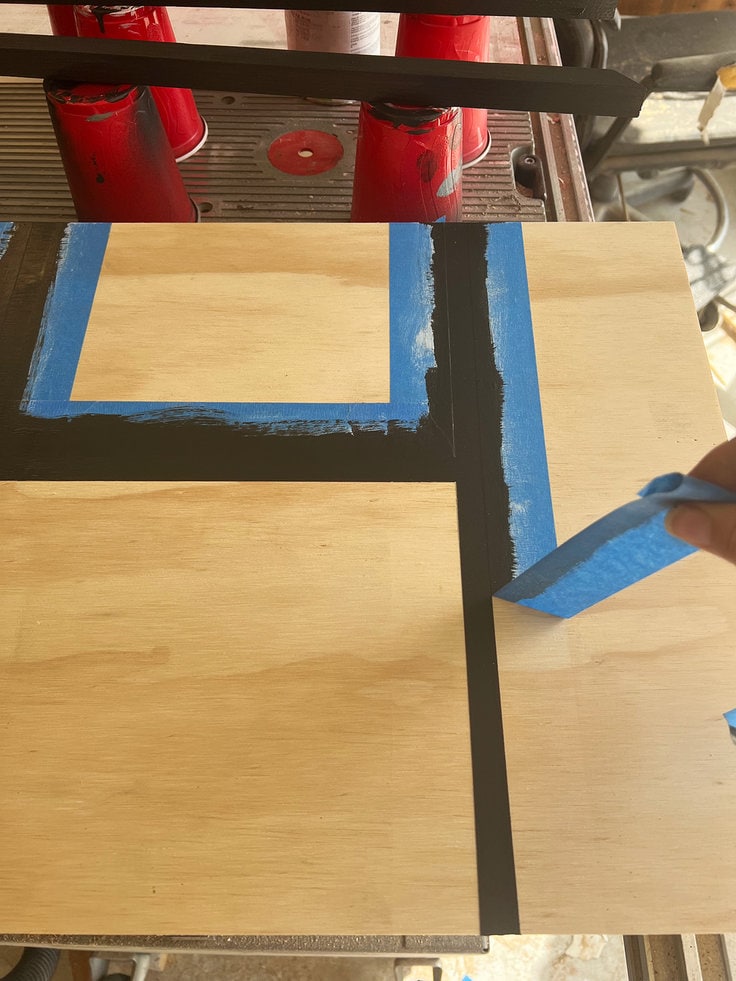
Press the tape firmly down to seal the edges, and then use a small amount of caulk along the tape seam. This will create a nice crisp line for your design.
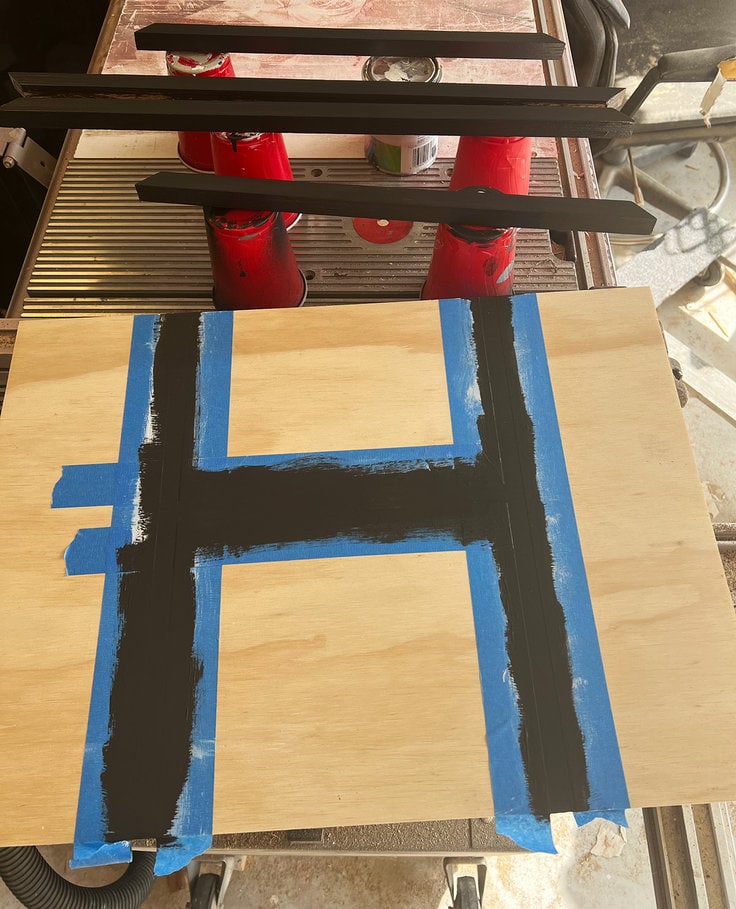
Paint your 3/4″ square stock with black paint before attaching it to the 1/2″ plywood. Painting it before attaching it will save you the frustration of trying to keep paint off of the backboard.
Stain your backboard
Make sure you paint before you apply the stain. You can stain after painting. It’s a lot harder to get paint to stick to wood that has stain on it without sanding first.
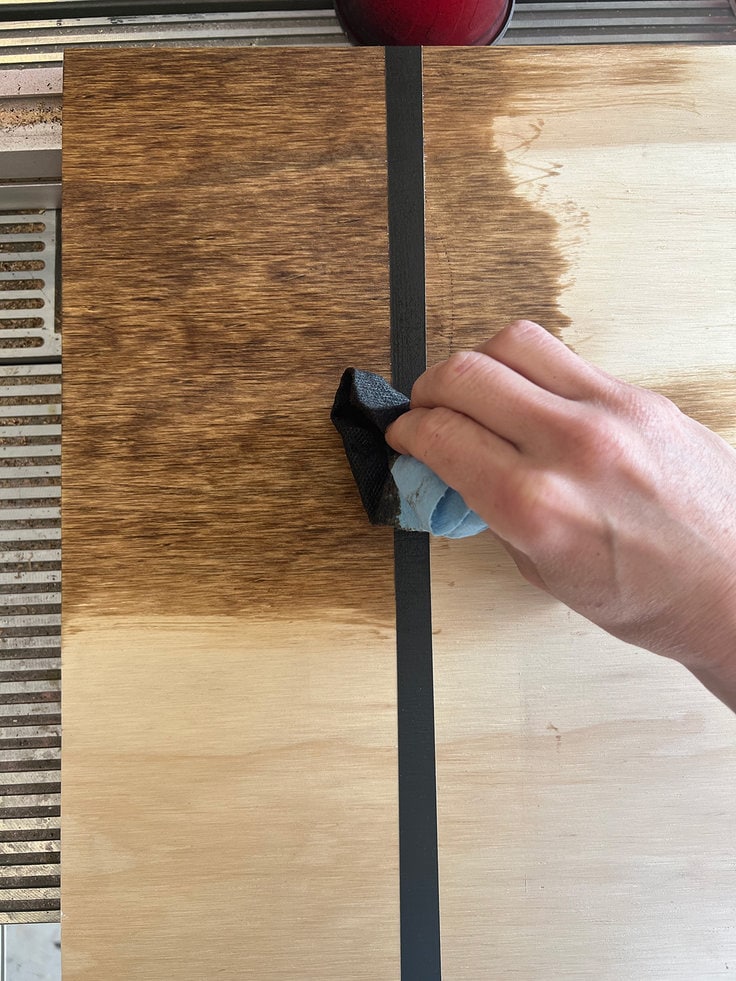
Once your paint is dry, stain your project board. I chose to stain mine with a walnut stain. When I use disposable blue shop towels, I use a lot less stain. I also don’t have to wipe up any excess. All I do is just rub on the stain and let it dry.
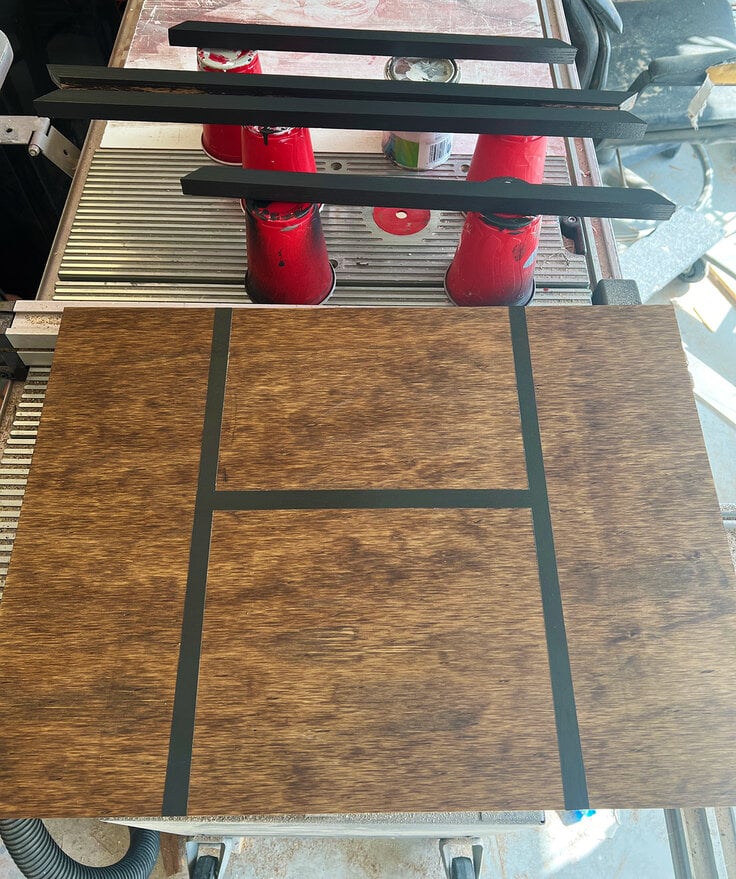
Assemble your DIY Basketball Hoop Hamper Laundry Backboard
Place a bead of wood glue along the outer edge of the plywood project board. Add glue on the ends of your 3/4″ – completely covering the ends. Wrap your 3/4″ wood stock around the edge of the plywood board. Use tape to hold the corners together.
Make sure you are assembling this on a flat surface. The 3/4″ stock should sit above the project panel by 1/4″ making a nice reveal around the frame.
If you have a nail gun you can nail the corners together. You can also place two or three nails through the 3/4″ stock into the 1/2″ plywood. This will hold the wood together until the glue cures. Other wise you can use books, clamps or other heavy objects to hold the wood together until the wood glue cures.

If you used nails you can immediately seal your backboard with polyurethane and hang it on the wall as soon as it is dry. If you are not using nails, let it dry overnight so that the wood glue is completely cured. Then protect your finish with polyurethane.

Hang your backboard
Once your backboard has been assembled and protected with polyurethane, use your chosen picture hanging tools to hang the backboard on your wall. Place the basket beneath it and play some laundry ball. Once your basket is full all you have to do is carry it to the washer.
DIY Basketball Hoop Laundry Hamper
Equipment
- 1 Drill
- 1 Miter box or miter saw
- 1 Table saw (optional see tips)
- 1 Nail gun (optional see tips)
Supplies
- 1 sheet 1/2" plywood cut to 22" x 16" a 2' x 4' project panel is easy to find.
- 1 8' 3/4" pine square stock
- 1 8 ounce Black paint
- 1 can Stain small can
- 1 tube Caulk paintable
- 1 roll Painter's tape
- Wood glue
- 1 inch Brad nails (optional see tips)
- 1 quart Polyurethane Satin finish
- 1 Picture hanging supplies such as PicGenie 123 or OOK D-ring hangers
Instructions
Cut your wood
- Cut your project panel to 22" x 16"
- Cut 3/4" square stock to 2 – 22" (short side) and 2 – 16" (short side) with 45 degree cuts on either end.
Paint your wood
- Use painters tape to create your design or square on your project panel. Seal the seam with caulk. Paint the design with black paint.
- Paint the 3/4" square stock with the black paint.
Stain your project panel
- Once your paint has dried, remove the painter's tape. Stain your project panel.
Assemble your backboard
- Place a bead of wood glue along the outer edge of the plywood project board. Add glue on the ends of your 3/4" – completely covering the ends. Wrap your 3/4" wood stock around the edge of the plywood board. Use tape to hold the corners together.
- Make sure you are assembling this on a flat surface. The 3/4" stock should sit above the project panel by 1/4" making a nice reveal around the frame.
- If you have a nail gun you can nail the corners together. You can also place two or three nails through the 3/4" stock into the 1/2" plywood. This will hold the wood together until the glue cures. Other wise you can use books, clamps or other heavy objects to hold the wood together until the wood glue cures.
Seal with polyurethane
- Fill your nail holes with filler if desired, sand, touch up and let it dry.
- Seal your stain and protect your paint with two coats of polyurethane.
Hang on the wall
- Hang the backboard over your basket on the wall using your favorite picture frame hanging tools. I like the Pic Genie 123 but the OOK D-ring hangers work really well too.
Love the ideas you see here on Ideas for the Home by Kenarry®? Subscribe today to get our FREE DIY & Craft Planning Calendar, plus our weekly Ideas in Your Inbox newsletter filled with creative tips and exclusive offers!
What’s Next?
If you enjoyed this DIY Basketball Hoop Laundry Hamper then you’ll enjoy these clever DIY project ideas too:
Inexpensive DIY Brass Gallery Rail
How to Get a Weathered Wood Finish
You may also enjoy these DIY ideas on Ideas for the Home by Kenarry® –