DIY Cardboard Pumpkin Cutout Fall & Halloween Home Decor
THIS POST MAY CONTAIN AFFILIATE LINKS. PLEASE SEE OUR FULL DISCLOSURE POLICY FOR DETAILS.
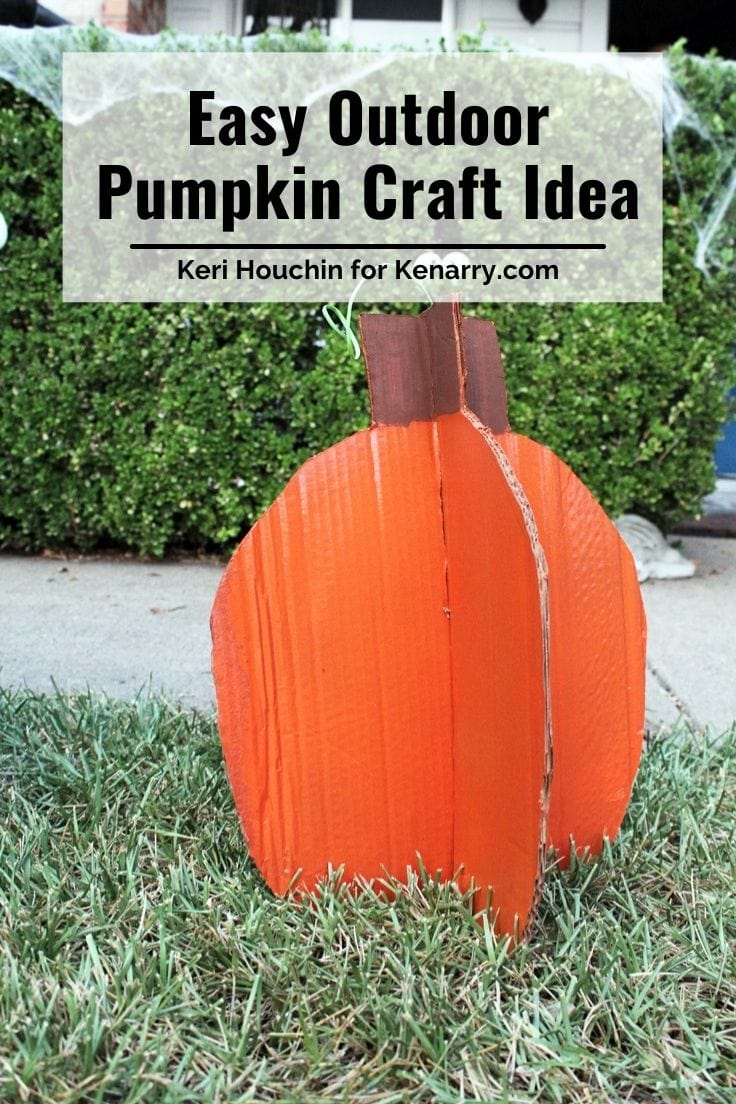
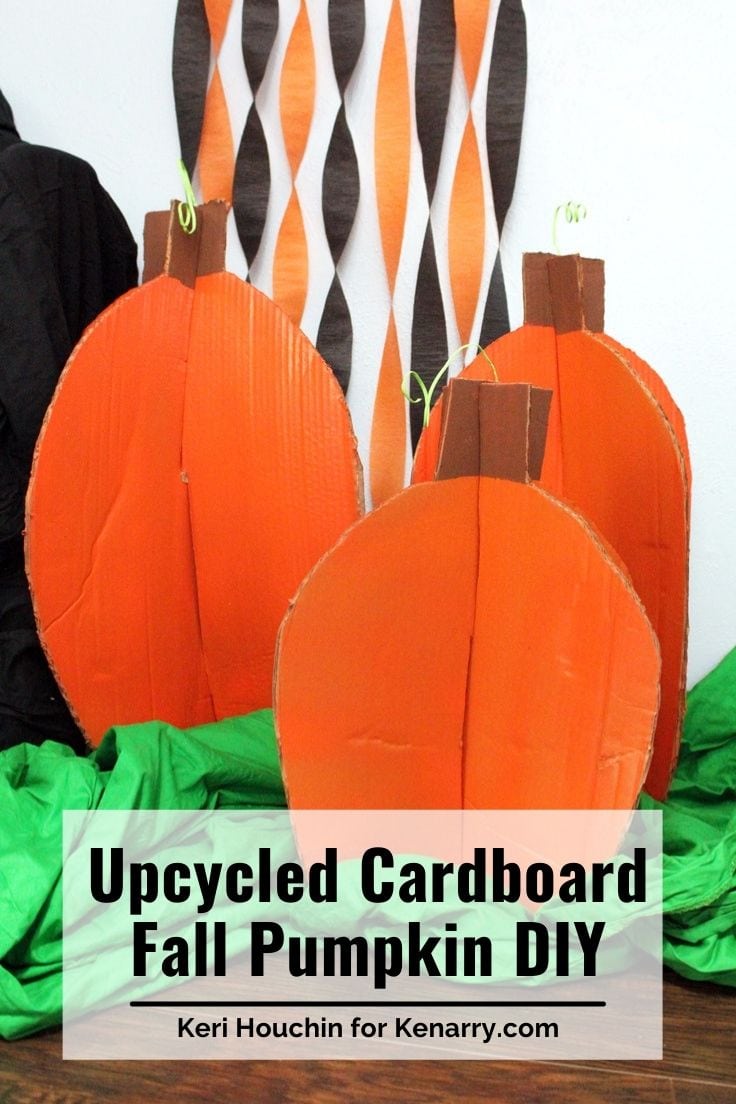
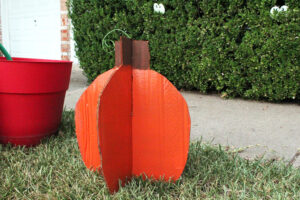
Make a whole patch of DIY cardboard pumpkin cutouts to decorate a fall porch or create an easy handmade photo backdrop for Halloween.
Hello, I’m Keri from One Mama’s Daily Drama. If you’re looking for easy homemade fall and Halloween decor ideas, you’ll love this cardboard pumpkin craft idea. You can display these anywhere in your home or for a fall porch. They’d even be cute for a photo op at a fall festival!

I’m always looking for inexpensive fall decor ideas for the home. I love decorating for fall and Halloween with pumpkins. But in Texas where I live, the temperature stays pretty warm right up to Halloween, so fresh pumpkins don’t last long on the front porch.
And this year maybe more than ever, it seems that finding budget-friendly fall and Halloween home decor is a challenge.
If this sounds familiar, you’re going to adore these cardboard pumpkins. They’re made with upcycled cardboard boxes. With just a few craft supplies you can turn empty boxes into cute fall decorations!
Want to make these spooky for Halloween? Just print these jack o’lantern faces and add them to your pumpkins!
How to Make a Cardboard Pumpkin
Older kids may be able to help with several steps in this craft project, but it’s best for an adult to handle the box cutter.
What you need:
Want more ideas like this? Subscribe today to get our weekly Ideas in Your Inbox newsletter plus other exclusive gifts and offers — all for FREE!
Craft/DIY Tools Needed:
Supplies Needed:
These are the ingredients you’ll need. All the exact amounts are in the printable card at the bottom of this post.
- Empty cardboard boxes
- Orange spray paint
- Sponge brush
- Brown craft paint
- Twist-ties
- Green craft paint
- Thin wood dowels, optional
Cardboard Pumpkin Craft Tips:
Where to find empty cardboard boxes
Not sure where to find good cardboard? You can reuse shipping boxes from Amazon and other online shopping, or check the recycling area behind local stores.
Grocery stores often have a variety, but make sure they’re clean. Another good place to look is strip malls because there are several shops together. If you’re lucky, you might even find an empty appliance box. This DIY project would be amazing with a giant refrigerator box!
How to remove shipping labels
It’s easier to get even paint coverage if you remove as many of the labels and stickers as you can from the boxes. Some will peel right off, but others might take some work. The best way to do that is to use heat to soften the adhesive.
I mentioned how hot it still is in Texas, but I honestly just left my boxes in the garage. If you have cooler weather, try using a hairdryer or heat gun on low. Move the heat around and be careful – too hot and your cardboard could burn.
A handheld steam cleaner may also work, but avoid getting the cardboard too wet. (Note: My finished pumpkins were fine outside in a light sprinkle, but I don’t know how they would look after a heavier rain.)

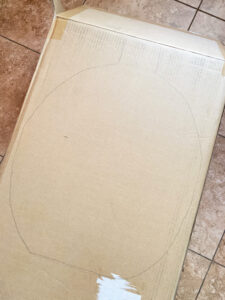
How to draw the perfect pumpkin shape
Pumpkins are not perfectly round, but you can use that shape as a starting point for drawing. Find a large object, like a bowl or a placemat, and trace it to get the basic circle shape.
Then it’s time to freehand draw the rest of the pumpkin. Add a little width to the bottom and make sure it’s flat so that your finished pumpkin will sit up. Then add a little more height to the top of the pumpkin, tapering it toward the stem.
To draw the stem, I just drew a simple rectangle, but you could make it more elaborate if you like.
Make Your Pumpkins all different
Real pumpkins aren’t exactly the same, so making each of your cardboard pumpkins different will make your display look even better. While you want the 2 pieces of each individual pumpkin to match, try making each one a slightly different shape.
Pumpkins can be tall and skinny, short and wide, almost round, or a bit lumpy. You could also vary the colors with additional spray paint if you prefer. Who says pumpkins have to be orange?
Avoid spray paint hand fatigue
Painting the pumpkin cutouts is probably the longest part of this project because you’ll need to apply several coats of paint and let each one dry. If you’ve ever done a lot of spray painting, you know that your hand can get tired and even cramp after too long.
I picked up a spray can grip for a few dollars. It fits on any type of spray paint can and turns the button into a handy squeeze trigger. Not only did this help my fingers, but it also meant I could spray the paint more evenly.
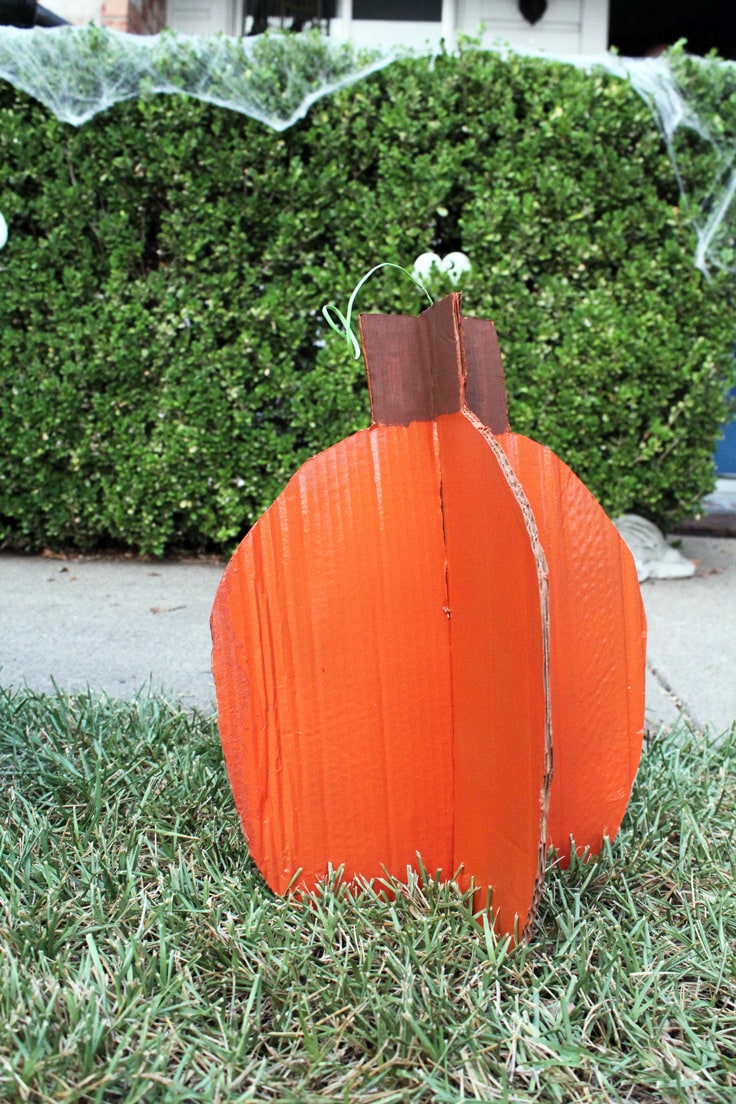
Keep your pumpkins from blowing over
Indoors, your pumpkins will stay set up on their own. Outdoors, you may find that they fall over or move in the wind. To keep them still, use a few tiny wood or metal stakes.
I cut skinny pieces of wooden dowels about 3 inches long. Then I stuck them half into the ground and half into the inside of the cardboard. Each pumpkin needs 2 or 3 stakes.
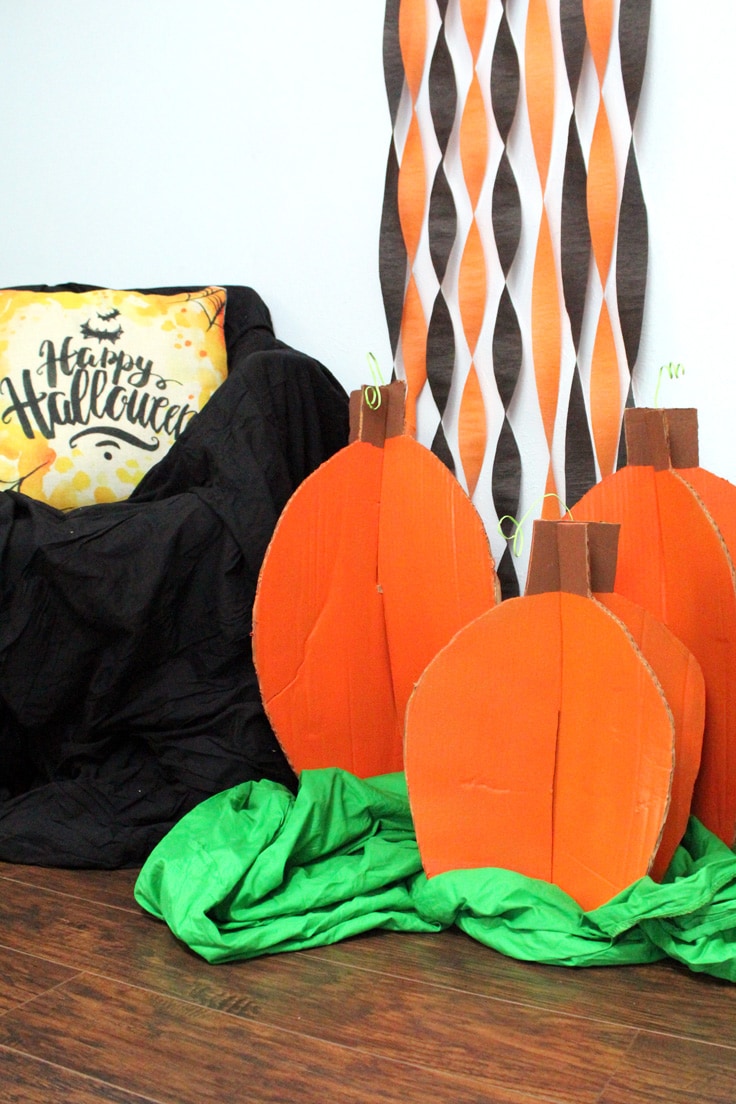
Several cardboard pumpkins look so cute together in a little pumpkin patch display! When you’re done with them for the season, they’re easy to take apart and store flat for next year. If you plan to recycle them, check your local guidelines to determine if cardboard can still be recycled if it’s painted.
Cardboard Pumpkin Cutout
Equipment
- Box cutter or X-acto knife
- Pencil
- Ruler
Supplies
- 2-4 empty cardboard boxes
- 1 can spray paint orange
- 2 sponge brush
- 1 bottle brown craft paint
- 4 twist-ties
- 1 bottle craft paint green
- thin wood dowels optional
Instructions
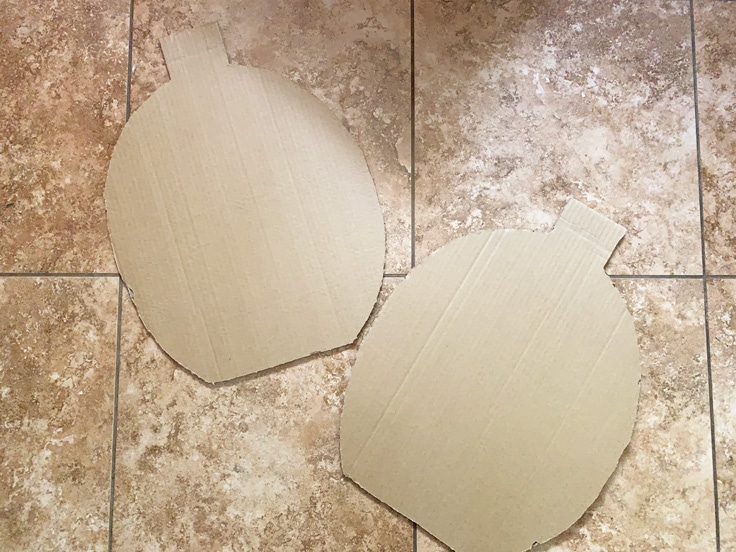
- Draw a pumpkin outline on one side of a cardboard box.

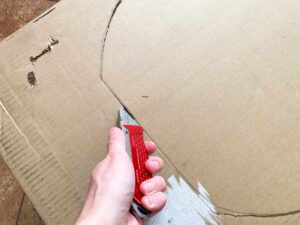
- Carefully cut out the pumpkin with the box cutter.

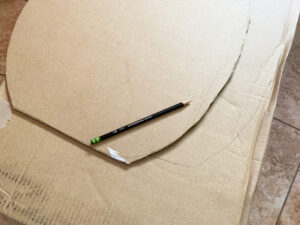
- Trace the first pumpkin cutout to make matching pair.
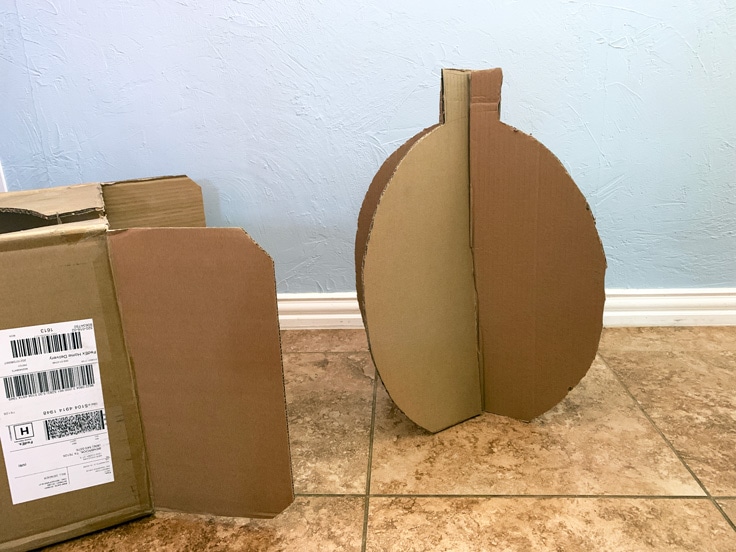
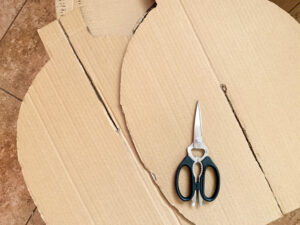
- Measure to the center on each pumpkin cutout and draw slits. One should go from the center to the bottom, the other from the center to the top. Trim as needed so the two pieces fit together.
- Spray paint the cutouts orange. Repeat with multiple coats as necessary to cover both sides.
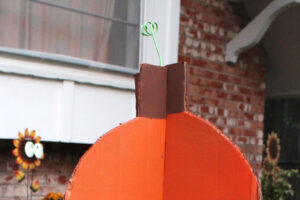
- Hand-paint the pumpkin stems brown using the sponge brush.

- Make green vines by painting the twist-ties green on both sides. When dry, bend them to shape and stick them into the pumpkin stems.
- Assemble each pumpkin by lining up the slits in each pair and fitting them together in a cross.


Love the ideas you see here on Ideas for the Home by Kenarry®? Subscribe today to get our FREE DIY & Craft Planning Calendar, plus our weekly Ideas in Your Inbox newsletter filled with creative tips and exclusive offers!
What’s Next?
If you enjoyed this cardboard pumpkin craft tutorial then you’ll enjoy DIY Halloween decor too.
Black and Orange Halloween Porch
13 Brilliant Pumpkin Carving Tips

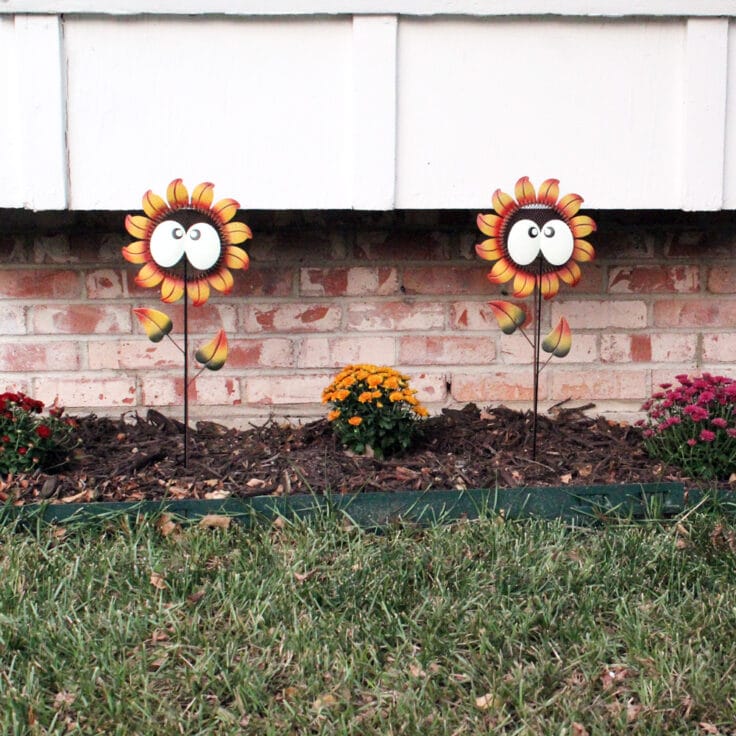
Monster Garden Halloween Decor
You may also enjoy these fall craft ideas on Ideas for the Home by Kenarry® –