Fall Art Project: Fun Horse Chestnut Craft for Kids
THIS POST MAY CONTAIN AFFILIATE LINKS. PLEASE SEE OUR FULL DISCLOSURE POLICY FOR DETAILS.
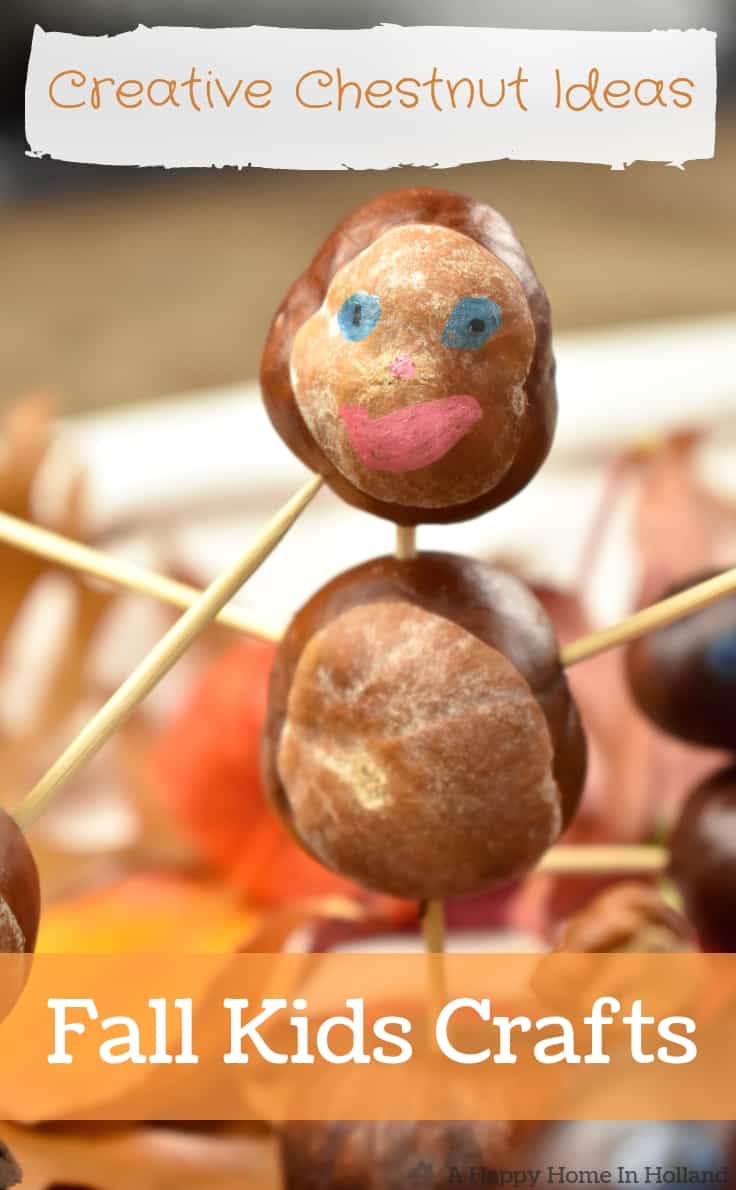
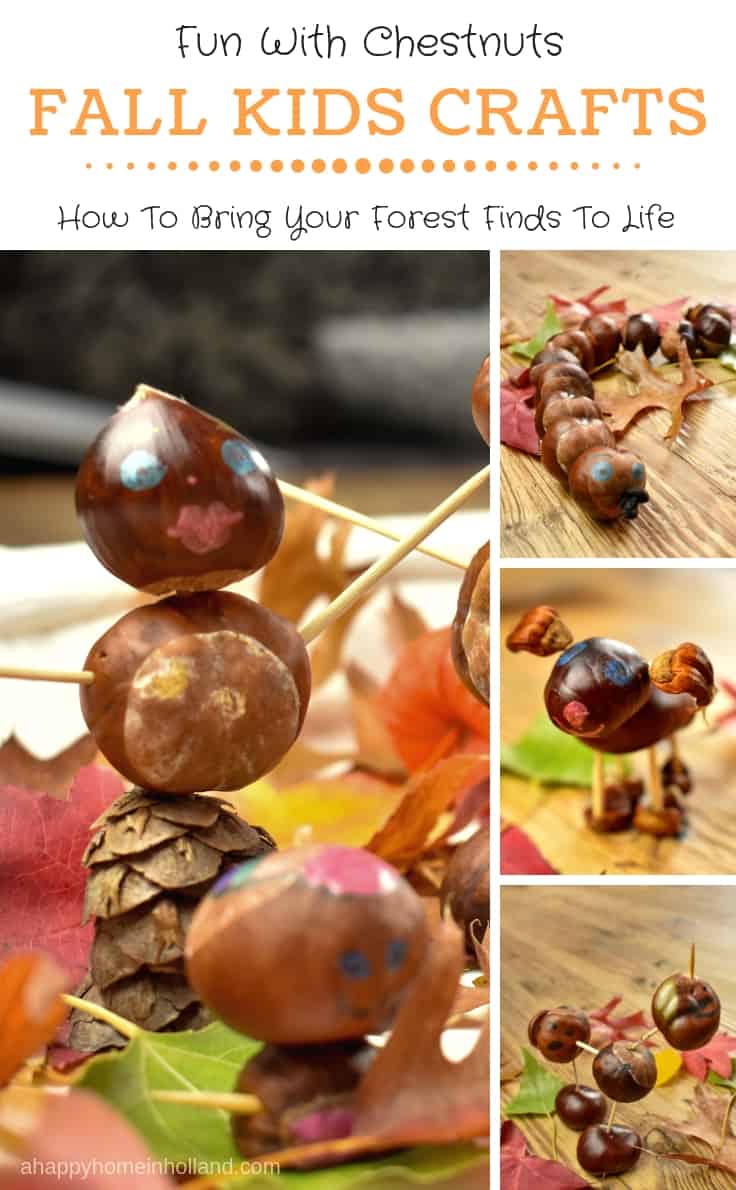
Learn how to make this easy fall art project of fun creative animals and characters using seasonal treasures found out and about and in the forest during the fall months. With a few horse chestnuts and pine cones, you’ll be surprised just how many ideas the kids can come up with.
Hello Kenarry friends, it’s Sam here from A Happy Home In Holland back again with another easy craft idea. This month we are going to have some fun with horse chestnuts!
The kids absolutely love going for walks in the forest and hunting for interesting souvenirs and treasures to bring home.
In England, we always played ‘conkers’ as kids. This is where you drill a hole in a horse chestnut and thread it onto a knotted piece of string. You then play against an opponent, one dangles their conker and keeps it still whilst the other swings their conker and tries to smash it. It sounds ridiculous but we used to have so much fun with this as kids.
This however is not so popular here in the Netherlands, no matter how I try to convert the kids and try to get them into it, they just can’t see the point – bah!
Anyway, because of the lack of “conker matches”, we have had a major stockpile of horse chestnuts. And of course, the kids wanted to do something with them.
How to Make this Fall Art Project with Horse Chestnuts
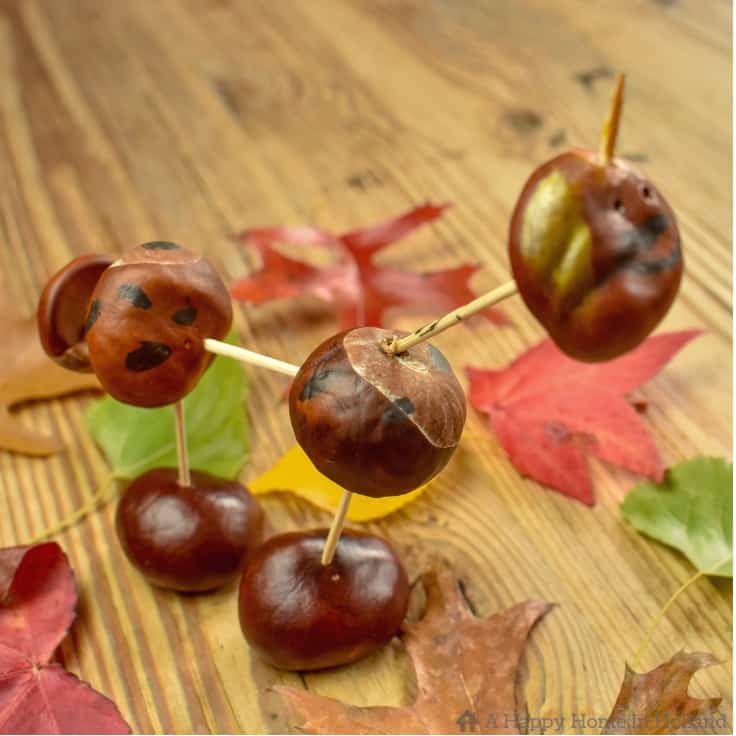
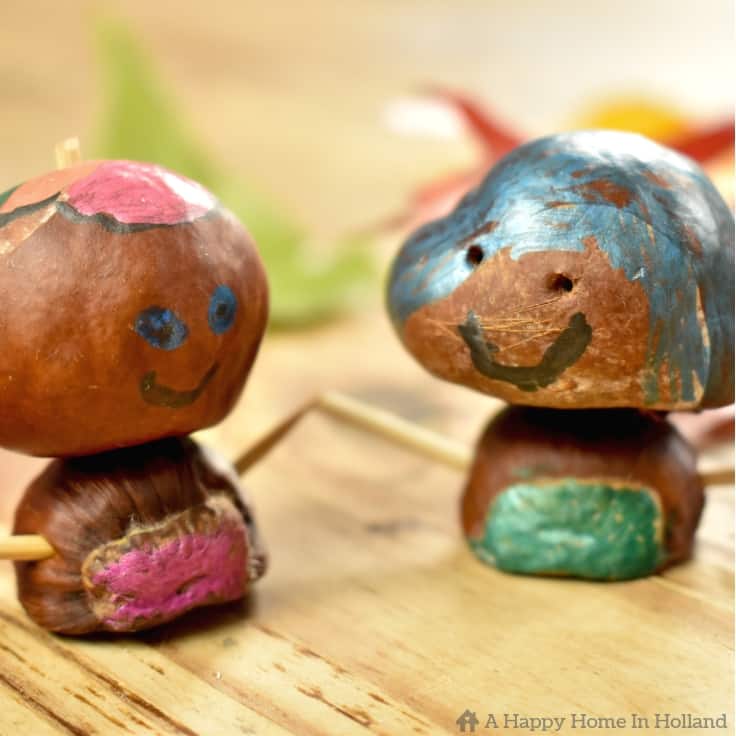
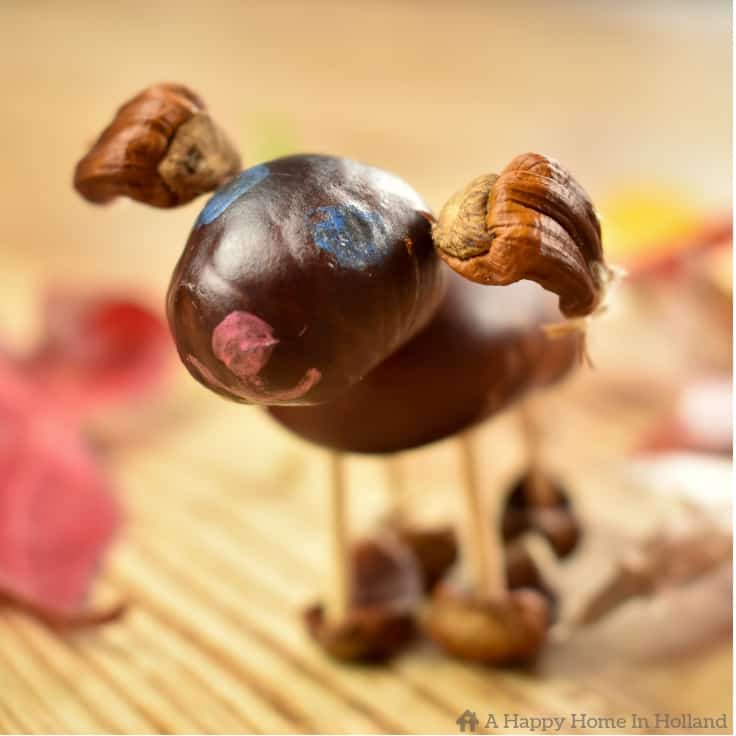
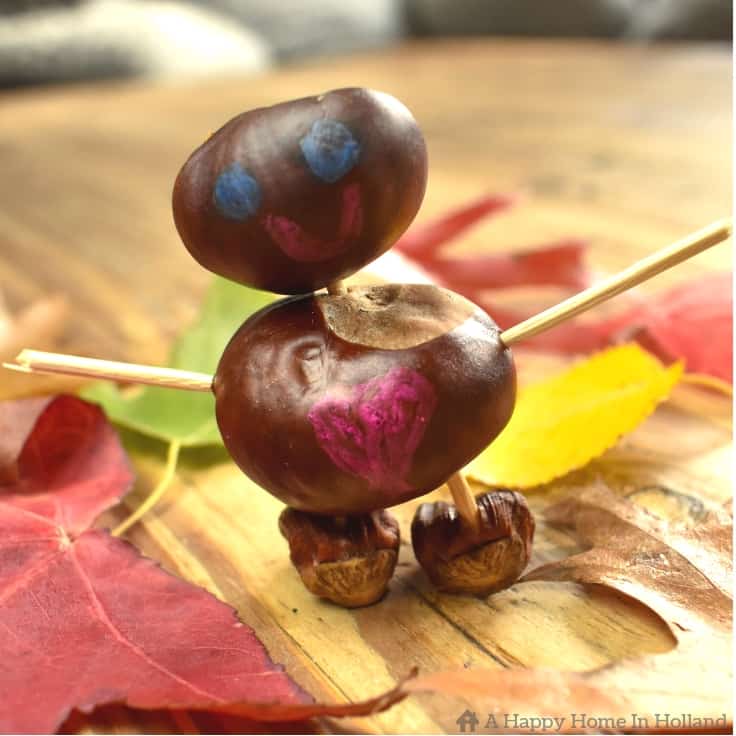
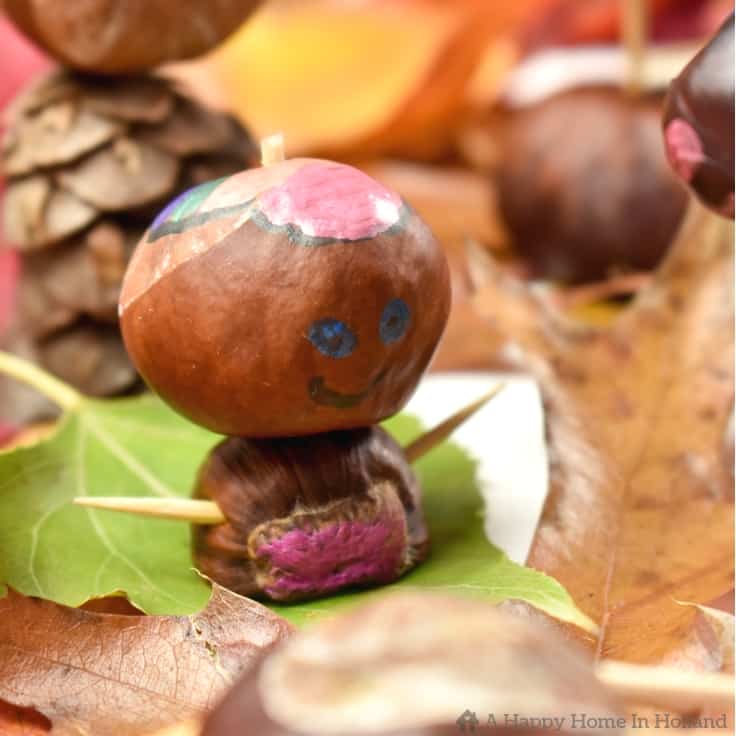
So after throwing a few ideas around they decided to make chestnut animals and people.
Want more ideas like this? Subscribe today to get our weekly Ideas in Your Inbox newsletter plus other exclusive gifts and offers — all for FREE!
What you need:
Kitchen or Craft/DIY Tools Needed:
- metal skewer (or something with a sharp point)
- wooden cocktail sticks
- wooden skewers
- large tray
- hot glue gun (optional)
Supplies Needed:
- acrylic pens – We used these metallic acrylic pens (stickers can also be used to make the faces)
- horse chestnuts
- pine cones
- acorns
- sweet chestnuts
- any other natural forest finds you come across (seeds, twigs, leaves etc)
Instructions:
1. Getting Organised & Staying Safe
Gather your materials on a large tray (this helps stop the horse chestnuts rolling off onto the floor)
These little animals and people are very easy to make but they do require quite a lot of adult supervision and help. We did it as a team effort where the kids designed their figures but I made the holes for them (this needs doing very carefully to avoid any accidents).
2. Give The Kids Some Ideas
Show the kids examples of either figures you have made yourself or ideas that you have found on the internet. This helps get their juices flowing and start to think of their own ideas.
3. Connecting The Horse Chestnuts
Ask where they want everything to go and make the initial holes for them with the metal skewer.
Older kids can then connect them using the wooden cocktail sticks (show them how they can do this without pushing too far and stabbing their little hands. If you think there is a danger of this happening you may want to snip off the sharp ends).
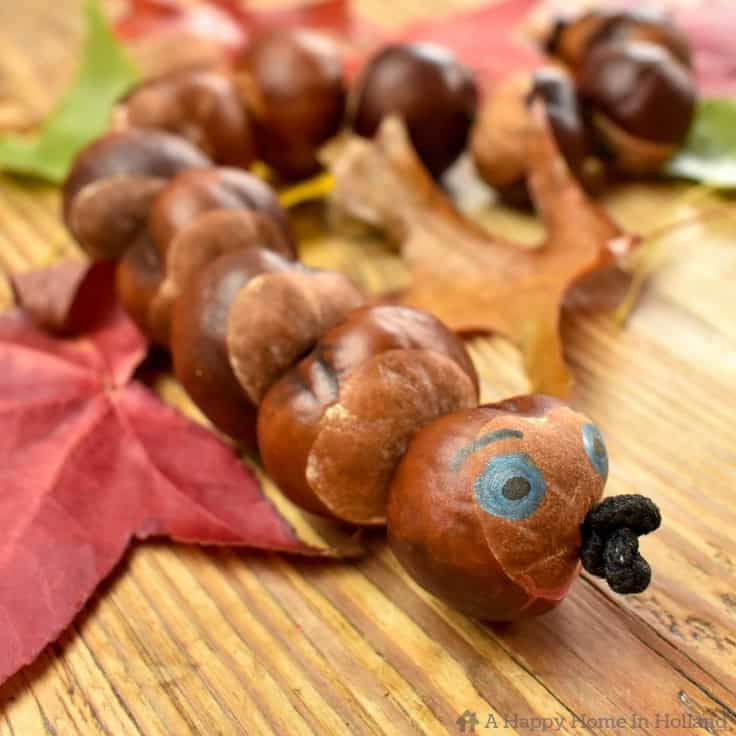
4. Adding Faces & Details
Next, let them make faces and other details on their characters. We used some acrylic pens which showed up great on the chestnuts but you could also just as easily use stickers.
Once you get going you will be surprised with just how many original and creative ideas they can come up with.
What’s Next?
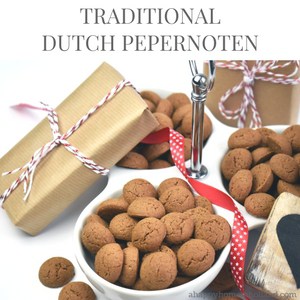
Traditional Dutch Pepernoten (Mini Spiced Cookies)
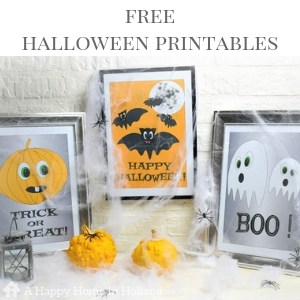
Free Kid Friendly Halloween Printables
You may also enjoy these fall decor ideas on Ideas for the Home by Kenarry® –