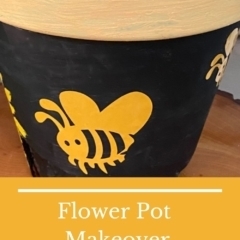
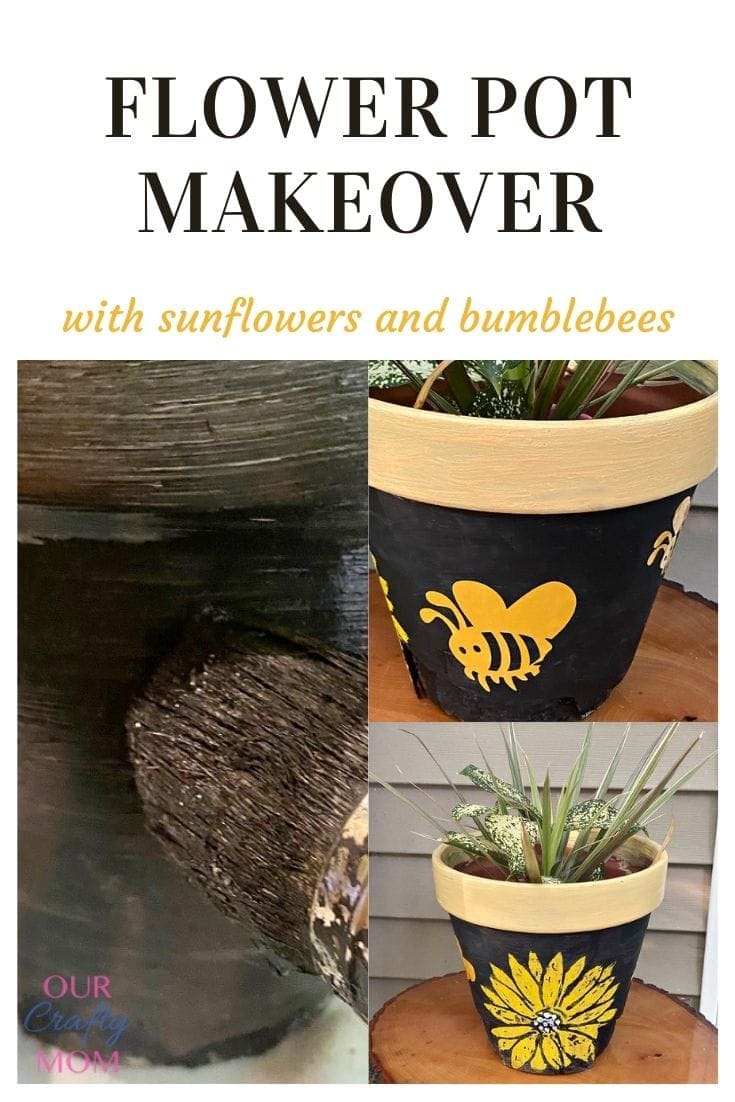
Flower Pot Makeover With Sunflowers and Bumblebees
THIS POST MAY CONTAIN AFFILIATE LINKS. PLEASE SEE OUR FULL DISCLOSURE POLICY FOR DETAILS.
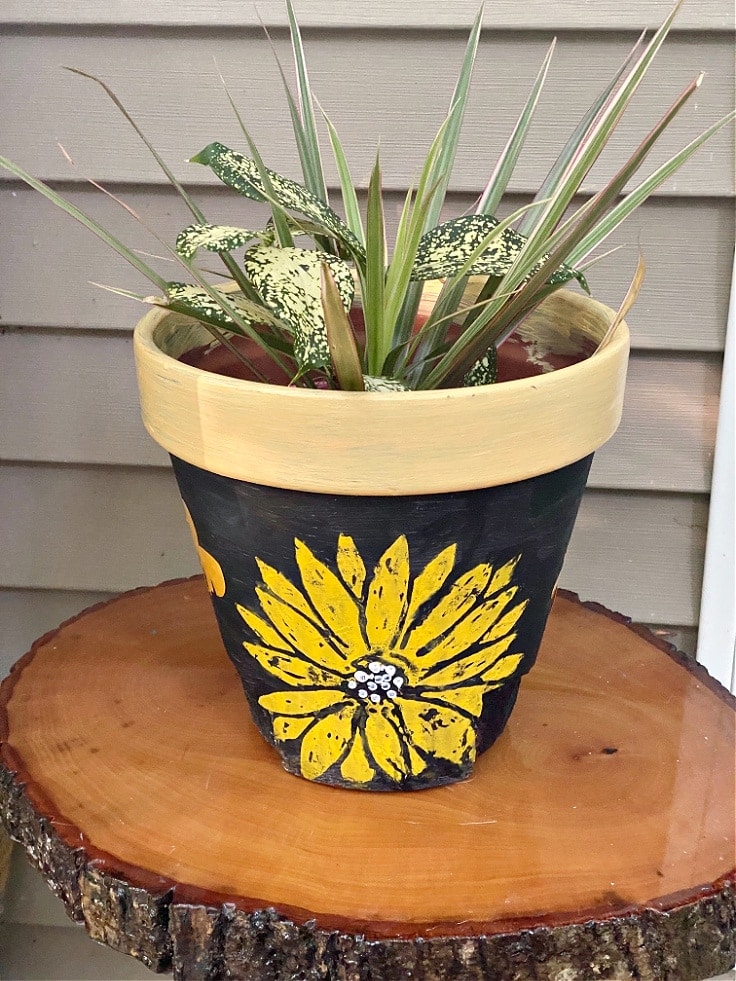
This terra cotta flower pot makeover was so fun to create with a pretty sunflower and sweet bumblebees. It will look just adorable on your porch or patio.
Hello! Michelle back from Our Crafty Mom sharing a super fun flower pot makeover perfect for your summer porch or patio. I’ve always been a fan of sunflower crafts, and what goes better with sunflowers than bumblebees?! Have you seen all the adorable bumblebee decor that’s pretty much everywhere you look? How can you not smile when you look at the little bumblebees on this flower pot?
Let me show you how I made this so you can make your own in plenty of time to enjoy it the rest of the summer.
Next, click over to see another fun sunflower craft – our easy way to make a giant floral letter.
How to Make A flower pot with sunflowers and bumblebees
You can update an old flower pot as I did, or pick one up for cheap at the home or craft store. You may even be able to use a coupon to save a little bit more.
What you need:
Want more ideas like this? Subscribe today to get our weekly Ideas in Your Inbox newsletter plus other exclusive gifts and offers — all for FREE!
Craft/DIY Tools Needed:
- Hot Glue Gun – this is my favorite!
- Cricut Joy
- Heat Gun
- Paint Brush
Supplies Needed:
These are the ingredients you’ll need. All the exact amounts are in the printable card at the bottom of this post.
- Smart Vinyl – yellow
- Sunflower Stencil – similar
- White Acrylic Paint
- Black Paint
- Terra Cotta Flower Pot – I had an old one that I painted
- Yellow Paint
- Bumblebee SVG – Cricut Design Space
flower pot makeover:
paint the flower pot
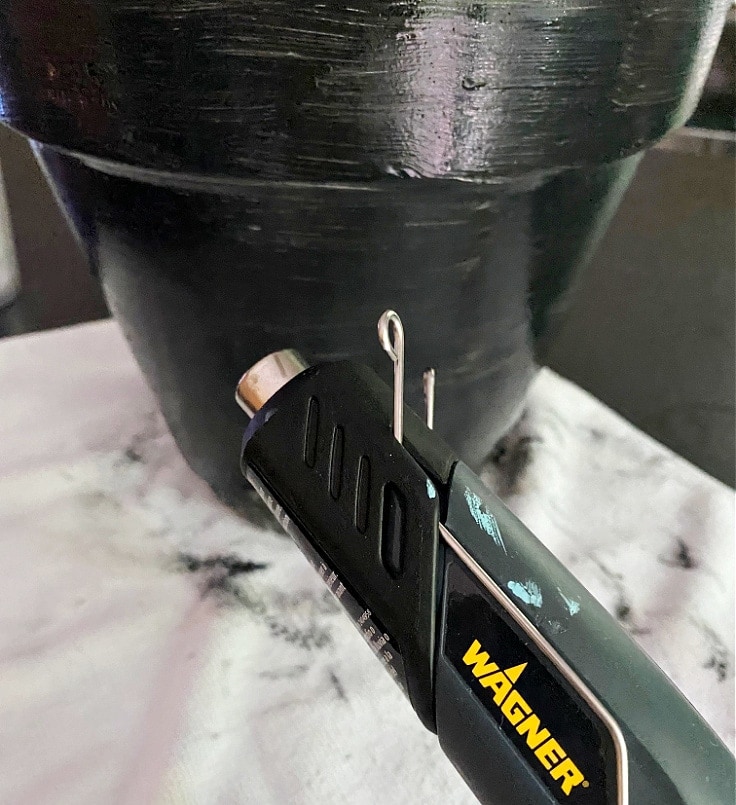
Paint the terra cotta pot with 2 coats of black paint, letting it dry in between coats.
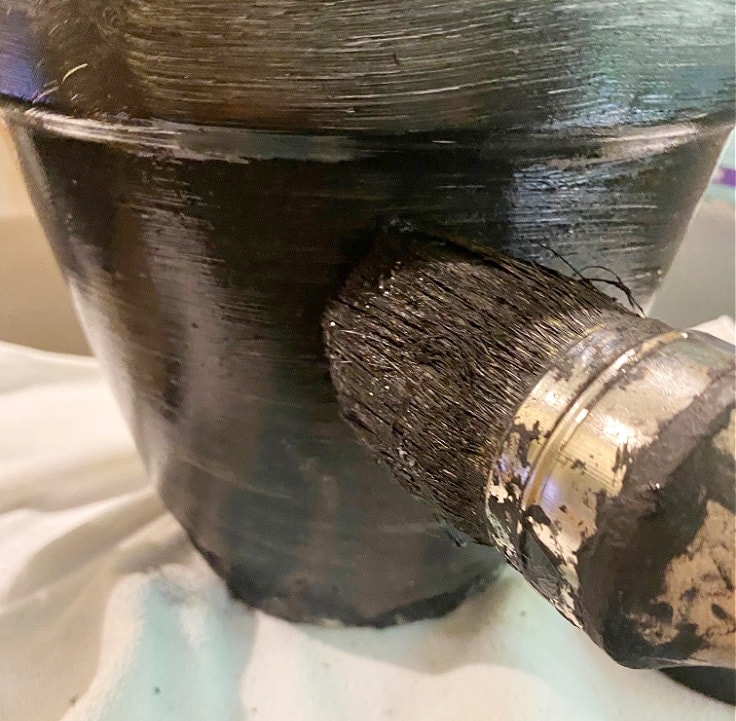
I tend to be an impatient crafter so I use a heat gun to dry the paint faster.
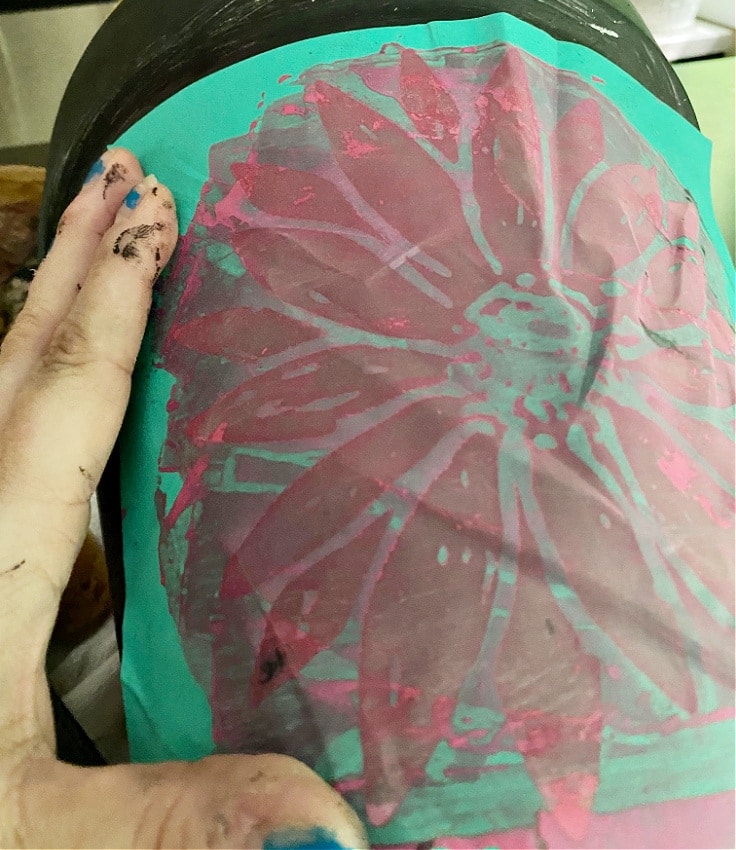
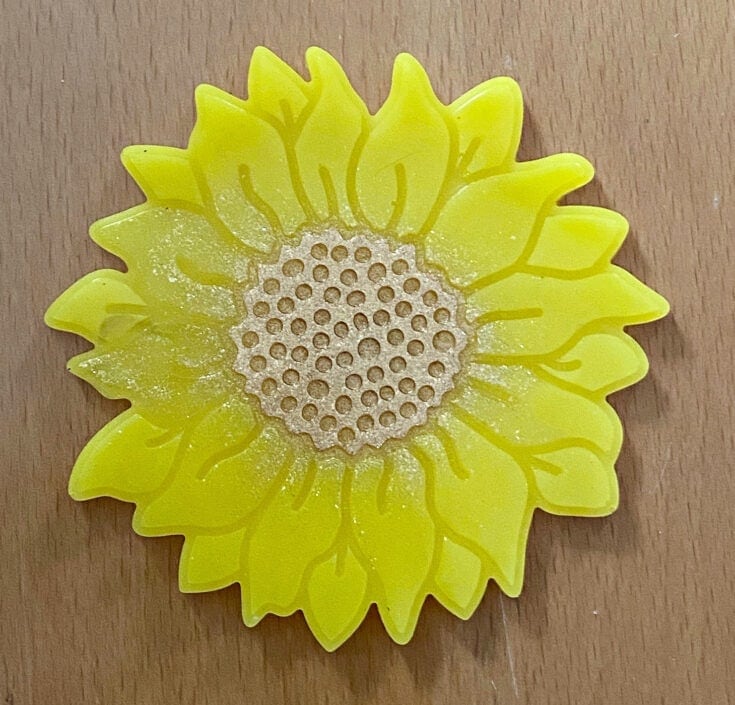
paint the sunflower
Add a sunflower to the front and back of the flower pot using the yellow paint.
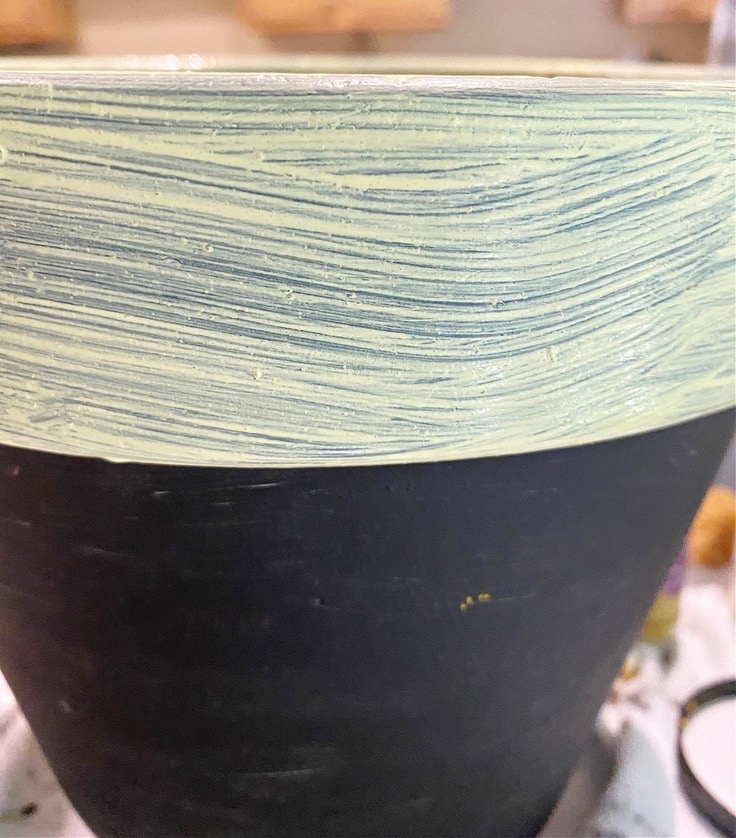
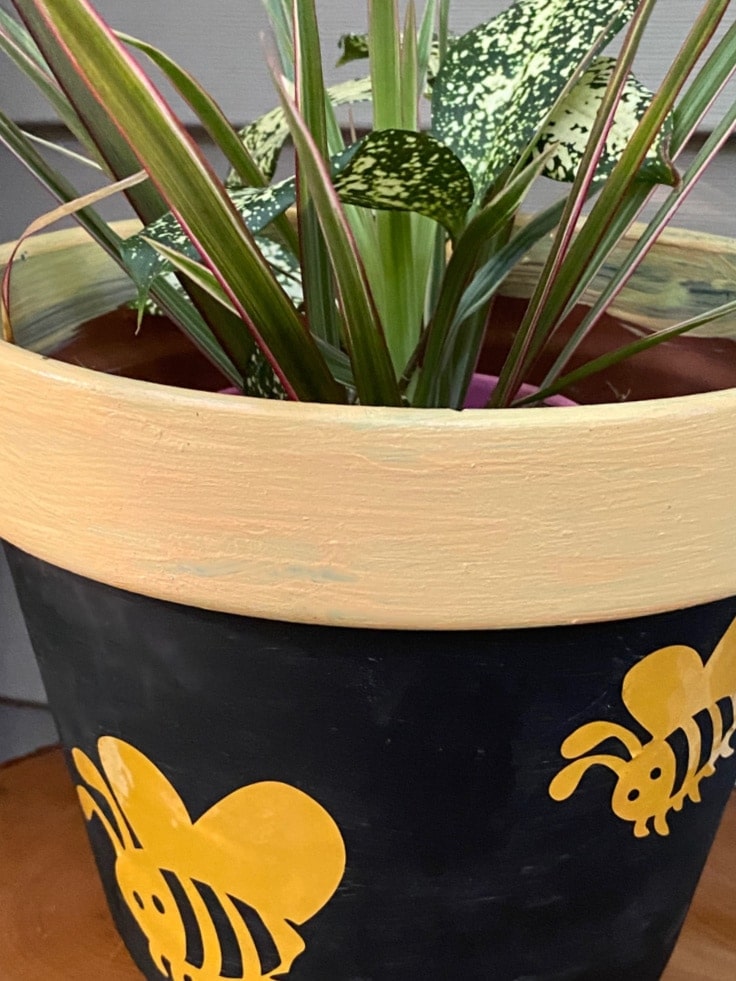
paint the rim of flower pot
For a little bit of contrast and to make the black paint really stand out, I painted the rim of the flower pot with yellow acrylic paint. You need 2-3 coats, again letting it dry in between coats.
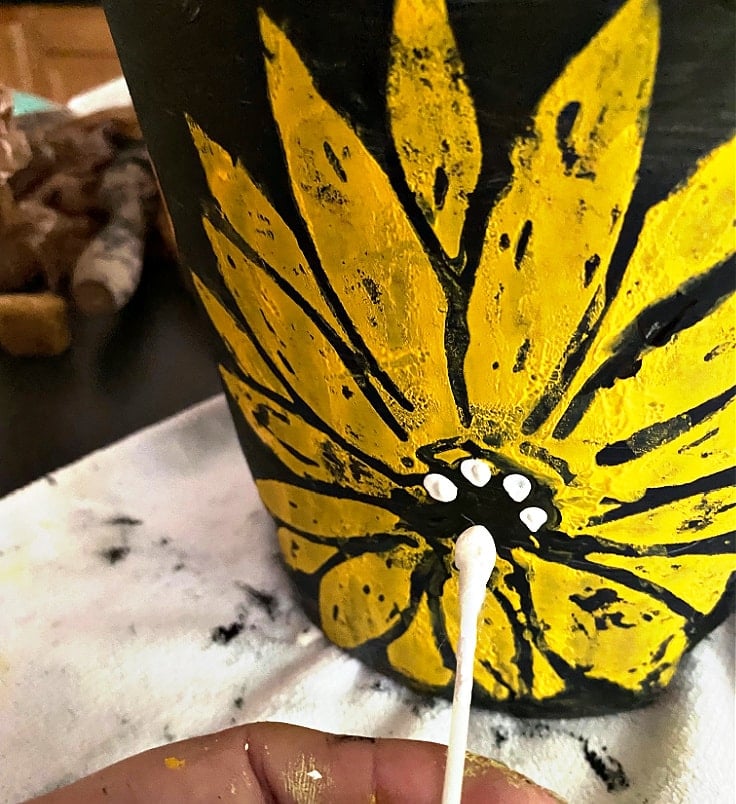
add white polka dots to the center of the sunflower
Use a q-tip to add polka dots to the center of the sunflower. This will give it a little more dimension.
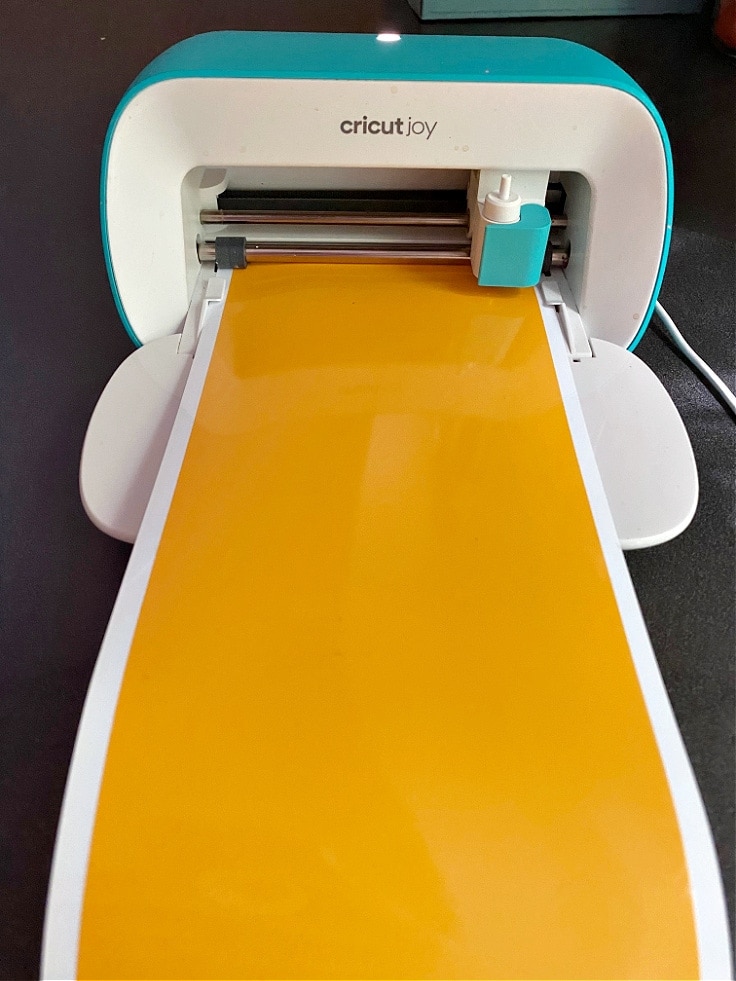
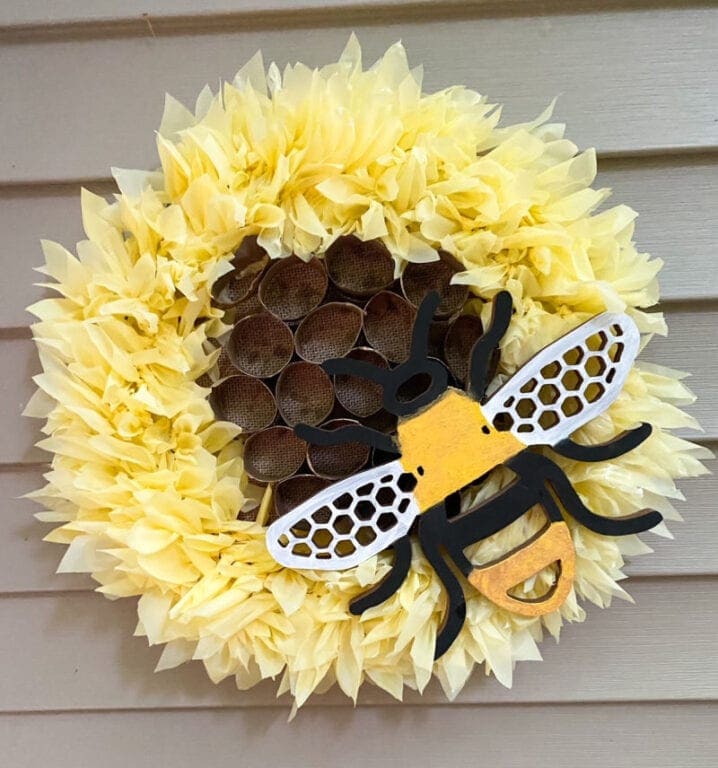
cut the bumblebees
I used my Cricut Joy to cut the bumblebees. The SVG was free on Cricut Design Space. You can use whatever cutting machine you have. Also, if you don’t have a cutting machine, you could even free hand a bumblebee, or print one out and trace it onto the flower pot.
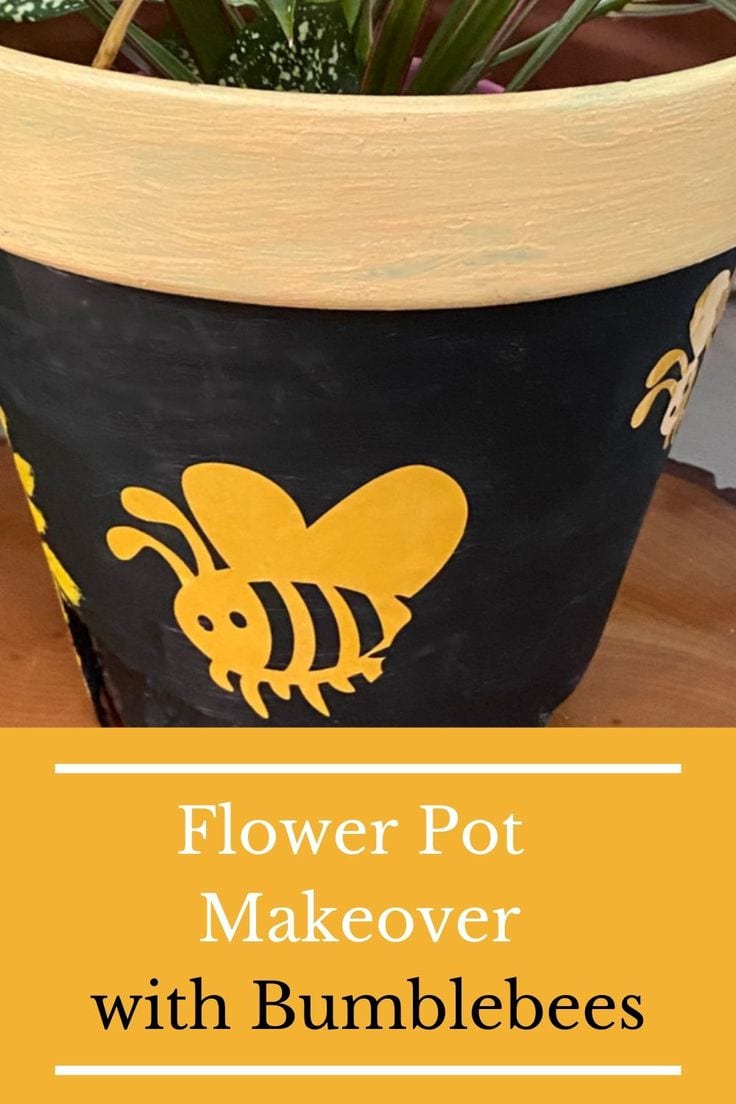
attach the vinyl bumblebees
Burnish the cut bees onto the flower pot. I spaced them out with 2 on each side and a sunflower on the front and back. You can make the bees different sizes if you want.
Spray with clear sealer
Be sure to spray the flower pot with 2-3 coats of a clear sealer to protect it from the weather.
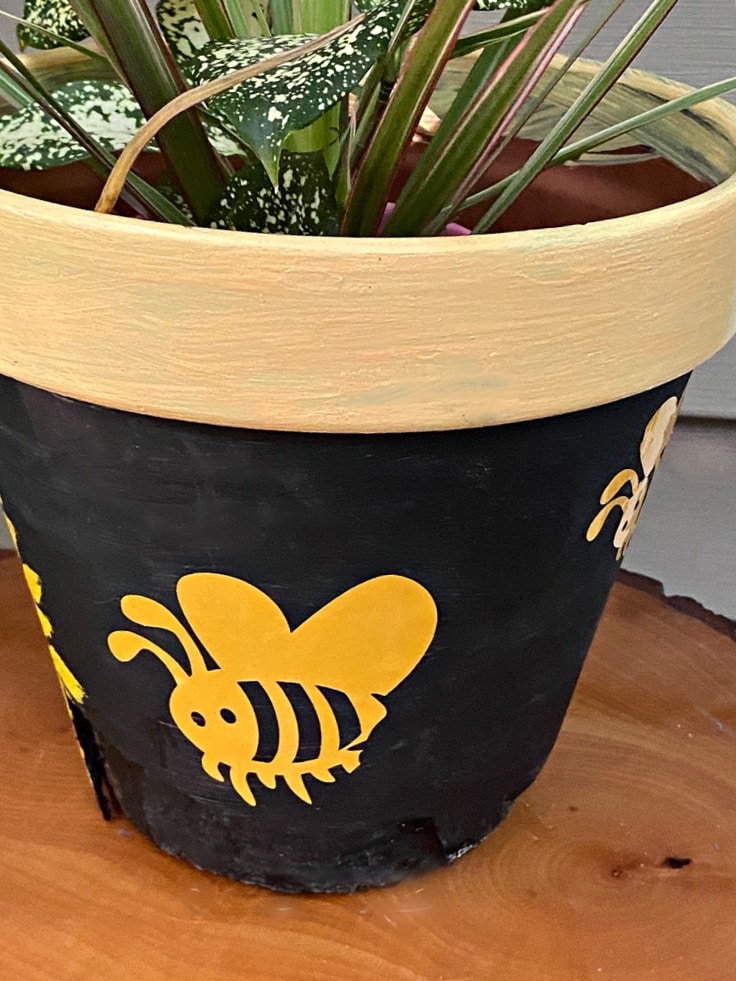
add a pretty plant or flowers
All that’s left now is to add a plant or flowers. I plan to pick up a flowering plant to add to the flower pot. For now, I placed a plant inside.
I’m so happy with how this flower pot makeover turned out, and it was really pretty simple to create.
Love the ideas you see here on Ideas for the Home by Kenarry®? Subscribe today to get our FREE DIY & Craft Planning Calendar, plus our weekly Ideas in Your Inbox newsletter filled with creative tips and exclusive offers!
What’s Next?
If you enjoyed this sunflower and bumblebees flower pot makeover, then you’ll enjoy these sunflower craft ideas too.
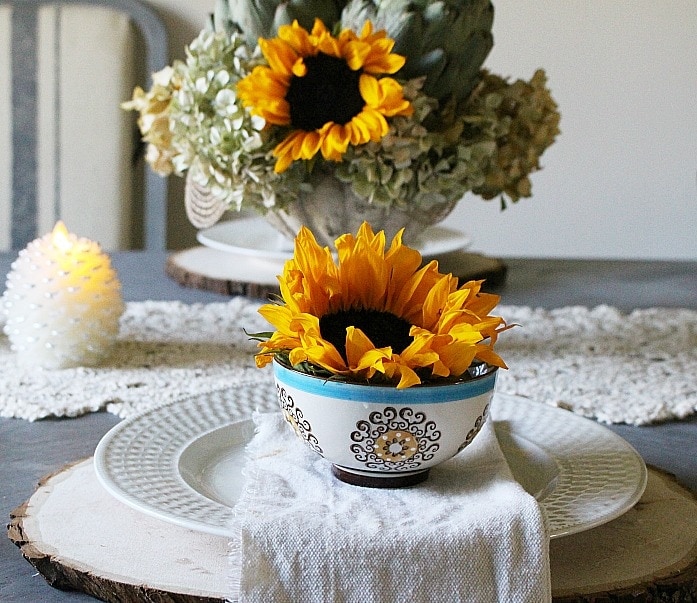
Fall Tablescape with Sunflowers
You may also enjoy these flower pot makeover ideas on Ideas for the Home by Kenarry® –