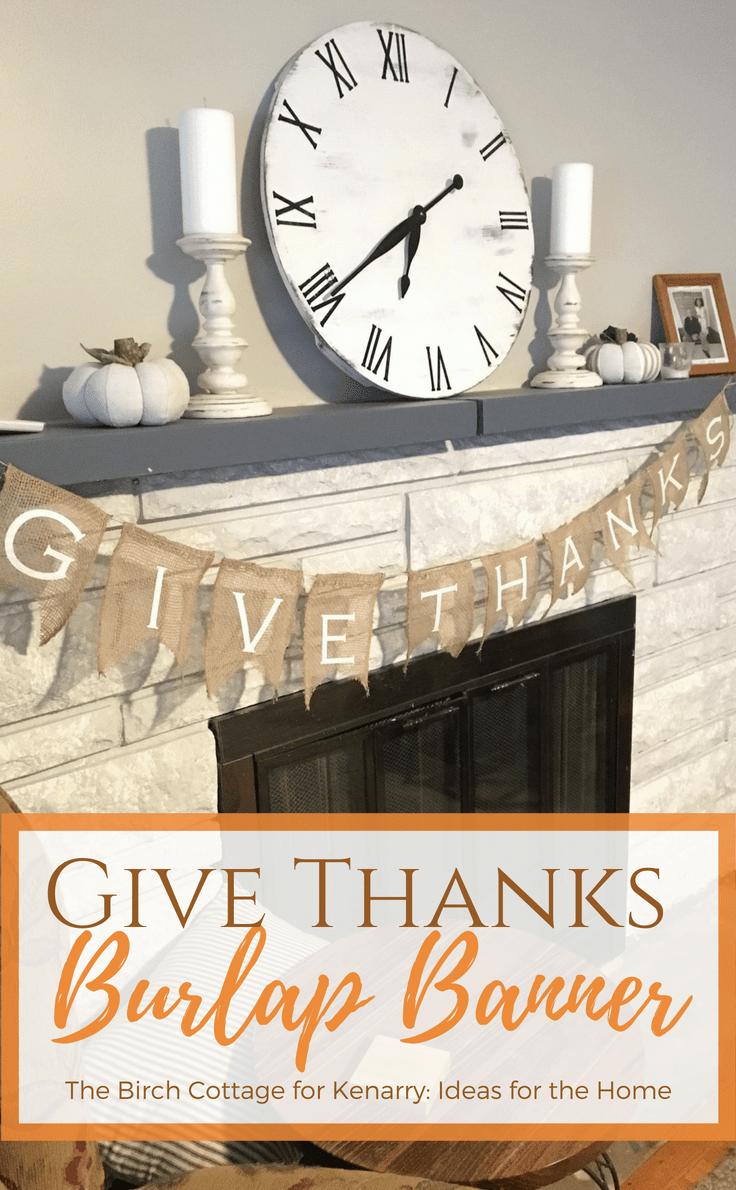
Give Thanks Burlap Banner: Perfect Addition To Your Thanksgiving Decor
THIS POST MAY CONTAIN AFFILIATE LINKS. PLEASE SEE OUR FULL DISCLOSURE POLICY FOR DETAILS.
This DIY Give Thanks Burlap Banner is easy to make and adds a touch of rustic charm to your home decor for fall, Thanksgiving or any occasion!
Hello, Ideas for the Home by Kenarry® friends! I’m Pam from The Birch Cottage and I’m back again this month to share with you this perfect for fall DIY Give Thanks Burlap Banner tutorial.
After you make this easy burlap banner, make another gorgeous DIY – a deco mesh wreath. It would look so cute hanging above your mantle with this garland!
How to Make a Give Thanks Burlap Banner
I made my Give Thanks Burlap Banner because I wanted to add a little rustic touch to my home decor for the fall. I made the letters using my Cricut Explore Air cutting machine. For the purpose of this tutorial, I’m going to assume you know how to use a Cricut and will already have your letters cut out.
If you have questions or need help with this part of the project, please leave a comment below and we’ll gladly respond. Of course, this project also works with a Silhouette or any other cutting machine.
For those of you without a cutting machine, you can simply purchase 3″ letters or use a stencil. I’ll cover that in a minute.
What you need:
Want more ideas like this? Subscribe today to get our weekly Ideas in Your Inbox newsletter plus other exclusive gifts and offers — all for FREE!
Craft Tools Needed:
- Cricut Explore Air 2
- Light Grip Cutting Mat
- Sewing Machine (optional – I use this one)
- Ryobi Glue Gun (love this one!)
Supplies:
- 5″ Wide Burlap Ribbon
- Jute Twine
- Scrapbooking Paper or Cardstock
- Scissors
- Tacky Glue
- Acrylic Ruler
- 3″ Alpha Stencils (optional)
- Glue Sticks (optional)
Instructions:
1. Cut Out Your Letters

If you’re using your Cricut or other cutting machine, you’ll want to create letters that are 3″ high and no more than 3″ wide. Simply type out “GIVE THANKS” in Design Space, place your cardstock or scrapbook paper on the cutting mat, load in the machine and let your Cricut do the cutting.
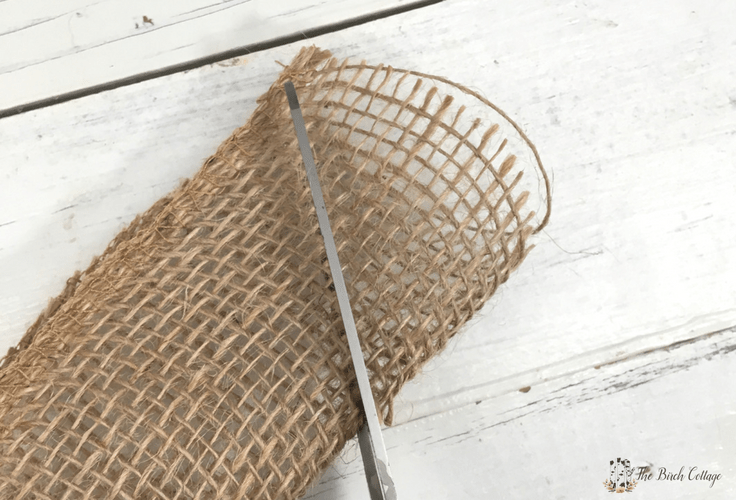
2. Cut Ribbon
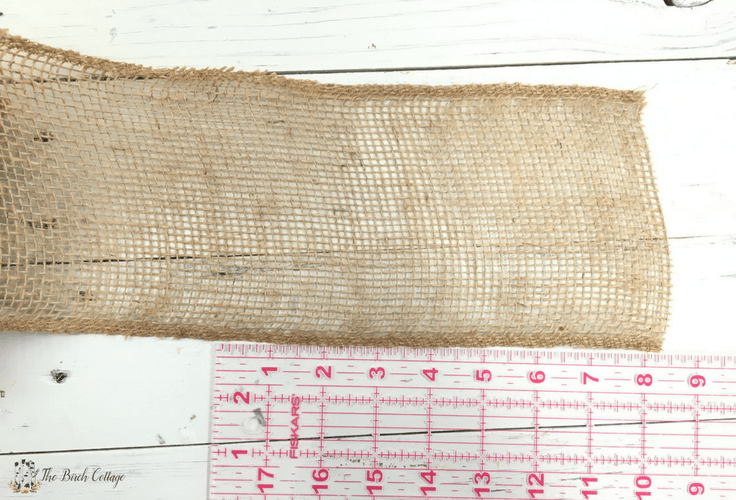
With the 5″ wide ribbon, you’ll measure and cut 10 rectangles that are 8″ long each. To cut a straight line, be sure to cut between the rows or strands of burlap.
NOTE: If you’re using some other words beside “give thanks”, you’ll want to cut out enough rectangles for each letter.
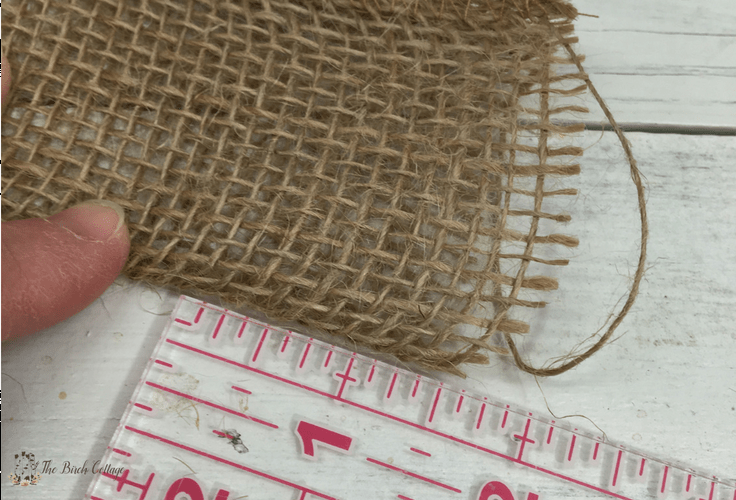
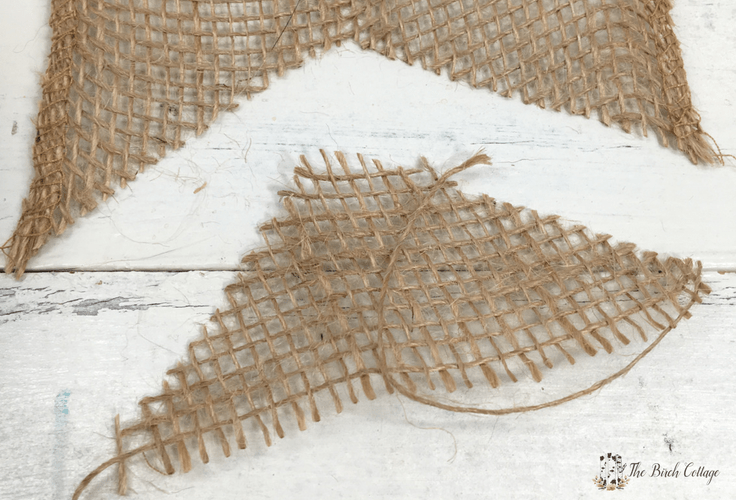
Fold ribbon in half lengthwise, measure up 2″ from the edge and cut diagonally to the tip of the ribbon. This will create the upside down “V” on the bottom of the banner.
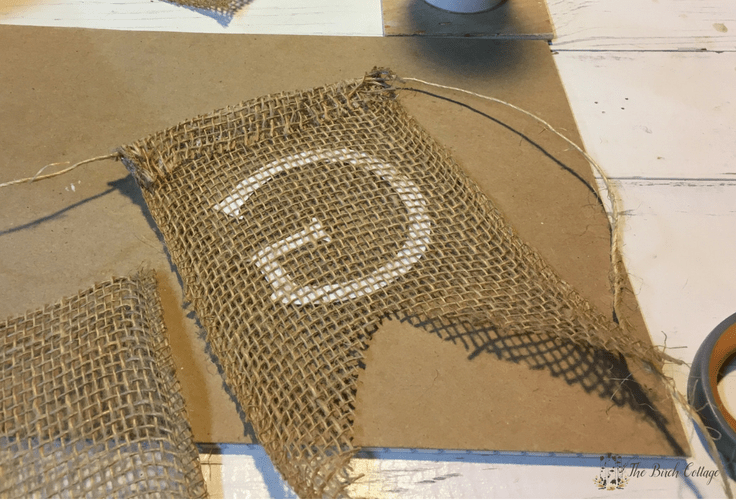
3. Attach Letters
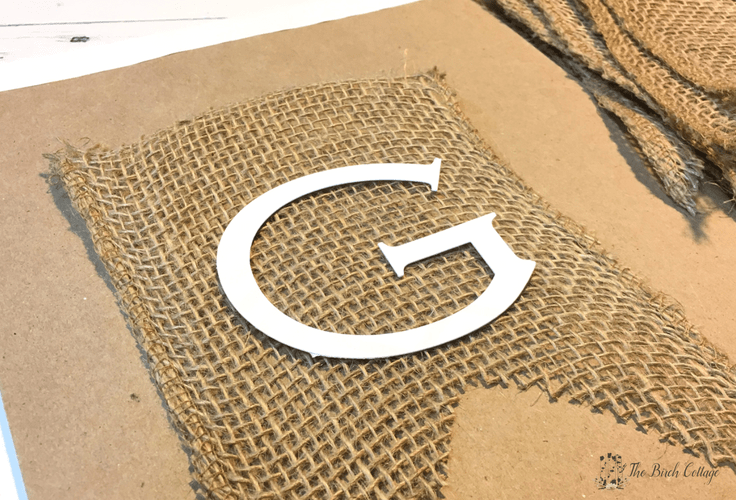
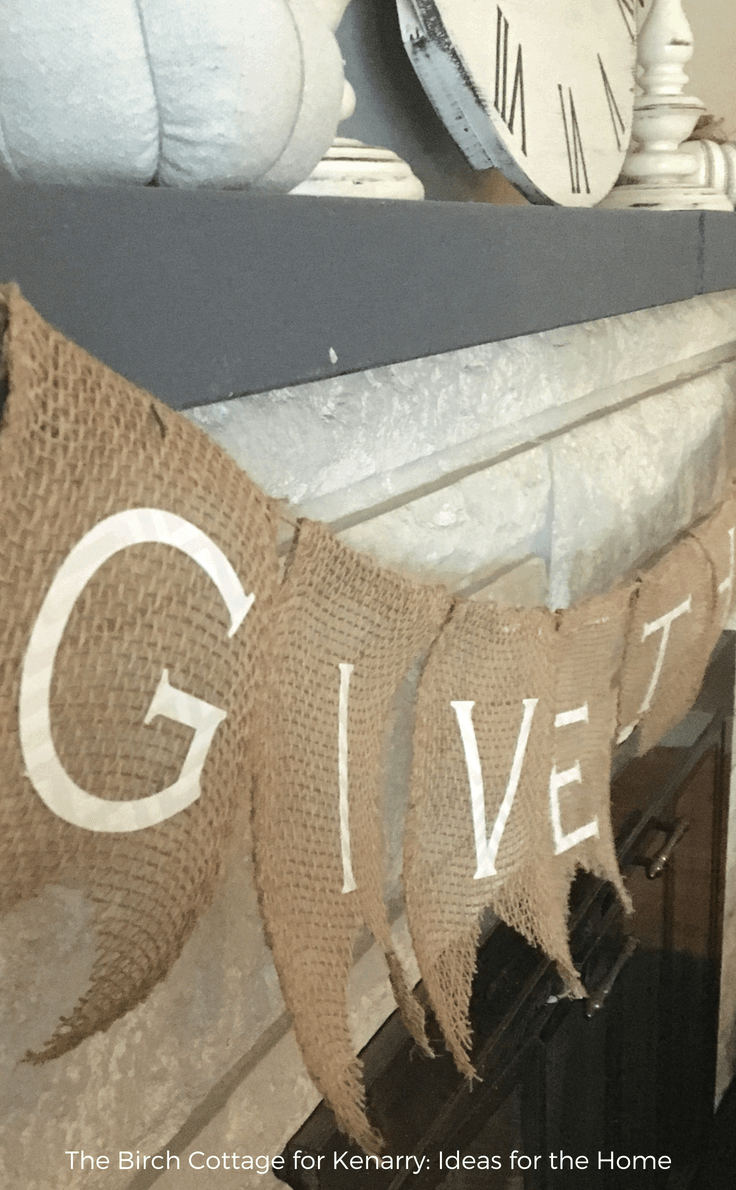
Apply Tacky Glue to the back of each letter and affix to the front of each ribbon. Use the strands of burlap as a guide to align your letters.
4. Attach Twine
There are two methods I can recommend for affixing the twine to the burlap ribbon. One is using Tacky Glue (or a glue gun – but, use extreme caution so as not to burn yourself) and the other is to sew the twine onto the burlap ribbon.
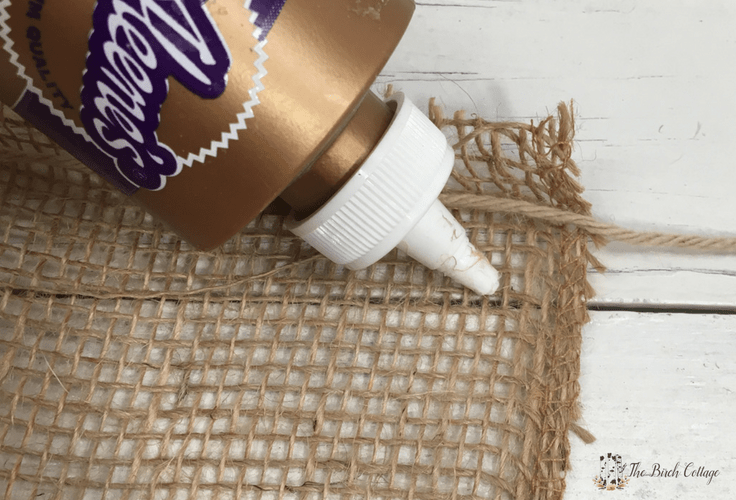
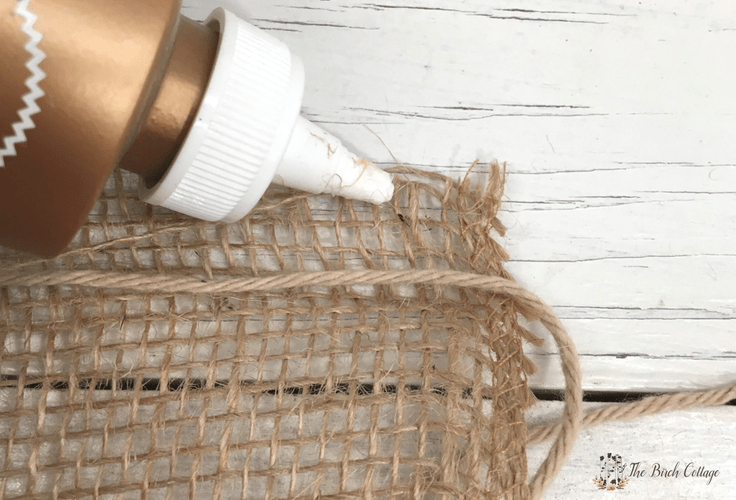
To attach the twine using Tacky Glue, simply measure down about 1/2″ from the top edge of the banner piece and apply a line of glue across the entire width of the top of the banner. Then apply a second line of glue across the edge of the burlap ribbon. Use the lines of burlap as a guide to apply the glue.
Place twine on glue line and fold top of banner down, encasing the twine. This job can get really sticky. I recommend keeping a damp cloth nearby to wipe the glue off your fingers or otherwise you’ll have the burlap wanting to adhere to your fingers.
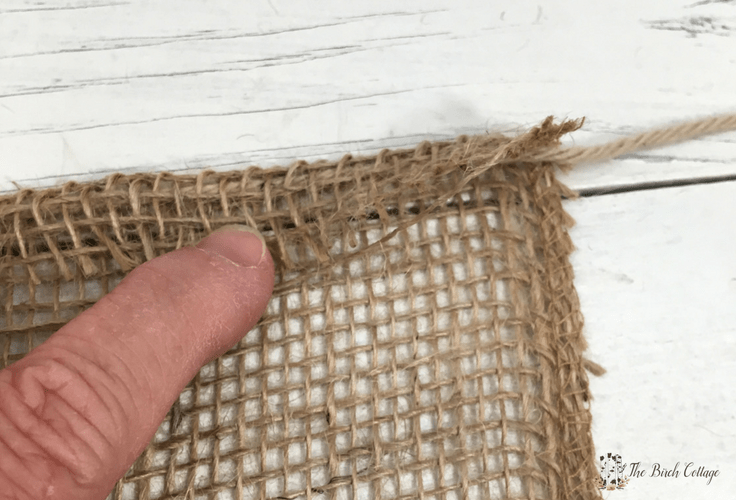
To attach the twine using your sewing machine. Simply place the twine about 1/2″ from the top of the burlap, fold the burlap over top of the twine and stitch close to the fold, making sure to encase the twine. It’s also helpful to stitch across the twine to keep the ribbon from sliding.
Attach each letter to the twine leaving about a thumbs width between each flag. You’ll also want to leave extra twine on each end so you have plenty to hang your banner with.
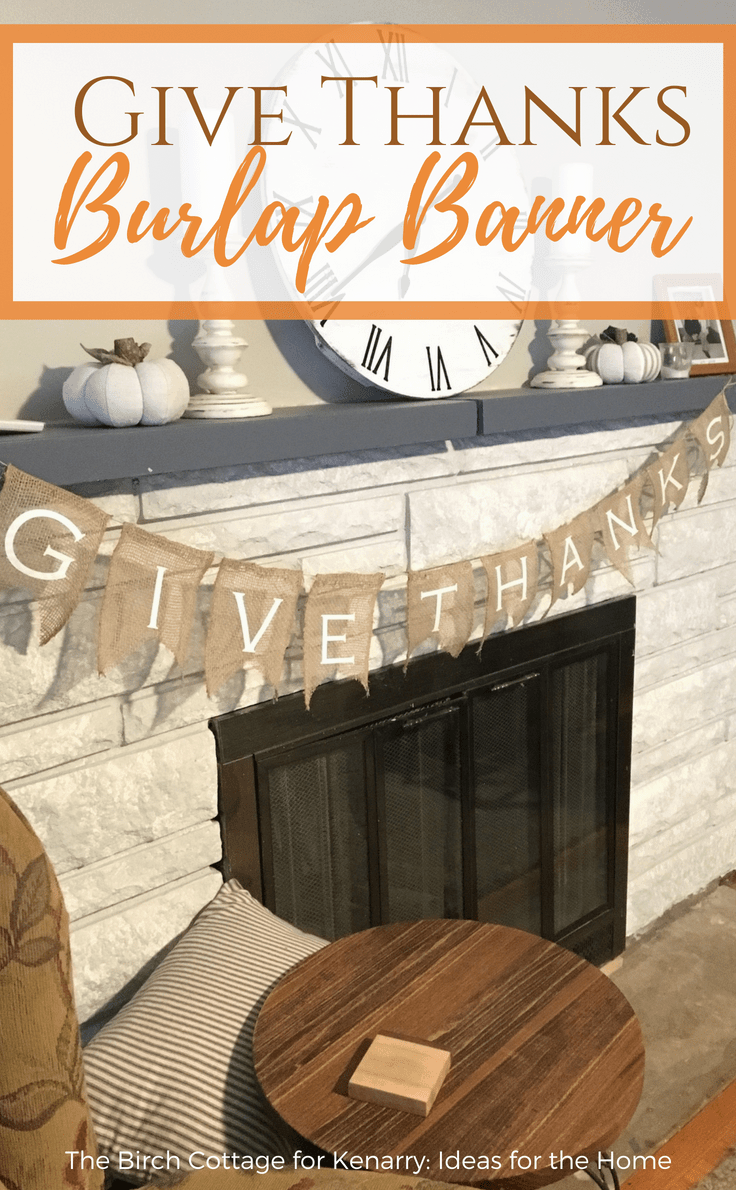
Once you have all your flag ribbons attached to the twine, you are now ready to hang your banner! I simply used two-sided tape and affixed the ends to the tops of my fireplace mantle.
Love the ideas you see here on Ideas for the Home by Kenarry®? Subscribe today to get our FREE DIY & Craft Planning Calendar, plus our weekly Ideas in Your Inbox newsletter filled with creative tips and exclusive offers!
Other DIY Project Ideas
If you enjoyed this Give Thanks Burlap Banner idea, you might also like these other ideas from The Birch Cottage blog:
Crochet the Crunchy Stitch Dishcloth

You may also enjoy these DIY burlap ideas on Ideas for the Home by Kenarry® –
I hope you have enjoyed this DIY Give Thanks Burlap Banner tutorial and, just maybe, it’s motivated you to add a little rustic charm to your home decor!