How To Make A Shiplap Wall In Your Home
THIS POST MAY CONTAIN AFFILIATE LINKS. PLEASE SEE OUR FULL DISCLOSURE POLICY FOR DETAILS.
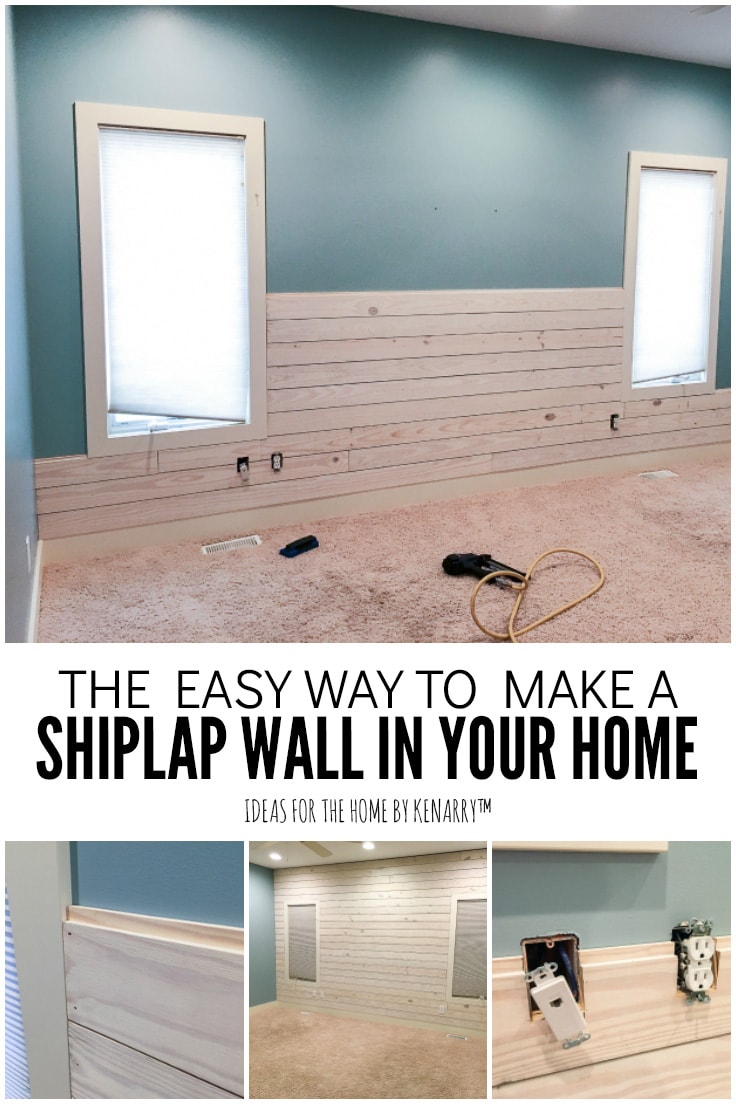
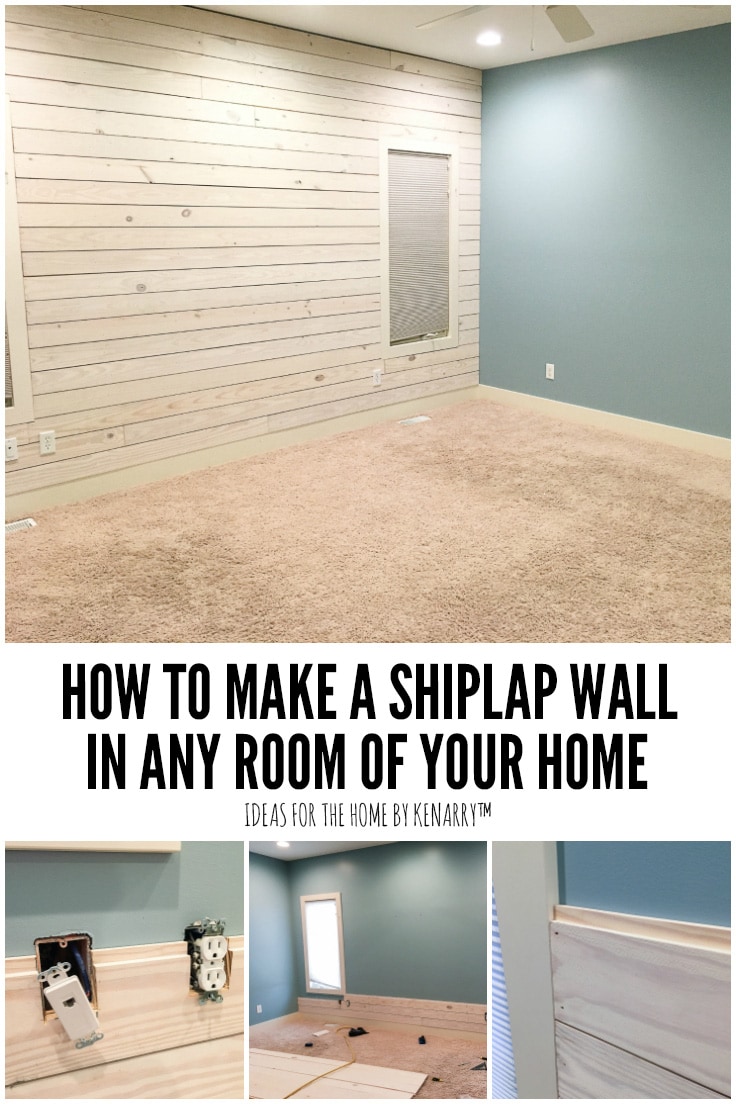
Love the look of whitewashed wood plank accent walls? Learn how to make a shiplap wall to add rustic farmhouse style to your master bedroom or any room!
Create farmhouse style and charm in your master bedroom — or any room in your home — by adding an easy wood plank accent wall. In today’s tutorial, we’ll show you how to make a shiplap wall using white washed tongue and groove boards.
Hello, Idea Insiders! I’m Carrie, the blogger behind Ideas for the Home by Kenarry, and today we’re going to show you how to make a shiplap wall. If you’re just joining us, this tutorial is the latest installment in our main floor makeover series. Over the past six weeks, we’ve been sharing all of the decorative changes, big and small, that we’ve made to our ranch style home in the past year.
The makeover project included our master bedroom, the living room, dining room and kitchen as well as our entryway and mudroom. You can see all the before photos and read about our home makeover ideas and plans, but now it’s time to show you how to make a shiplap wall.
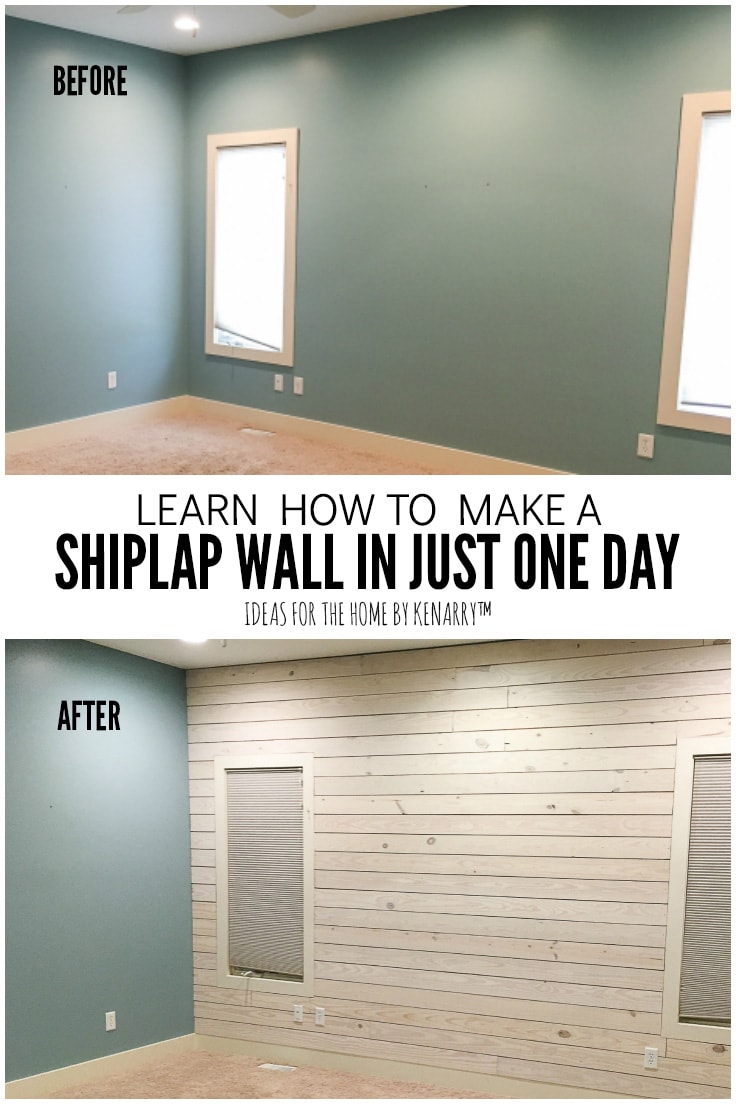
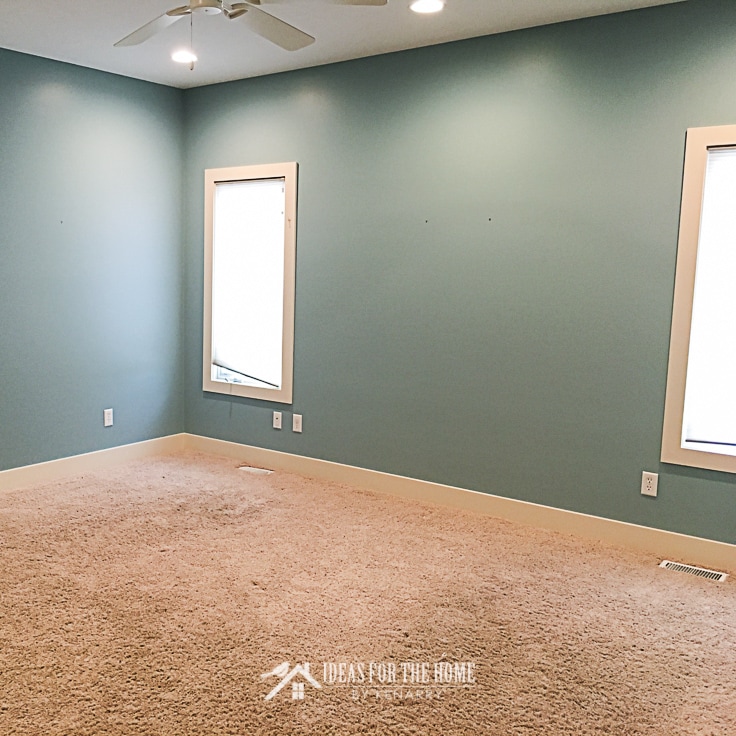
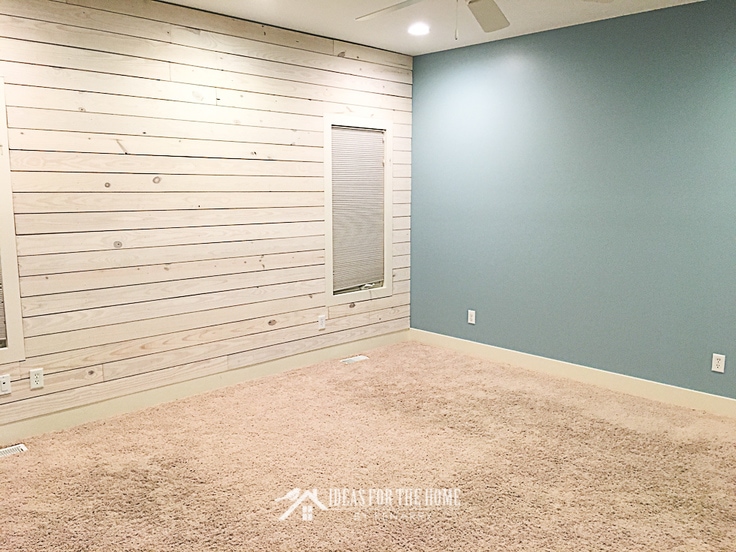
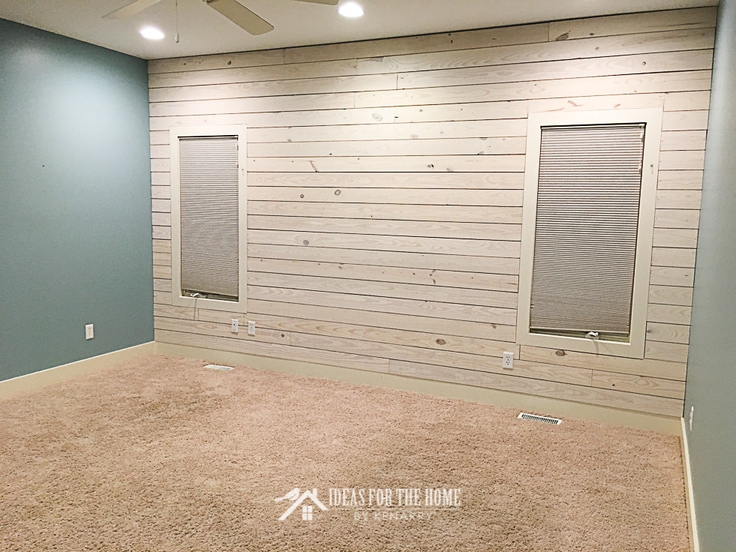
BEFORE:
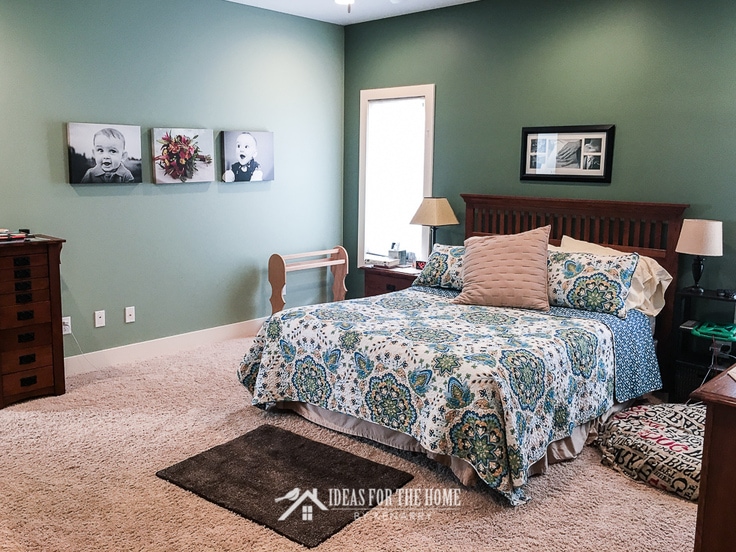
We put the shiplap wall in our master bedroom behind our headboard, but you can easily put one anywhere in your home. Having a wood plank accent wall in our bedroom helps the space to feel more like the sunroom at our cottage, a place where we go to feel less stressed.
Frequently Asked Questions About Shiplap Walls
Shiplap is a wooden board commonly used for rustic outdoor construction like siding for sheds and barns. Thanks to the popular HGTV show Fixer Upper, shiplap has become trendy for interior home use, particularly for accent walls. Traditionally shiplap is similar to a “tongue and groove” board. This means it has a groove cut into the top and bottom so the pieces fit together snugly when you install them vertically up a wall.
Yes, no special preparation is necessary in order to put shiplap directly on drywall. Just make sure you hit a stud with your nails so the shiplap boards are secured through the drywall.
Shiplap only needs to be sealed if you’re installing it in a wet or damp environment such as a bathroom or a basement.
Always start at the bottom and work your way up the wall. Installing it from the bottom first allows you to use gravity to keep the boards snugly on top of each other. If you start at the top, you’ll have to hold the boards tightly in place to maintain the snug fit.
How to make a shiplap wall
Shiplap walls are a great way to add rustic farmhouse style to any room in your home. Follow this easy tutorial for how to make a shiplap wall and you’ll be done in less than a day!
What you need:
Want more ideas like this? Subscribe today to get our weekly Ideas in Your Inbox newsletter plus other exclusive gifts and offers — all for FREE!
DIY Tools Needed:
- Nail gun and compressor
- Stud finder
- Measuring tape
- Saw – (Miter Saws work great for this)
- Level
- Pencil
- Step ladder
Supplies Needed:
- Shiplap boards – We bought ours already white washed and ready to install. We recommend you do the same as it makes the project easy to accomplish in just a day.
Instructions:
1. prepare your walls
Because of the grooves in the boards, the color of your walls will not show between the boards in the shiplap wall. However, if you’re going to paint your room, now is the time to do it before you install your shiplap accent wall.
You’ll especially want to paint along the corners or edges where the accent wall meets your regular walls and ceiling. For our master bedroom, we chose Harmonious blue from Behr paint (PPU13-12m).
2. find and mark the studs
Use a stud finder to determine where the wood studs are behind your drywall. Mark those spots with a pencil so you’ll know where to nail your shiplap boards.
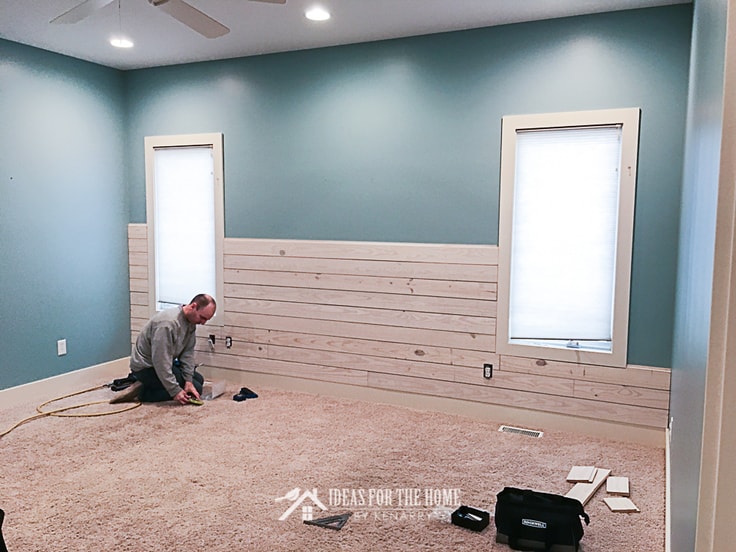
3. Begin at the bottom of the wall
Start by installing your boards at the bottom of your wall and then work your way upwards. Work on one row at a time and use a level to make sure you’re keeping it even.
Using a nail gun, secure the boards at each end and at least once in the middle. We nailed the boards at each stud to hold the board flush against the wall.
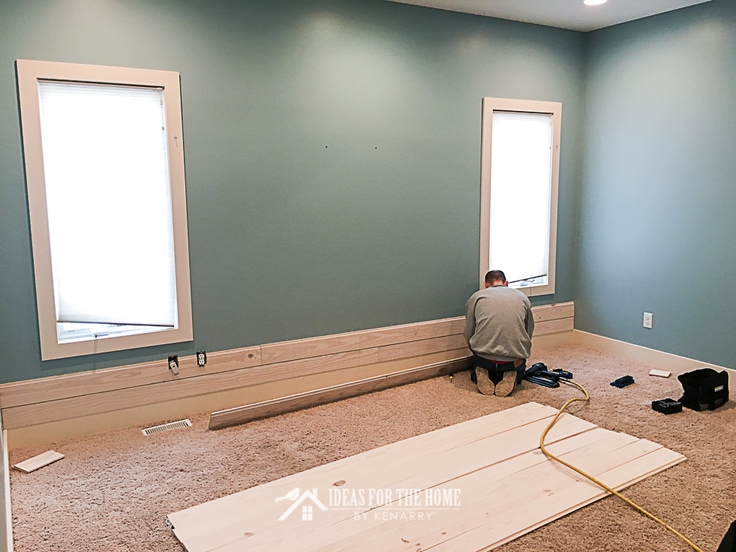
Once you’ve done the first row, put the next row on top of that first row overlapping at the groove. You’ll notice we started our shiplap wall directly on our baseboard trim. It was about the same depth as the shiplap boards.
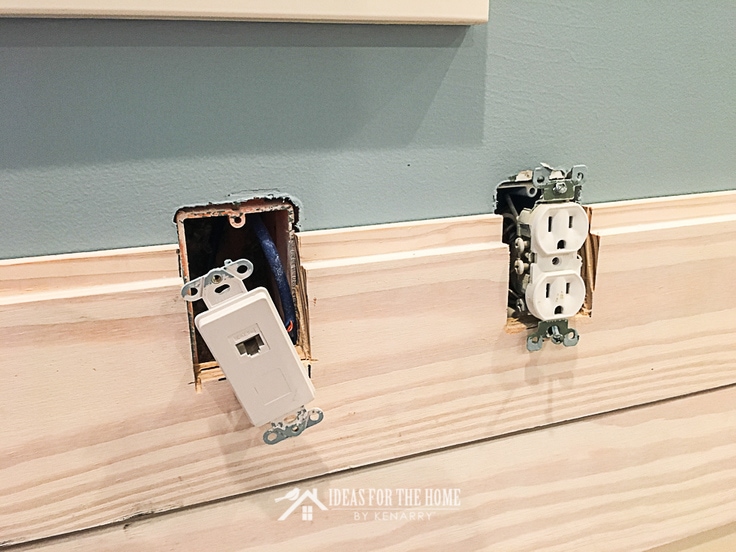
4. Cut Out Notches for Outlets and windows
As you work your way up the wall, you’ll occasionally come across obstacles like outlets and windows. Use a measuring tape to determine where to cut your notches in the boards. Mark the spots on your board and then double-check your measurements. Remember the old saying: “measure twice, cut once.”

Your notches around electric outlets don’t need to be perfect. They’ll be hidden behind your outlet covers. For each of our outlets, we actually needed to cut notches out of two boards. However, that’s really easier than cutting a single hole out of the middle of a board.
We also had to carefully cut and trim the boards to make them fit around the bottom of our master bedroom windows.
5. Continue to work your way up your wall
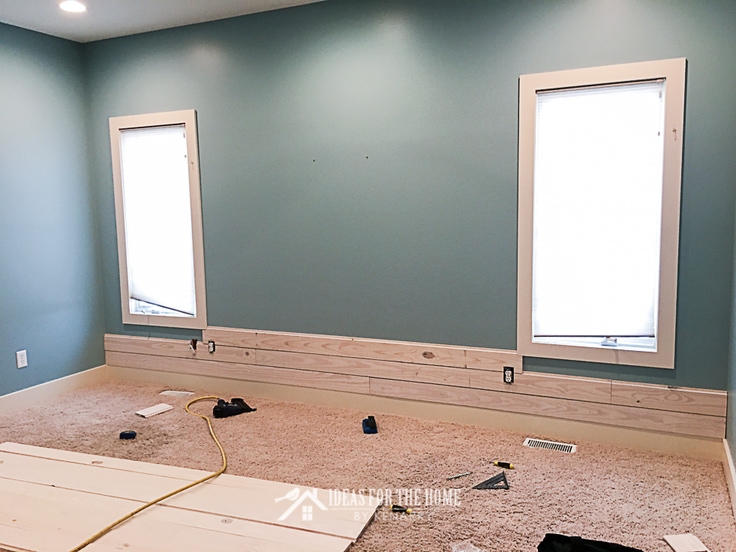
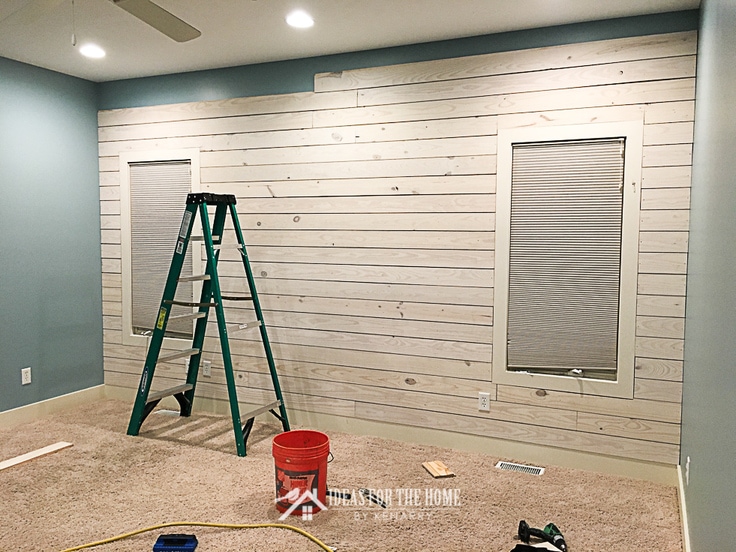
Now continue to work your way up the wall, nailing each board as you go. We worked our way up the center of the wall between our two windows first because those boards needed minimal cutting.
We only did about six rows there, then started installing the shorter boards along the outside of the windows. This allowed us to make sure we were keeping the boards level, straight and horizontally aligned before we got too far up the wall.
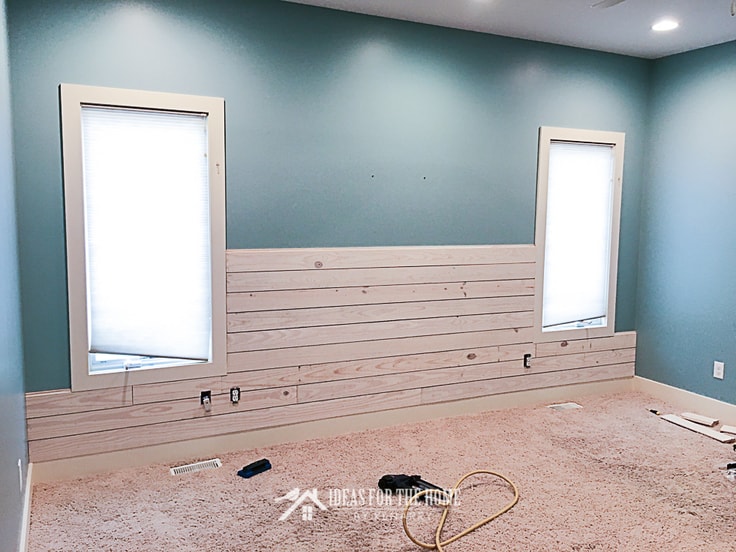
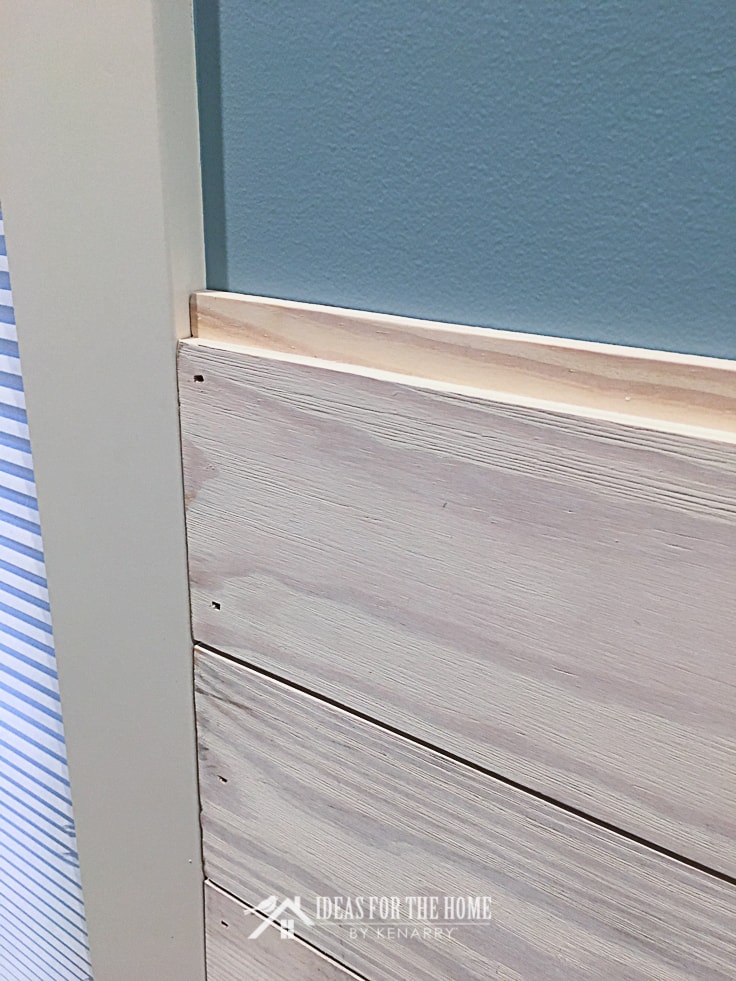
Around the window trim, we left the raw edges of the boards. You could choose to cover this with a thin small trim piece, but we wanted the rustic look.
6. Finish the Shiplap Accent Wall
As we got to the top of the windows, we had to notch and trim the boards so they fit snugly around the top.
You may also need to trim your boards to fit snugly against the ceiling. We just cut the tongue off the last set of shiplap boards.
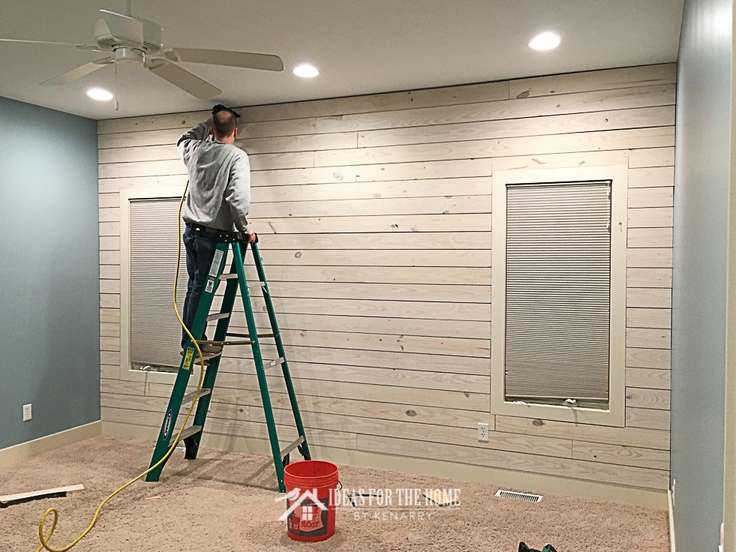
There’s also a small gap at the very top of our wall. However, it’s less than a half-inch and hardly noticeable so we just left it. If you have a gap that bothers you, consider adding quarter round trim to hide it.
Likewise, you can also add quarter round trim along the corners where the shiplap wall meets your painted walls. We chose not to as wanted to keep our plank wall simple and rustic.
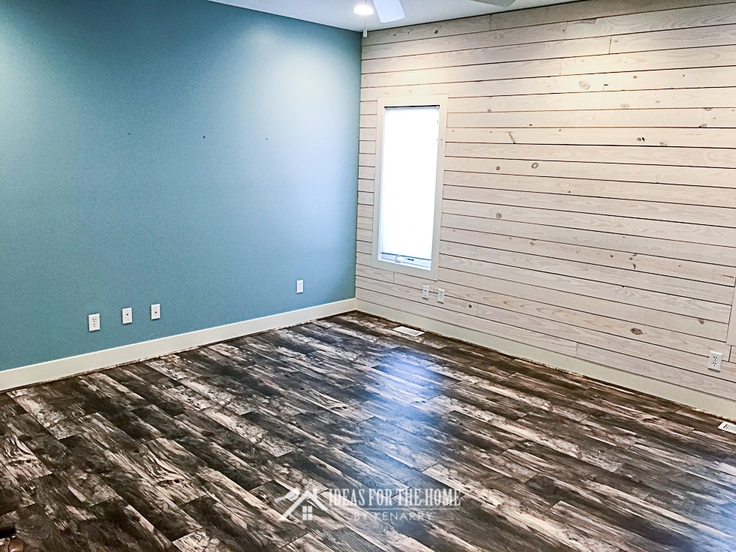
Once we were all done with the DIY shiplap wall, we tore out the carpet and installed laminate flooring. We chose the same flooring that we used throughout the rest of our main floor, Allen + Roth Chesterfield Hackberry laminate flooring from Lowe’s (#936283).
AFTER:
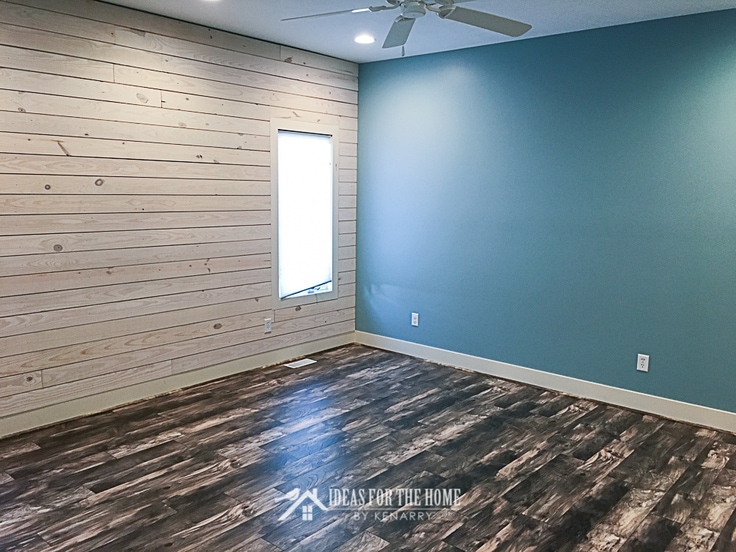
I love how the flooring looks with our shiplap wall. The lighter colors in the laminate really coordinate well with it.
Tune in next week when we’ll wrap up our main floor makeover series. I’ll be sharing the final reveal of our master bedroom once we put it all back together.
Love the ideas you see here on Ideas for the Home by Kenarry®? Subscribe today to get our FREE DIY & Craft Planning Calendar, plus our weekly Ideas in Your Inbox newsletter filled with creative tips and exclusive offers!
What’s Next?
While you’re here, be sure to check out some of the other installments in our main floor makeover series, including:
You may also enjoy these farmhouse style decorating ideas on Ideas for the Home by Kenarry® –
If you enjoyed this tutorial for how to make a shiplap wall, please share this with your friends or pin it for later:
What color is the paint on the walls?
Hi Susan,
That color is called Harmonious blue from Behr paint (PPU13-12m). We love it!
Best wishes,
Carrie
Ideas for the Home by Kenarry
What was your total cost to do the wall?
Hi Breanne,
We used the pre-white washed shiplap boards from Home Depot which cost roughly $2.50 per square foot. So you can get a rough estimate by multiplying the $2.50 by the area of the wall(s) that you are planning to shiplap. In our case the wall cost a little over $300 for the board material. I hope that helps!
Kent
Where did you purchase you quilt?
Hi Valerie,
I got the beautiful blue quilt from LushDecor.com about six years ago. They don’t carry that specific design anymore but I think you’ll find a lot of gorgeous quilts that are similar if you check out their website.
Best wishes,
Carrie
Ideas for the Home by Kenarry
Does the bed have to go on the shiplap wall?
No, but we like it there!
Best wishes,
Carrie