Create a Pretty Paper Mache Piggy Bank
THIS POST MAY CONTAIN AFFILIATE LINKS. PLEASE SEE OUR FULL DISCLOSURE POLICY FOR DETAILS.
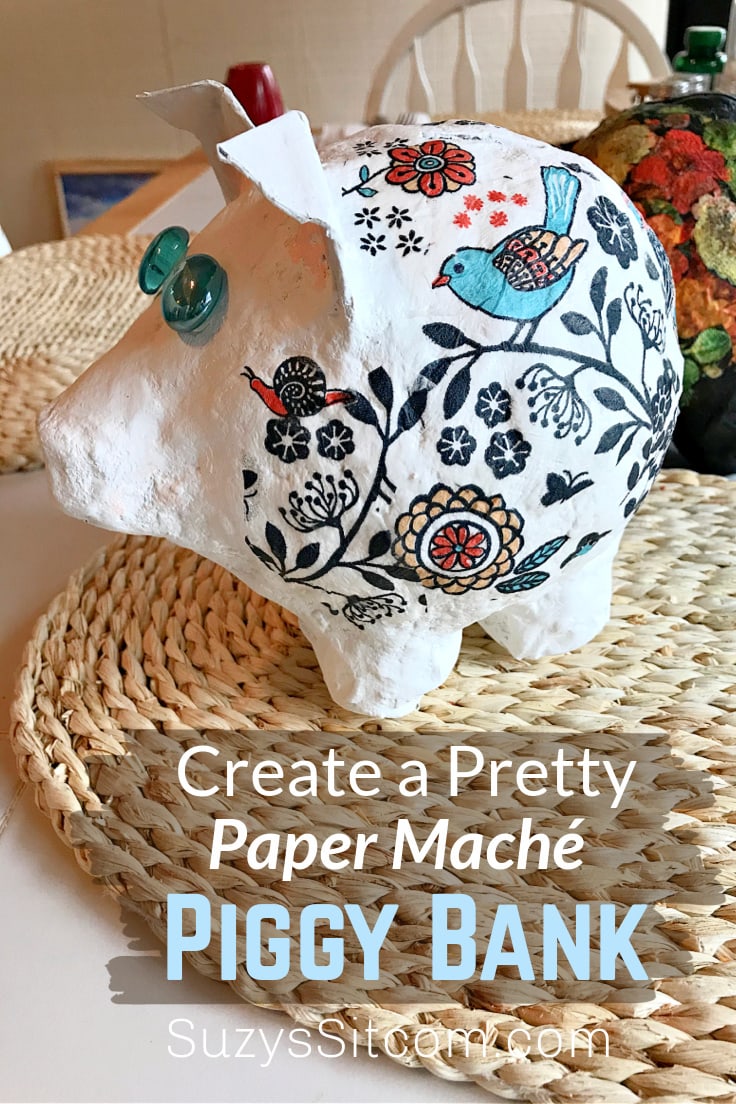
Create a pretty paper mache piggy bank with just paper, glue and a few other simple supplies. Add some color and design to your finished piggy bank using an easy decoupage technique with napkins! The result is a sweet little piggy made with paper!
Wintertime means lots of indoor activities and it is a great time to try out a new craft! Gather some paper, balloons, and glue and create a pretty paper mache piggy bank. This is Suzy from SuzysSitcom, and I’d love to show you how to make a pretty little paper pig of your own!
During this particularly snowy winter, I’ve been working on a farm in New York. Our daughter and her family are about 16 hours away down in Georgia. Our second granddaughter is due any day now. So, needless to say, my thoughts have been about a thousand miles away.
What better way to spend a cold winter day than making something fun for both of my granddaughters! This simple project used supplies that you just might find around your house. And the piggies make perfect little gifts.
how to make a paper mache piggy bank
This is a wonderful way to save those coins. If you don’t have a lot of shelf space, then make a coin bank wall decor. It’s a space-saving idea that does the same thing.
Want more ideas like this? Subscribe today to get our weekly Ideas in Your Inbox newsletter plus other exclusive gifts and offers — all for FREE!
What you need:
The entire tutorial is in a printable card at the bottom of this post. But first, here is a little bit of info about the tools and supplies you’ll need.
Craft Tools Needed:
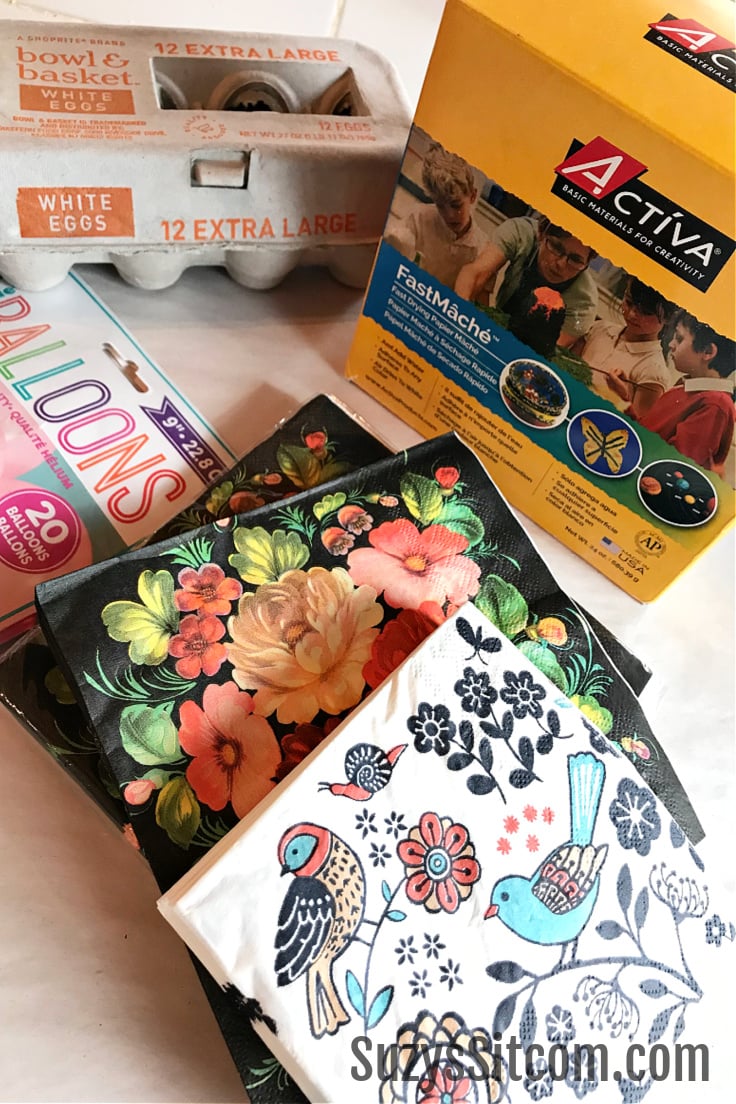
Supplies needed:
- Balloons
- Egg carton
- Newspaper or packing paper
- Mod Podge
- Instant paper mache mix
- Acrylic paint
- Glass cabochons
- Pretty napkins for decoupage
paper mache piggy bank:
creating the structure of the piggy bank
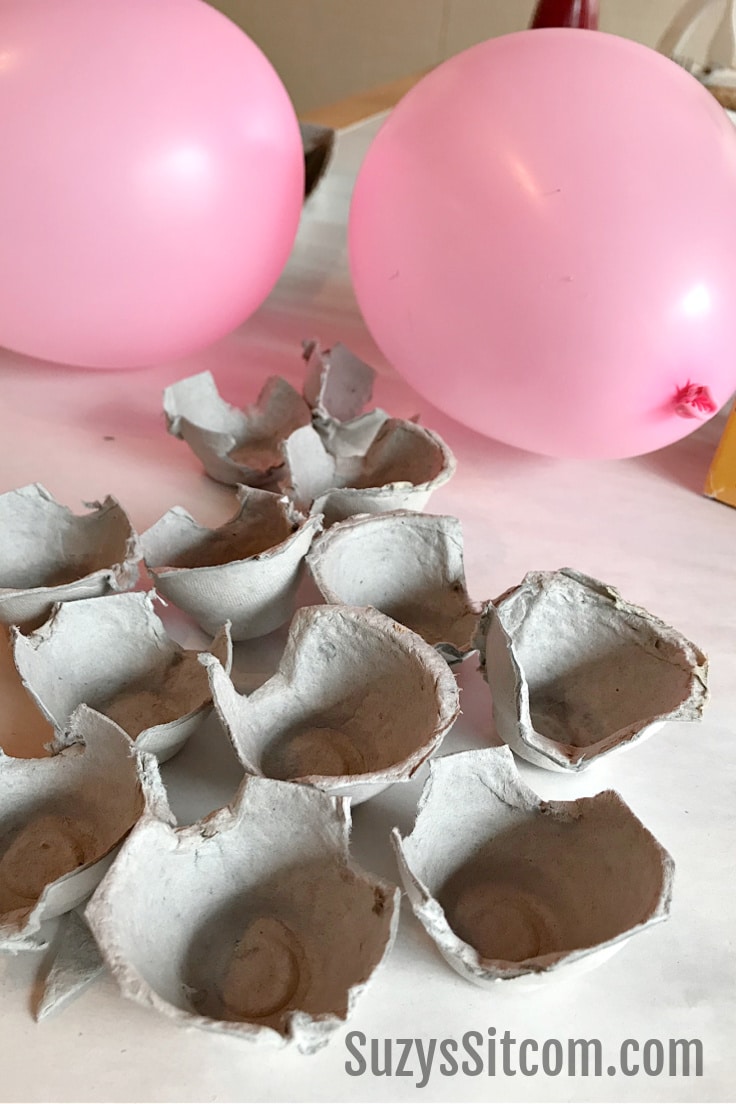
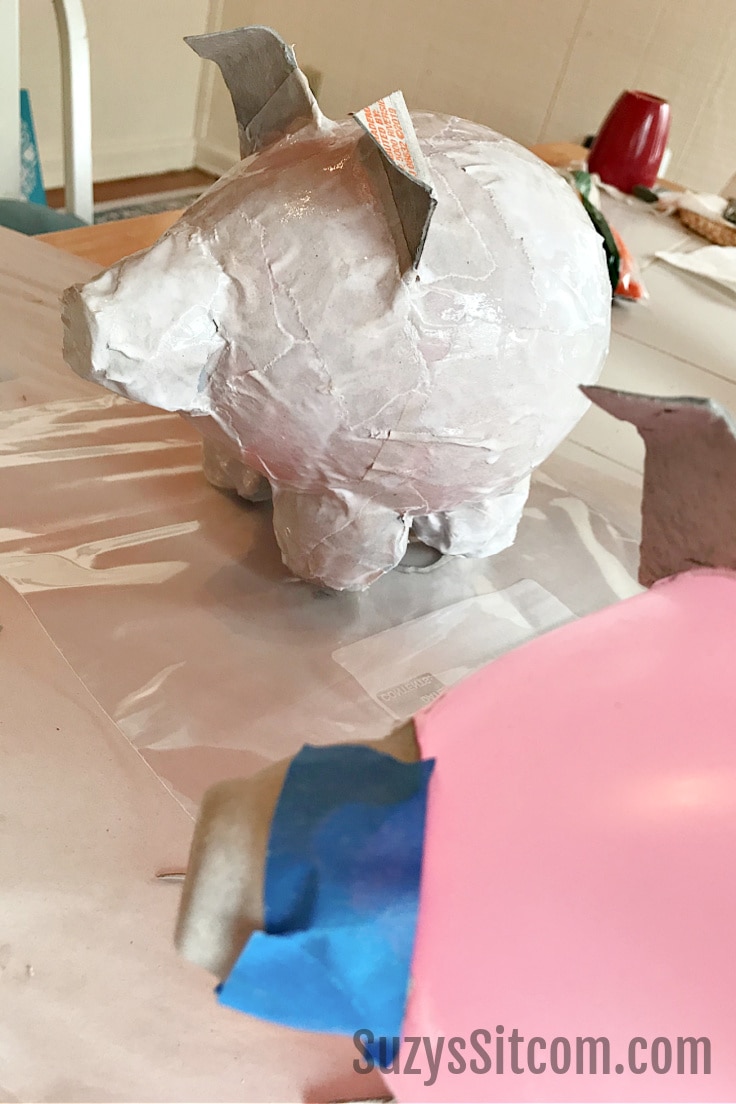
Begin by creating the basic shape of the piggy bank. For this, you will need a balloon for the body and a cut up egg carton for the nose and legs. Cut apart the egg carton as shown above. Cut the ears from the egg carton lid, using the curve of the lid to arch the ears.
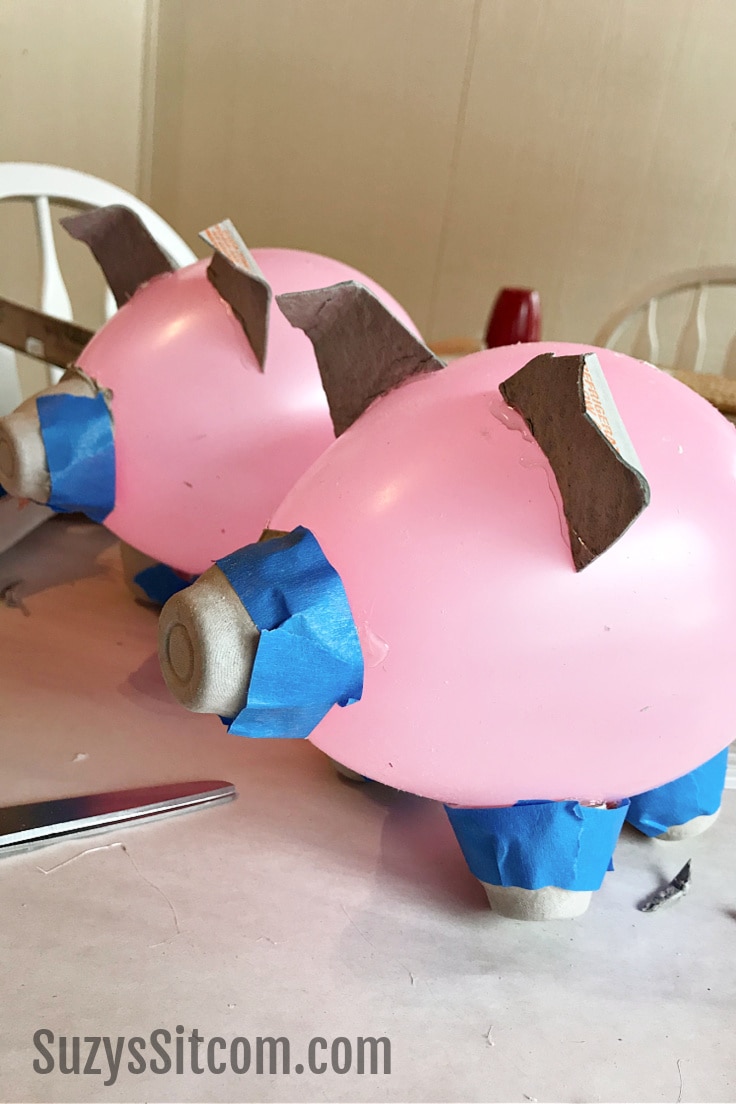
Use a low temp hot glue gun to add the nose, legs, and ears to your piggy. Be sure that it is a LOW temp glue gun! High temperatures will pop the balloon. Ask me how I know.
Once the pieces are glued in place, use painter’s tape or masking tape to cover the edges and any openings.
working with paper mache
The paper mache process is done in two parts. The basic structure will be covered with traditional paper mache in order to give the instant paper mache something to latch onto. After this layer dries, we move onto the instant paper mache.
Tear the newspaper or packing paper into strips. (Smaller pieces work best). Paint a bit of Mod Podge onto the balloon shape and apply the paper strips. Add Mod Podge on top as you go. Add layers and work until the entire piece is covered with strips of paper and Mod Podge.
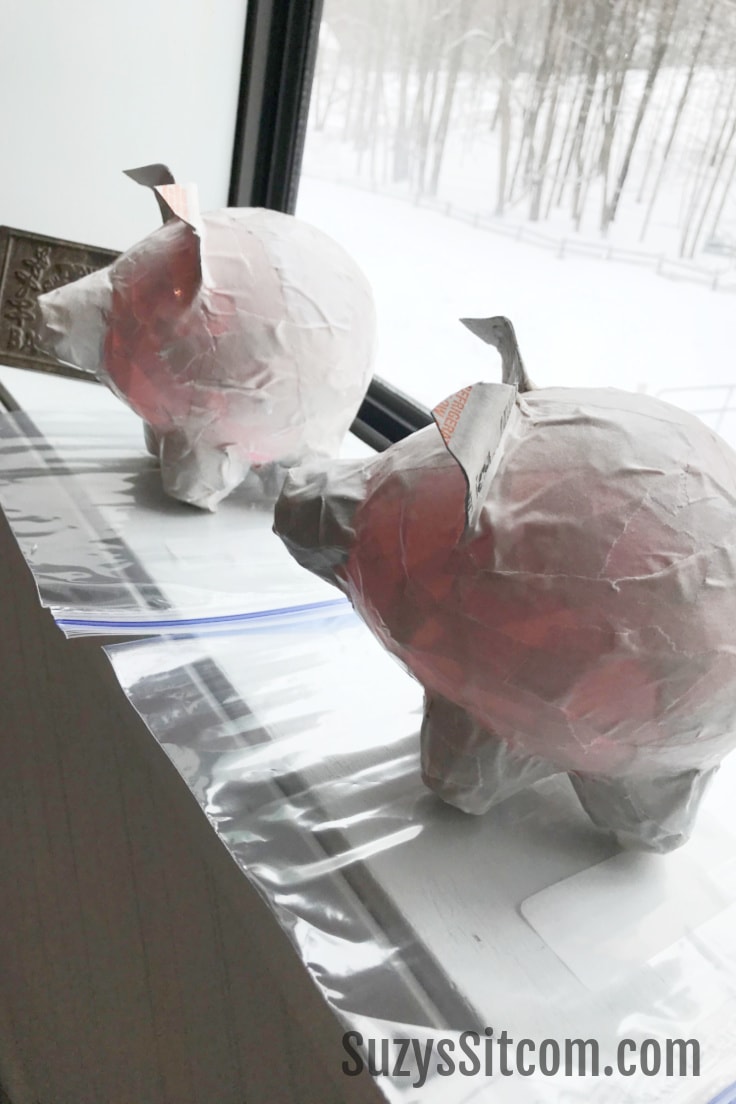
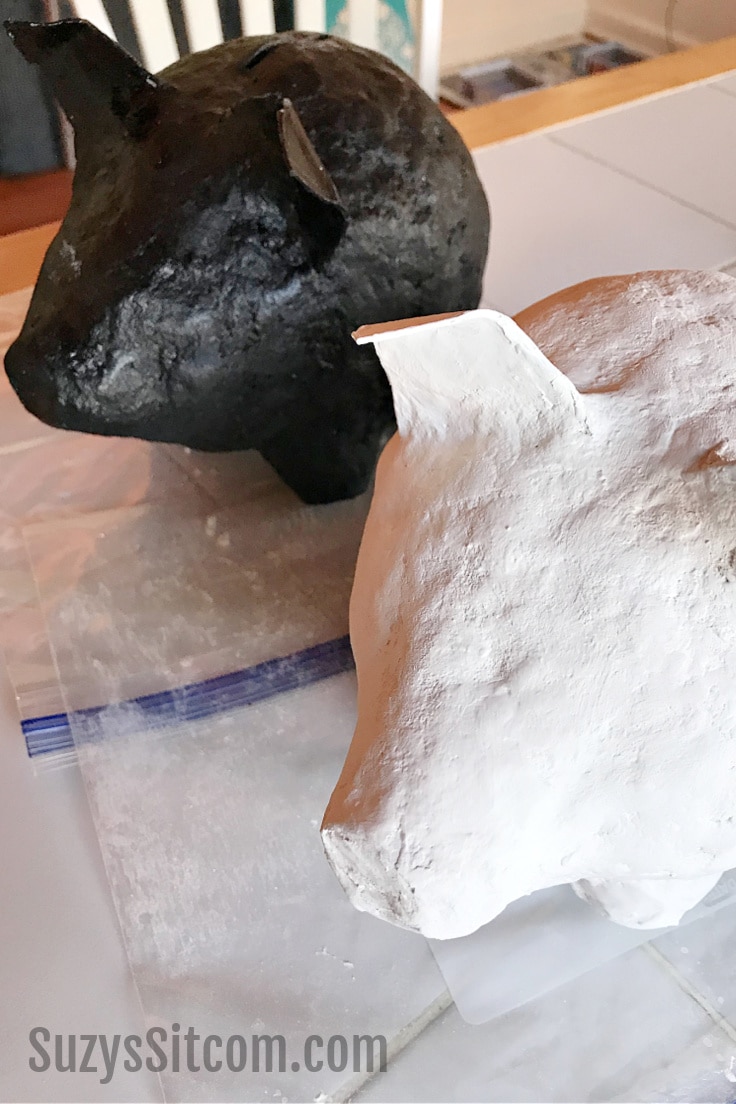
Allow the piggy banks to dry over night before going to the next step. As you can see in the photo, the pink balloon is still faintly visible at this stage.
working with instant paper mache
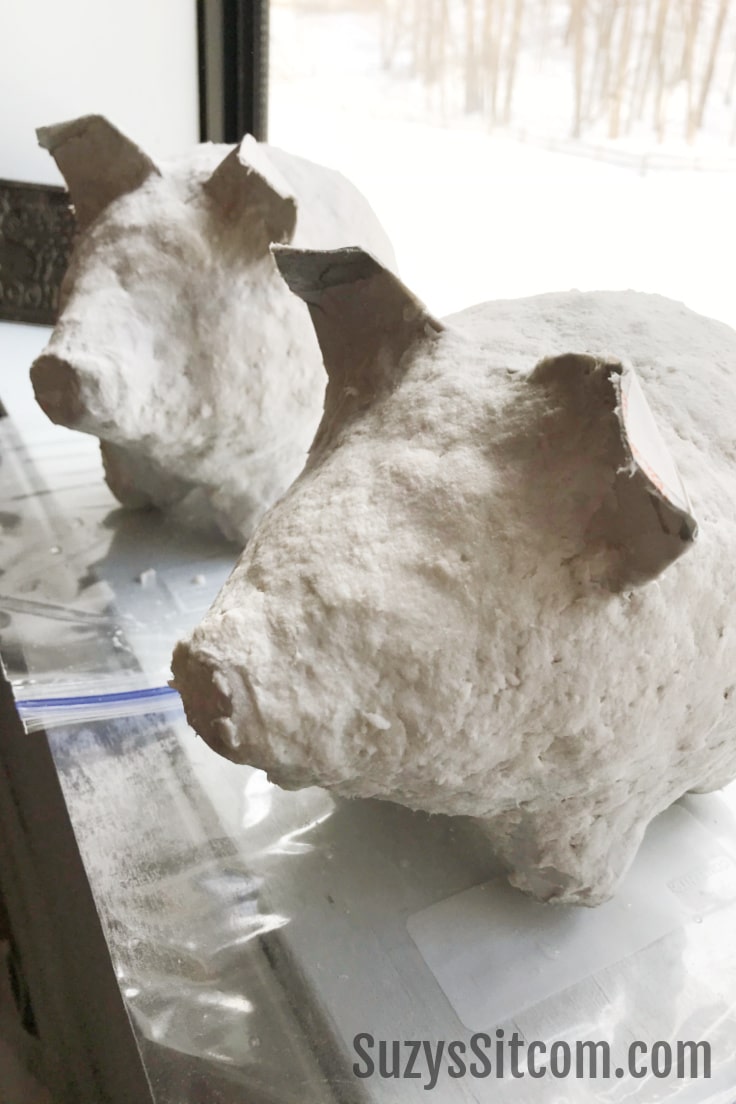
Step two of the paper mache process is to add a layer of instant paper mache. This product comes in powdered form. Add 1 part water to 2 parts paper mache mix to create a good paper clay. Mold the paper mache over the piggies with your fingers, smoothing by dipping your fingers in water as you go. Add about a 1/8-inch layer of paper mache.
Allow this final layer to dry overnight. It is particularly important that this layer be fully dry before going to the next step.
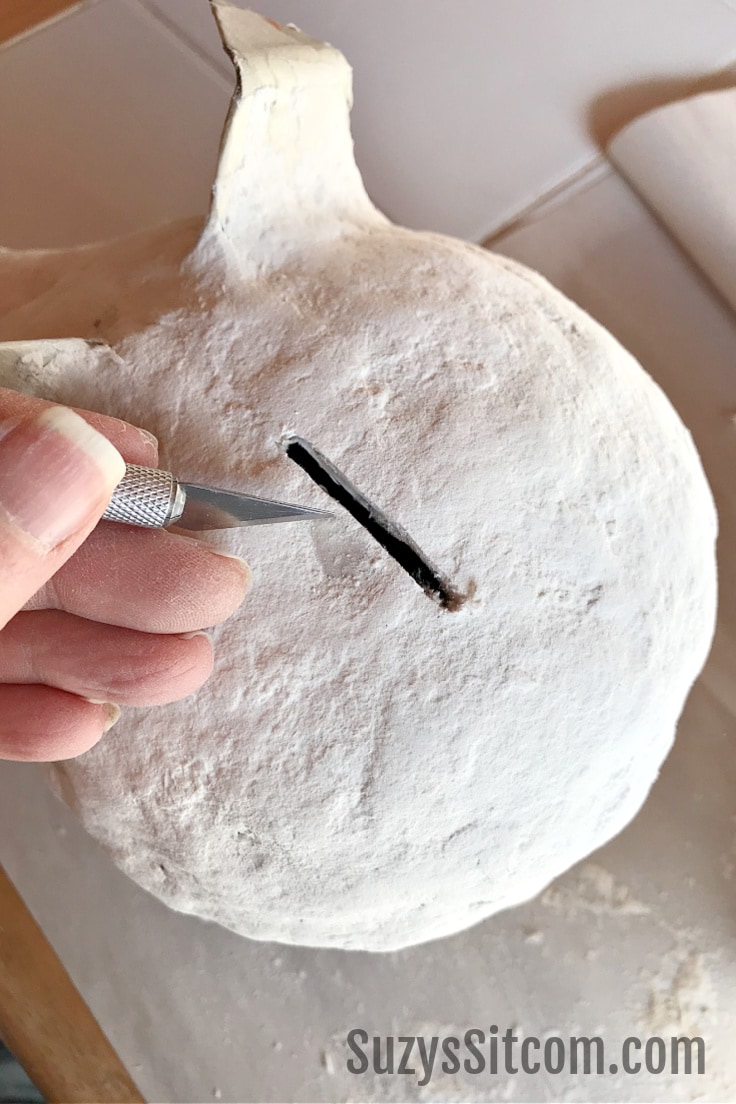
cut a slot in the top of the bank
This is the fun part! Use a craft knife to carefully cut a slot in the top of the bank. The balloon on the inside will quietly burst and fold onto itself. As long as the paper mache is fully dried, the figure will keep its shape without the balloon.
Now time to decorate!
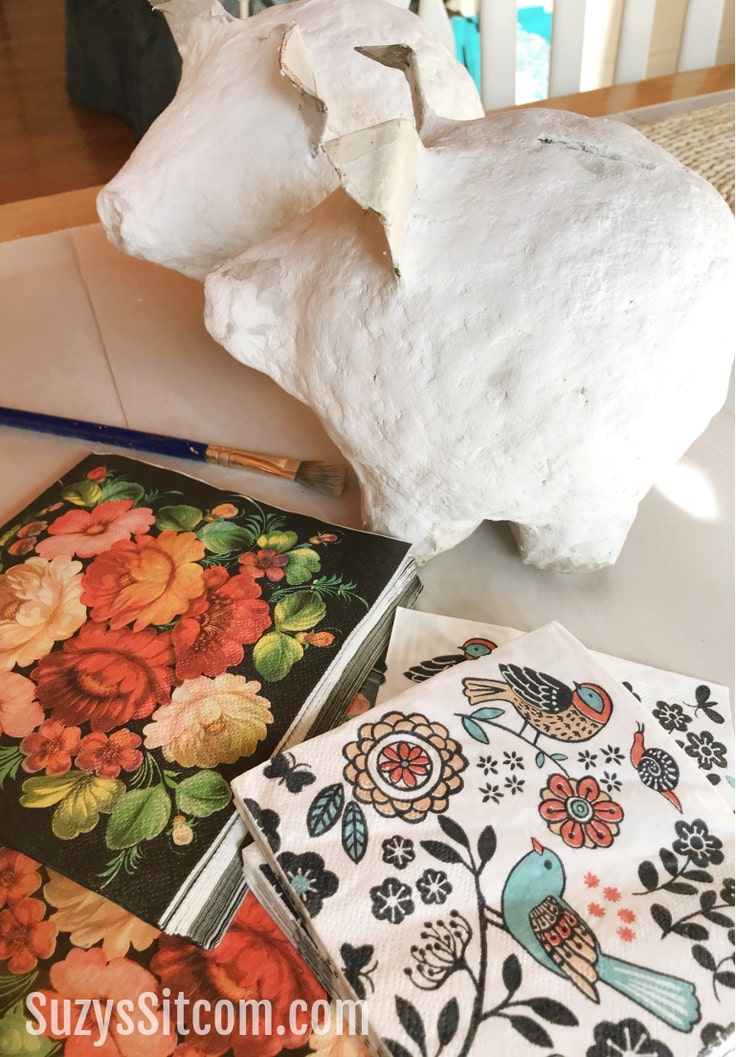
Decorating with decoupage
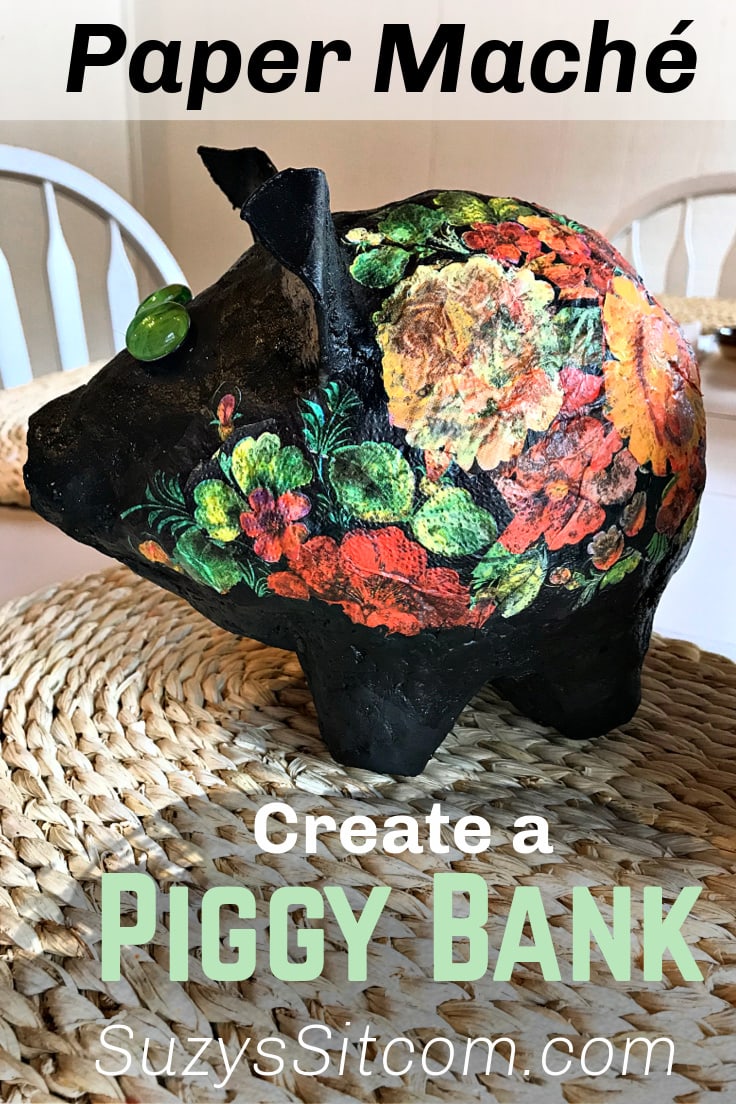
To add instant decor to my little piggies, I chose several fun napkin prints that I wanted to decoupage onto the banks. One of the napkins had a black background, and one had a white one.
Use acrylic paint to paint each bank in the background color that you choose. I chose black for one and white for the other.
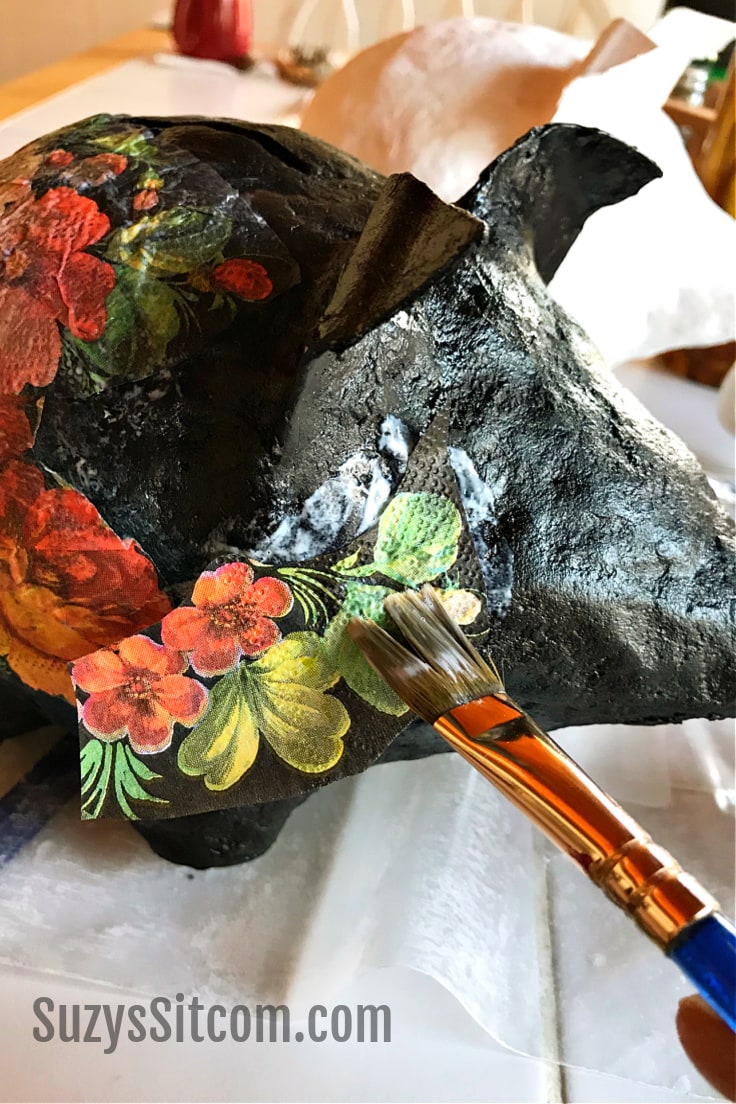
Separate the top most layer of the paper napkin and tear it into small sections. Add a layer of Mod Podge to the bank and then apply the thin paper. Add another layer of Mod Podge on top as you go. The result will be that it looks hand painted!
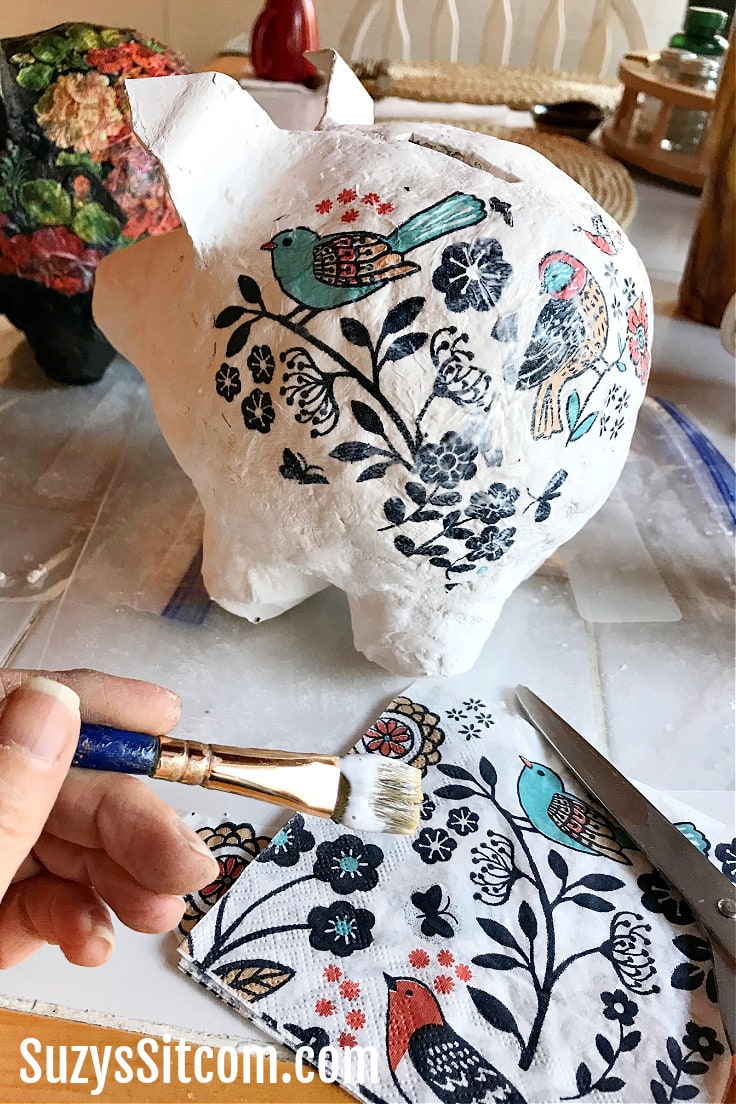
I cut out different sections of the white napkins and applied them to the white pig using the same decoupage method.
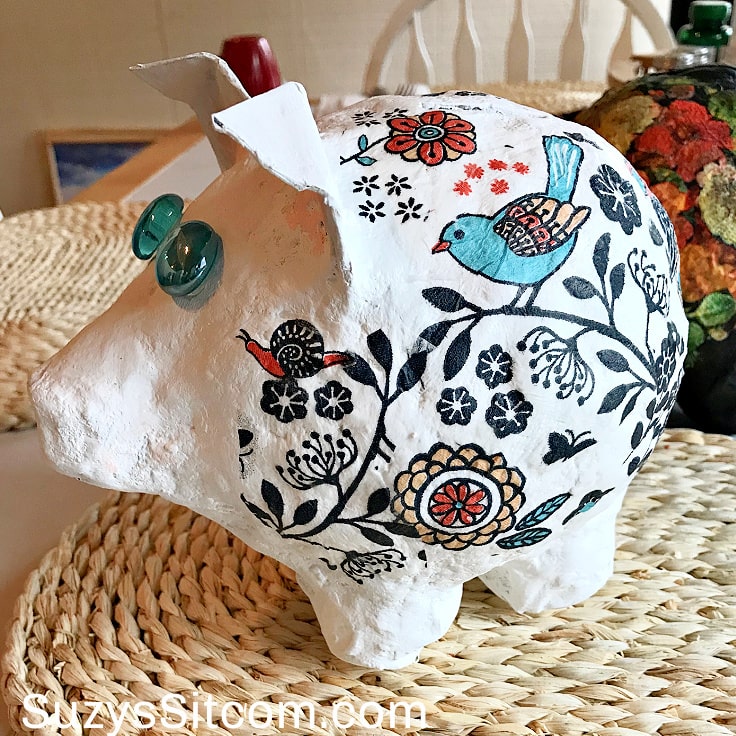
The final touch was to add a couple glass cabochon eyes to my little piggies with low temp hot glue.
Each little piggy bank has its own personality. Much like my granddaughters will. I cannot wait to travel down to Georgia and give them each their own handmade piggy bank!
Here’s the printable card with everything you need to know about how to create your own Paper Mache Piggy Banks!
Create a Pretty Paper Mache Piggy Bank
Equipment
- Paintbrushes
- Pair of scissors
Supplies
- 1 ea Balloon
- 1 ea Egg Carton
- 1 ea Painters Tape Masking tape would also work.
- 1 ea Low Temp Hot Glue Gun and Glue Be sure that it is low temp
- 1 ea Packing Paper or Newspaper
- 1 ea Mod Podge
- 1 box Instant Paper Mache Mix
- 1 ea Acrylic Paint
- 1 pk Decorator Napkins
Instructions
- Cut the egg carton apart for the legs and nose. Cut the ears from the egg carton lid. Blow up the balloon.
- Add the legs, nose and ears to the balloon using a low temp hot glue gun.
- Use painters tape to cover any spaces and seams.
- Cut up strips of packing paper or newspaper. Use Mod Podge and a brush to layer the strips of paper over the entire piece, covering the balloon and all egg carton pieces. Allow to dry overnight.
- Mix the instant paper mache mix with water (1 part water to 2 parts paper mache). Cover the piggy bank with a layer of instant paper mache. Smooth with wet fingertips. Allow to dry overnight.
- Use a craft knife to cut a slit into the top of the bank.
- Choose your background color and paint the bank with acrylic paint.
- Use designer napkins and Mod Podge to decoupage the piggy bank.
- Add button eyes or use glass cabachons attached with low temp hot glue.
Do you love paper crafts?
Paper is such a versatile medium! It is amazing what can be done with it. Here are some more great paper craft ideas that can be found on SuzysSitcom!
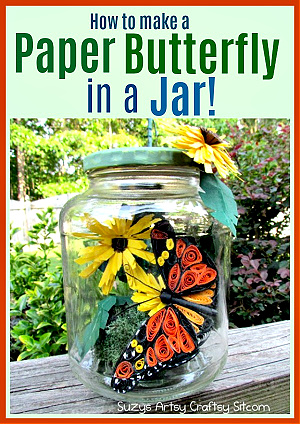
How to make a Paper Butterfly in a Jar
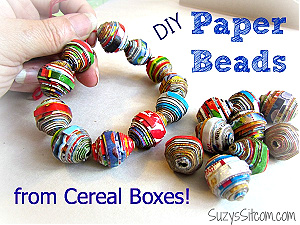
Make Paper Beads from Cereal Boxes!
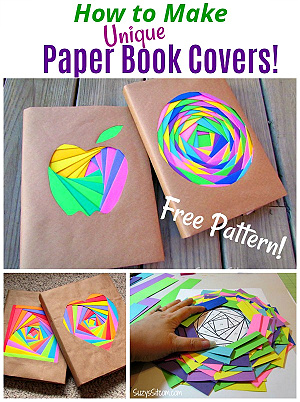
How to make Unique Paper Book Covers
Love the ideas you see here on Ideas for the Home by Kenarry®? Subscribe today to get our FREE DIY & Craft Planning Calendar, plus our weekly Ideas in Your Inbox newsletter filled with creative tips and exclusive offers!
You may also enjoy these easy craft ideas on Ideas for the Home by Kenarry® –