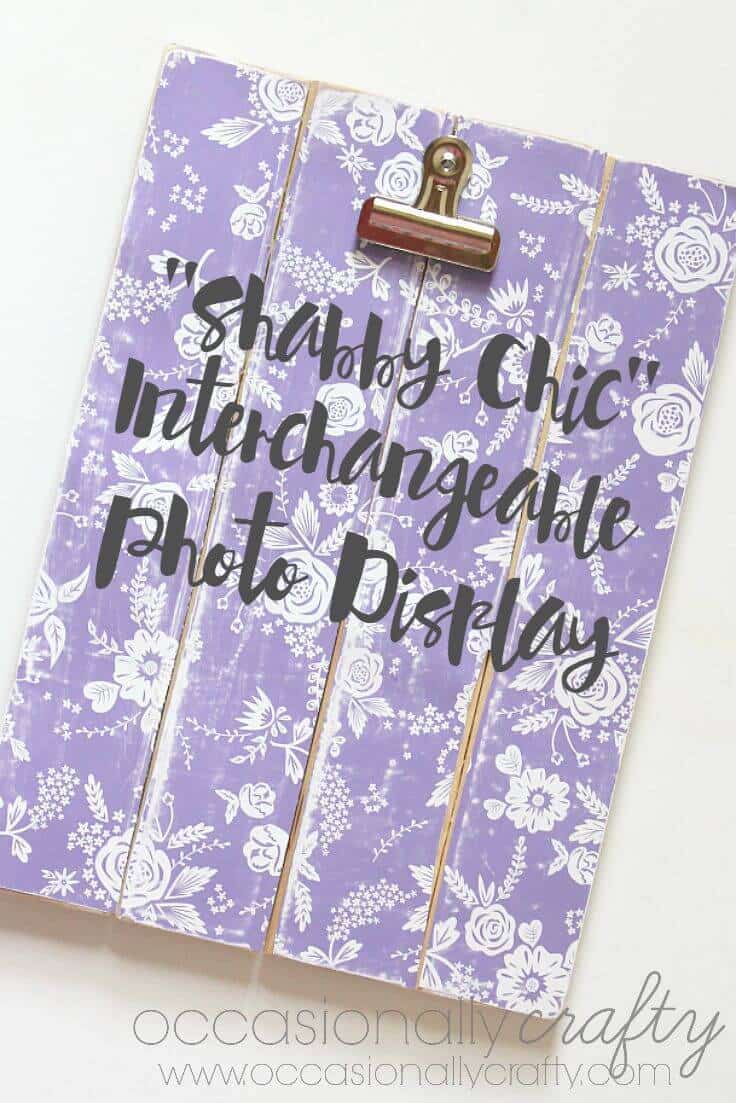
Shabby Chic Interchangeable Photo Display
THIS POST MAY CONTAIN AFFILIATE LINKS. PLEASE SEE OUR FULL DISCLOSURE POLICY FOR DETAILS.
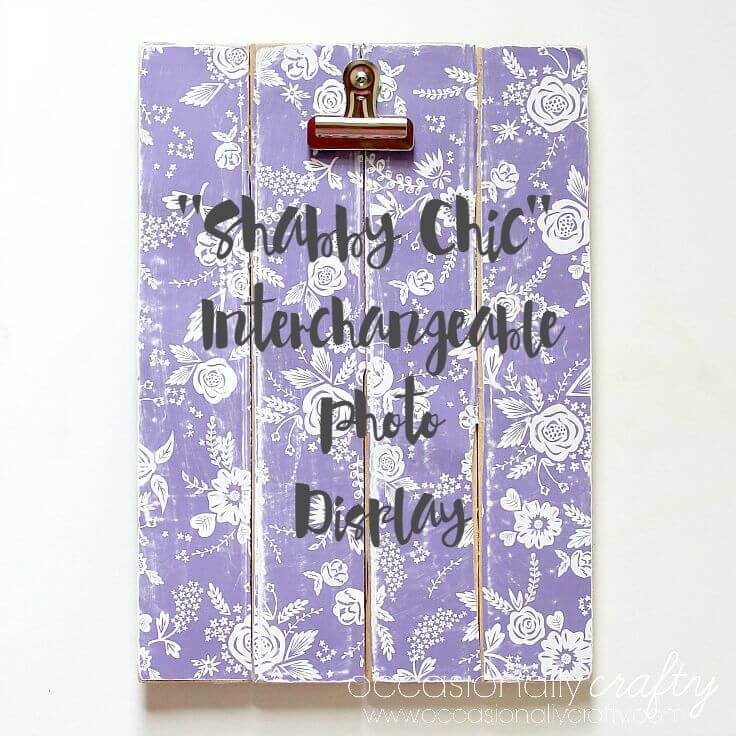
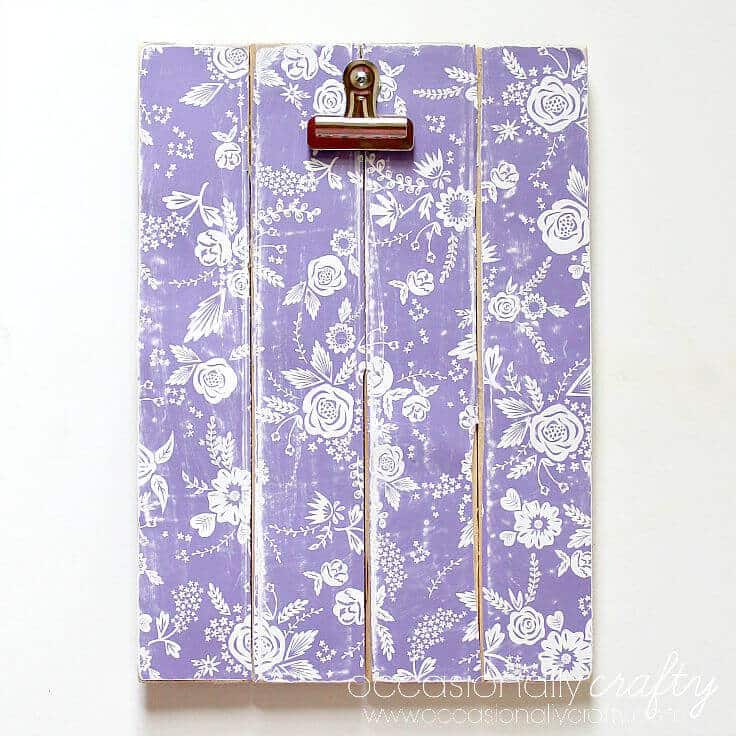
Easily change out your pictures with this simple and beautiful interchangeable “Shabby Chic” Photo Display!
Hi again, Kenarry readers! I’m Valerie from Occasionally Crafty, and I’m here this month sharing this simple and beautiful Interchangeable “Shabby Chic” Photo Display. This project can be made to match any room, and you can easily change out photos up to 8×10.
For this project, you will need the following supplies:
-
- Unfinished Slat Board (or make your own from wood scraps)
-
- Scrapbook Paper or other decorative paper
-
- Mod Podge/brush or other adhesive
-
- Sandpaper- very fine grit
- Metal clip
- Strong adhesive glue (such as e-6000)
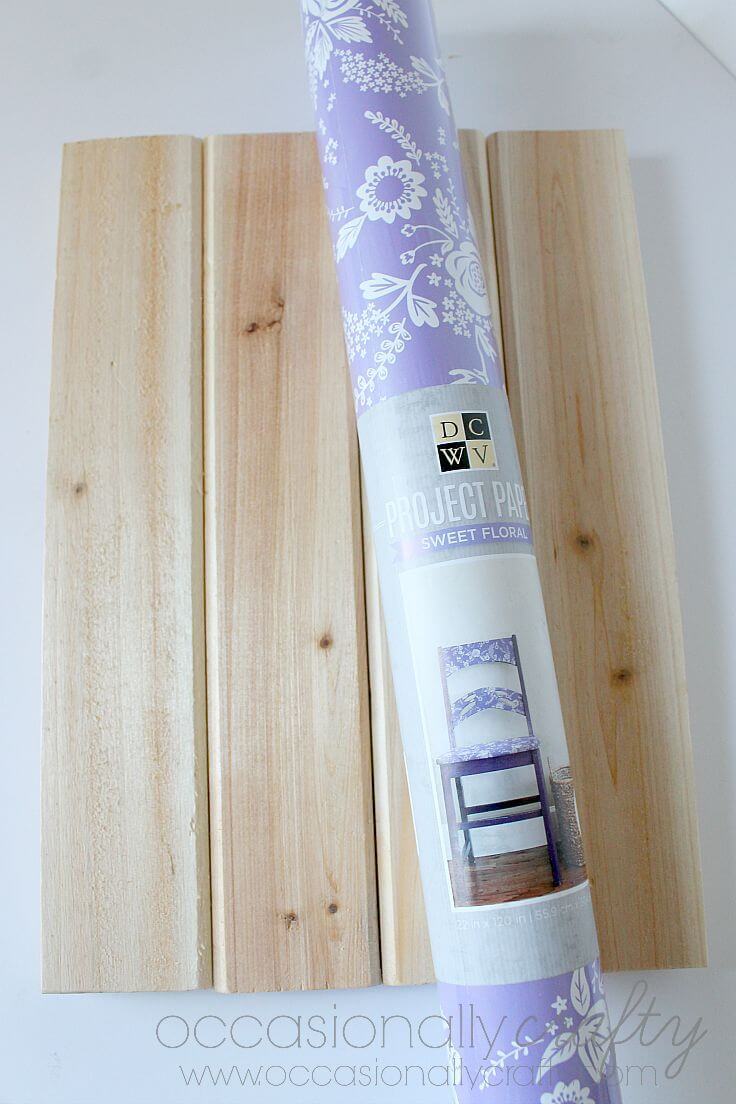
I’m going to be honest- I tend towards the “lazy” side of crafting. So when I saw an unfinished slat board at Michael’s I grabbed it. It measures at 12.5 inches x 9 inches, which makes it perfect for this project.
The paper you choose will determine the “look” of your picture display. I used some decorative paper from DCWV, found at Jo-Ann’s. The dainty flowers and colors made a perfect “shabby chic” background. If you’d like something a little more modern, choose paper accordingly.
Measure a piece of paper to fit over your entire board. Cut it out. Then, measure each slat, and cut your paper into strips to fit the slats on your board. Don’t worry if it isn’t exact- we will be distressing the paper later.
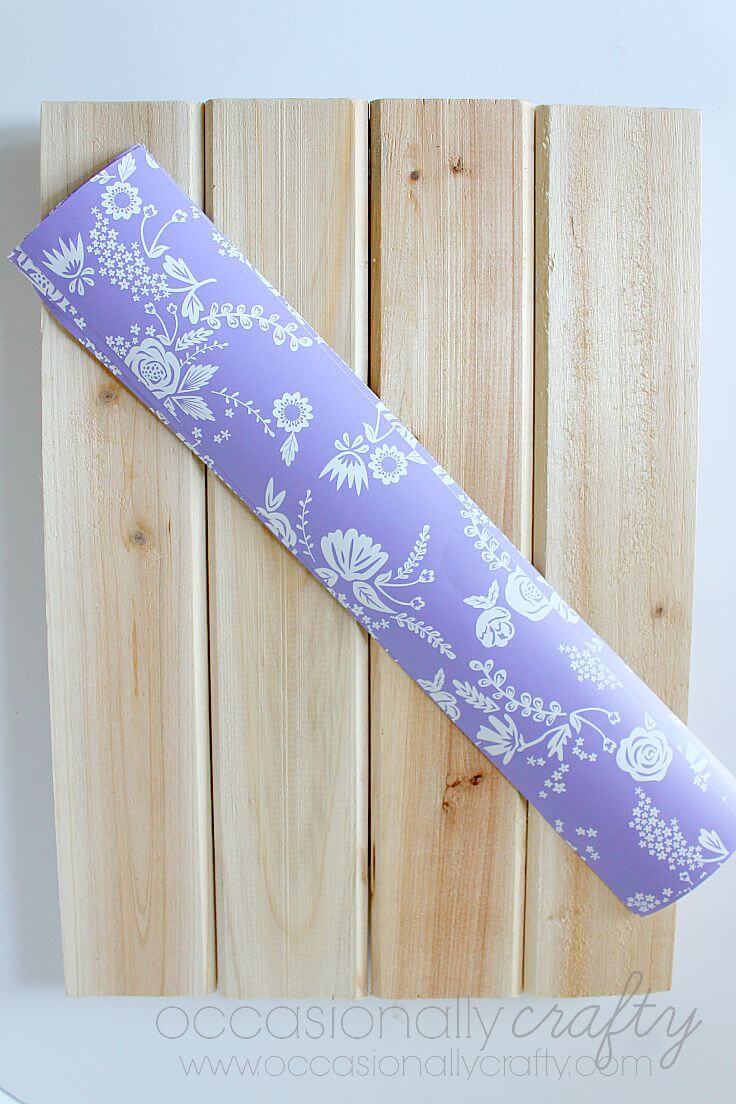
Mod-Podge your paper onto your board by painting a thin coat of the glue onto each slat, then carefully placing your paper on top and smoothing.
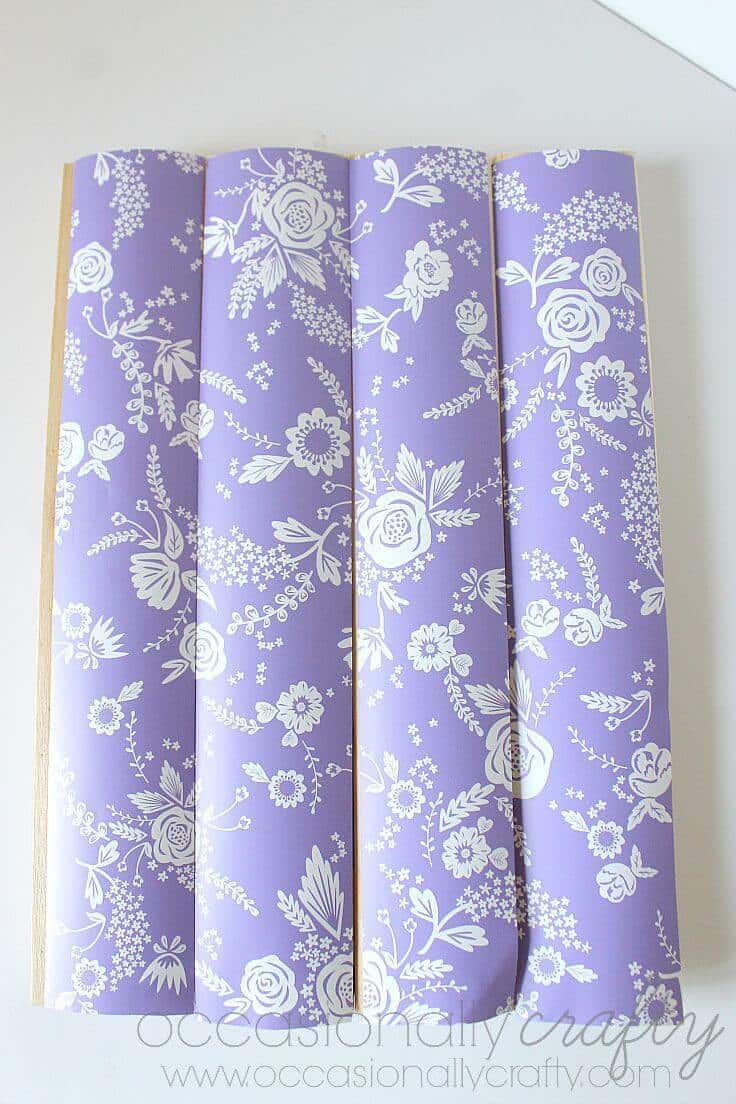
Once your glue has dried, distress by running sandpaper across the edges, corners, and anywhere else you want the paper to be distressed. I did this along each of the slats as well.
Finish by applying your metal clip with some glue. Let it dry completely before using.
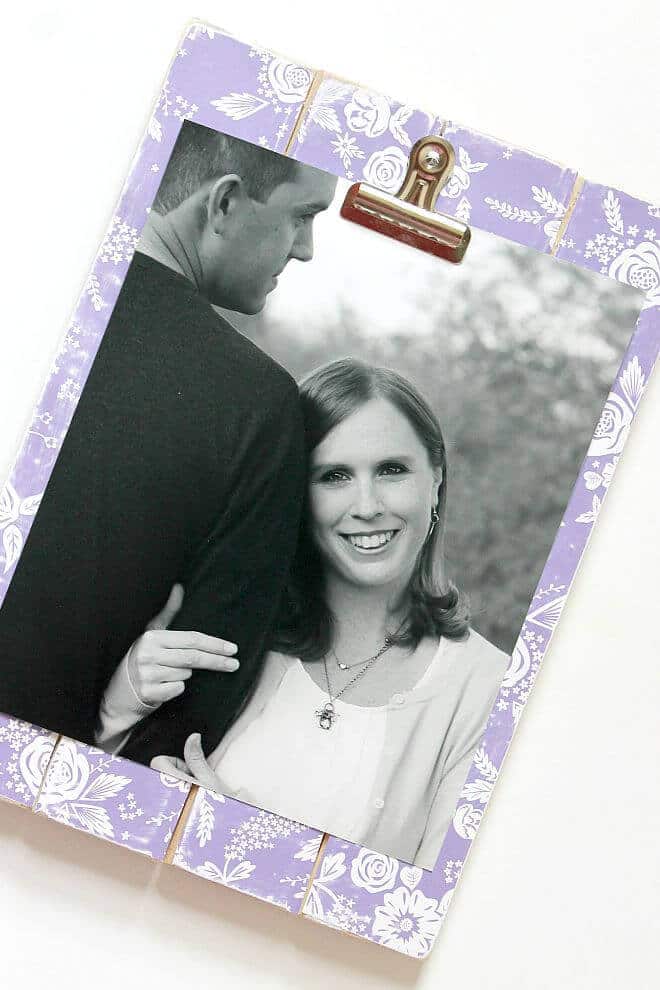
Now you can display any picture up to an 8×10. It’s perfect for this one of my husband and I (an 8×10),
or this one of my daughter and I (a 5×7).
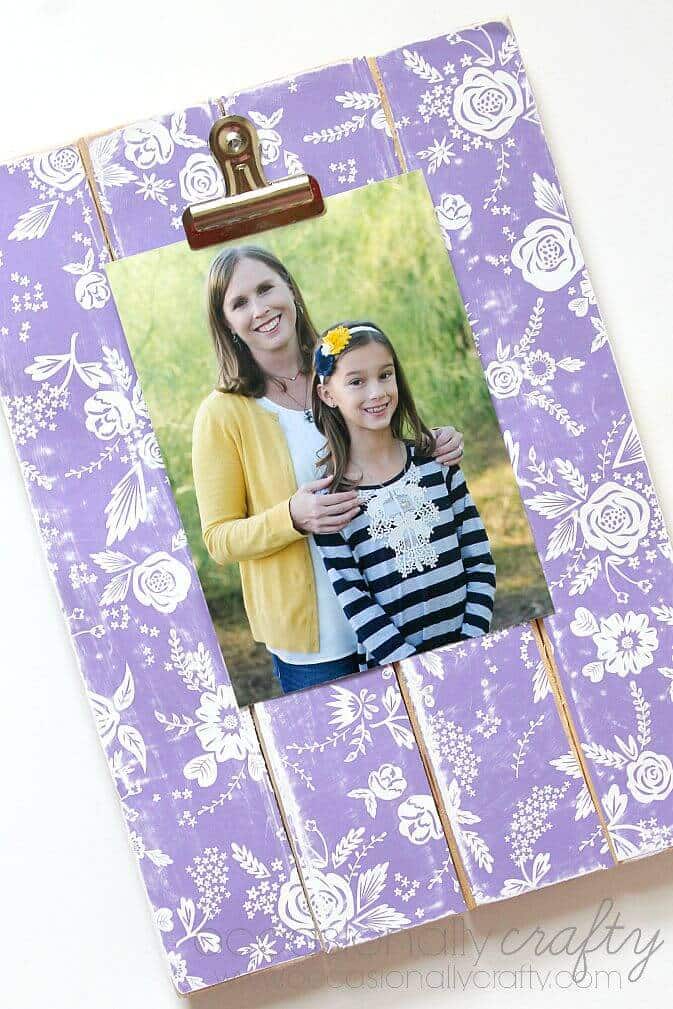
I love how it turned out, and I love that I can change out the pictures easily! I have a terrible habit of printing out pictures and having them sit in an envelope for months on end. No more!
Thanks for stopping by today! If you’d like to see what I’ve been up to on my blog, check out some of my latest projects:
Easy Cork Board Makeover for Back to School

S’mores Cupcakes and Dessert Table
Find Me at the Lake Vinyl Sign

What’s Next?
While you’re here be sure to check out other home decor ideas on Ideas for the Home by Kenarry® –
What font did you use for “shabby chic photo display”?
Hi Michelle! The font is a paid one called “Greatesque”. You can find it on Creative Market. I got it as part of a font bundle.