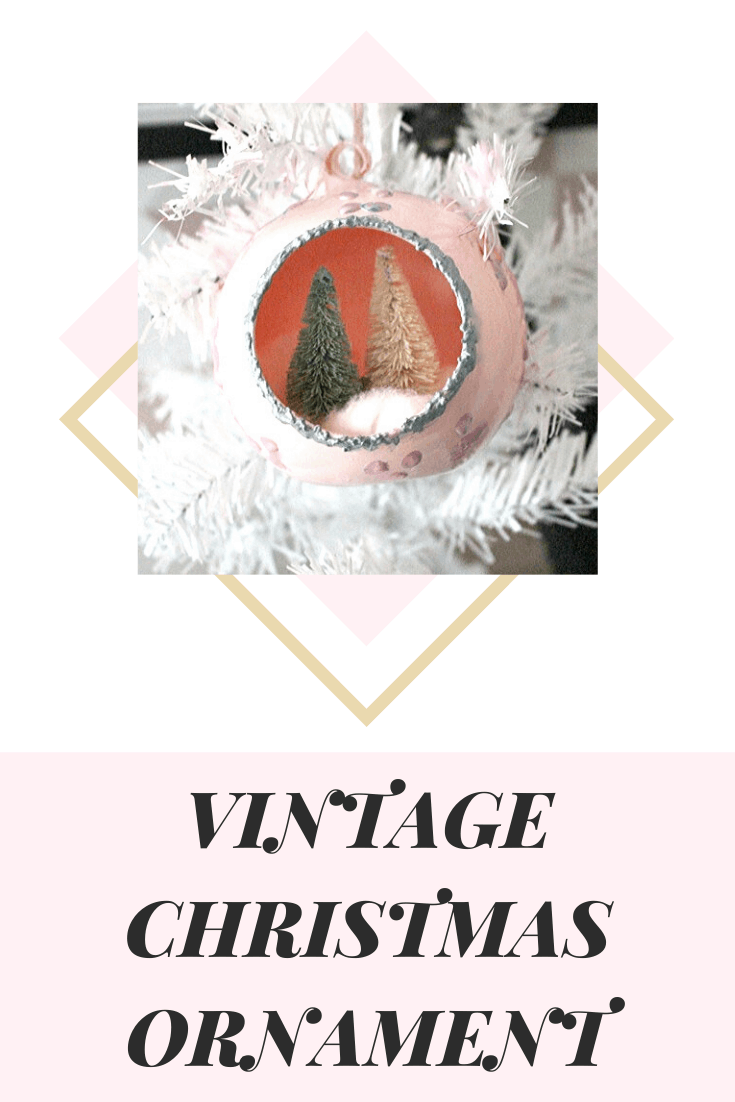
How To Make Vintage-Inspired DIY Christmas Ornaments
THIS POST MAY CONTAIN AFFILIATE LINKS. PLEASE SEE OUR FULL DISCLOSURE POLICY FOR DETAILS.
Learn how to make beautiful vintage-inspired DIY Christmas ornaments with this easy to follow tutorial.
Hello! Michelle from Our Crafty Mom here and I’m excited to be back today with beautiful vintage-inspired DIY Christmas ornaments. You can paint these ornaments any color you like to match your home decor. They have a fun retro vibe that continues to be so popular.
How to Make Vintage-inspired DIY Christmas ornaments
Like so many of you, I love decorating for the holidays. There really is something so magical about it. Every year I make new Christmas ornaments not only for our Christmas Tree but also to give to family and friends. I’m thrilled with how these vintage-inspired ornaments came out and can’t wait to share the tutorial.
What you need:
Want more ideas like this? Subscribe today to get our weekly Ideas in Your Inbox newsletter plus other exclusive gifts and offers — all for FREE!
Craft Tools Needed:
Supplies Needed:
- Krylon Ballet Pink Spray Paint
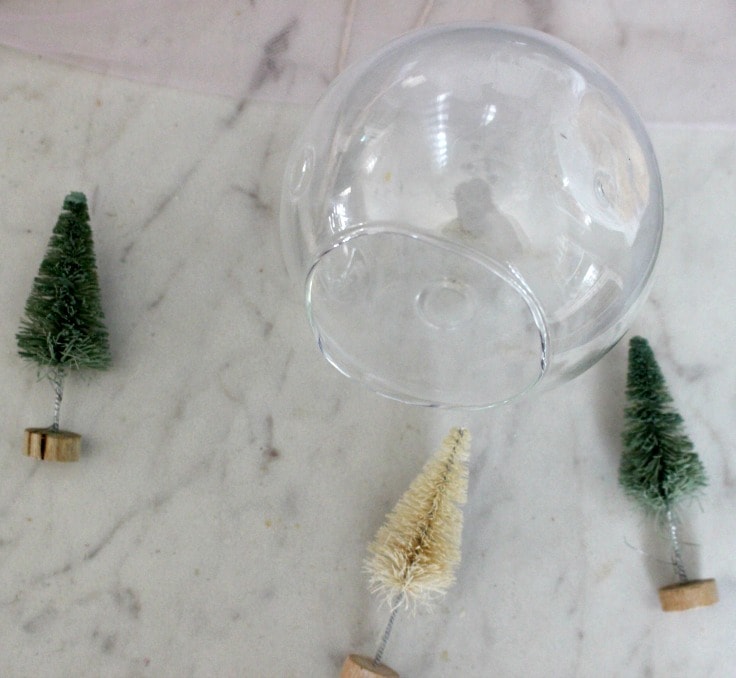
- Hanging Glass Ornament Planter
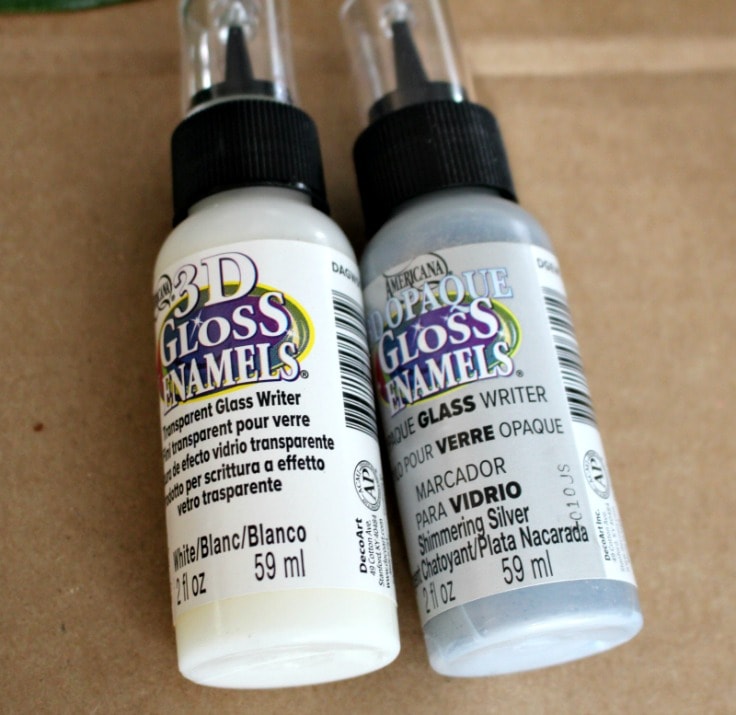
- DecoArt Tip Writer App
- DecoArt Silver Metallic Paint
- DecoArt White Paint
- Poly-fil
- Mini Bottle Brush Trees
Instructions:
Here is how to make a Christmas ornament for your tree that looks vintage. It’s a fun Christmas craft that you can do with your kids.
1. clean the glass ornament
Be sure the glass ornament is free of fingerprints, dust, etc by wiping it with rubbing alcohol.
2. paint the glass ornament
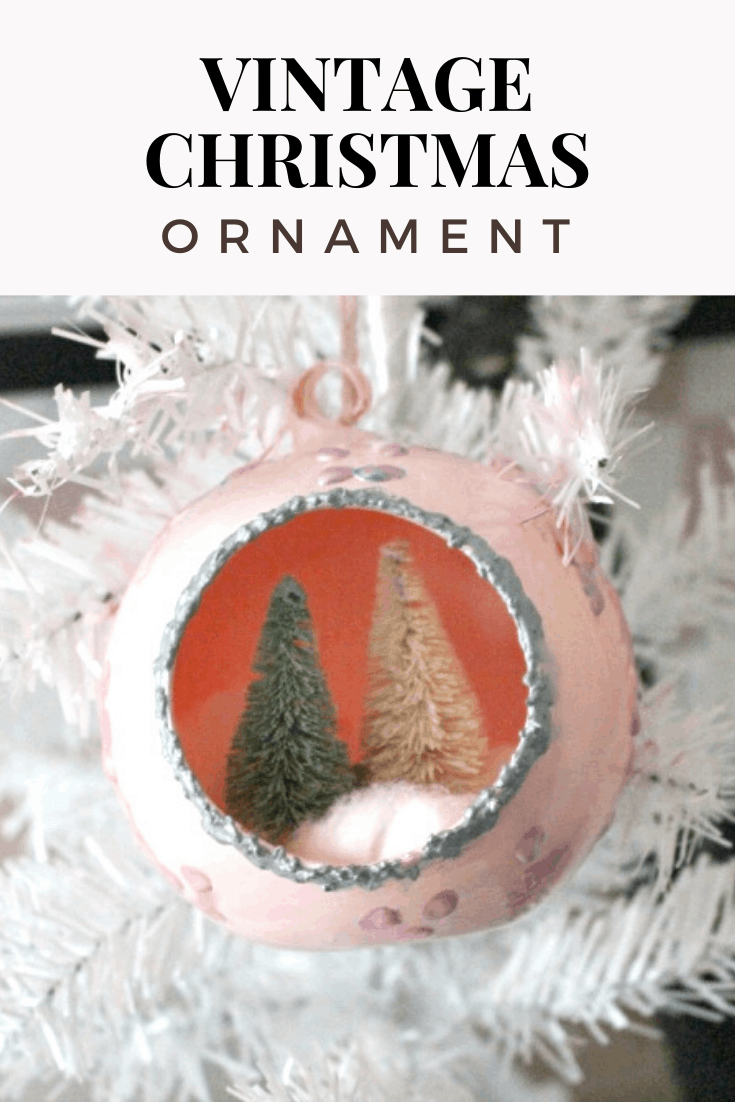
Spray paint the glass ornament with 2-3 light coats of spray paint. Be sure to let it dry in between coats.

3. Add paint To rim
Use the tip writer app to paint silver metallic paint around the rim of the glass ornament. This takes a little while to dry, so I let it dry overnight to be safe.
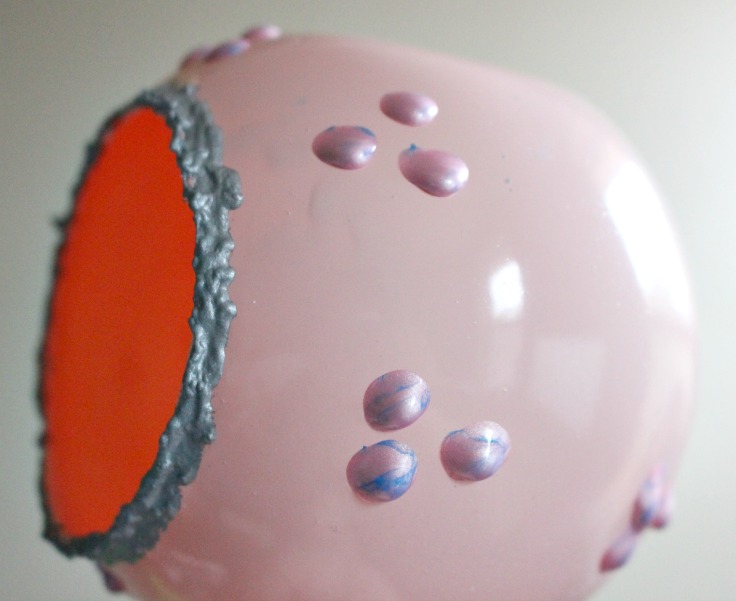
4. paint embellishments
Use the tip writer to paint pink and blue embellishments on the glass ornament. You can paint flowers, snowflakes or just polka dots.
5. add poly-fil.
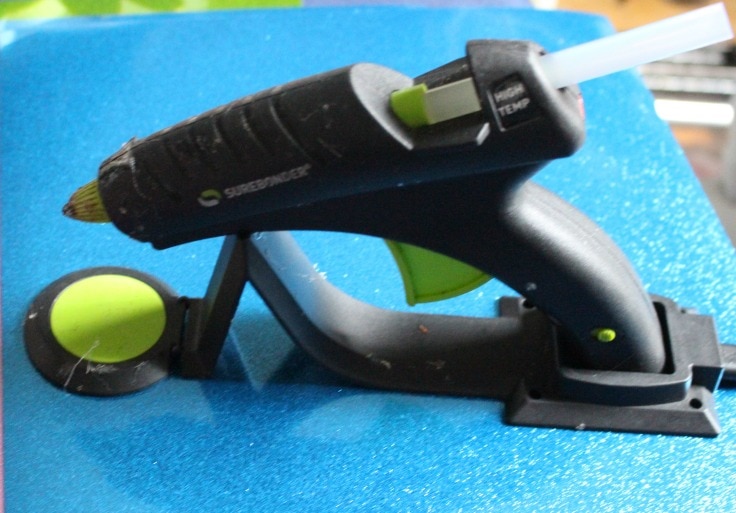
Fill the bottom of the glass ornament with poly-fil. Add a little hot glue to secure it. This surebonder hot glue gun is my favorite. It is cordless and has its own stand. It makes it so much easier to craft!
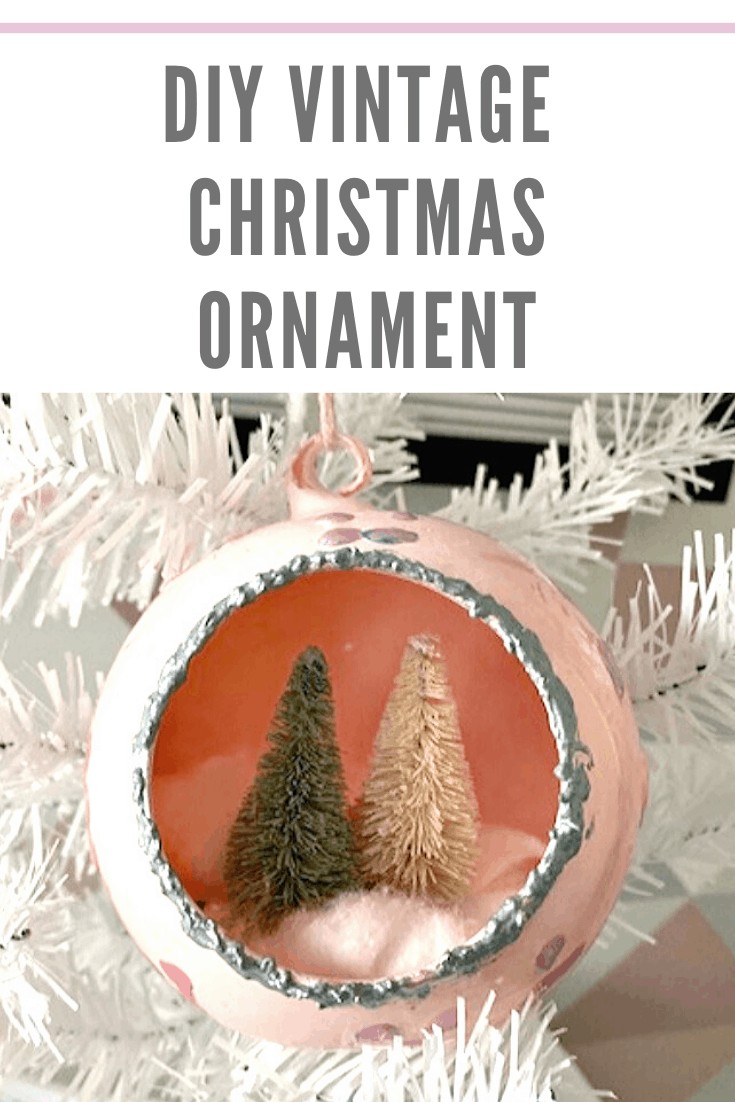
6. add the bottle brush trees
Hot glue 2-3 bottle brush trees to the inside of the glass ornament. You can also add little figurines if you like. Here I show it with lights behind it and love how it looks.

Think about how many cool color combinations you could make. I’d love to make an aqua one with pink trim. What color combination would you like to see?
Love the ideas you see here on Ideas for the Home by Kenarry®? Subscribe today to get our weekly Ideas in Your Inbox newsletter plus other exclusive gifts and offers — all for FREE!
What’s Next?
If you enjoyed these DIY Christmas Ornaments, then you’ll enjoy these Christmas Ornaments too.
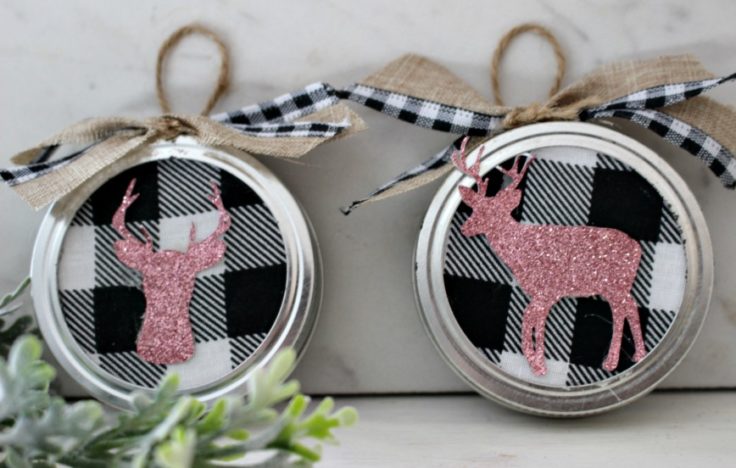
Buffalo Check Mason Jar Lid Ornaments
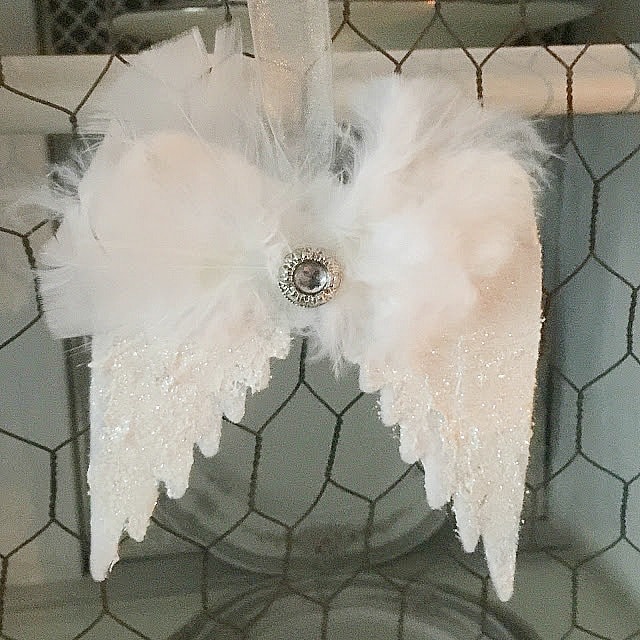
Angel Wings Christmas Ornaments
Chalkboard Christmas Ornaments

You may also enjoy these ornament and Christmas ideas on Ideas for the Home by Kenarry® –