• About Us
    • Contact Us
    • Work With Us
    • The Creative Team
    • Disclosures
  • Subscribe
  • Shop Our Products
  • My Account
  • Cart
  • Nav Social Menu

    • Facebook
    • Instagram
    • Pinterest
    • Twitter
  • DIY & Decor â–¾
    • Crafts
    • Home Decor
    • Home Improvement
    • Technology
  • Recipes â–¾
    • Breakfast
    • Appetizers
    • Side Dishes
    • Easy Dinner Ideas
    • Slow Cooker
    • Fun Food
    • Desserts
  • Clean/Organize
  • Kid Ideas â–¾
    • Birthdays
    • Castle Playroom
    • Outer Space Bedroom
    • Teacher Appreciation
    • Travel Tips
  • Free Printables
  • Holidays â–¾
    • Valentine’s Day
    • St. Patrick’s Day
    • Easter
    • Cinco de Mayo
    • Mother’s Day
    • Memorial Day
    • Father’s Day
    • Independence Day
    • Halloween
    • Thanksgiving
    • Christmas
    • New Year’s
    • Gift Ideas

Ideas for the Home

You are here: Home / Gift Ideas / How to Personalize a Wood Bottle Caddy and a FREE Father’s Day Gift Tag

By Lori Greco on June 13, 2019 Leave a Comment

How to Personalize a Wood Bottle Caddy and a FREE Father’s Day Gift Tag

Craft Ideas· Gift Ideas

  • Share
  • Tweet

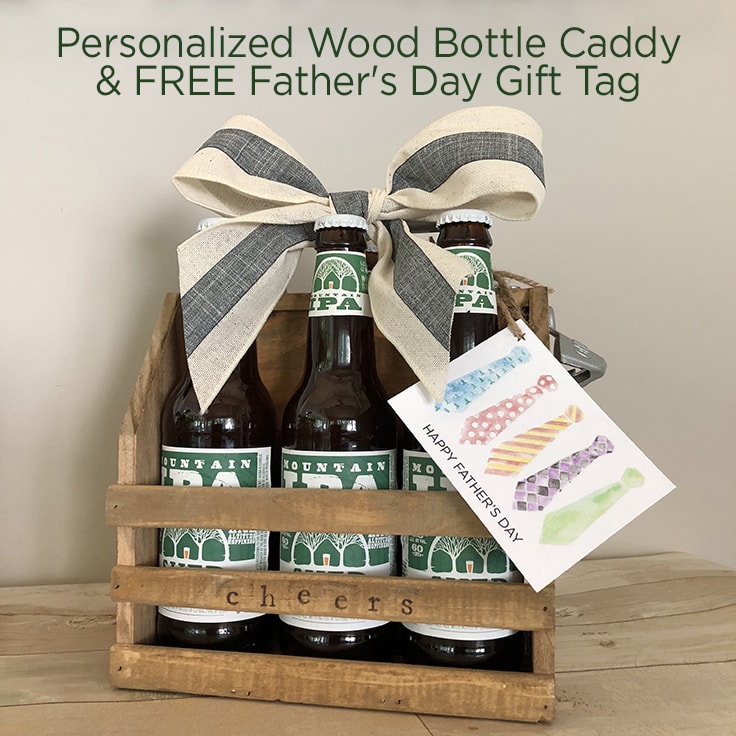
This wood bottle caddy with built-in bottle opener is a great Father’s Day gift idea and can be easily personalized with a special message or name. Plus download and print your FREE Father’s Day gift tag and your gift buying is done!

Hi Kenarry readers, it’s Lori from Greco Design Company and I have the prefect Father’s Day gift idea – or even an idea for a hostess or birthday gift. Add your favorite beverage and a simple stamped personalized message to make it even more special.

How to Personalize a Wood Bottle Caddy and a FREE Father's Day Gift Tag

Finding a gift for Father’s Day can be hard. But a personalized gift is much more meaningful – and this wood bottle caddy is also very useful! It can be used to hold soda (pop, coke, whatever you call it) or beer.

Plus I’m sharing a free printable gift tag too!

How to personalize a wood bottle caddy

A wood bottle caddy

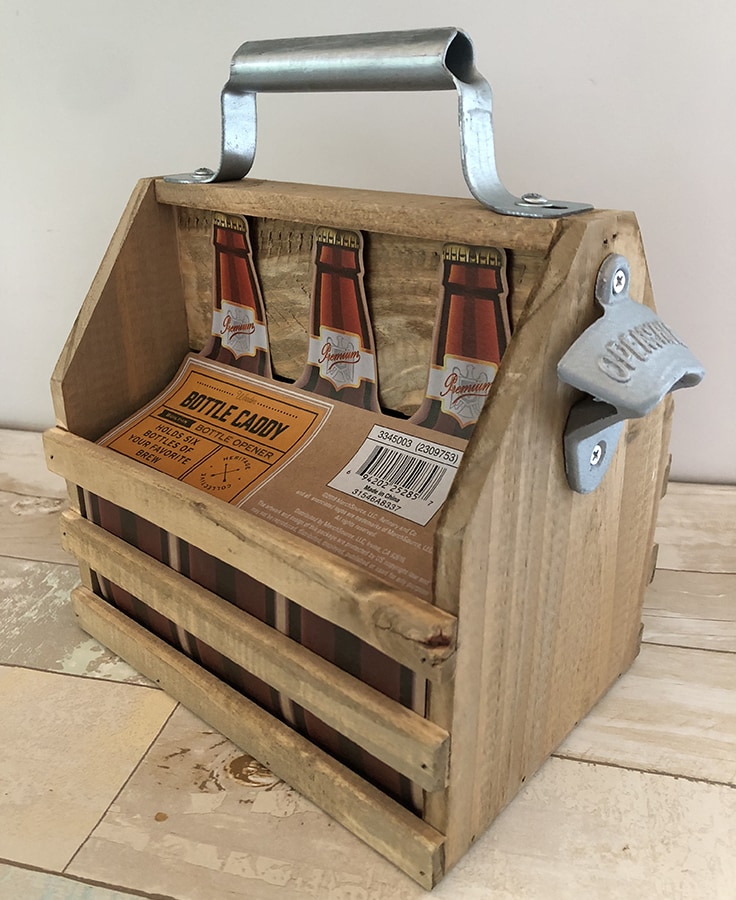
I found this wood caddy at HomeGoods but you can order it online here. It’s a sturdy, rustic style holder with a built-in metal bottle opener. So it’s cool and purposeful. The wood slats on the side are the perfect place to add a personalized message. Just follow the simple steps below:

What you need: 

Disclosure: This blog post contains affiliate links for products or services we think you’ll like. This means if you make a purchase from one of these links, Ideas for the Home by Kenarry® will make a small commission at no additional cost to you so we can keep the great ideas for the home coming your way. All opinions expressed are derived from personal experience.

This is what you need to use to personalize a wood caddy - letter stamps, black ink, permanent markers, a wood caddy.

Supplies or Ingredients Needed: 

  • Wood bottle caddy – like this one
  • Alphabet stamp set – like this one and ink pad
  • Ultra Fine Point Sharpie marker
  • Sandpaper, optional
  • Access to a computer and color printer
  • White cardstock or paper
  • Scissors

Instructions:

This is such a simple craft! You can even involve your kids in this DIY father’s day gift idea and they can decorate it too.

1. Measure where your message will go.

Start with the middle letters and then stamp the rest of the letters on either side.

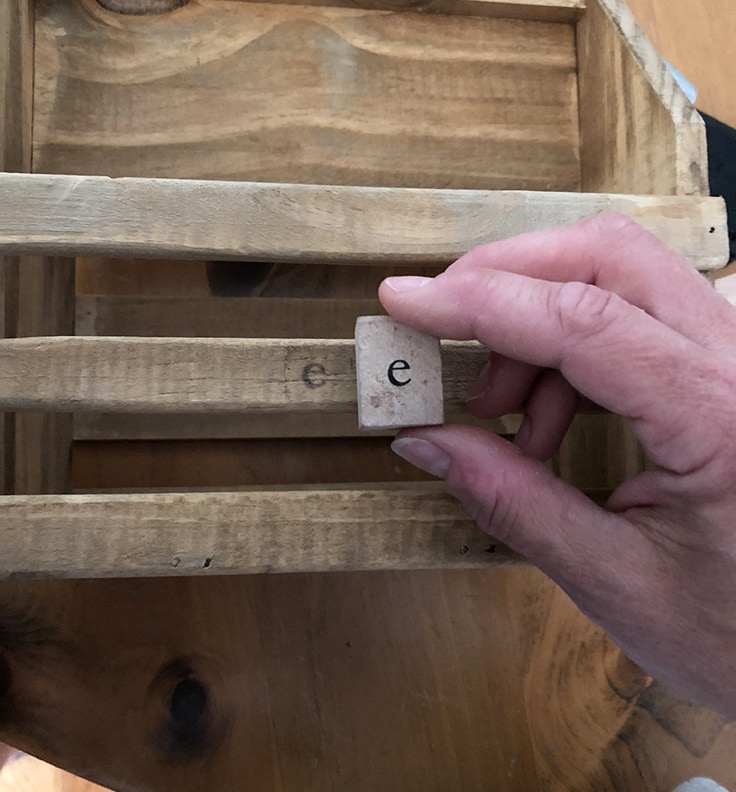
I did a simple “cheers” message and I wanted it centered on my caddy. When adding your personalization, figure where the center of the word or phrase is and line it up to the center of the caddy. Next, stamp the letters on either side of the center mark, then stamp the rest of the letters on the caddy, out from each side.

2. Clean up any unwanted marks.

How to remove extra ink from wood - just sand it off.

If you have some extra ink marks from the stamps you can lightly sand them off. This step isn’t necessary though, the additional ink just adds to the rustic look.

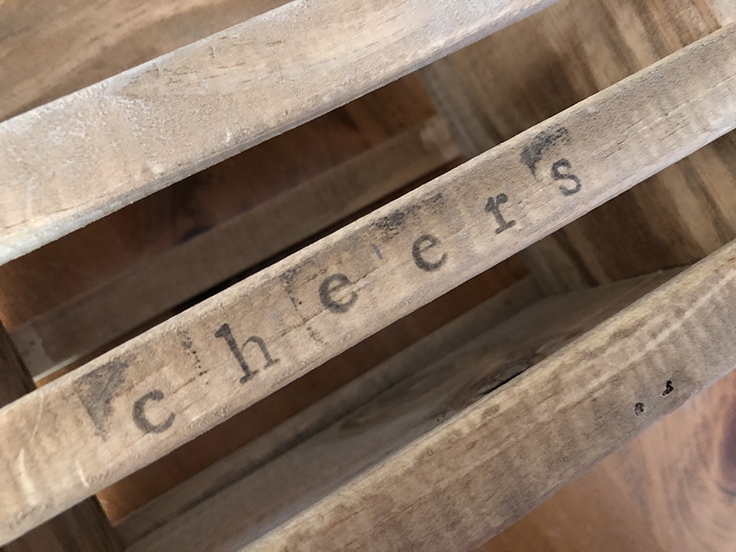
3. fill in your letters.

Use a permanent black marker to fill in the letters and make them darker on the wood.

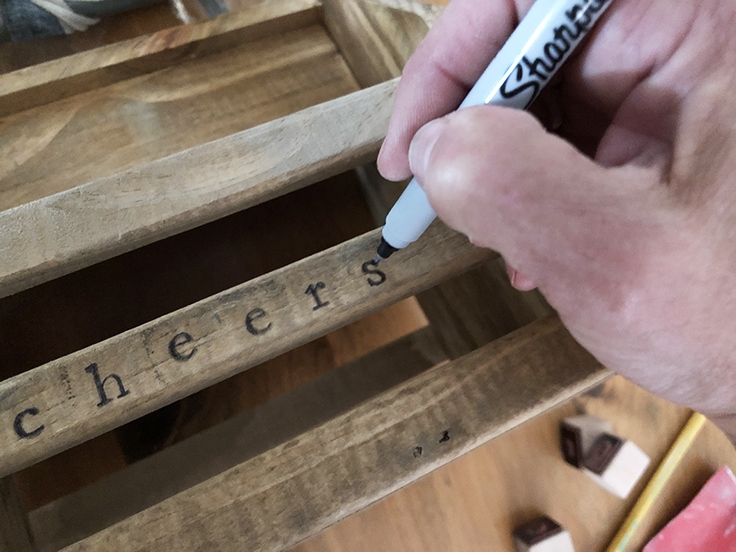
The ink for stamping is a little faint on the wood, so I use an Ultra Fine Point Sharpie marker to fill in the letters.

4. Add your ribbon and favorite beverage.

How to Personalize a Wood Bottle Caddy and a FREE Father's Day Gift Tag

A rustic burlap ribbon tied to the handle adds a finishing touch. Then add your recipient’s favorite beverage.

5. don’t forget the free gift tag!

 A free printable happy father's day gift tag.

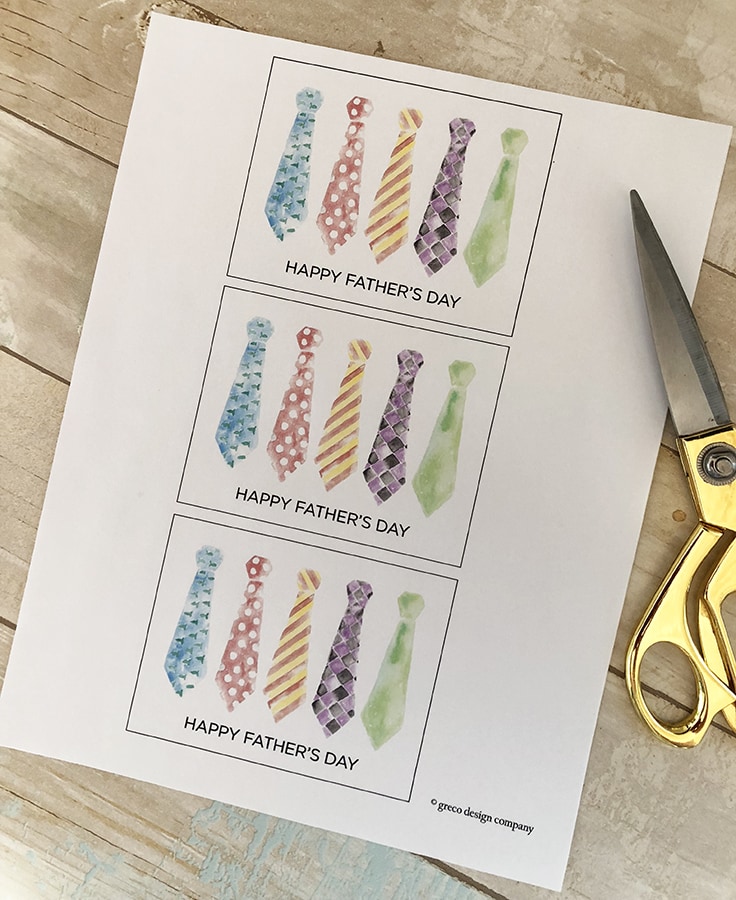
I painted these fun tags that you can add to this caddy – or use them for any Father’s Day gift.

Exclusive for Kenarry subscribers, receive the FREE printable Father’s Day gift tags by signing up below. You’ll get the download link sent directly to your inbox.

Your privacy is important to us. We promise not to spam you or share your information. You can opt-out at any time. See our privacy policy for more information.

All printables from Ideas for the Home by Kenarry® are for your own PERSONAL USE ONLY.

After you’ve signed up, watch for an e-mail to confirm your e-mail address and download the free digital printable. Plus you’ll have the opportunity to get the weekly Kenarry Ideas In Your Inbox newsletter, as well as product discounts, special offers and other content that is EXCLUSIVE for Kenarry subscribers only.

You can also join our Idea Insider VIP Club to get unlimited access to the full vault of unique and beautiful printables we offer to make gift giving, holidays and everyday life more special. A lifetime membership in our Idea Insider VIP Club is a great way to save time and money with easy access to hundreds of printable cards, tags, wall art and more right at your fingertips.

YOur gift is ready!

How to Personalize a Wood Bottle Caddy and a FREE Father's Day Gift Tag

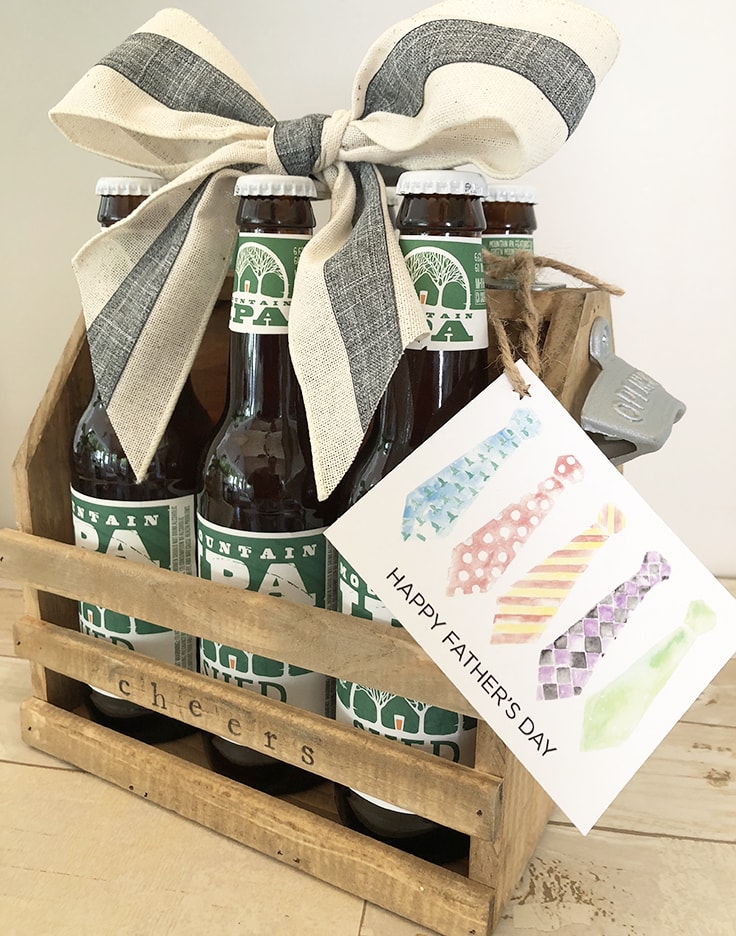
Download and print your gift tag onto a white cardstock for best results. Cut the tags out, punch a hole in one of the corners, and tie it onto your caddy with twine or ribbon. Now your gift is done!

If you enjoyed this personalized wood bottle caddy, then you’ll enjoy these other simple personalized gift ideas too.

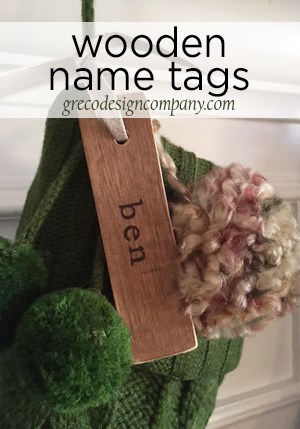
DIY Personalized Wooden Name Tags

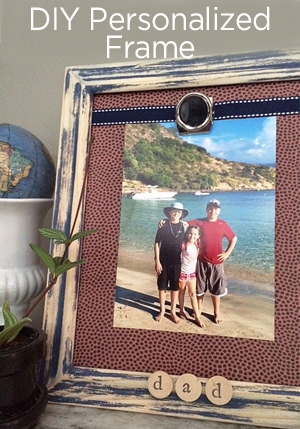
DIY Personalized Frame
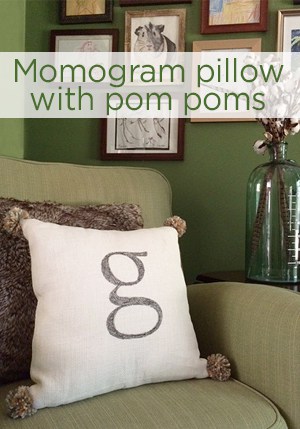
DIY Monogram Pillow

You may also enjoy these three other personalized ideas on Ideas for the Home by Kenarry® –

  • How to Make Rustic Wooden Luggage Tags
  • Easy to Make Personalized Photo Candles
  • How to Make Your Own Keychain with Leather
  • Share
  • Tweet

Craft Ideas· Gift Ideas

About Lori Greco

Lori is a freelance graphic designer living in the Boston area with her husband, their three kids and a yellow lab puppy. She started Greco Design Company in 2014 when she realized that her love for design was extending beyond the corporate advertising world and into all areas of her life. She shows us some unique but simple DIY projects, gives some great ideas for home design, provides her outlook on current fashion trends, and loves to do beauty and product reviews. She incorporates her graphic design background through her free printables, paintings, signs, art prints, invitations and stationery on her blog and in her Etsy shop. Lori believes in the importance of surrounding ourselves with good, purposeful design that can help streamline our lives and still be affordable. Her tutorials are easy to follow as she shows how you can make anything you set your mind to!

Lori shared her great ideas on Ideas for the Home by Kenarry® from June 2015 - September 2019. Follow Lori on Facebook, Twitter, Pinterest, and Instagram.

In this ultimate guide, you'll learn how to make a burlap wreath with ribbon for your home. The FREE eBook includes easy step-by-step instructions plus inspiring craft and decor ideas to make wreaths for fall, Christmas, Easter and other holidays.

Subscribe today to get ideas in your inbox plus FREE exclusives only for Idea Insiders!

Almost there! Now just check your email to confirm your e-mail address and get your free eBook.

There was an error submitting your subscription. Please try again.

You're already signed up! YAY! As an Idea Insider you have instant access to our Kenarry Idea Insider Resource Library with exclusive printables, offers and other freebies as soon as you confirm your subscription.
Previous Post: « How to Paint Beautiful Stepping Stones with Stencils
Next Post: 27 Simple and Beautiful Craft Ideas »

Reader Interactions

Leave a Reply Cancel reply

Your email address will not be published. Required fields are marked *

Recipe Rating


This site uses Akismet to reduce spam. Learn how your comment data is processed.

Primary Sidebar

Welcome

Carrie Ypma from Ideas for the Home by Kenarry®Hello, I'm Carrie! Welcome to Ideas for the Home by Kenarry® where we want to help you create a home you love. We're glad you're here! Read more...

Sign Up and Get a Free Gift

Subscribe to become an Idea Insider. You'll get our weekly newsletter plus special deals and other resources that are only for subscribers -- all for FREE!

Almost there! Now just check your email to confirm your e-mail address and get your free eBook.

There was an error submitting your subscription. Please try again.

You're already signed up! YAY! As an Idea Insider you have instant access to our Kenarry Idea Insider Resource Library with exclusive printables, offers and other freebies as soon as you confirm your subscription.
In this ultimate guide, you'll learn how to make a burlap wreath with ribbon for your home. The FREE eBook includes easy step-by-step instructions plus inspiring craft and decor ideas to make wreaths for fall, Christmas, Easter and other holidays.
  • About Us
  • Subscribe
  • Shop Our Products
  • My Account
  • Cart

Footer

Disclosure: Posts may include affiliate links for your convenience. As an Amazon Associate I earn from qualifying purchases. All opinions are our own. You are reading and following advice from Kenarry, LLC at your own risk. Always use safety precautions. You should read and follow manufacturer’s directions for the products and tools you use. Read more.


Privacy Policy: The privacy of your personal information is important. We make every effort to safeguard your information and will never sell it to third parties. Read more.

Terms of Use: You are welcome to link to this site or use a single image and brief description to link back to any post. Republishing posts in their entirety is prohibited without permission. All images are property of Kenarry, LLC. Do not crop or remove watermark. Do not reproduce without link back or permission. If you do link to this site, please contact us to let us know. All free printables offered are for personal use only. Pinning is always welcome and appreciated. Thank you!

As it relates to comments and content posted on this blog by those other than the owners, any such content that contains the copyrighted and/or proprietary work of others is expressly prohibited and will be removed. Repeated posting of such content by the same user may result in that user being banned from this site.

Copyright © 2021 Kenarry LLC · Powered by Captivating Theme on Genesis Framework · WordPress · Log in