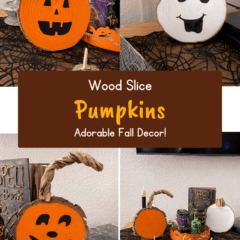
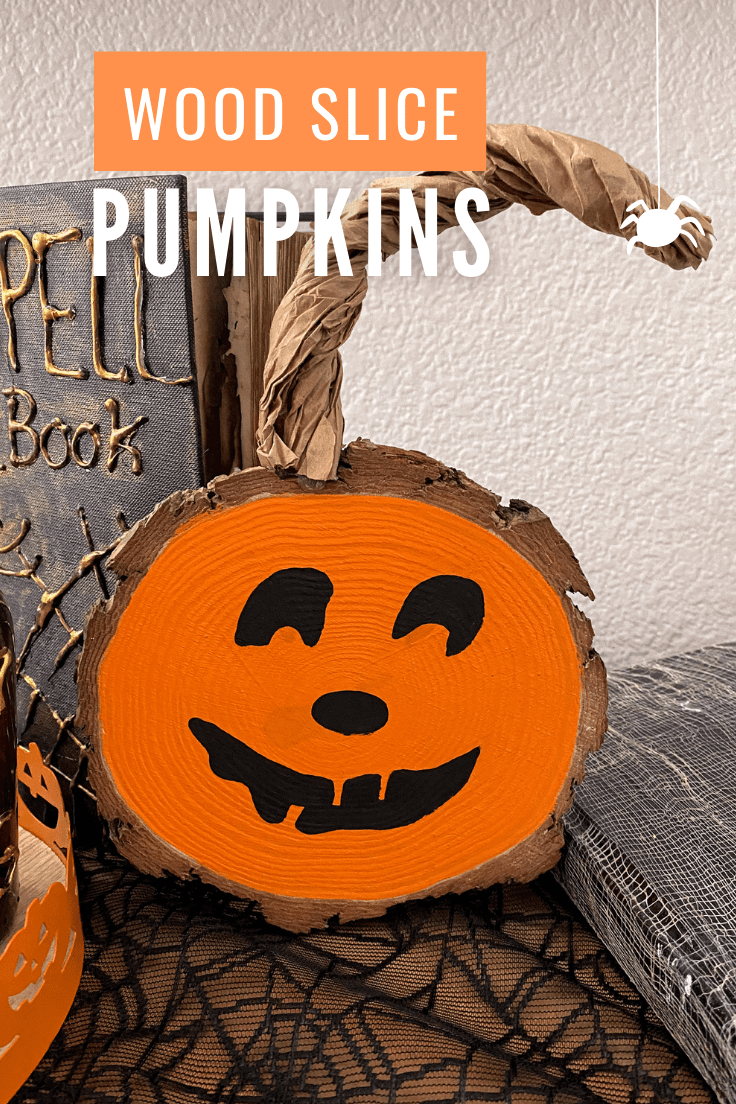
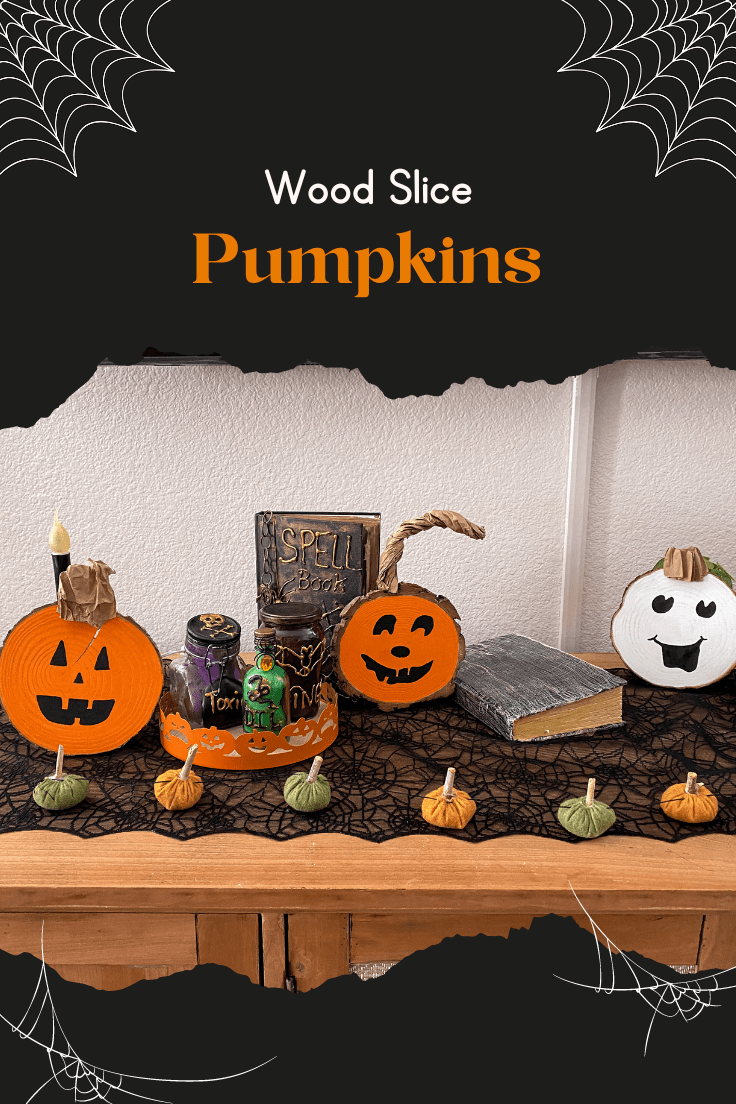
Wood Slice Pumpkins
THIS POST MAY CONTAIN AFFILIATE LINKS. PLEASE SEE OUR FULL DISCLOSURE POLICY FOR DETAILS.
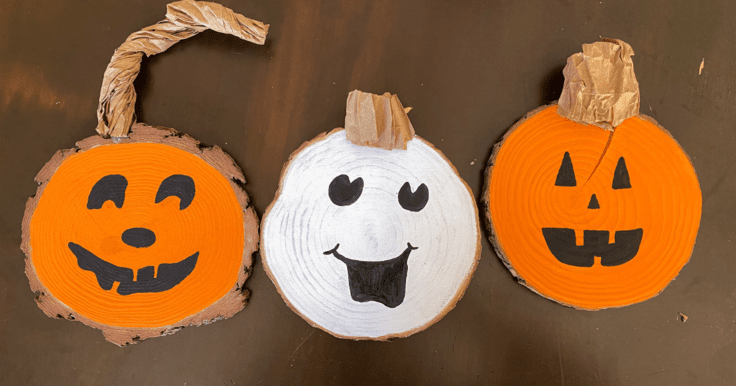
These wood slice pumpkins could not be easier to make! Most of the supplies you probably already have at home.
I love finding non-conventional supplies for holiday crafts. There are many beautiful things at the stores, but I think having handmade items just adds that extra touch.
They will look perfect with some DIY mason jar pumpkins, too!
Also, I love to bring nature into the house. Especially this time of year. The days are getting shorter, and it’s getting colder.
It’s nice to be reminded of nature, and having some natural decor just makes it feel much more cozy and homey.
How to Make Wood Slice Pumpkins
As I stated before, these wood slice pumpkins could not be easier to make. All the supplies are things you probably have at home. And if you don’t have something, experiment with a different supply that you have readily available!
What you need:
Want more ideas like this? Subscribe today to get our weekly Ideas in Your Inbox newsletter plus other exclusive gifts and offers — all for FREE!
Craft Tools:
Supplies:
Wood Slice Pumpkin Tips:
Create the stems
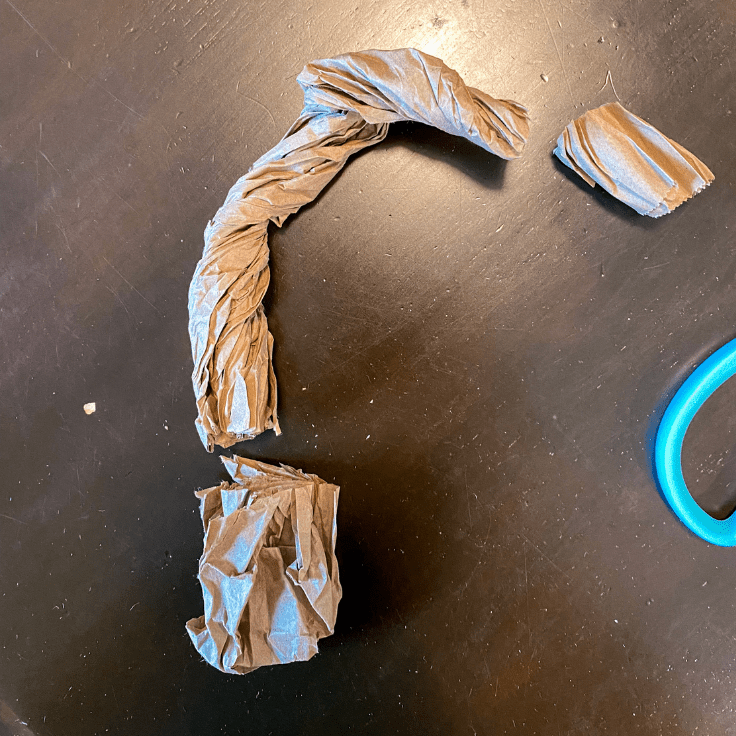
One brown paper bag was big enough to create three stems. Start by ripping or cutting the brown paper bag open.
Then, crinkle the bag inward and twist. This will create a long stem.
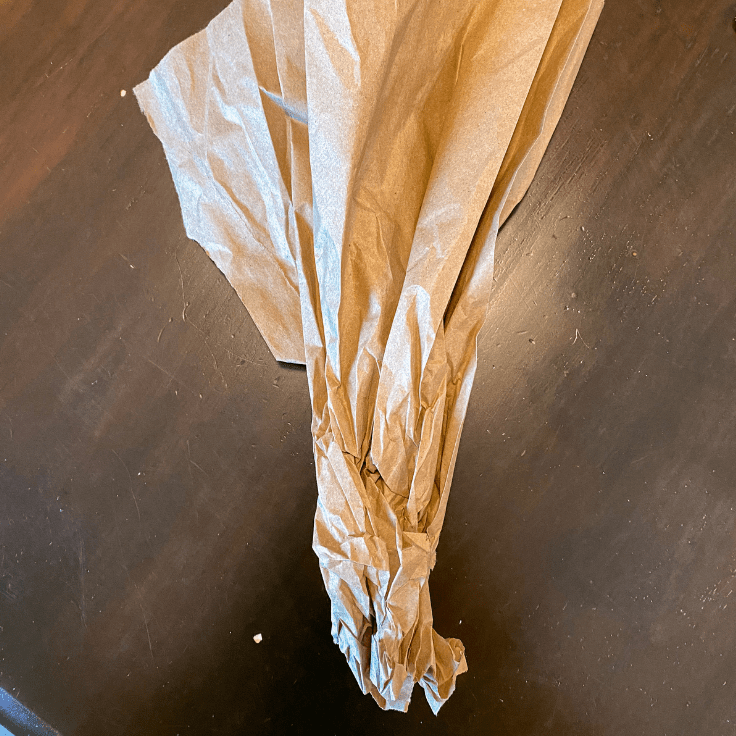
Cut the stem into three pieces to create the three stems, and so no one stem will be too long.
Where to glue the stem
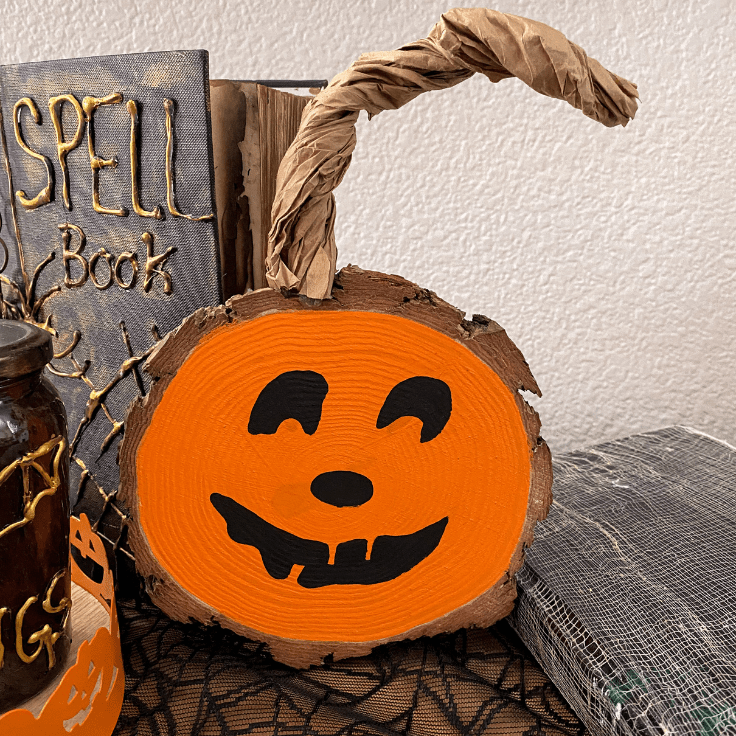
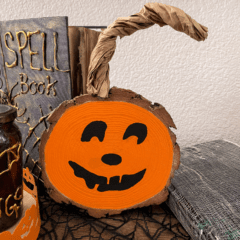
The stem can either be glued onto the top of the wood tree slice, if there is a spot for it.
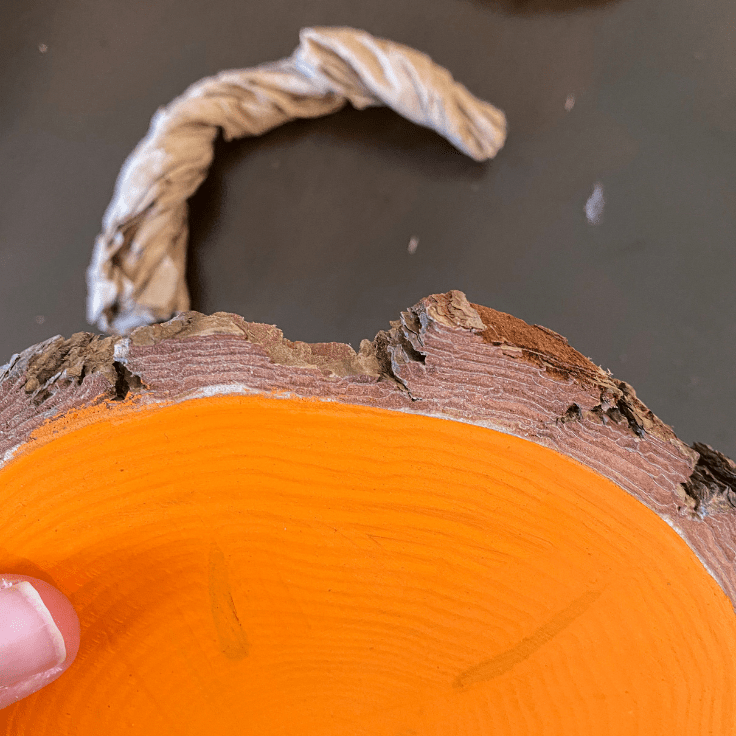
Or it can be glued directly to the front the wood slice. Both look great.
Don’t worry if your wood slice isn’t round
If your wood slice isn’t perfectly round or has some other imperfections, no problem! One of mine has a split in it, and I think it makes it even cuter. Pumpkins aren’t perfect, and neither should these wood-slice pumpkins be.
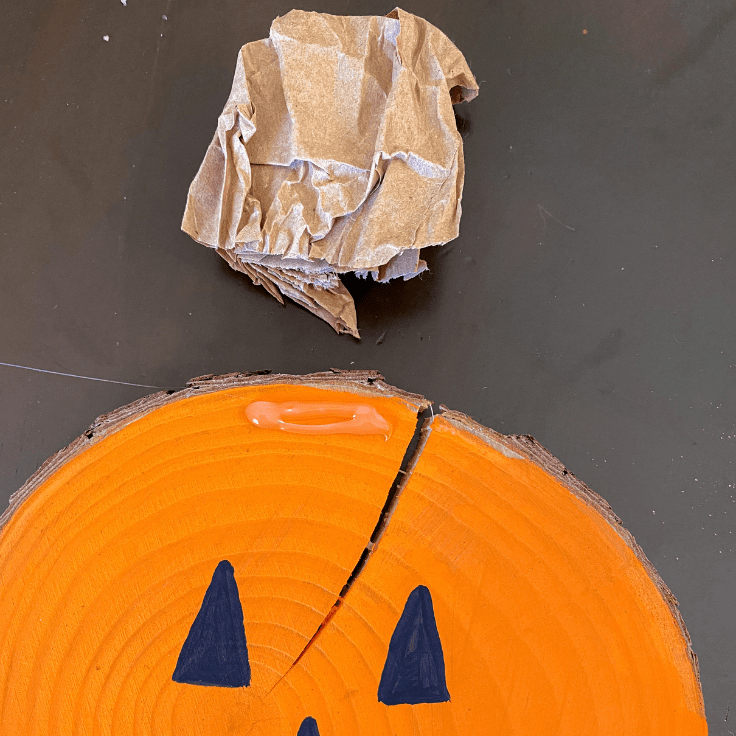
Paint a face, or don’t
These pumpkins are super cute with and without faces. They can be used in fall decor and Halloween decor.
I really loved the faces, so I ended up painting silly faces on all my pumpkins. But they definitely don’t need faces. They are cute without them as well!
What if I don’t have Tree slices?
No problem! You can purchase wood slices on Amazon or at other craft stores. But I also highly recommend asking within your community. I’m sure someone has some and would be willing to give!
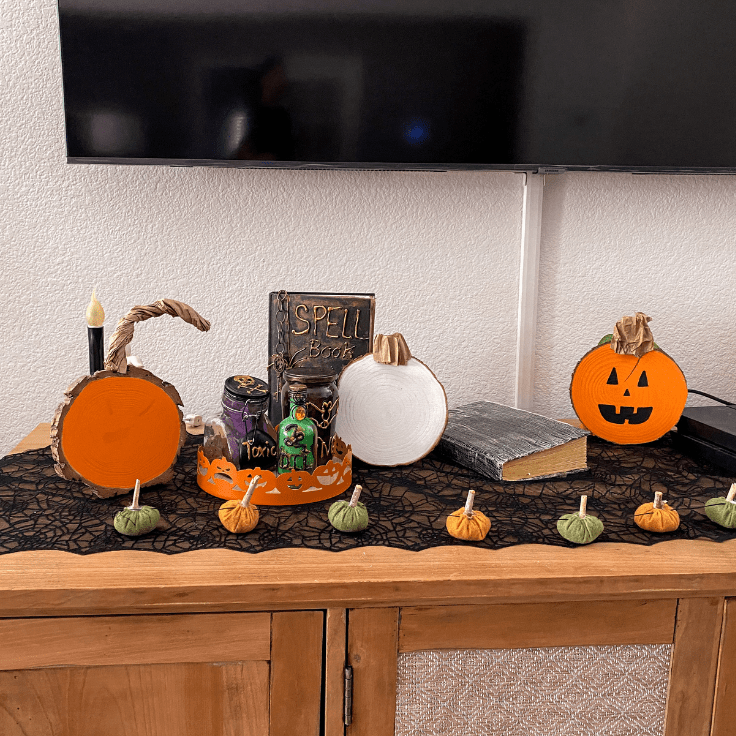
Do they all have to be the same size?
No! I think a group of a couple of different sizes would be absolutely adorable. Make this whatever size and style you want. That’s part of the beauty of crafting.

Wood Slice Pumpkin
Equipment
- 1 Hot Glue Gun
- 1 Paint Brush
Supplies
- 3 Wood Slices
- Orange Paint
- White Paint
- Black Paint Optional to paint faces
- Paper Bag or brown paper
Instructions
- Start by painting the background of your wood slice white or orange.
- Rip the paper bag in half and then start crunching it inward and twisting until you get something that resembles a stem.
- Cut off the top and bottom and the stem so it won't be too long. You can use these off cuts for stems of other pumpkins
- Use black paint to paint faces on your pumpkins if desired.
- Hot glue the stems to your pumpkins.
Love the ideas you see here on Ideas for the Home by Kenarry®? Subscribe today to get our FREE DIY & Craft Planning Calendar, plus our weekly Ideas in Your Inbox newsletter filled with creative tips and exclusive offers!
What’s Next?
If you enjoyed these wood slice pumpkins then you’ll enjoy these other Halloween crafts too.
You may also enjoy these pumpkin craft ideas on Ideas for the Home by Kenarry® –