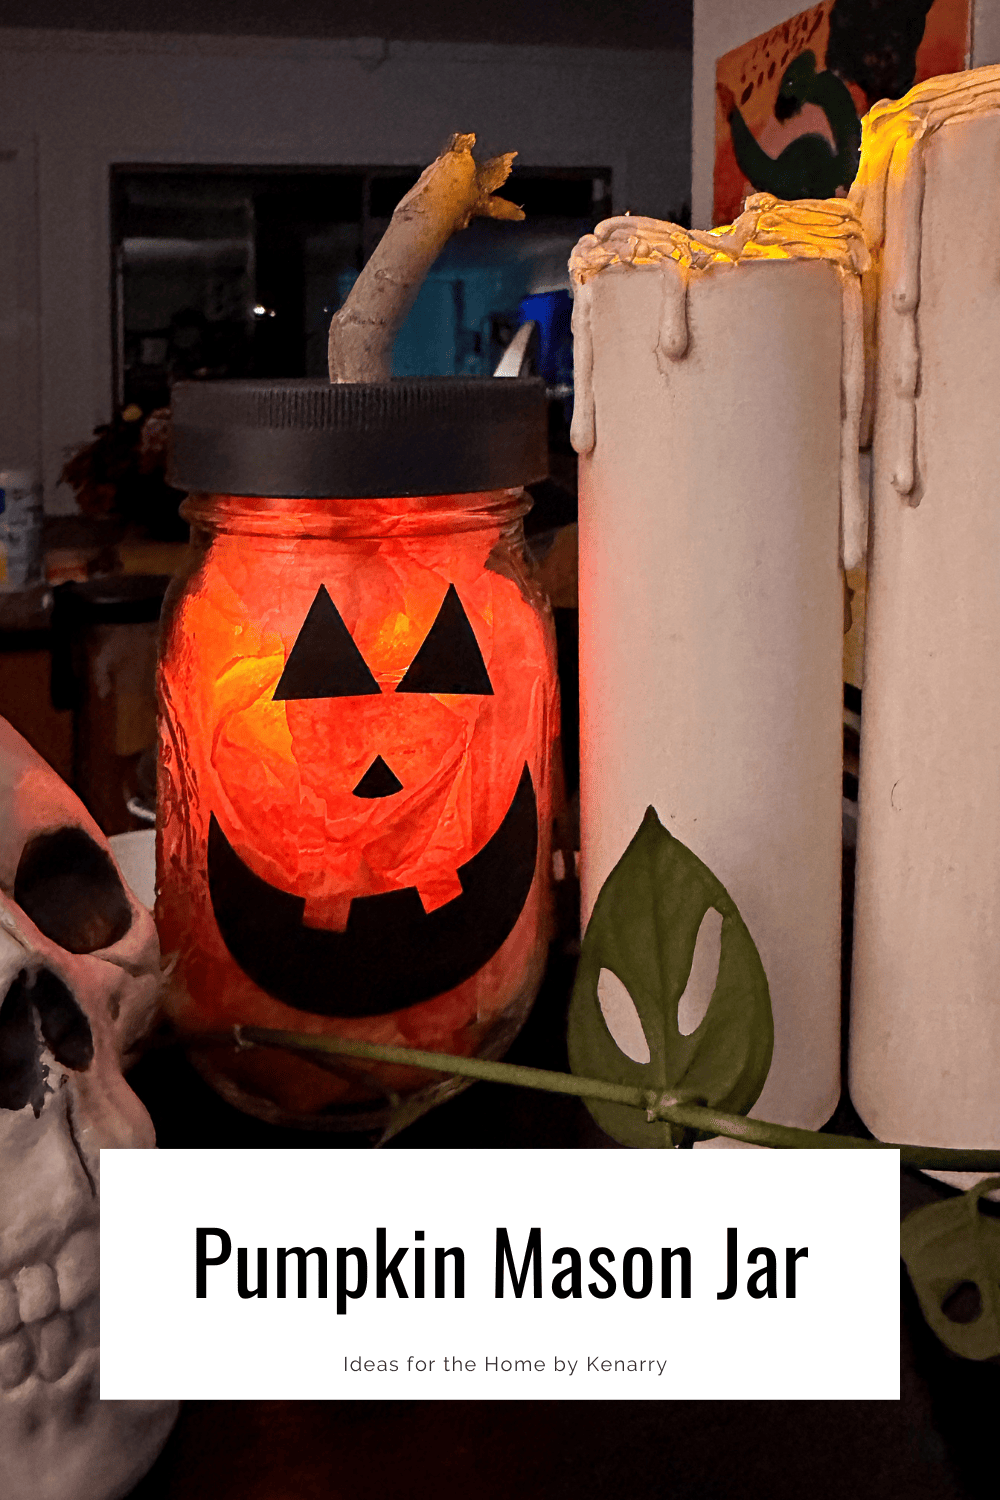
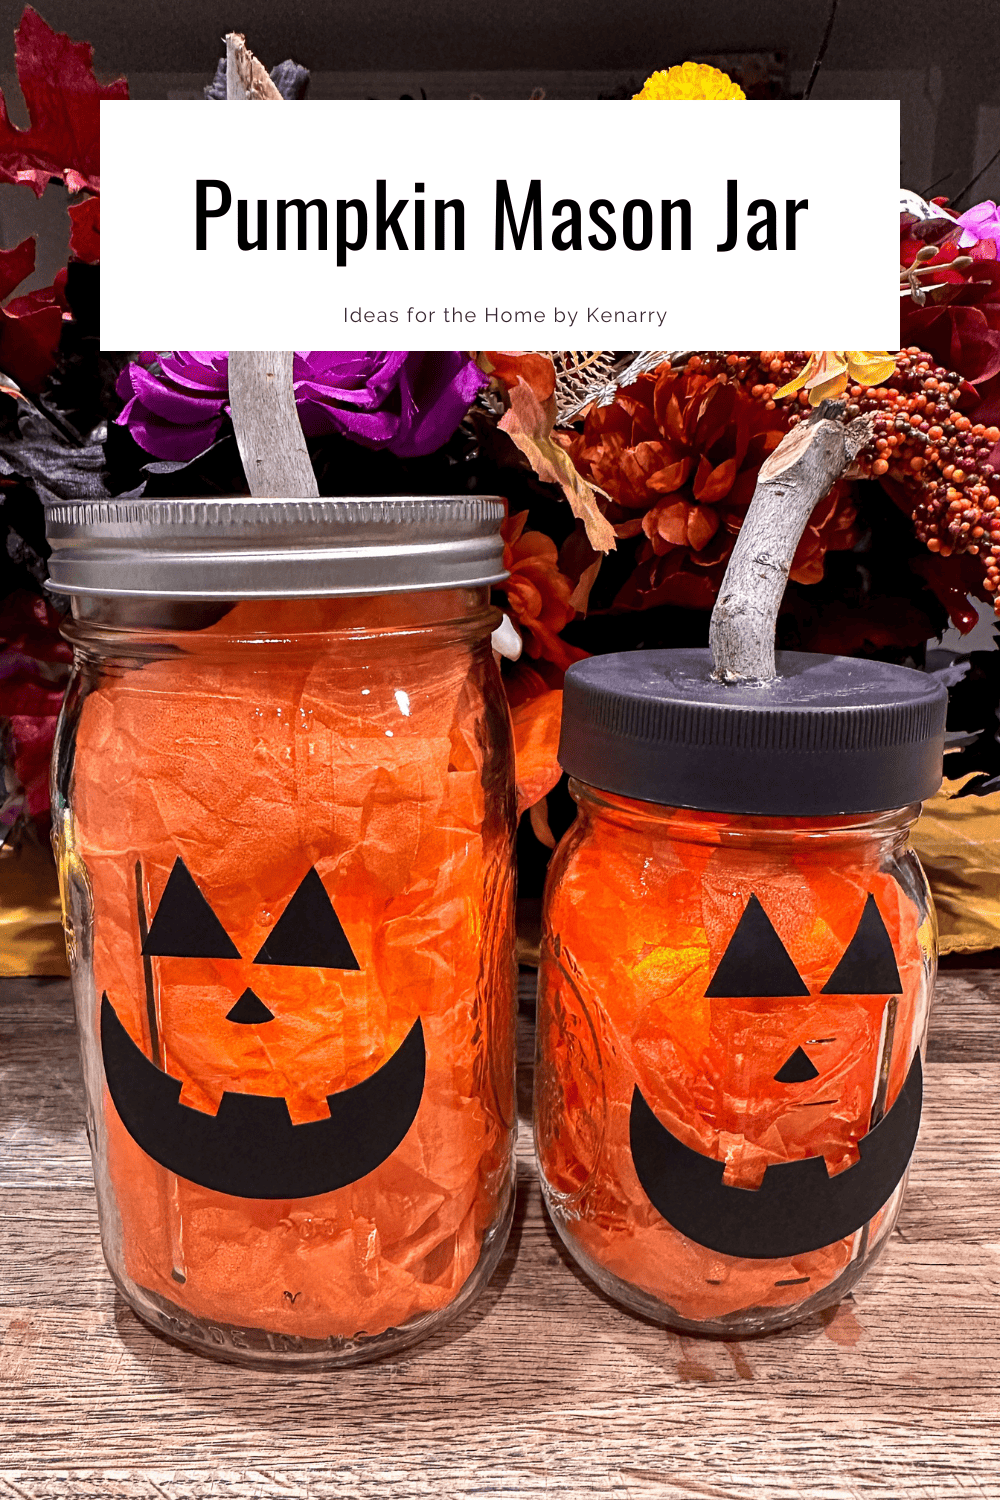
Mason Jar Pumpkin
THIS POST MAY CONTAIN AFFILIATE LINKS. PLEASE SEE OUR FULL DISCLOSURE POLICY FOR DETAILS.
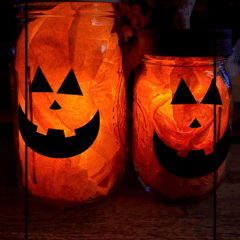
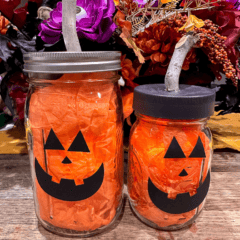
These simple mason jar pumpkins will add some light and fun to your Halloween decor.
Hello, I’m Amy and I blog at amylanham.com. I absolutely love all holidays and I love to decorate for them too. But I struggle with where to store my decor.
We bought a shed last year to help store seasonal decor. But even with the shed and the garage, our storage is still very limited. So any decor that can be broken down, reused, or serve duel purposes is highly sought after.
I’ve seen mason jar pumpkins before, but wanted to give them a spin to allow me to use the mason jars the rest of the year and not have to store them. Enter this mason jar pumpkin.
How to Make a mason jar pumpkin
Create this adorable mason jar pumpkin for Halloween and then take it apart to use the mason jar the rest of the year!
What you need:
Want more ideas like this? Subscribe today to get our weekly Ideas in Your Inbox newsletter plus other exclusive gifts and offers — all for FREE!
Craft Tools Needed:
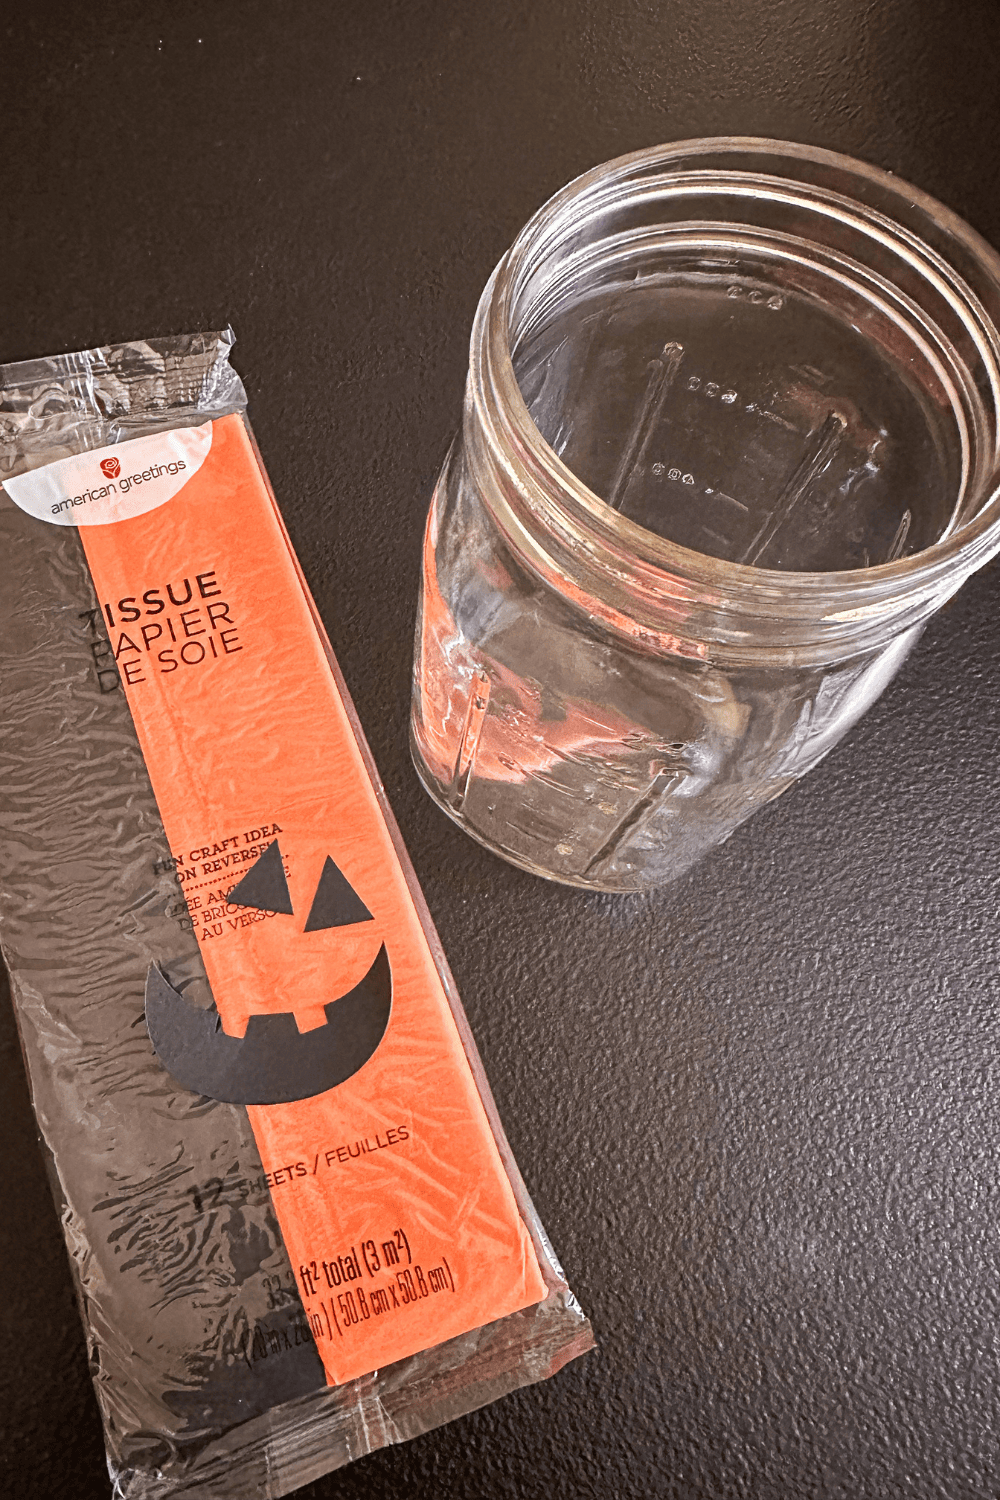
Supplies Needed:
These are the ingredients you’ll need. All the exact amounts are in the printable card at the bottom of this post.
Mason Jar Pumpkin Tips:
Fluff the tissue paper
I wanted the mason jar pumpkins to light up, so I added a tea light. But if the tissue paper is too think, the light won’t shine through.
So in order to create the perfect hole for the light to sit, I grabbed the tissue paper in the middle and fluffed like I might when sticking tissue paper into the top of a bag.
Then stuck my hand into the middle of the fluffed up part I created and gently stuffed it into the mason jar.
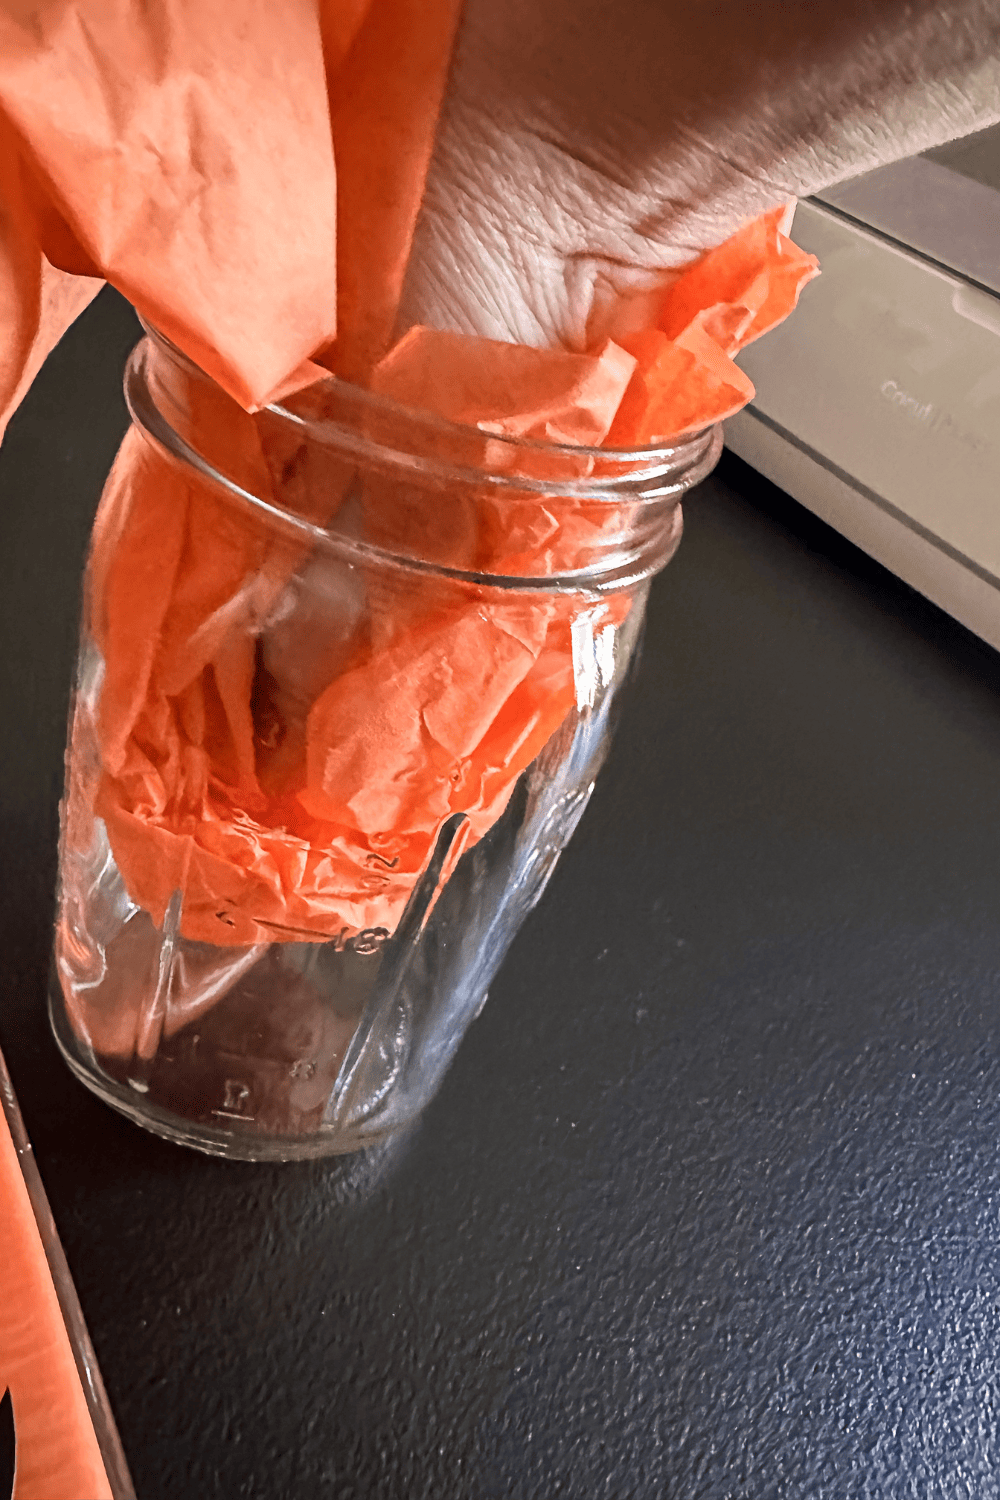
This created a hole in the middle of the tissue paper, and helped the rest of the tissue paper stick to the edges of the jar.
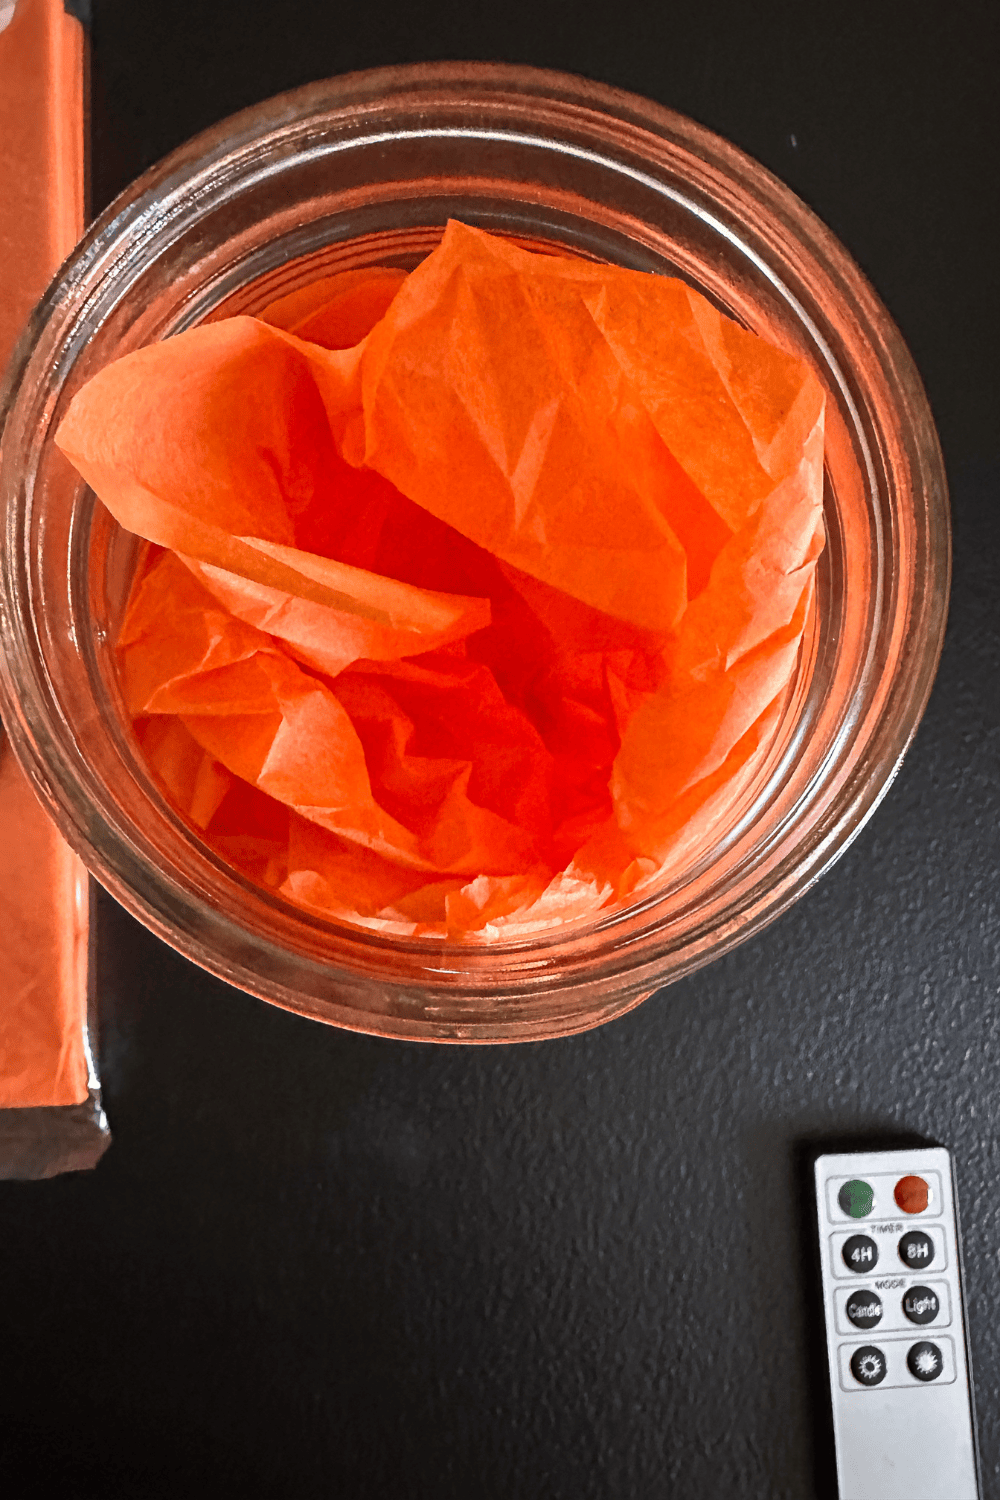
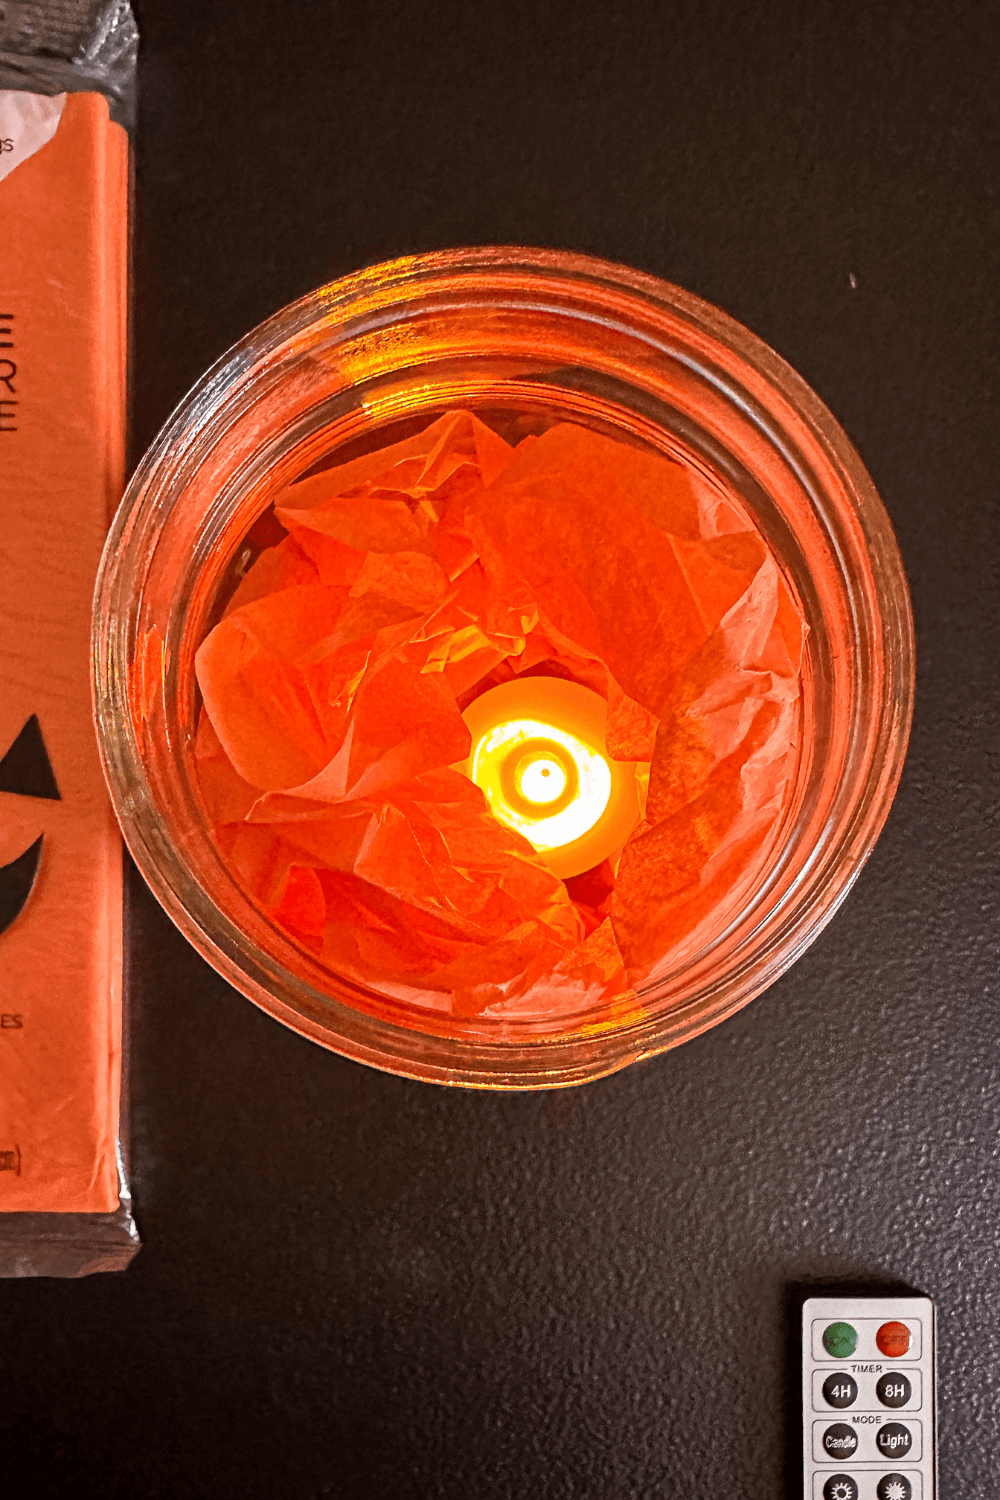
This hole is where I dropped the tea light.
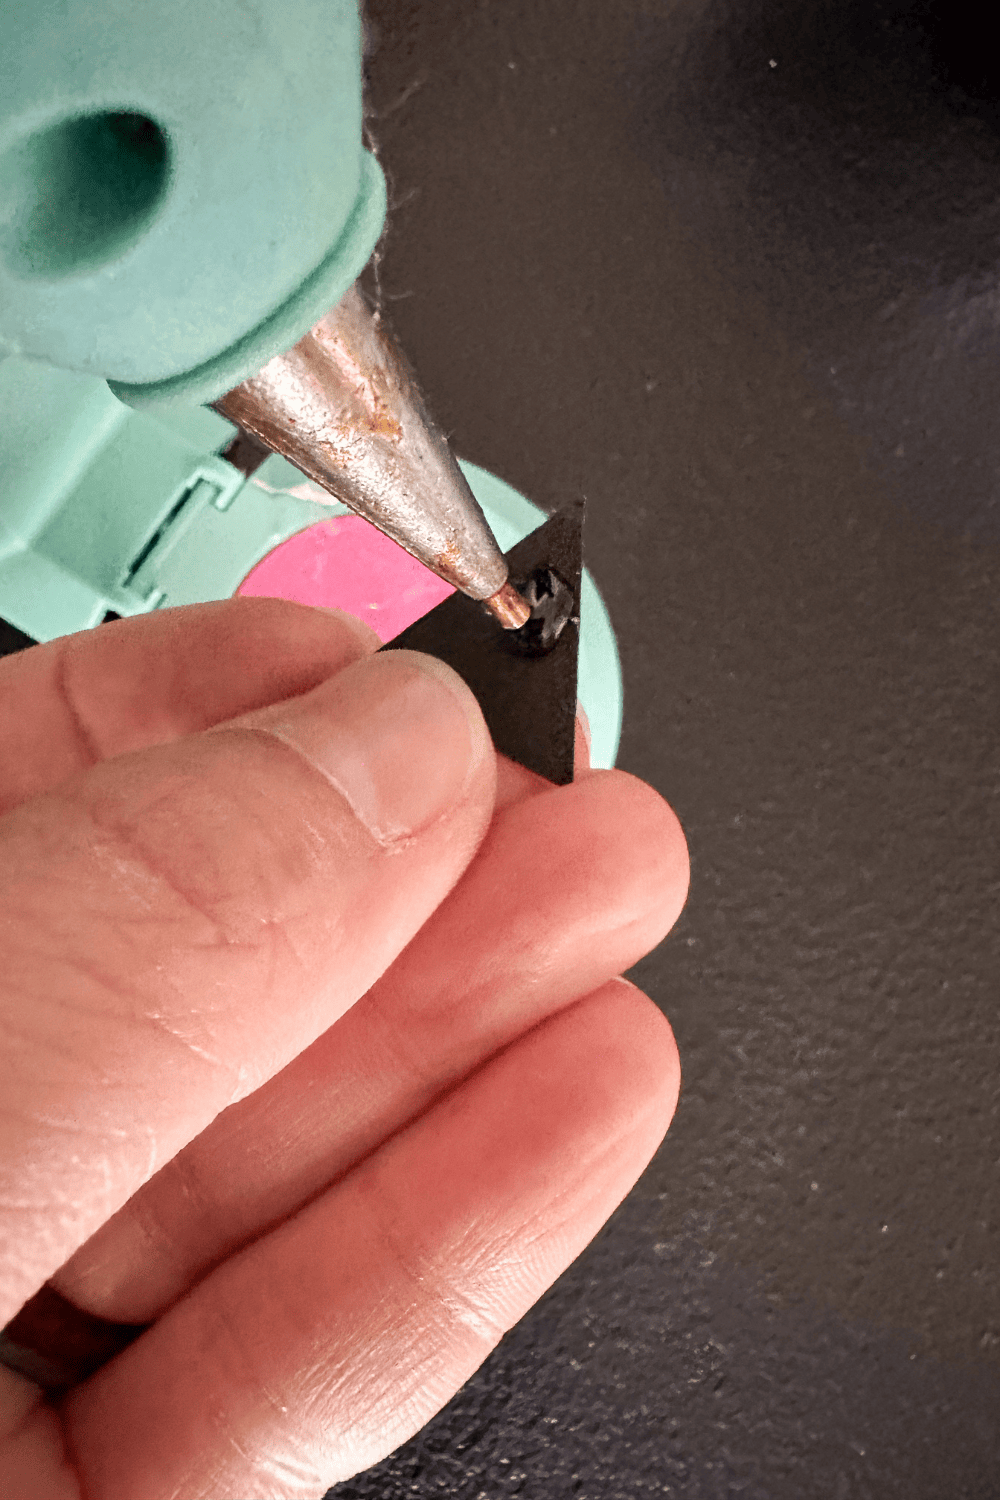
Can i use hot glue on glass?
Absolutely! I would put the hot glue onto the paper first, and then stick the paper with the hot glue onto the glass mason jar.
It will probably be fine applying glue directly onto the mason jar, but I wouldn’t for a few reasons.
First, anytime you’re putting something hot onto glass there is a possibility that it might break. The glue probably isn’t hot enough to break the glass, but if the tip of the hot glue gun accidentally hit the glass, it might be hot enough.
And even if the hot glue doesn’t break the glass, it might discolor it. You can use a low temp hot glue gun too and that would be fine to use directly on the glass.
Second, I found that the glass seemed to cool down the hot glue very quickly. So by putting it on the paper first, it makes sure that the glue is already stuck to the paper.
I find that hot glue cools quickly as it is, and I fumble especially if there are small pieces. Applying the hot glue to the paper first ensures that I’ll have that extra time and the glue won’t dry before I can get the pieces stuck together.
Mason Jar Pumpkin
Equipment
- 1 Cricut or scissors
- 1 Hot Glue Gun
Supplies
- 2 Mason Jars with lids
- 2 pieces Short Sticks
- 2 pieces Orange Tissue Paper
- 1 piece Black Cardstock
- 2 Battery Operated Tea Lights
Instructions
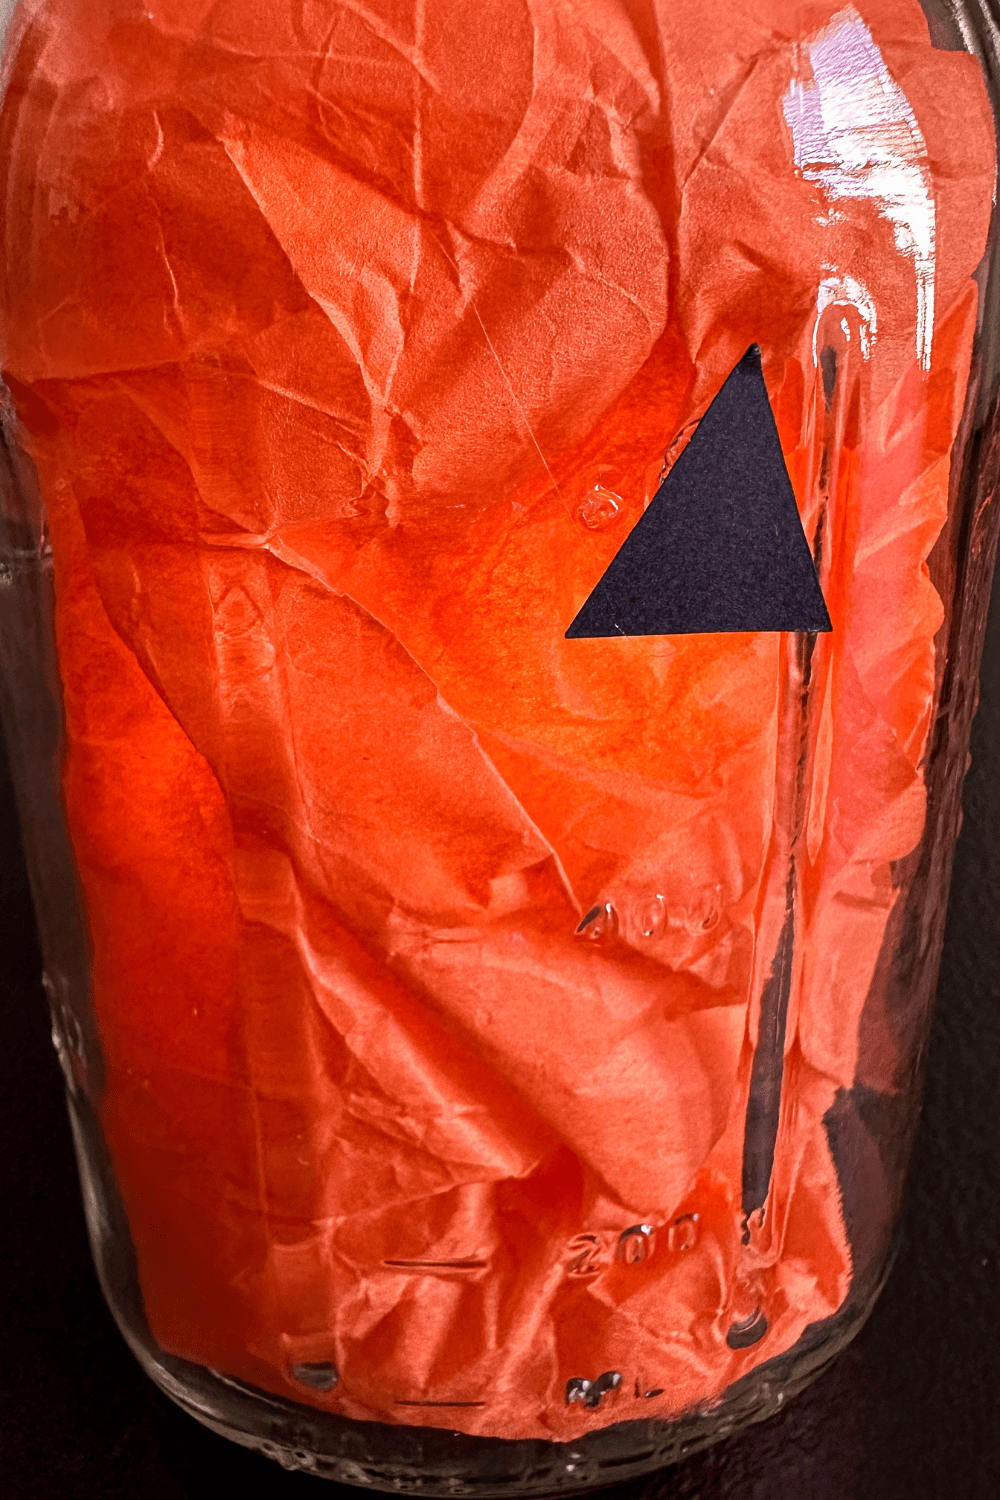
- Use a Cricut or scissors to cut out two pumpkin faces 2 inches wide and 2 inches tall from the black cardstock. Triangle eyes, a little nose, and a mouth.
- Fluff the tissue paper and place it into the mason jar, being sure to leave a hole to drop the tea light into.
- Drop the tea light into the center of the tissue paper, gently push the tissue paper down so that the lid will go on the mason jar.
- Use hot glue to attach the black cardstock eyes, nose, and mouth that was cut earlier onto the mason jar.
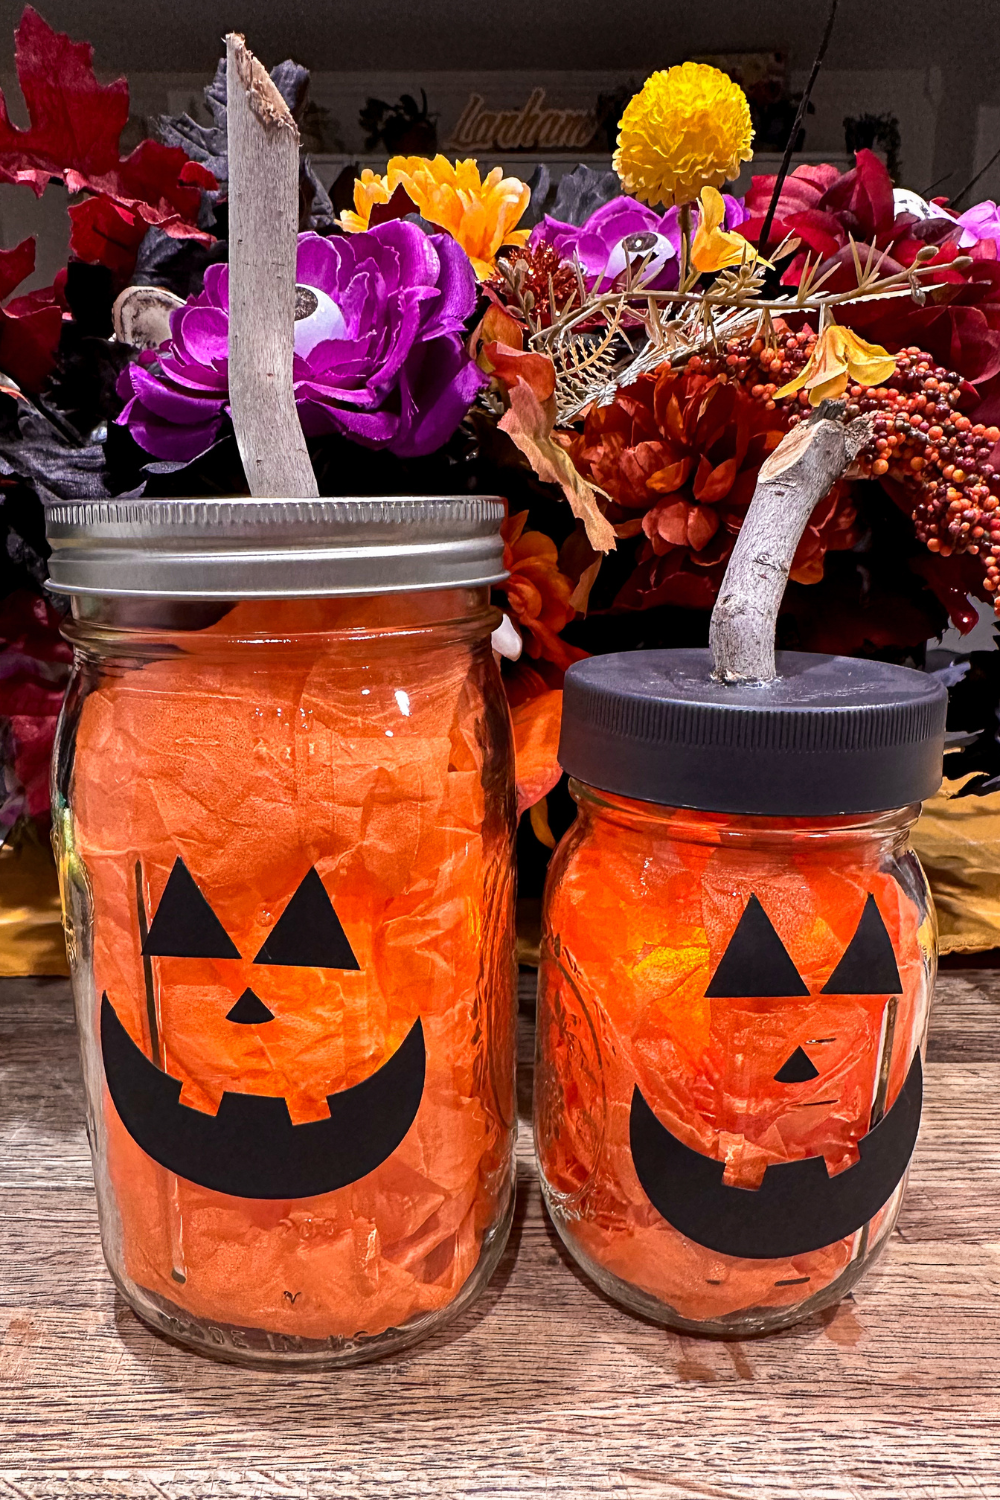
- Finally use hot glue to attach the sticks onto the top of each mason jar. Display your mason jar pumpkins!
Love the ideas you see here on Ideas for the Home by Kenarry®? Subscribe today to get our FREE DIY & Craft Planning Calendar, plus our weekly Ideas in Your Inbox newsletter filled with creative tips and exclusive offers!
What’s Next?
If you enjoyed this mason jar pumpkin, you might enjoy these other simple Halloween ideas too.
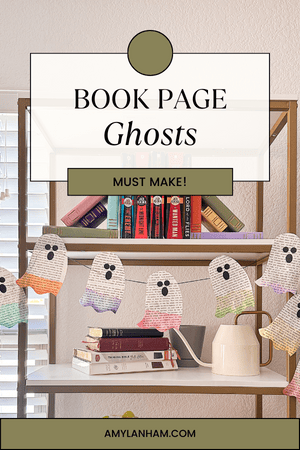
You may also enjoy these Halloween ideas on Ideas for the Home by Kenarry® –