How to Make a Spring Topiary Thrift Store DIY
THIS POST MAY CONTAIN AFFILIATE LINKS. PLEASE SEE OUR FULL DISCLOSURE POLICY FOR DETAILS.
In this tutorial, I’ll show you how to make a beautiful spring topiary using thrift store finds and a few simple craft supplies.
Hello! Michelle here from Our Crafty Mom sharing a thrift store DIY that will add a touch of springtime to your home. This spring topiary is not only easy to make but it can also be created in a color scheme that matches your home decor.

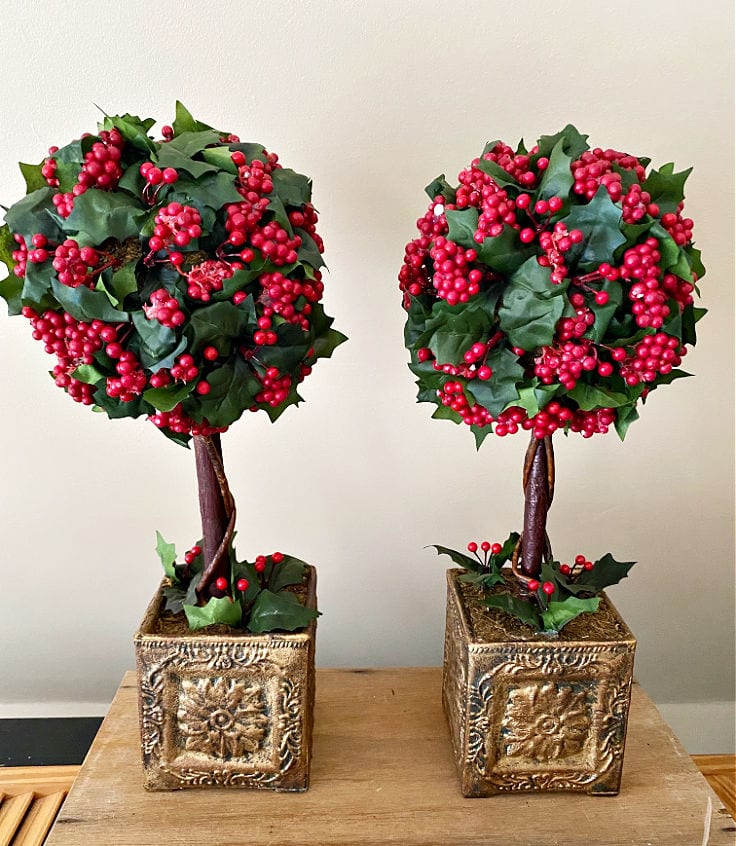
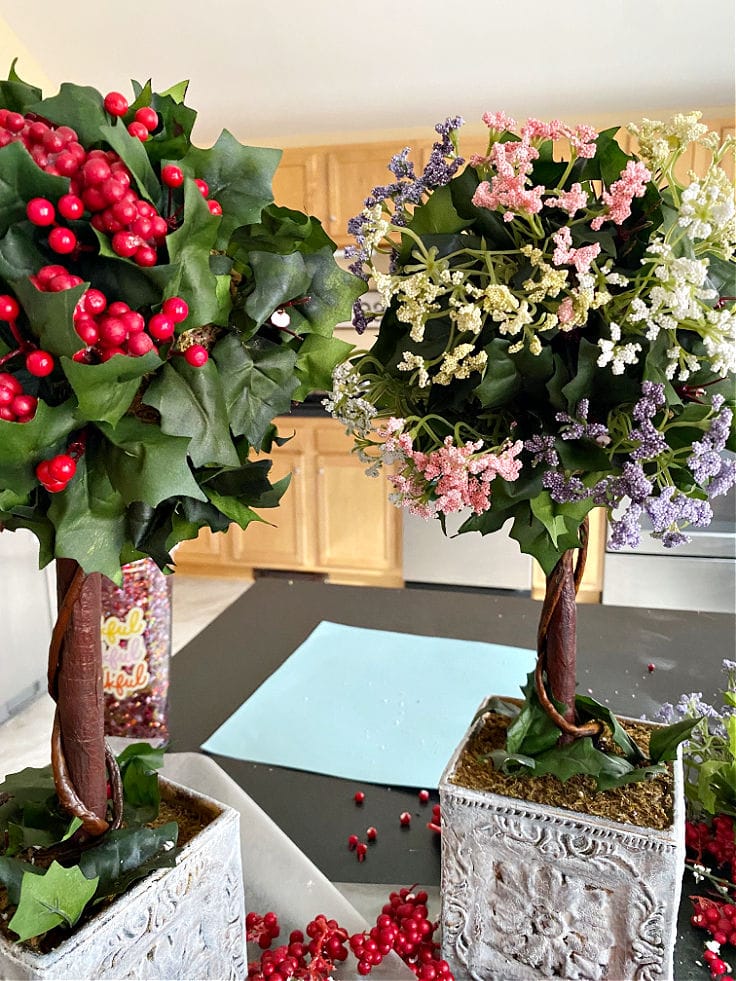
On a recent trip to my favorite local thrift store, I spotted 2 Christmas topiaries on a holiday clearance table. I’ve always been a fan of topiaries. I just think they are timeless. Each topiary was priced at $8 and was 75%. So I scored these babies for $2 each! I knew with a little love they could be turned into beautiful pieces to add to my spring decor.
How to Make a Spring Topiary
The great thing about this DIY is they can be made with inexpensive craft supplies that you may already have in your home. So let’s get crafting!
What you need:
Want more ideas like this? Subscribe today to get our weekly Ideas in Your Inbox newsletter plus other exclusive gifts and offers — all for FREE!
Craft/DIY Tools Needed:
Supplies Needed:
These are the ingredients you’ll need. All the exact amounts are in the printable card at the bottom of this post.
Spring Topiary Tips:
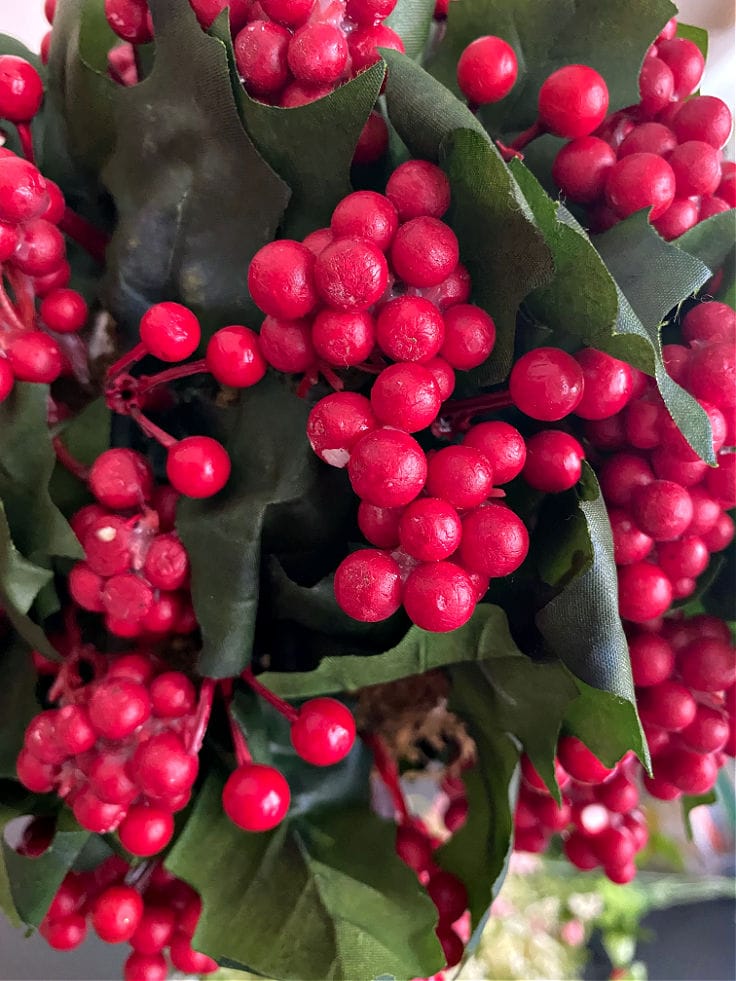
Remove the Red Berries
The first step is to remove the red berries that make this a holiday topiary. The greenery was in really good shape so I decided to keep that on. It’s a great way to save money on this project.
I’m all about reusing whatever you can while updating a thrift store find. In fact, I saved all the berries by placing them in a large ziplock bag that I can use in my holiday decor next season!
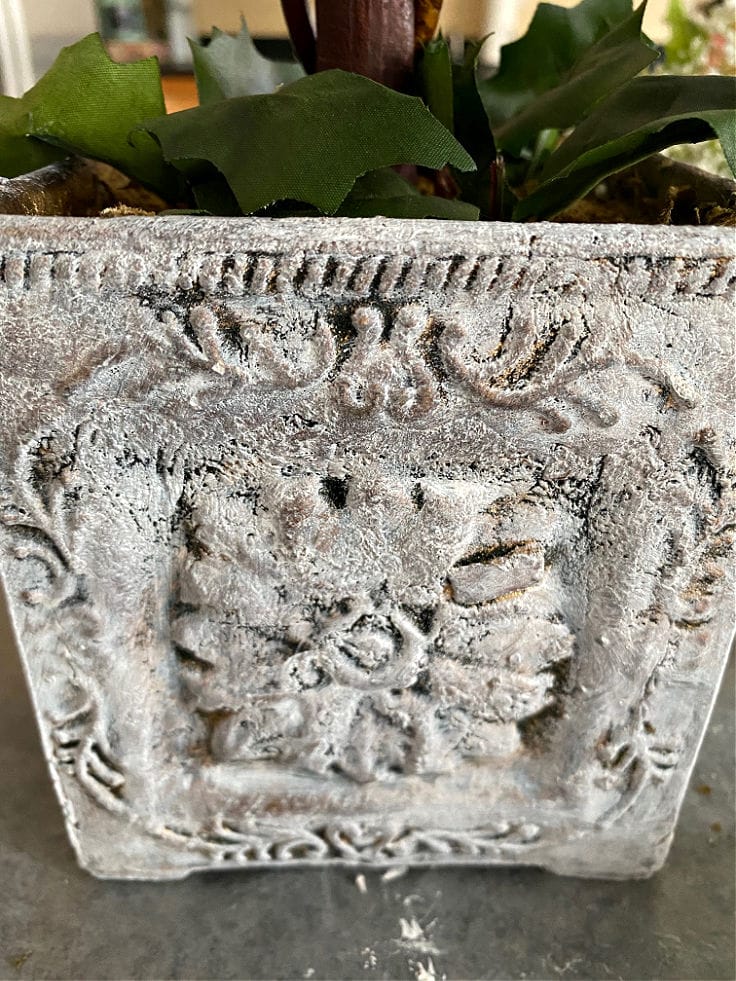
Paint the Topiary Pot
Another thing that made the topiary look more like Christmas decor was the gold planter pot. It also wasn’t very springy. So I used my go-to white chalk paint to give it a quick update with a foam brush.
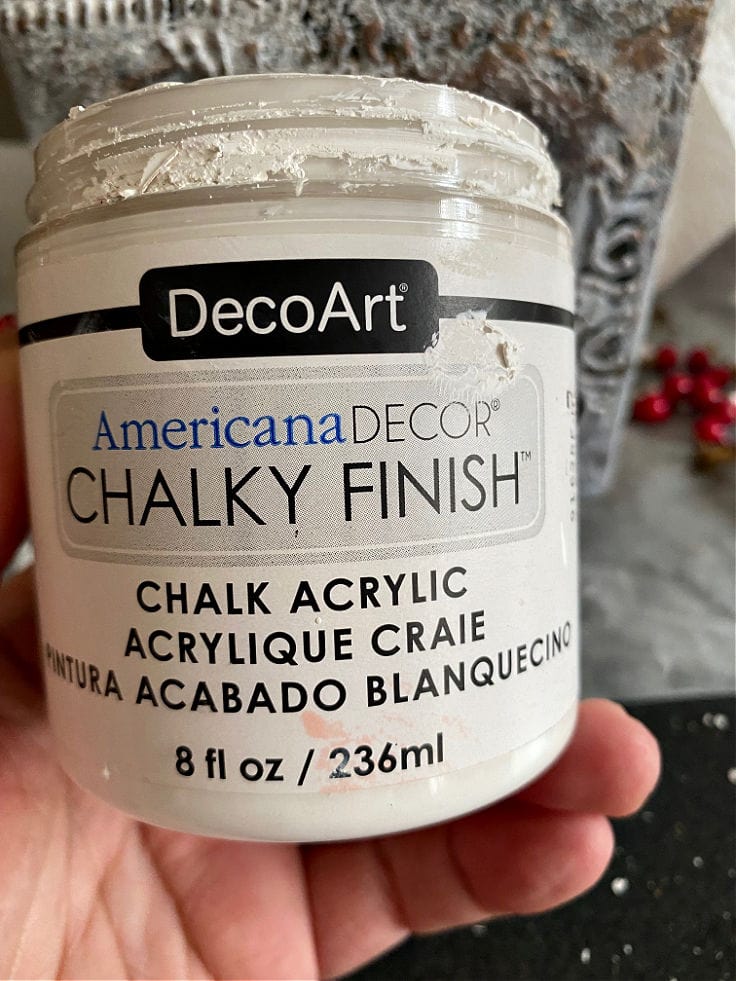
This is where you can really have fun with it and use whatever color paint you like. I almost went with a pretty lilac color but decided to go with white so I can use them in any room.
Glue the Spring Flowers
Gather your spring flowers. I used 4 different colors of a baby’s breath style flower that I picked up at the craft store. I went with white, yellow, pink and lilac.
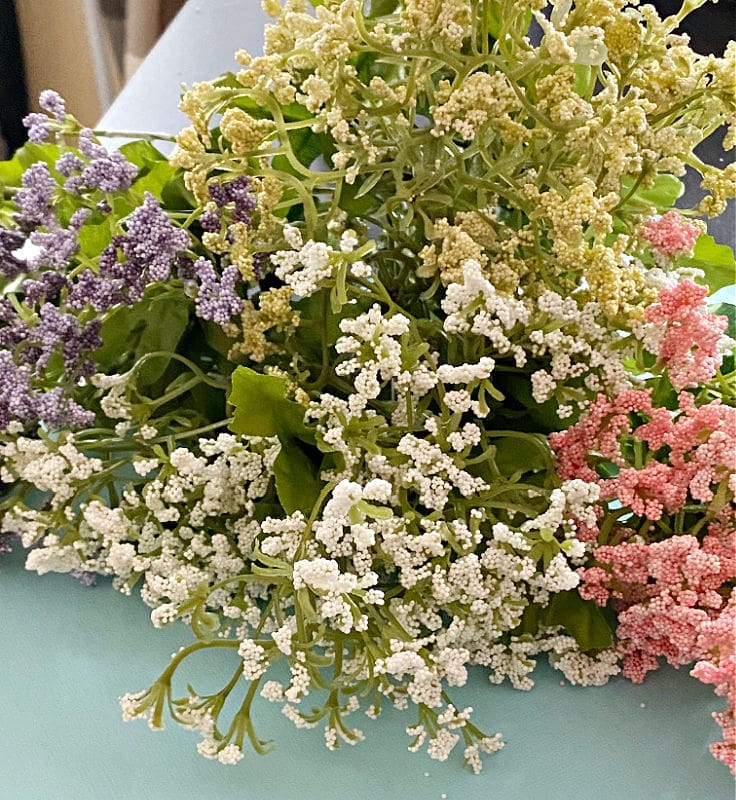
You can just pull the flower stems off and hot glue them around the topiary head. I went in sections dividing it by color so it would be nice and uniform.
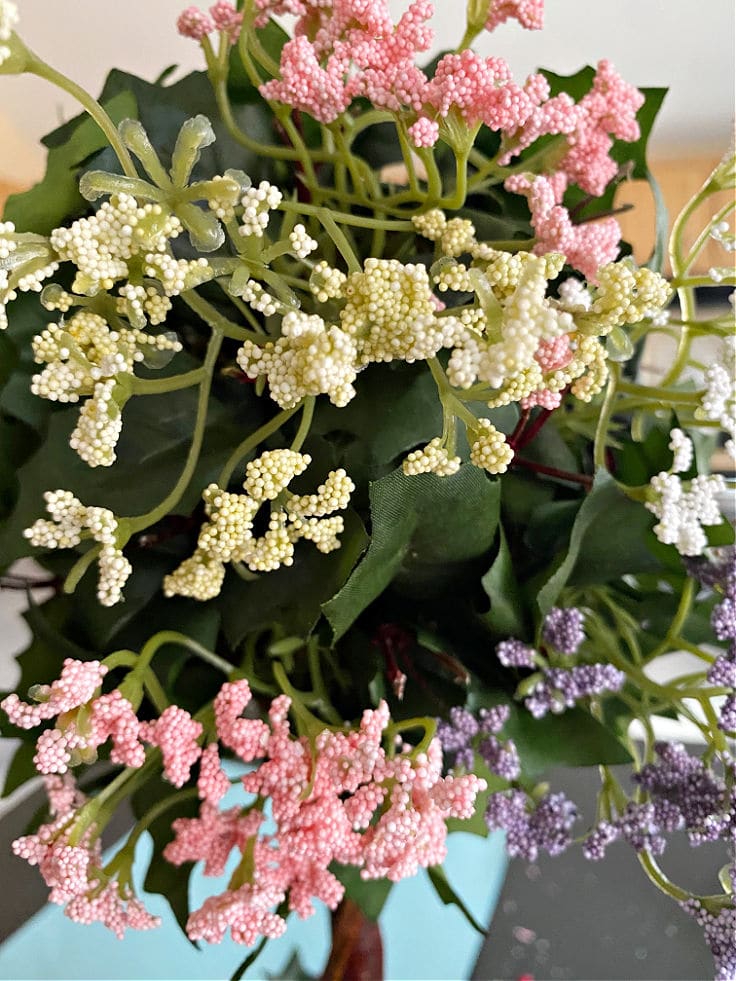
Continue adding flowers until you are happy with the coverage. I decided to keep the greenery showing as I liked the contrast. But, you can add more flowers or even small bows if you like. The main thing is to have fun with it!

Look at how different the topiary looks just by replacing the berries with spring flowers:
Add finishing Touches
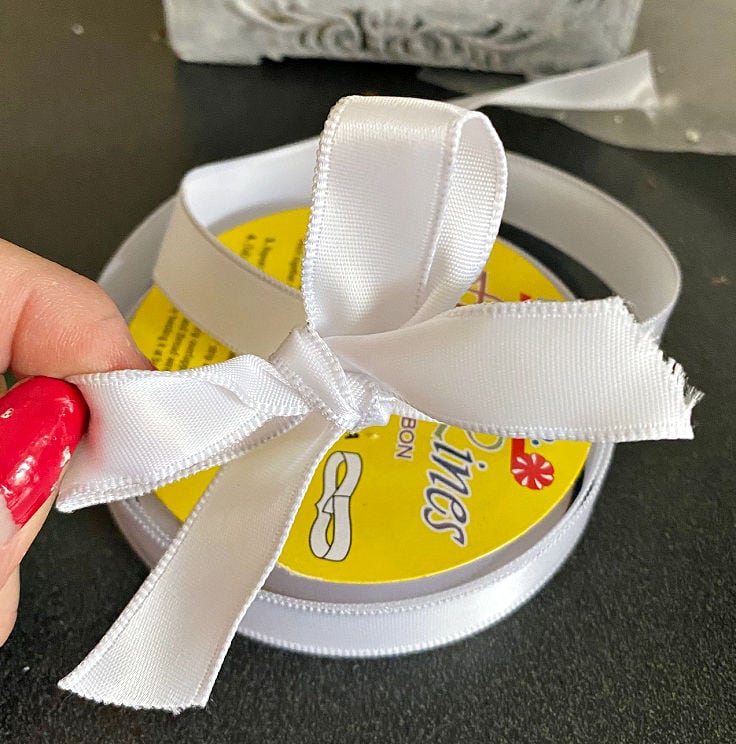
To finish off the spring topiary I added a simple white bow just beneath the topiary head.
Don’t forget the bottom of the topiary base! Add some moss to cover up the old base. This really completes the topiary and gives it a more updated look.
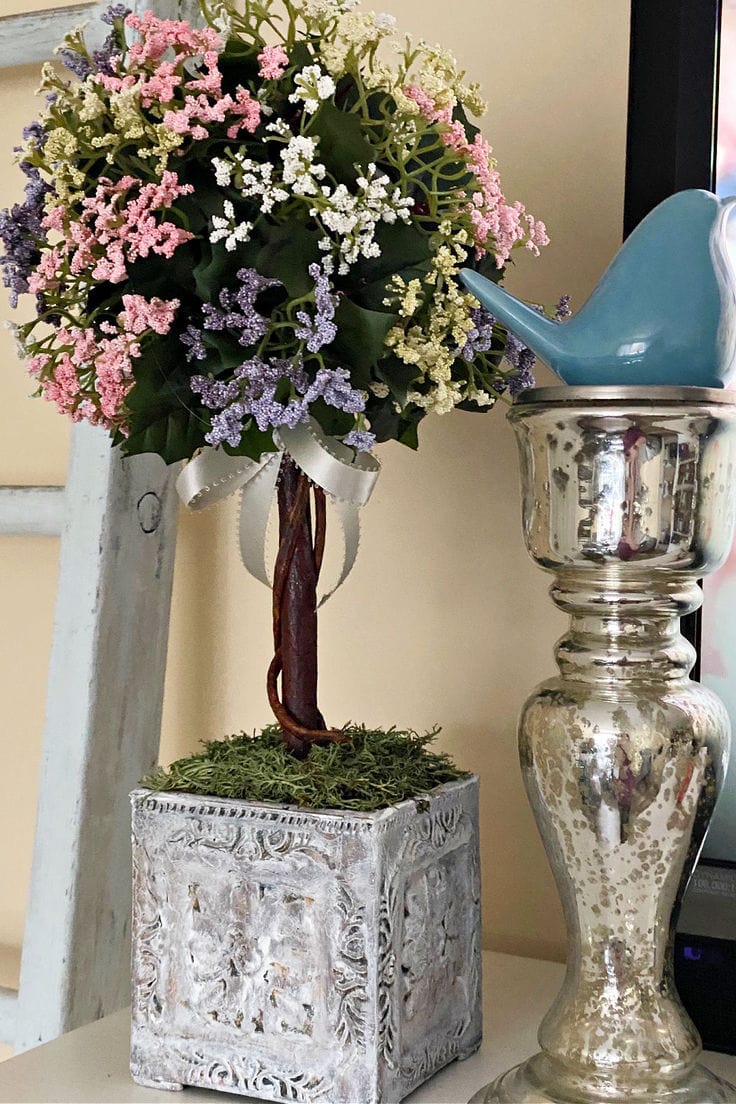
All that’s left now is to decorate with your pretty spring topiary! I hope you enjoyed this thrift store makeover. Let me know in the comments if you give this a try. Happy crafting!


Spring Topiary DIY
Equipment
Supplies
- Spring Flowers
- Moss
- White Ribbon
- White Chalk Paint
- Foam Brush
Instructions
- Start by removing the red berries from the topiary.
- Paint the pot with white chalk paint and a foam brush.
- Begin hot gluing the spring flowers to the topiary.
- Continue gluing flowers flowers around the topiary until you are happy with the placement.
- Finish off the spring topiary with a simple white bow at the base of the topiary.
- Add some moss to cover up the old base.
Love the ideas you see here on Ideas for the Home by Kenarry®? Subscribe today to get our weekly Ideas in Your Inbox newsletter plus other exclusive gifts and offers — all for FREE!
What’s Next?
If you enjoyed this spring topiary craft then you’ll enjoy these spring craft ideas too.
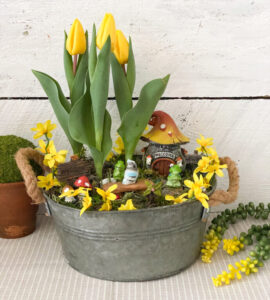

You may also enjoy these spring ideas on Ideas for the Home by Kenarry® –