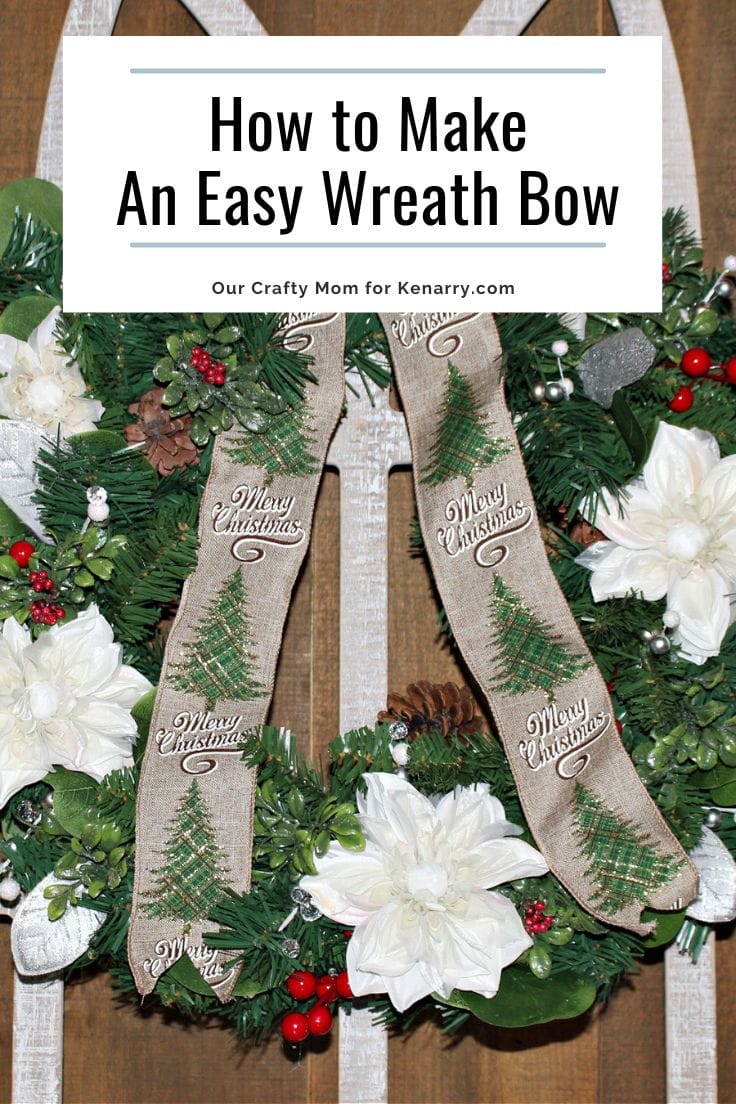
How To Make A Wreath Bow
THIS POST MAY CONTAIN AFFILIATE LINKS. PLEASE SEE OUR FULL DISCLOSURE POLICY FOR DETAILS.
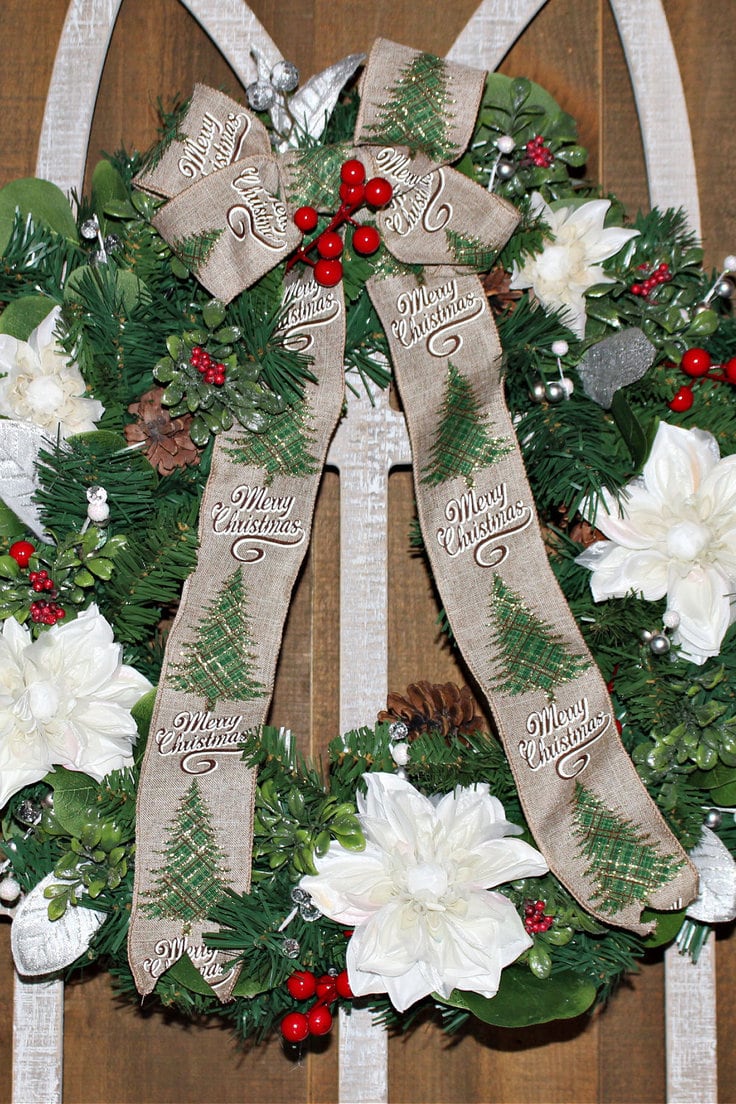
Learn how to make a wreath bow with this quick and easy tutorial that will look great on any style wreath. Just choose your ribbon and create!
Making a wreath bow may sound intimidating, but it’s easier than you think! In only a few simple steps, you can create a beautiful accent to any wreath with some basic ribbon and floral wire.
Whether it’s for decorating your home or creating gifts for family and friends, adding a pretty ribbon bow makes any occasion extra special.
I’m using Christmas ribbon for this tutorial, but you can follow this same process to make bows for any occasion. Just select the type of ribbon that you want and you are good to go!
So grab your supplies and let’s get started on creating beautiful bows!
How to Make A Wreath Bow
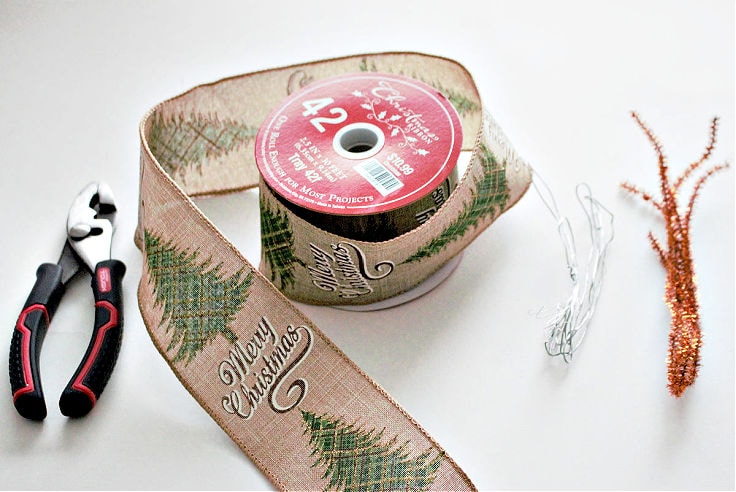
The great thing is you only need basically 2 items-ribbon and floral wire or a pipe cleaner, so this is a budget-friendly craft too!
What you need:
Want more ideas like this? Subscribe today to get our weekly Ideas in Your Inbox newsletter plus other exclusive gifts and offers — all for FREE!
Craft Tools:
Supplies
Tips on How to Make A Wreath Bow
Choose Your ribbon
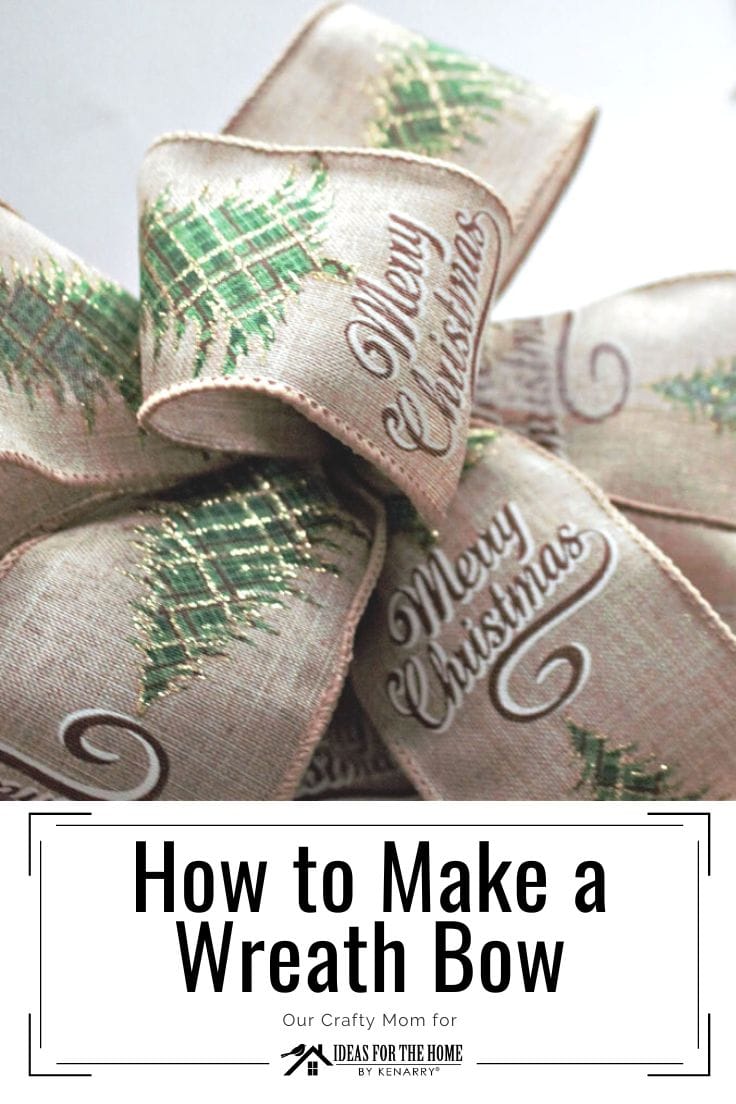
The most important thing with bow-making is choosing a wired ribbon. You can use any style, color, or material, but be sure it is wired.
I like to use a 2.5″ ribbon, but you can go with a 1.5″ up to 3.5″. You can also use more than one ribbon style.
Cut the ribbon
Measure a 12″ piece of ribbon and cut it with fabric scissors. I’ll show you how to finish the edges in another step.
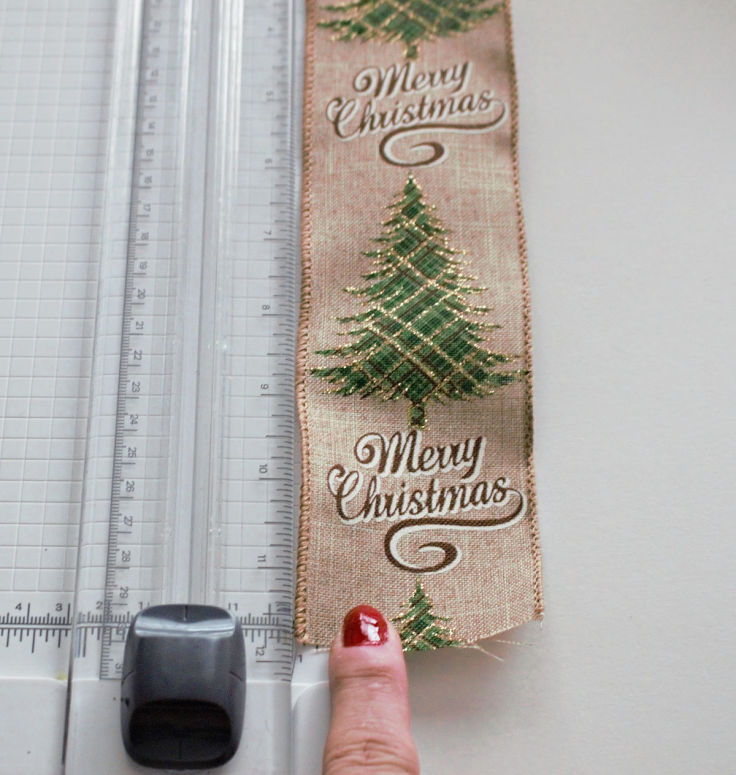
This will be for the tail, so set this aside. Measure another 12″ piece that you will keep attached to the roll.
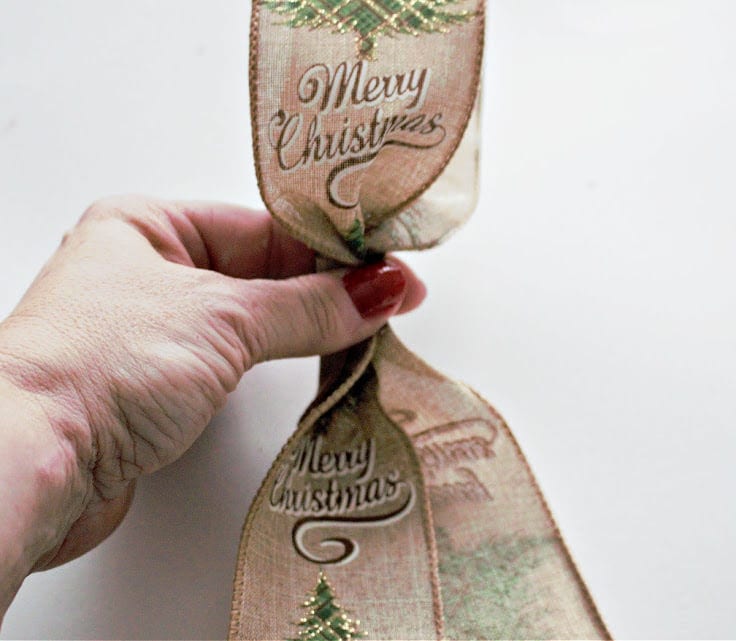
Form the loops
Create a loop also 12″ in length and pinch it between your thumb and forefinger.
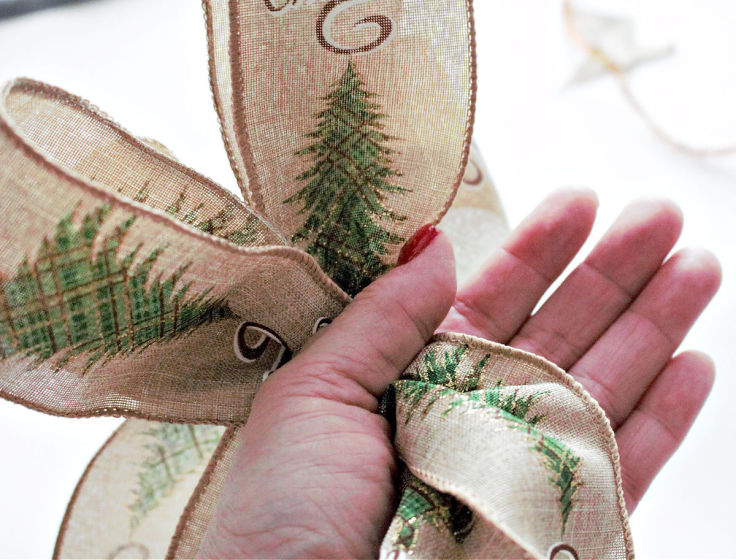
Continue to create 12″ loops pinching them inwards between your thumb. You do not need to hold it tight. Keep it lose so you can work easily.
For a classic wreath bow I normally go with 5-6 loops. That will fit a standard 20-24″ wreath.
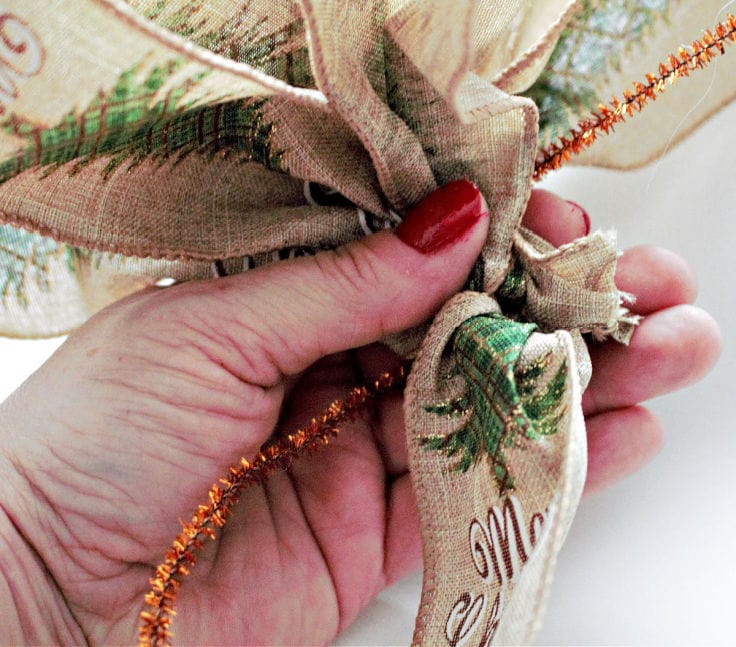
Secure the bow with wire
Once you have all of your loops secure the gathered ends together with floral wire or a pipe cleaner. You want to pull it nice and tight so the loops are secure.
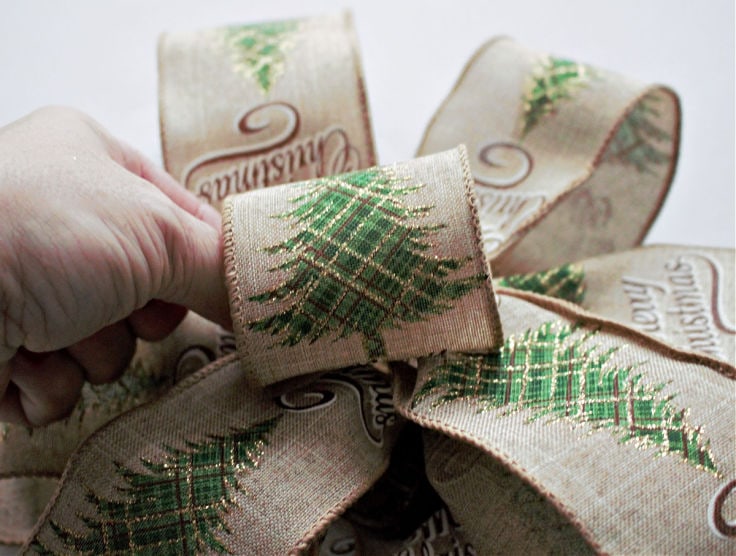
Fluff the loops
Now you just want to fluff the loops and twist and turn them until you are happy with the placement.

You want a couple of loops facing up and a couple facing down. I like to have one loop in the center too, but there really is no right or wrong way. If you want 8 loops – go for it!
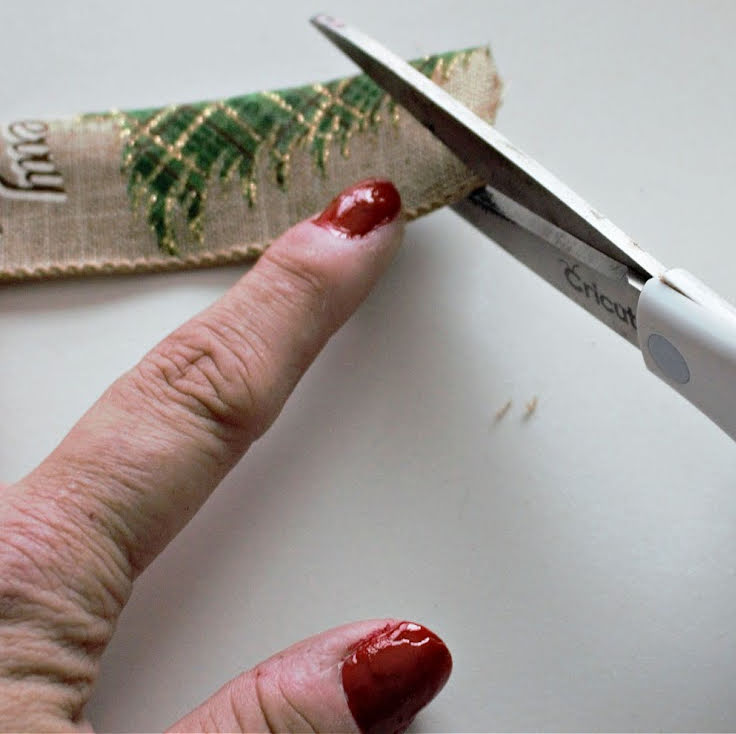
Trim the tails
To give the tails a nice finished look, fold the end in half and cut it at an angle. This will give a “dog ear” style edge.

That’s all there is to it! See how easy that was? You can use floral wire to attach it to your wreath.
I hope you found this tutorial helpful. Once you make a couple you will find it super simple.

How To Make A Wreath Bow
Equipment
- Pair of scissors
- Wire Cutters
Supplies
- Wired Ribbon
- Floral Wire
Instructions
- Measure a 12" piece of ribbon and cut it with fabric scissors.
- Measure another 12" piece that you will keep attached to the roll.
- Create a loop also 12" in length and pinch it between your thumb and forefinger.
- Gather ends together with floral wire or a pipe cleaner.
- Cut the tails to finish the ends.
- Attach it to your wreath with floral wire.
Love the ideas you see here on Ideas for the Home by Kenarry®? Subscribe today to get our FREE DIY & Craft Planning Calendar, plus our weekly Ideas in Your Inbox newsletter filled with creative tips and exclusive offers!
What’s Next?
If you enjoyed this easy wreath bow, then you’ll enjoy these DIY wreath ideas too.
Thrift Store Wreath for Valentine’s Day


You may also enjoy these wreath ideas on Ideas for the Home by Kenarry® –