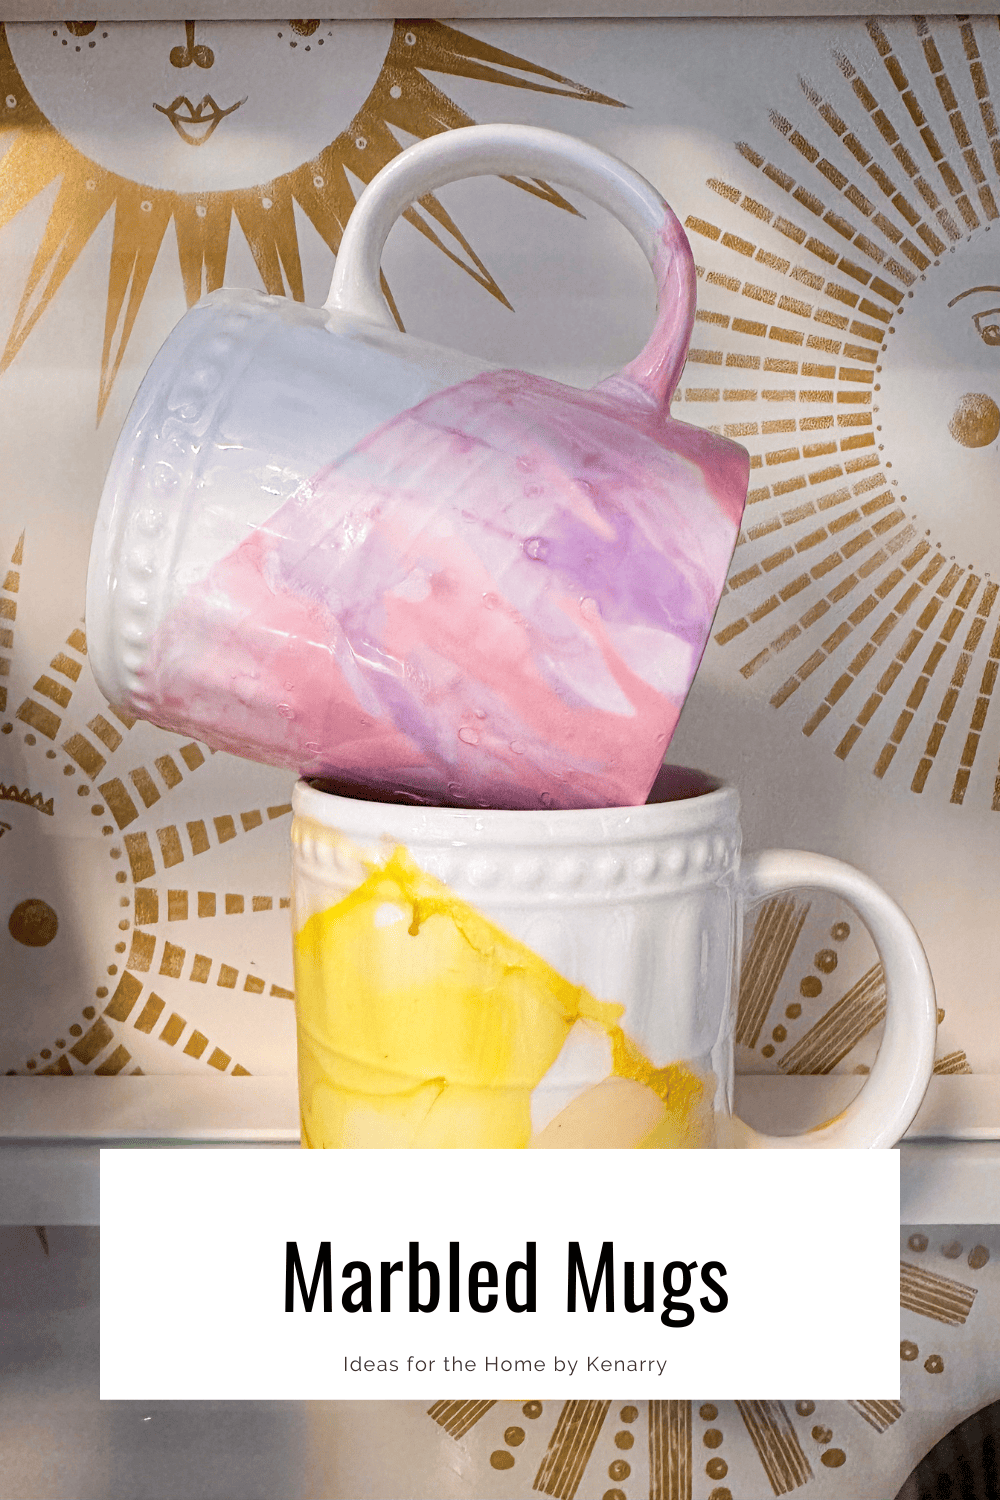
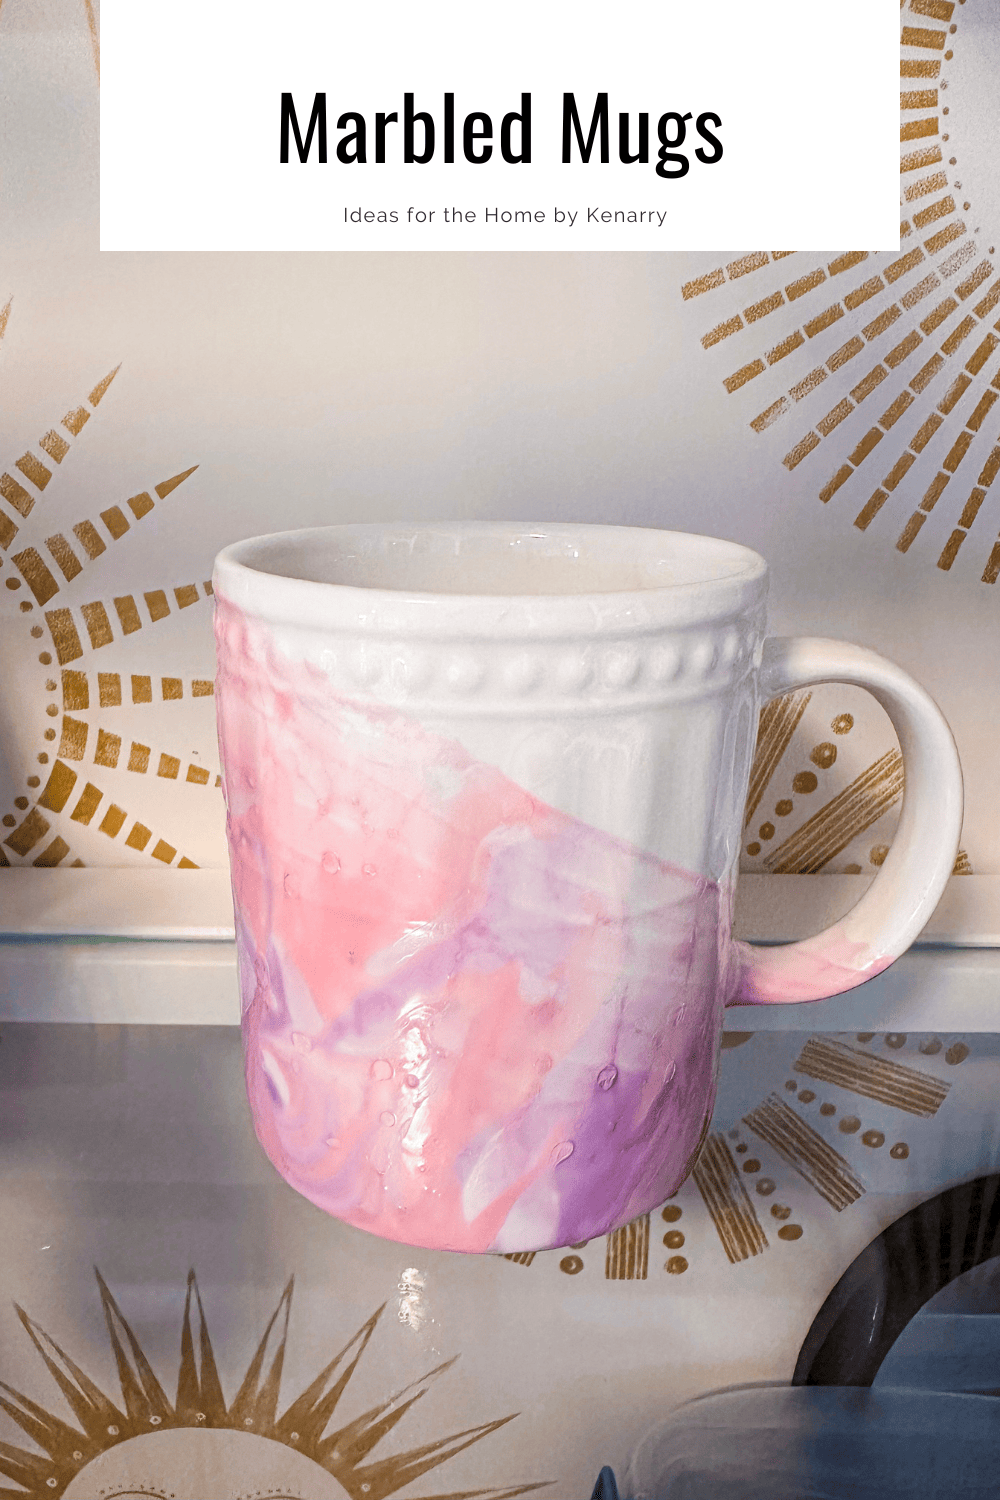
Marbled Mugs
THIS POST MAY CONTAIN AFFILIATE LINKS. PLEASE SEE OUR FULL DISCLOSURE POLICY FOR DETAILS.
These marbled mugs are simple to make. They make great gifts and are a fun way to jazz up mugs!
Hello, I’m Amy and I blog at amylanham.com. I love to create beautiful things for my home, and anytime I can make something for my plants and on the cheap, I’m extra excited.
These marbled mugs are inexpensive; you probably already have everything at home. And the mugs can be used as mugs or as cute plant pots!
How to Make a Marbled Mug
This project is easy to set up and takes almost no time!
What you need:
Want more ideas like this? Subscribe today to get our weekly Ideas in Your Inbox newsletter plus other exclusive gifts and offers — all for FREE!
Craft Tools Needed:
Supplies Needed:
These are the ingredients you’ll need. All the exact amounts are in the printable card at the bottom of this post.
- Ceramic mug
- Hot Water
- Nail Polish
- Tooth Picks
- Paper Towels
Marbled Mug Tips:
Protect Everything
I recommend laying down a plastic bag under the workspace. Then, put paper towels on top. Make sure to use a bowel that doesn’t matter and can be thrown away. The nail polish can get messy.
Use Hot Water
The nail polish dries on the water really fast. In order to slow down how fast the nail polish dries, use hot water.
Work Fast
The nail polish dries quickly, so work fast. From the time the first nail polish color is dropped to the time of the mug being dipped should probably be a minute or less.
Prep Everything Beforehand
Have everything ready to go. Pick the nail polish colors first, set up the area, and have the mugs ready to go.
This will make everything go more smoothly. Then, fill your container with the hottest water you can.
I even undid all the polish bottles before putting my first color in the water. Just to ensure everything was ready to go and I could work fast.
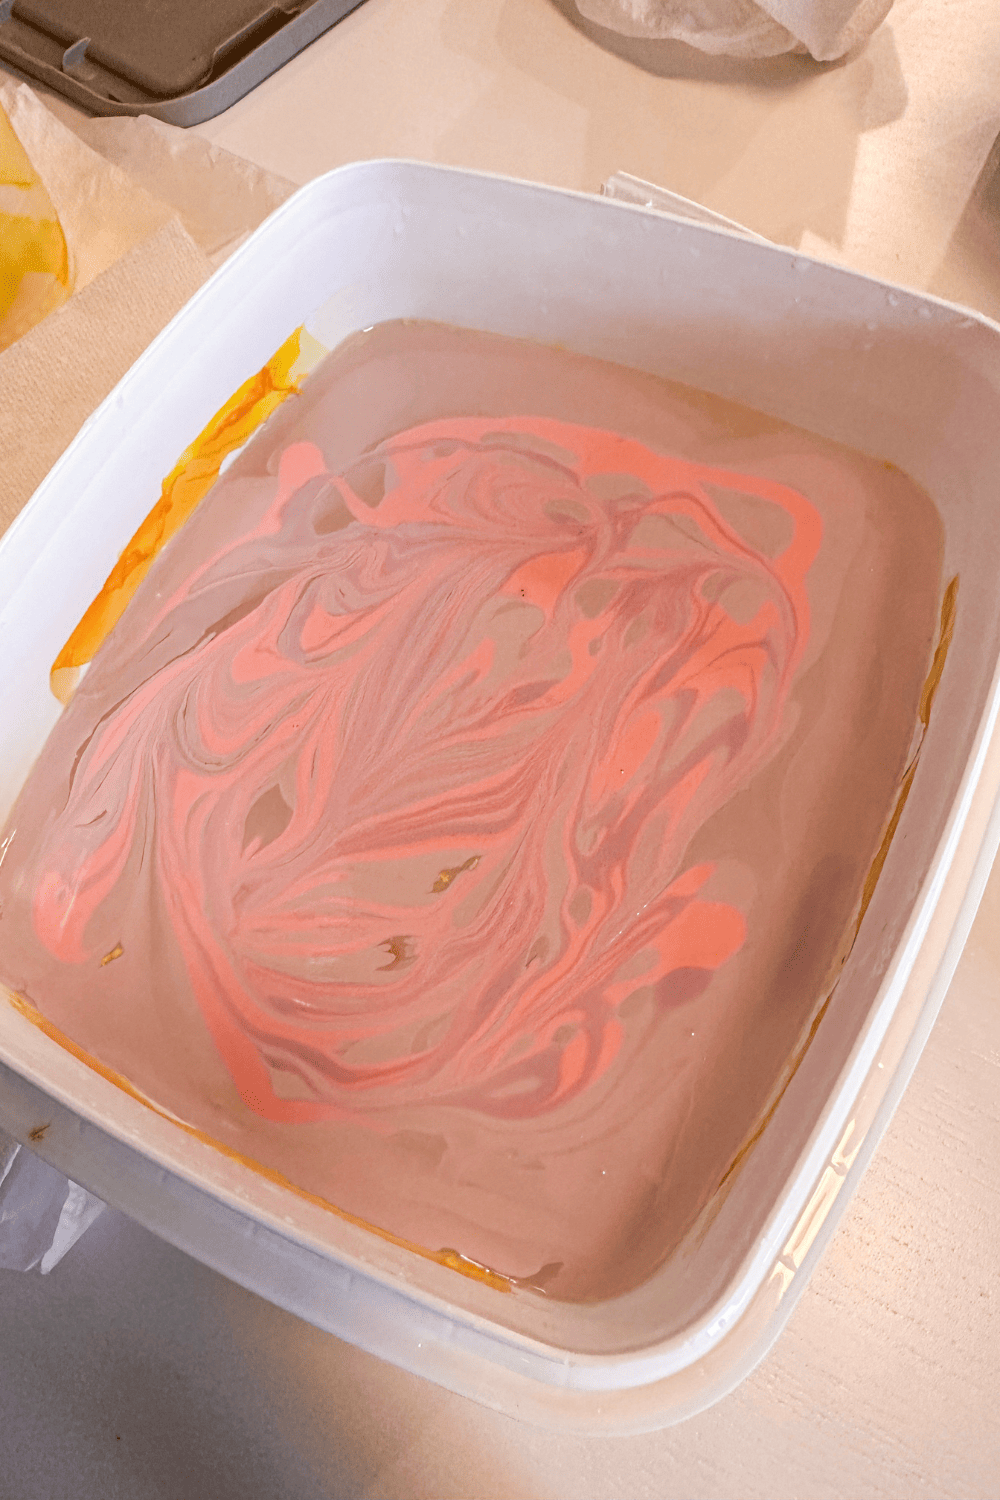
How to Change Colors
After a mug is dipped, or if the polish dries in the water, it’s not a big deal. Just wait a few minutes, then use a toothpick and swirl it around the top of the water.
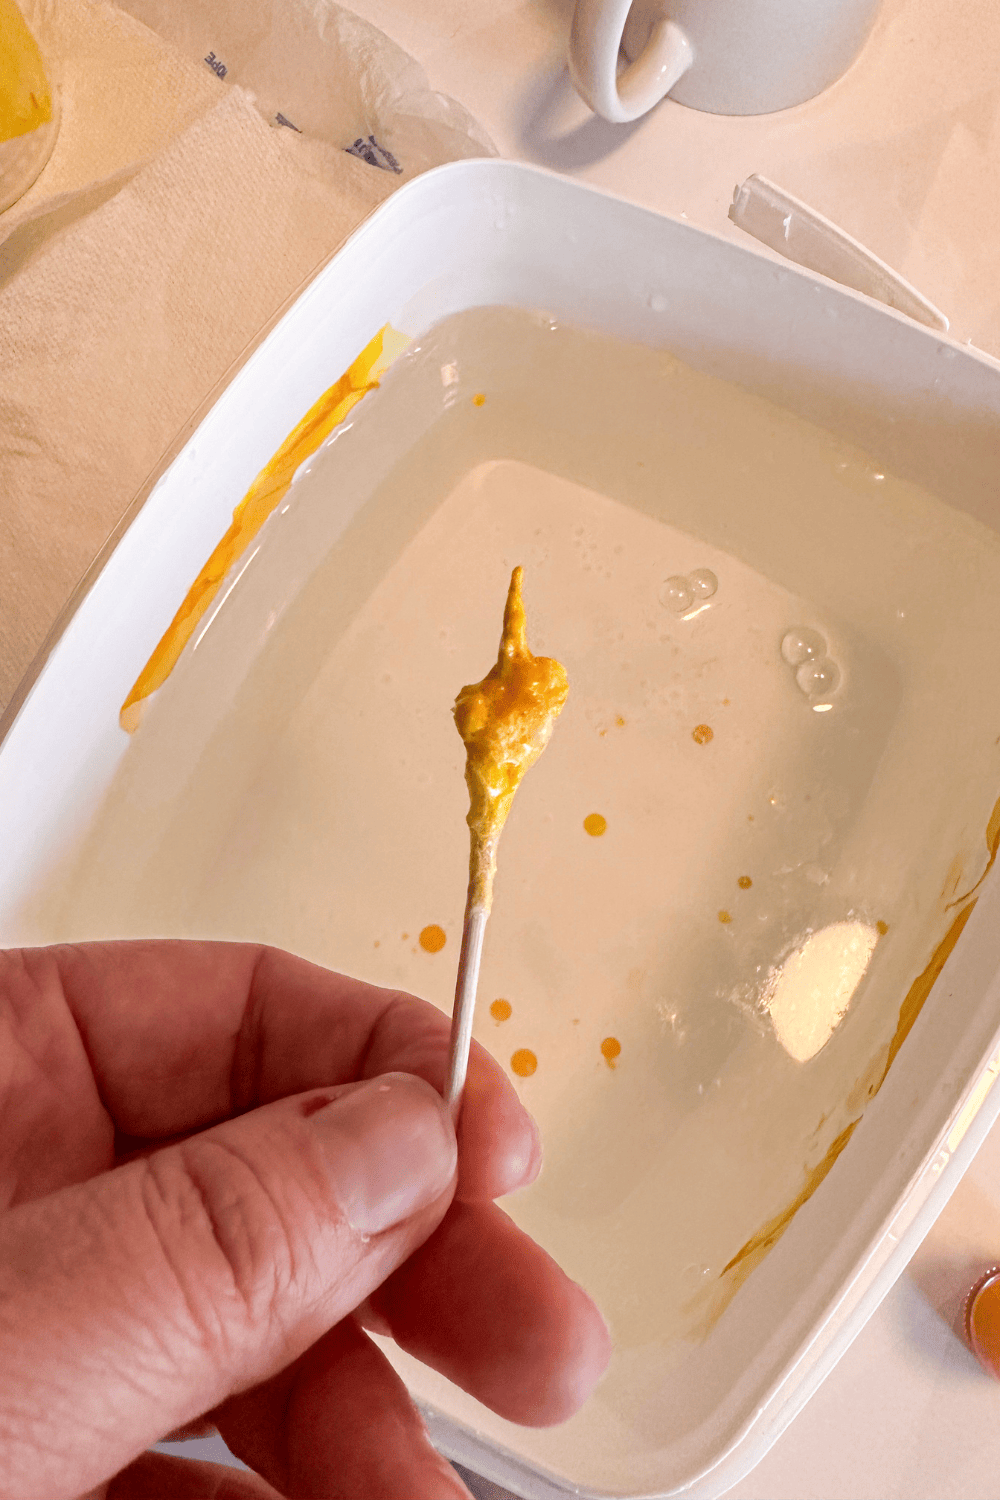
The toothpick will pick up all the dried nail polish. Then, the top of the water will be clean and ready for another round!
Floating the Nail Polish
It can be difficult to float the nail polish and not have it sink to the bottom of the container. I found holding it a few inches above the water and pouring the nail polish in a thin swirl to be the easiest.
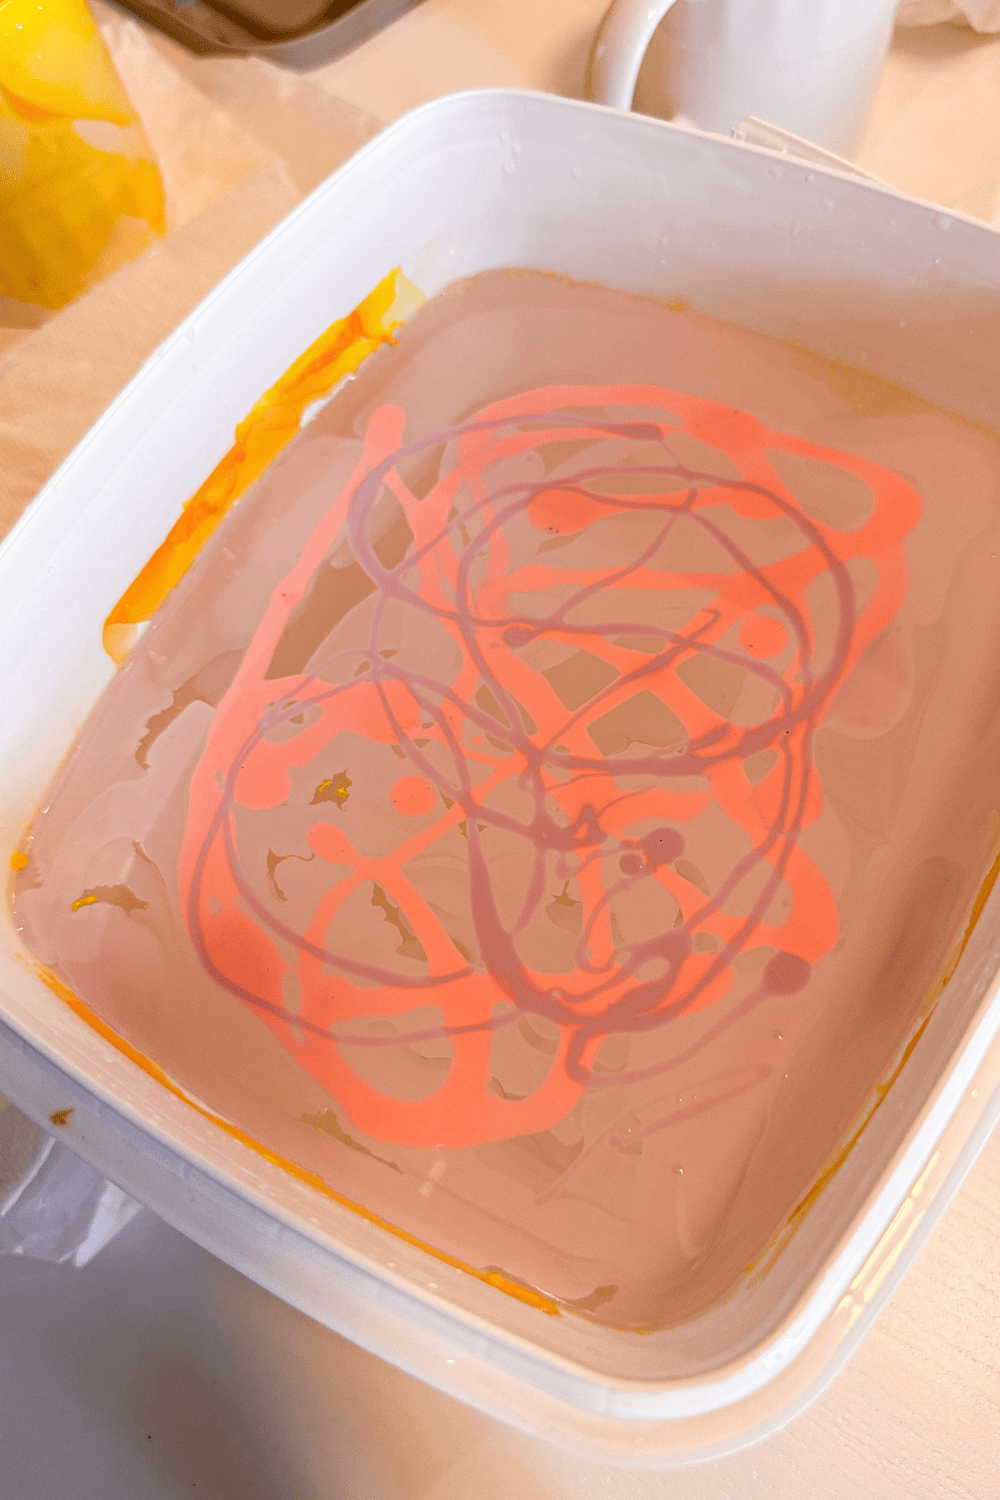
Anytime I tried to drop beads of polish lightly on the surface, the beads would sink to the bottom. But a thin line of polish I could keep floating.
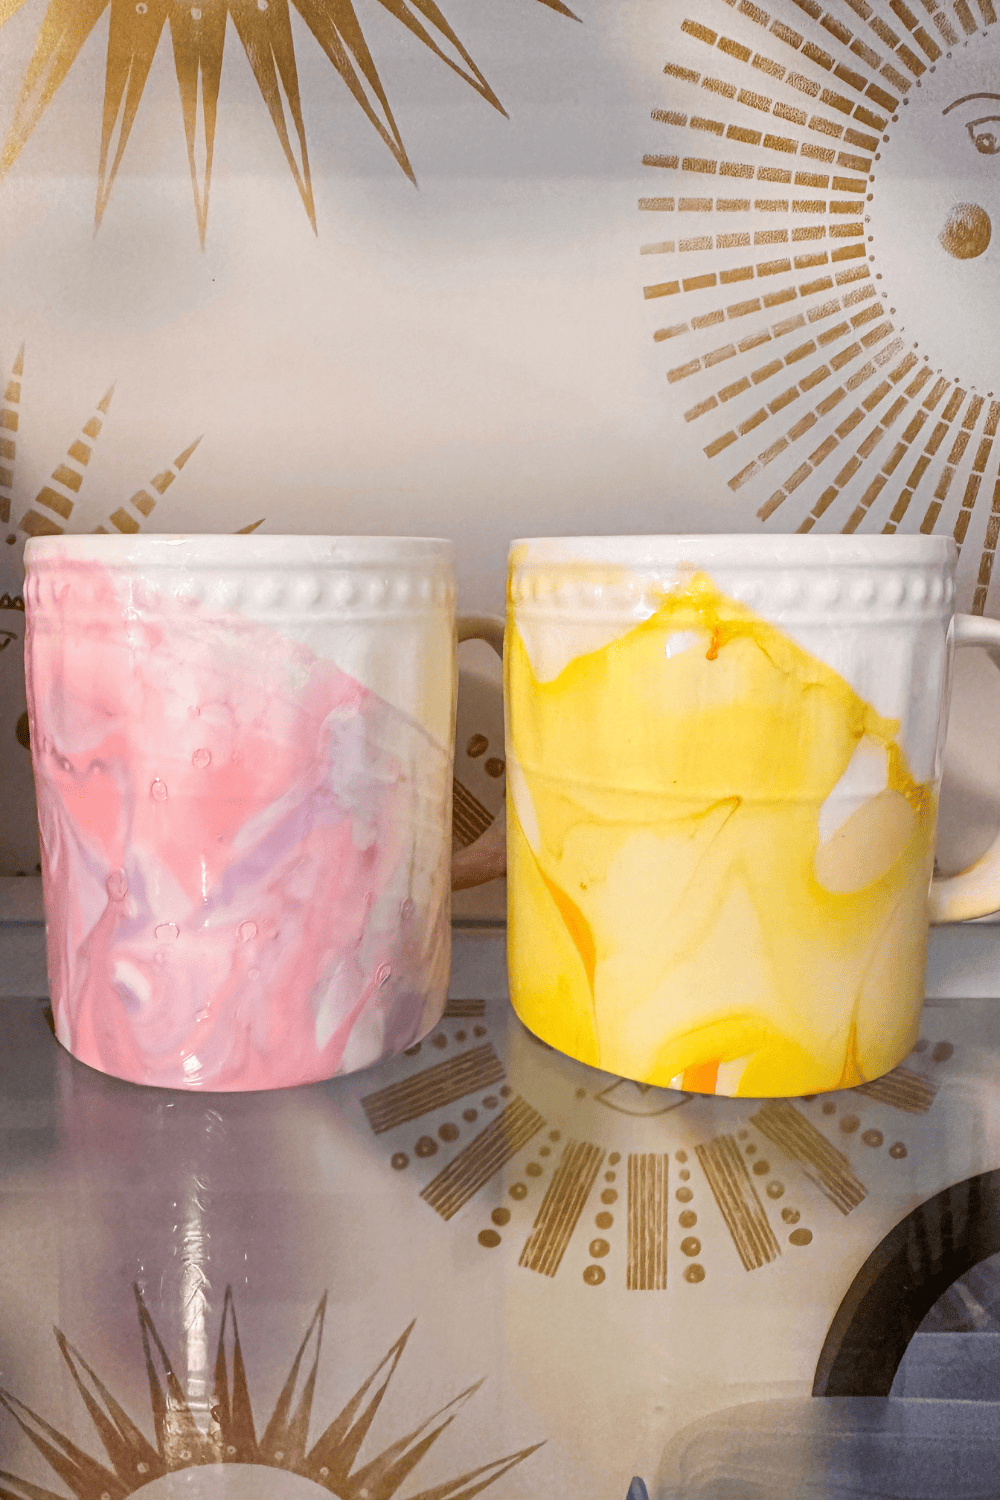
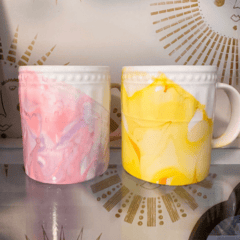
Use Multiple Coordinating Colors
I love the way this looks with multiple coordinating colors. But it would look great with only one color, too.
If using only one color, don’t add as much nail polish, and be sure to keep some water in between to keep the swirl effect.
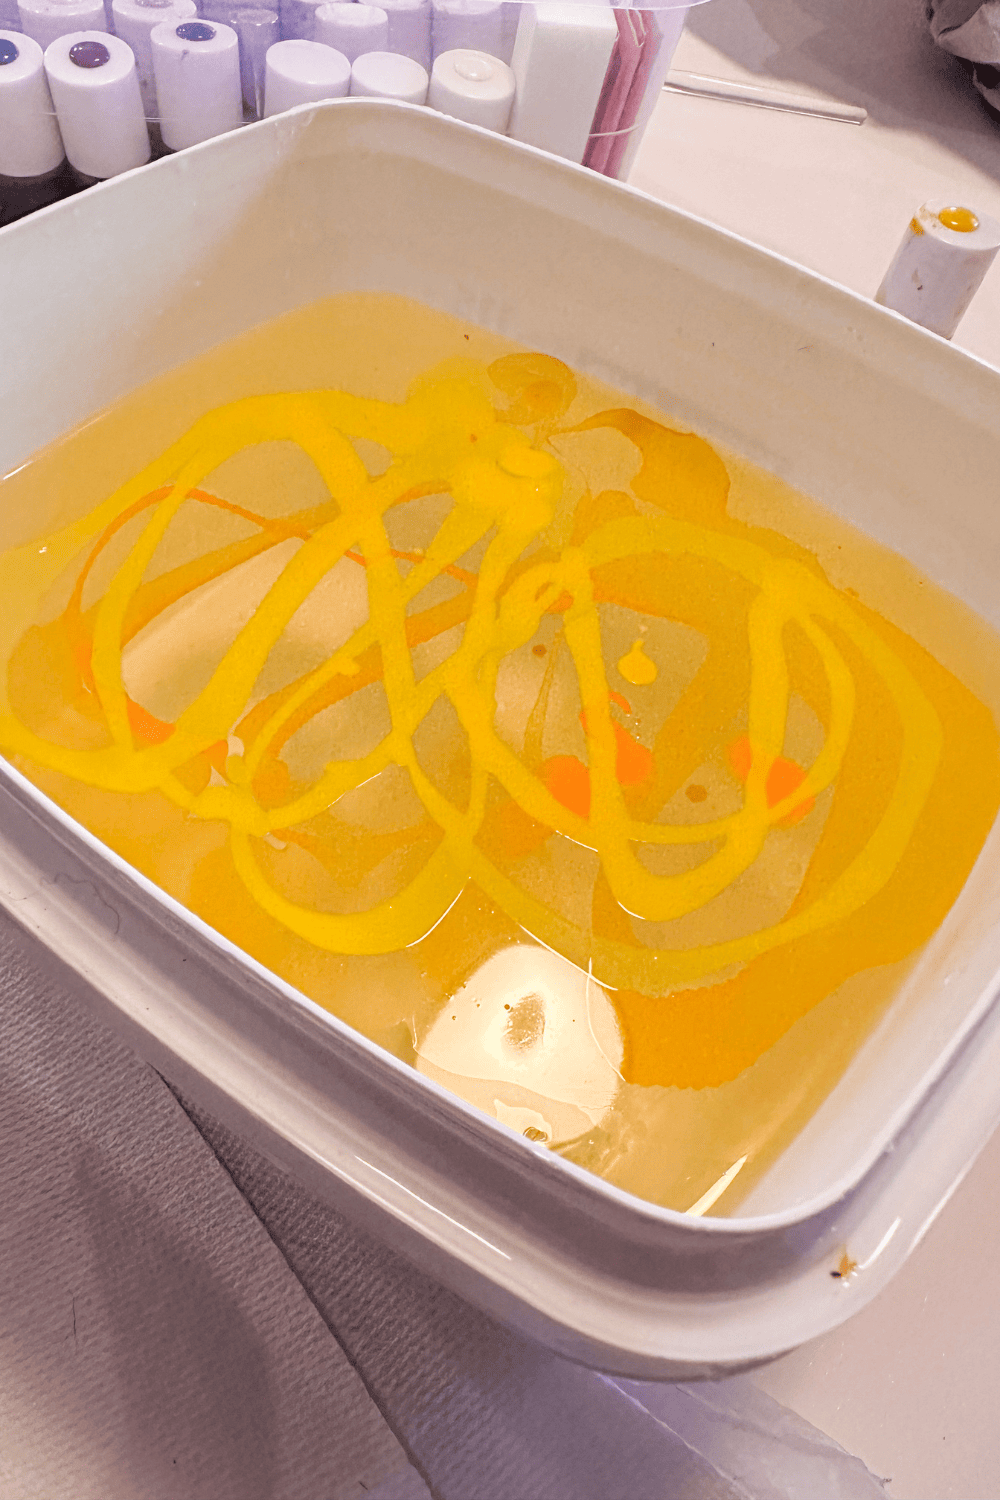
If using multiple colors, there’s less need to worry about there being too much color as the colors themselves make the swirl effect.
Dip the Mug Tilted
Tilt the mug! Try to have the first entry point of the mug on the side. If the bottom of the mug goes in first, the bottom gets the lovely swirl, and the sides get less.
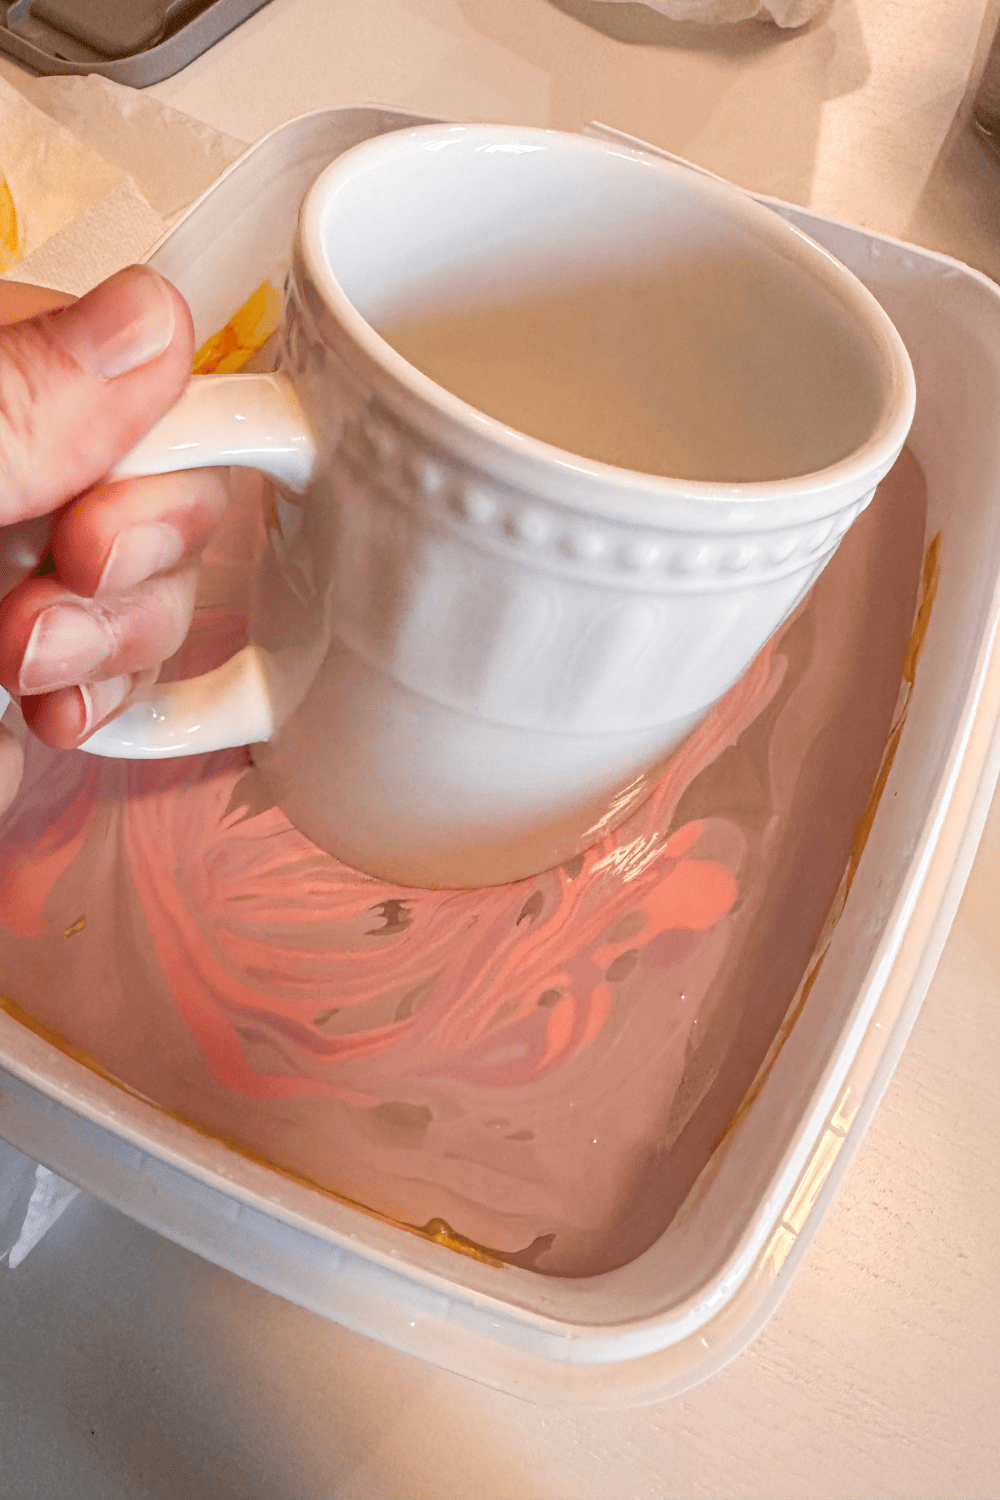
So dip the mug side first and then the bottom. This way, the side should get the majority of the swirl.
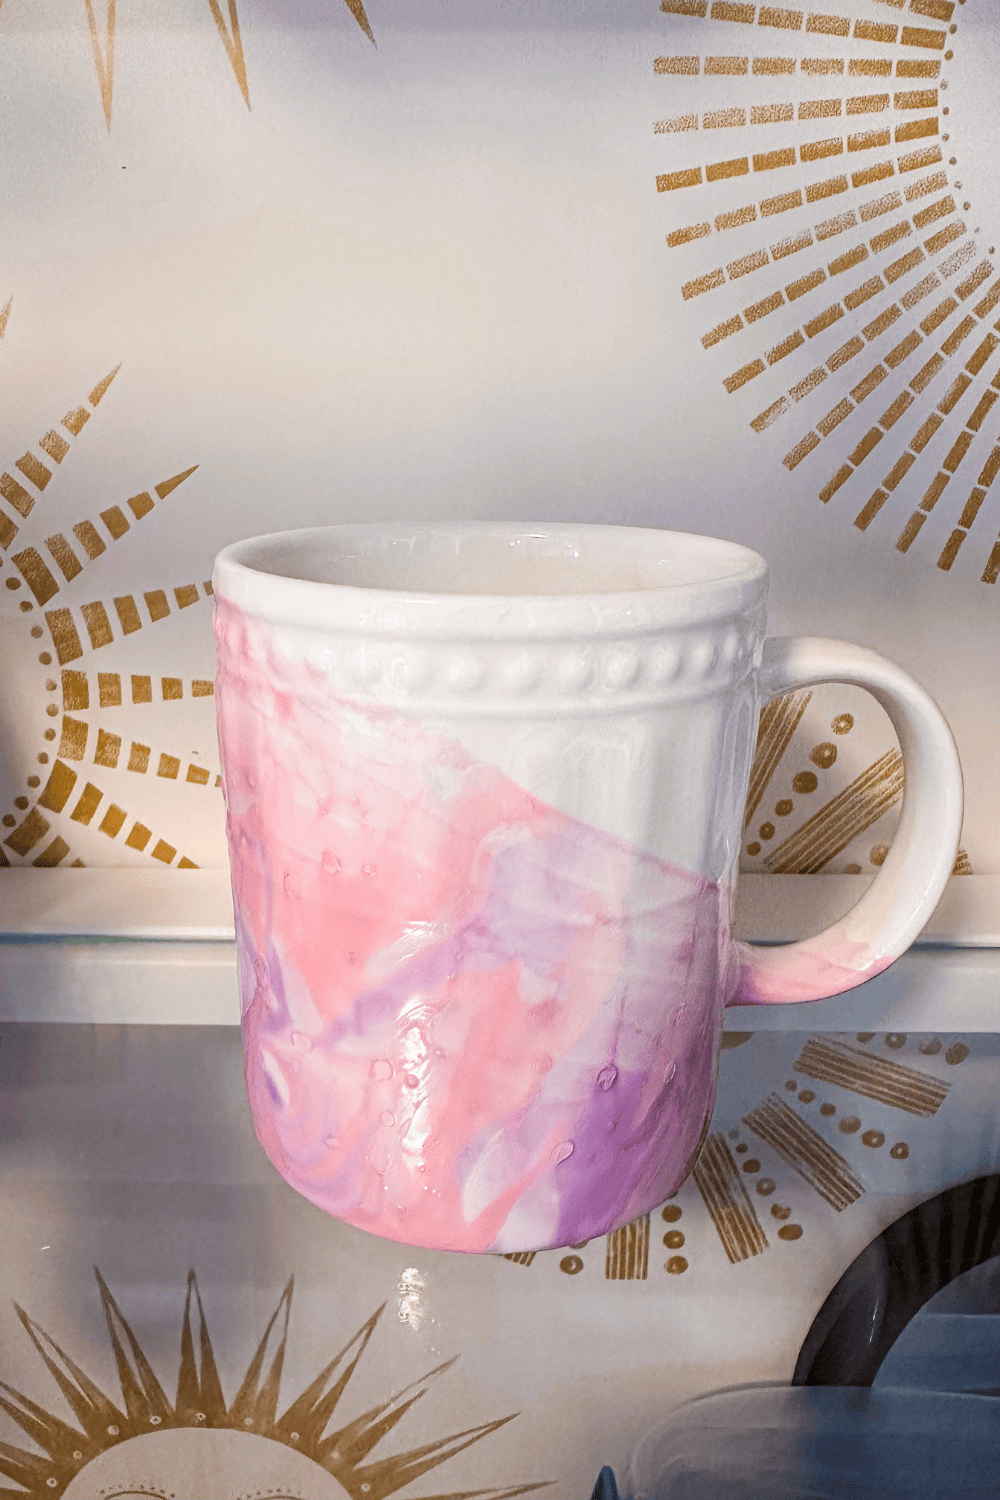
Shake Off Excess Water
I didn’t do this on one of my mugs; there are distinct water droplets. It still makes for a cool effect; it’s just not what I was going for.
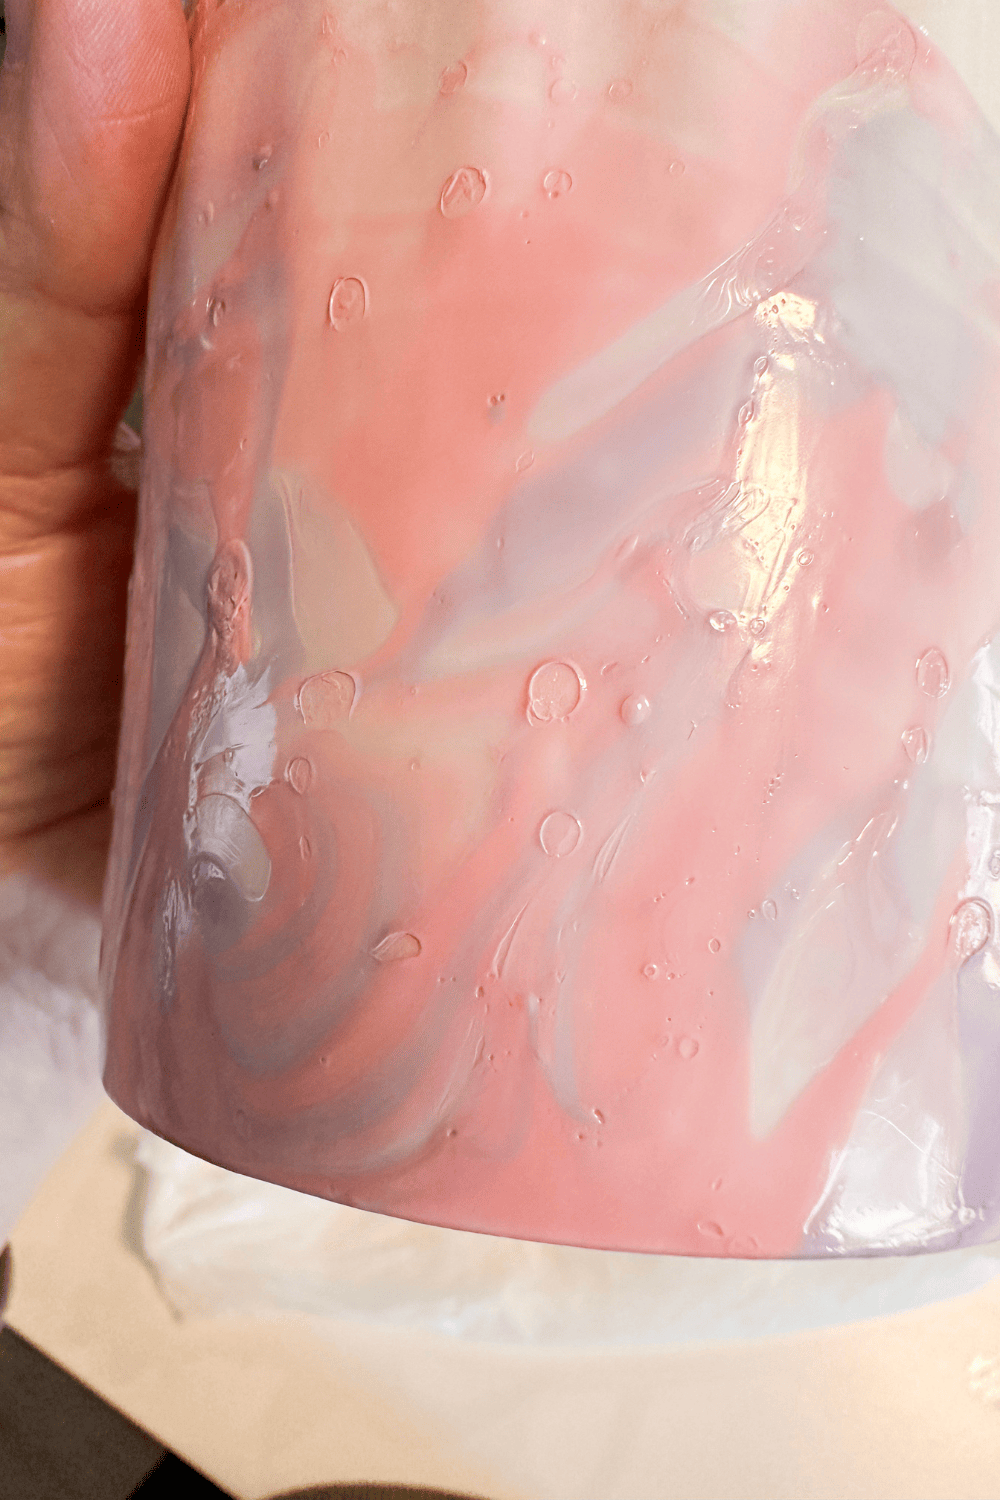
So make sure to shake off as much water as possible before setting the mug aside to dry.
Marbled Mugs
Equipment
- 1 Container
Supplies
- Nail Polish
- Hot Water
- Toothpick
- Paper Towels
- Mug
Instructions
- Add hot water to a container, drip nail polish to float on the water.
- Use a toothpick to swirl the colors together.
- Slowly dip the mug through the nail polish and into the water.
- Pull the mug straight up and place on a paper towel paint side up to dry.
- Remove any left over nail polish from the top of the water and then start over.
Love the ideas you see here on Ideas for the Home by Kenarry®? Subscribe today to get our FREE DIY & Craft Planning Calendar, plus our weekly Ideas in Your Inbox newsletter filled with creative tips and exclusive offers!
What’s Next?
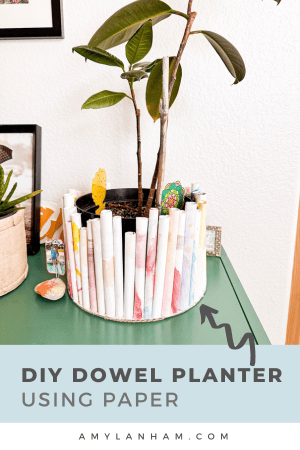
If you enjoyed marbled mugs then you’ll enjoy these plant pot ideas too.

You may also enjoy these easy craft ideas on Ideas for the Home by Kenarry® –
