Heart String Art
THIS POST MAY CONTAIN AFFILIATE LINKS. PLEASE SEE OUR FULL DISCLOSURE POLICY FOR DETAILS.
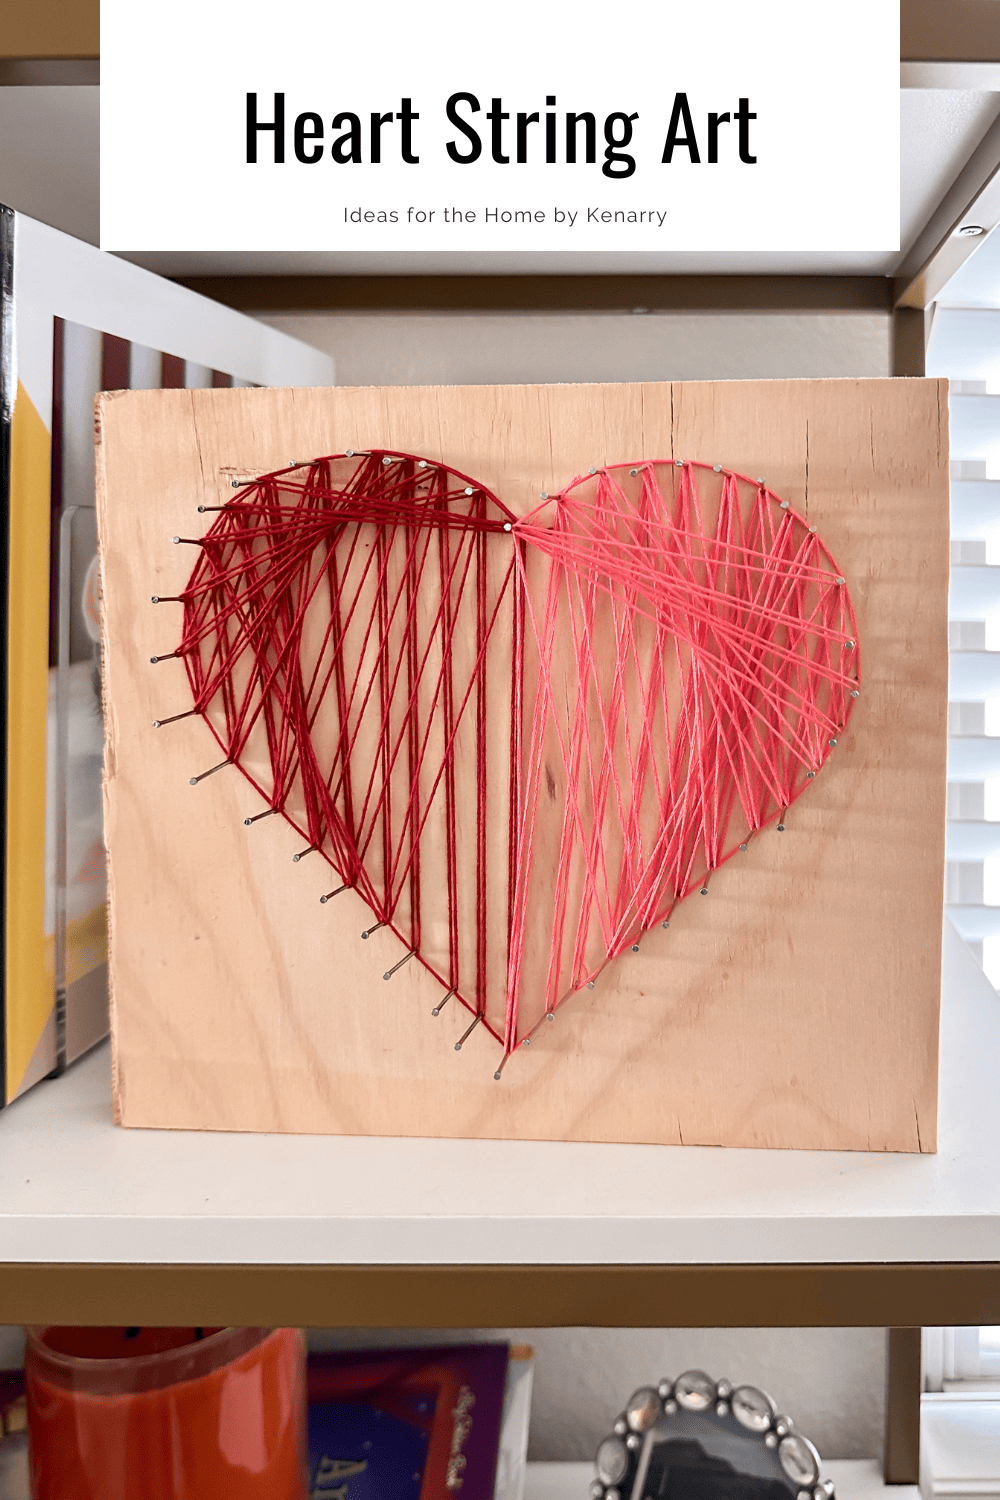
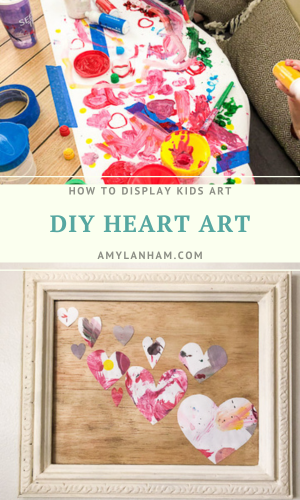
Looking for some fun Valentine’s day art? Create this heart string art, it looks great displayed year round.
Hello, my name is Amy and I blog at amylanham.com. I love decorating for holidays, but most of the decor at the stores is too expensive and doesn’t seem to last.
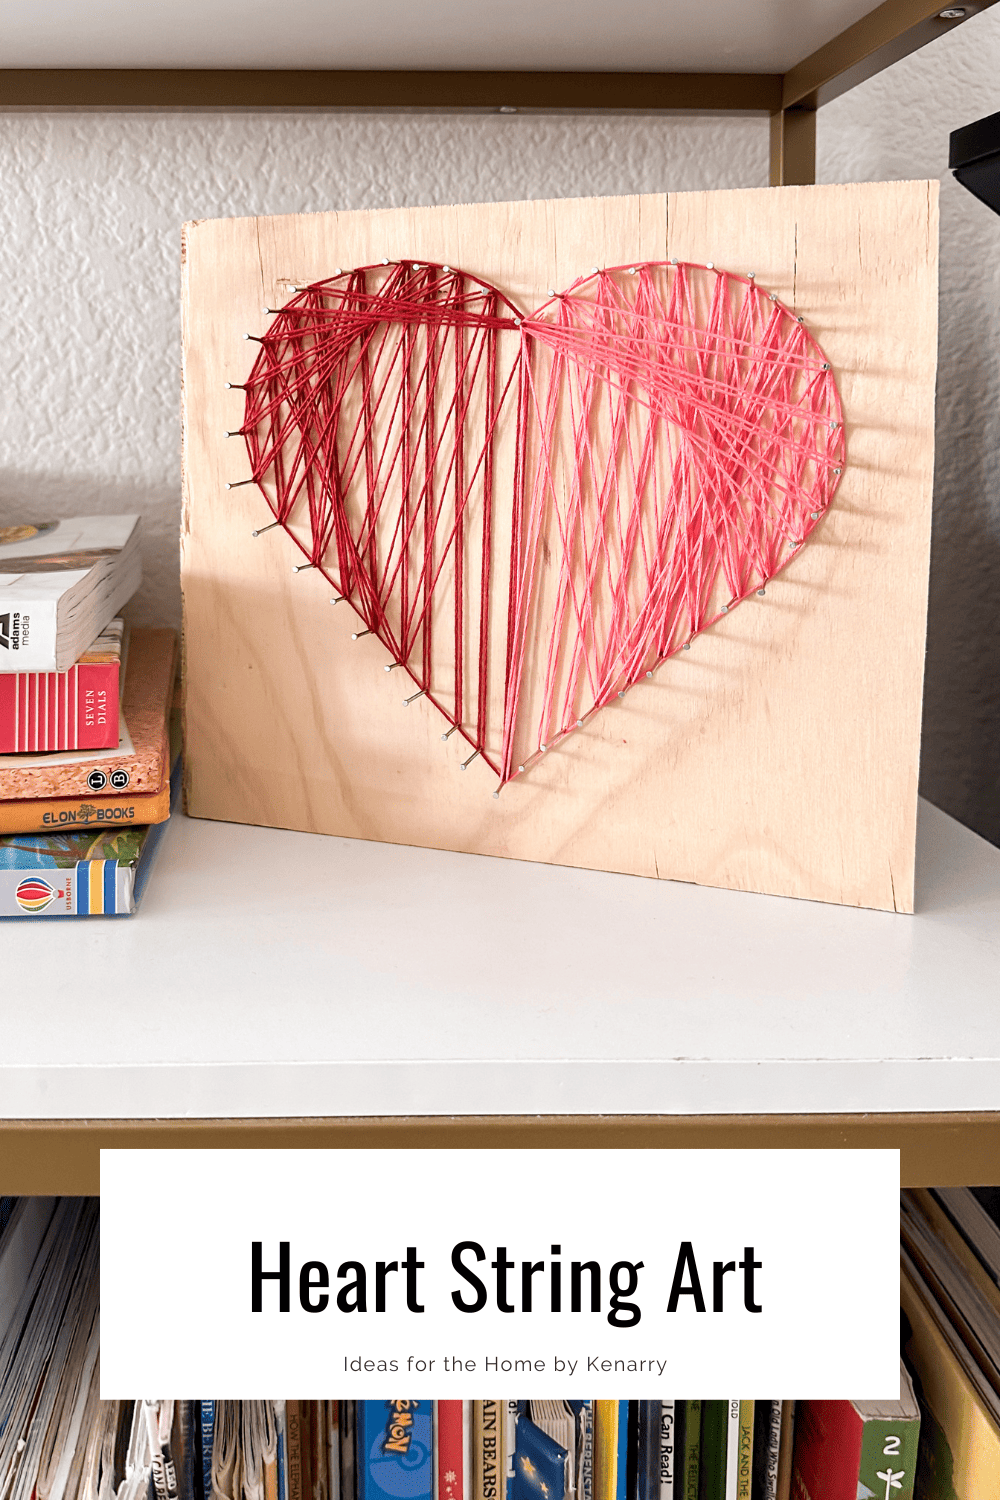
I also really enjoy displaying things that I have created. This year for Valentine’s Day, I decided to create some heart string art that can be displayed all year long.
How to Make Heart String art
This heart string art doesn’t scream Valentine’s Day so it could easily be displayed year round.
What you need:
Want more ideas like this? Subscribe today to get our weekly Ideas in Your Inbox newsletter plus other exclusive gifts and offers — all for FREE!
Craft Tools Needed:
Supplies Needed:
These are the ingredients you’ll need. All the exact amounts are in the printable card at the bottom of this post.
Heart String Art Tips:
What Size Wood To use
This craft can be personalized to the size that you need. If you have scrap wood laying around, any type of wood will do.
I recommend using wood no thinner than 1/2 inch thick. That way the nail won’t poke out the back side of the wood.
I have a bunch of 3/4 inch plywood left over from building some closets, so I used that. I cut it to approximately 9 inch by 9 inches.
How to Create the Heart Shape
Either freehand draw a heart, or use a computer to print a heart onto some paper. My heart was approximately 8 inches wide.
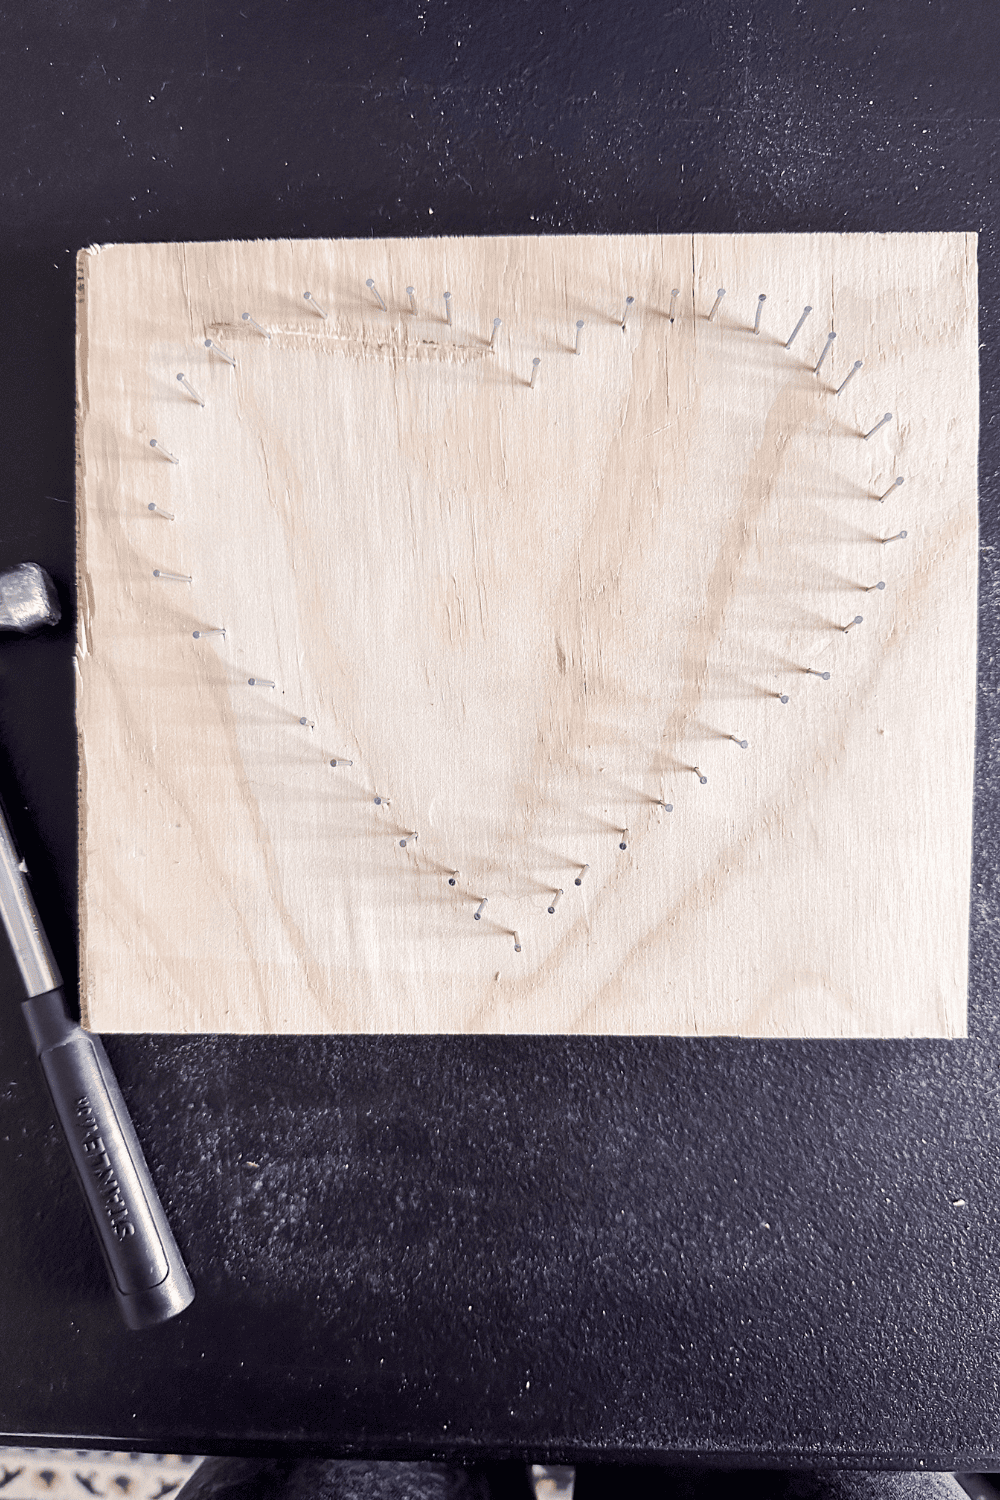
Tape the paper heart onto the piece of wood. Then hammer a nail at the top and bottom of the heart and on each side. This helps to ensure the heart will not shift as the nails are hammered in.
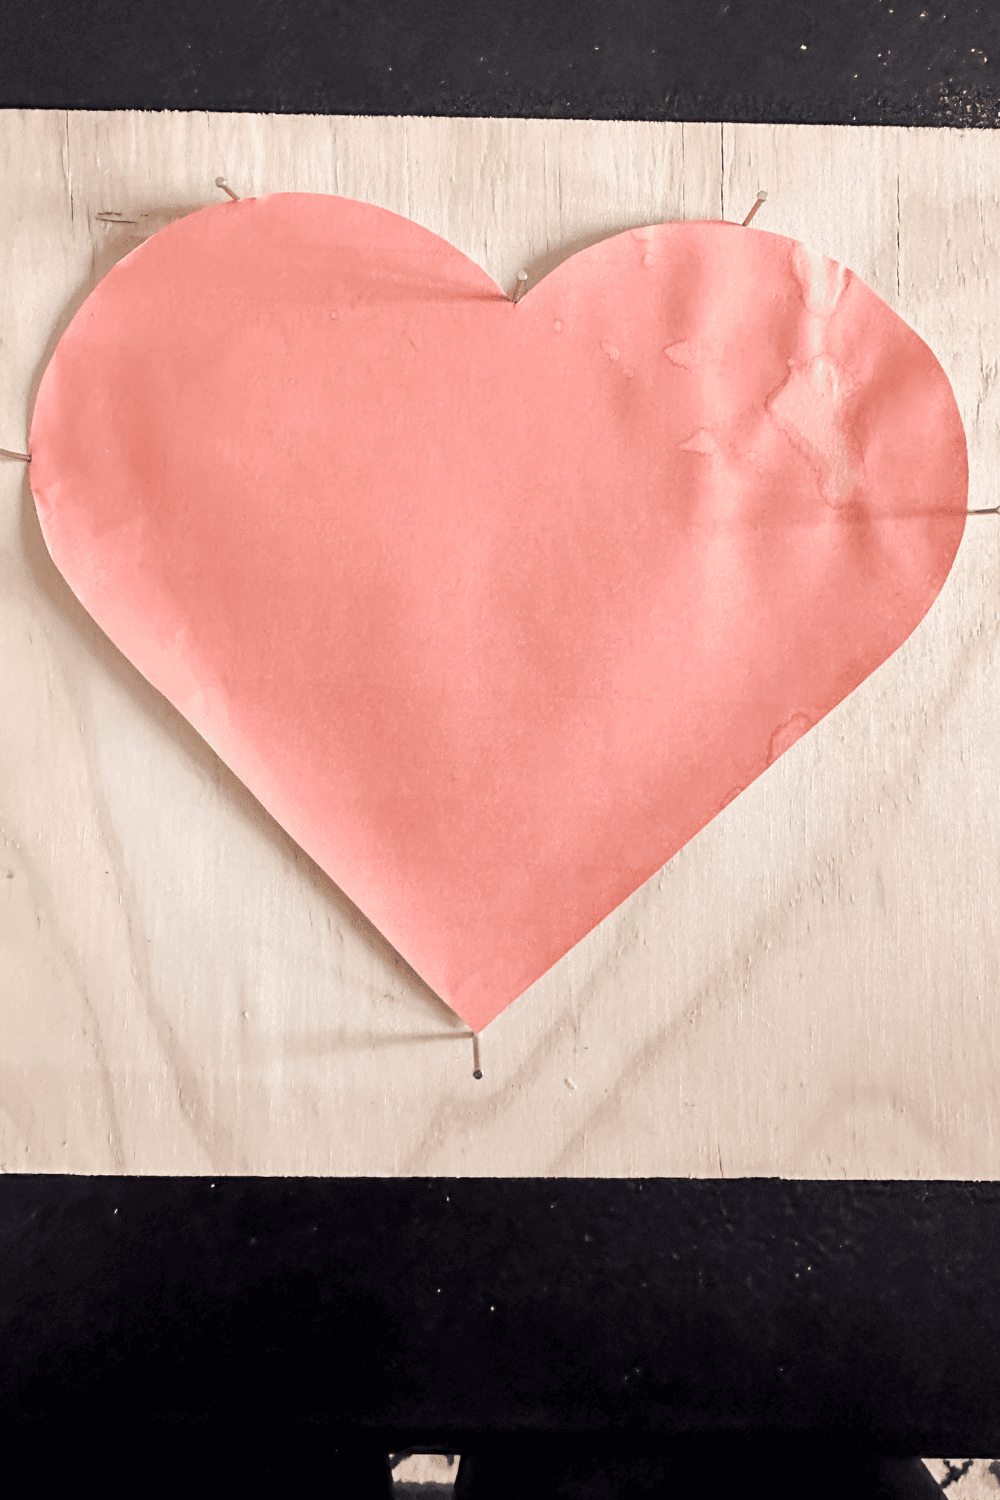
Continue to hammer in nails every 1/2 inch, all the way around the paper heart shape. Hammer in each nail into the wood at the same height, as much as possible.
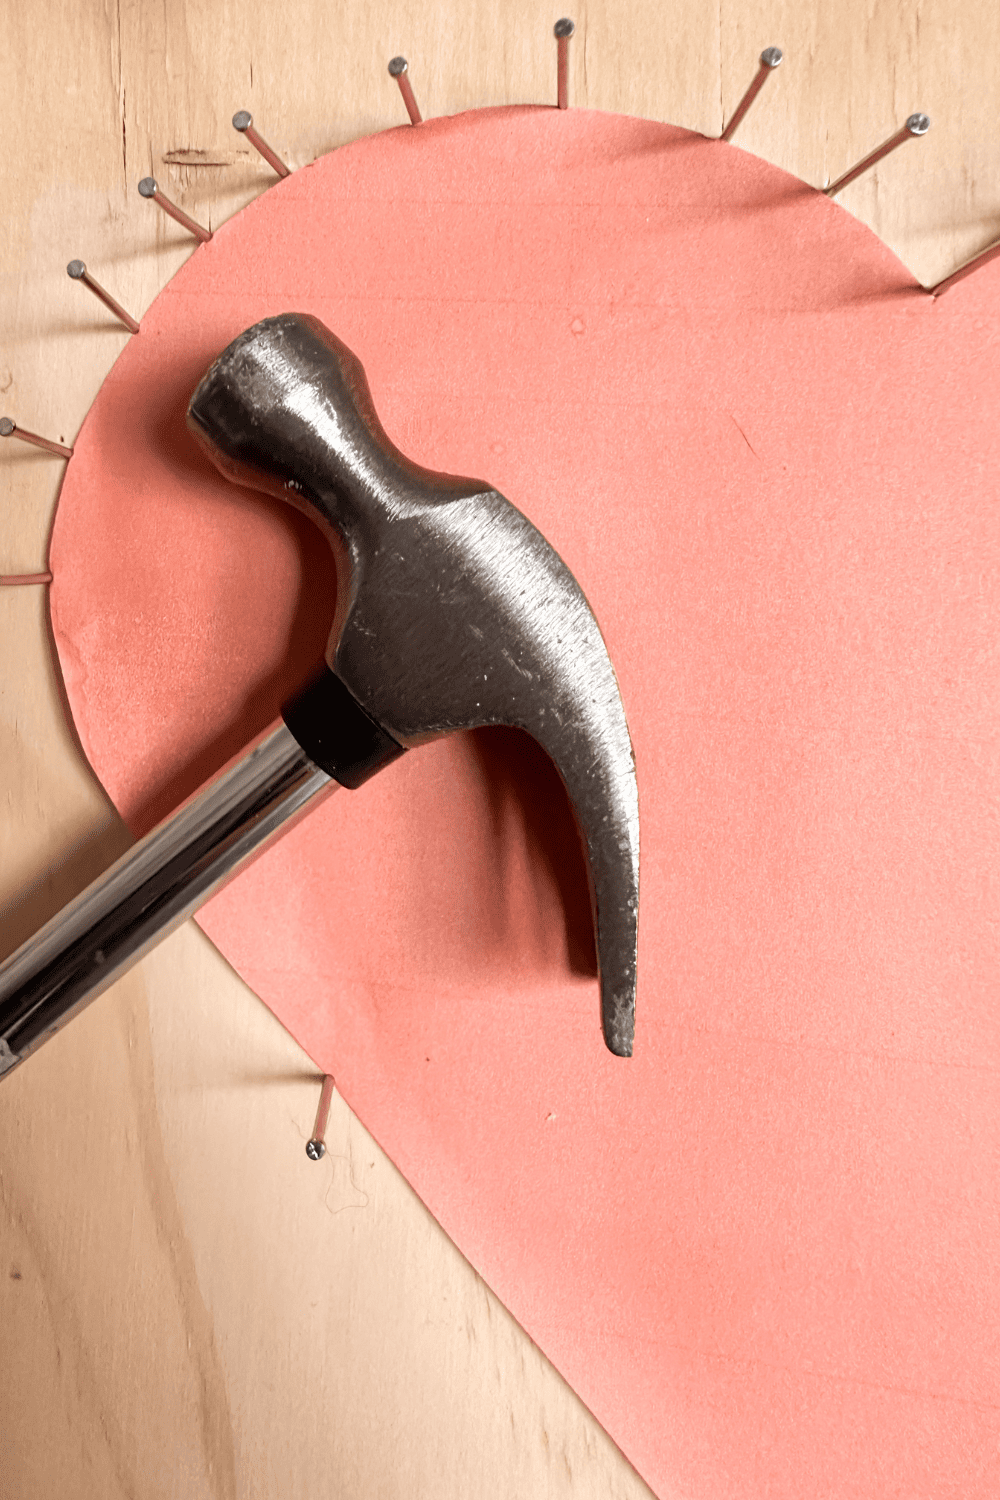
I used 42 brad nails. Brad nails are slightly different than regular nails, as the head of the nail isn’t as large. It gives this project a cleaner look while still giving the thread something to hang on too.
Tying the thread
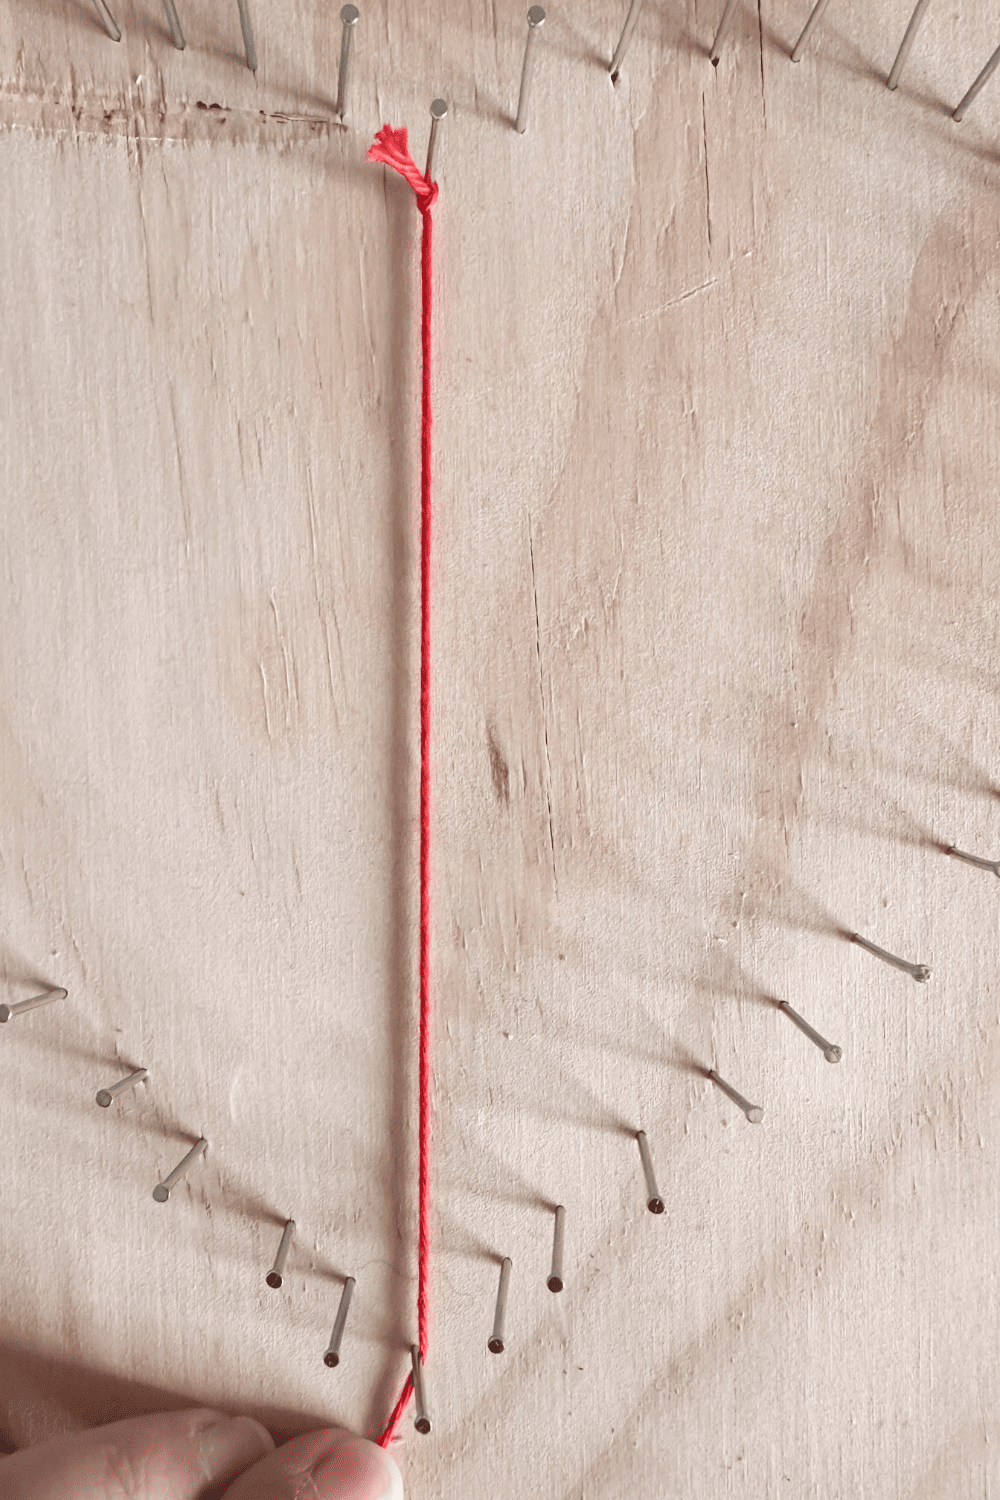
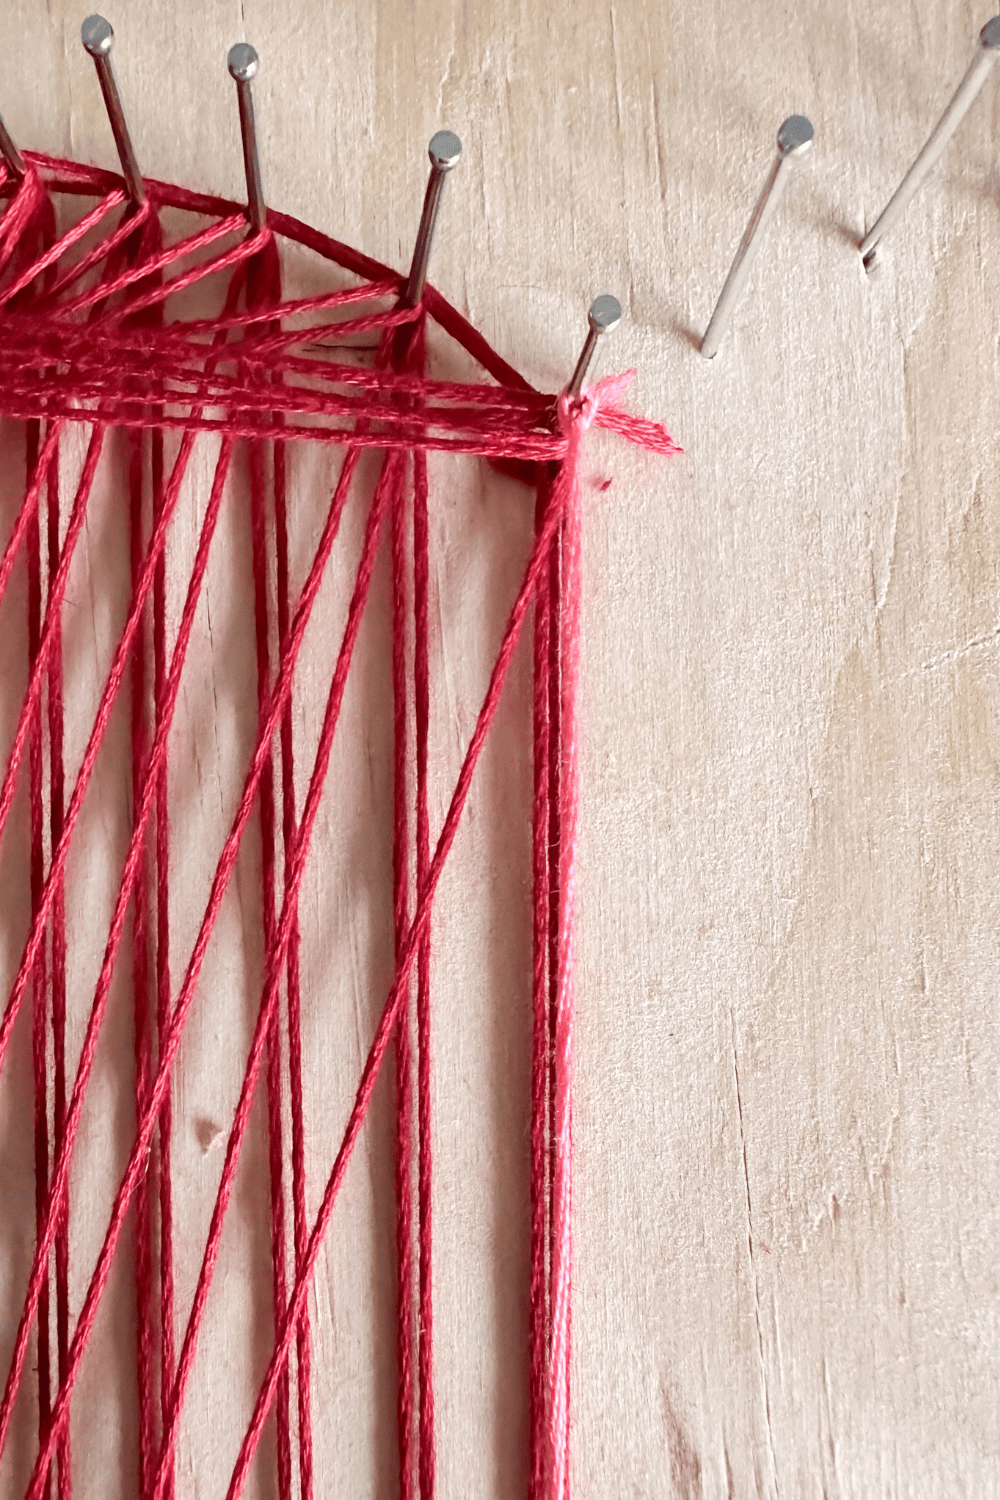
Starting at the top center nail, make a knot around the nail with your embroidery floss.

Then go straight down to the bottom middle nail. Wrap it around and back up to the nail to the left of the center top nail. Try not to cross the thread while looping around the nails to create a cleaner look.
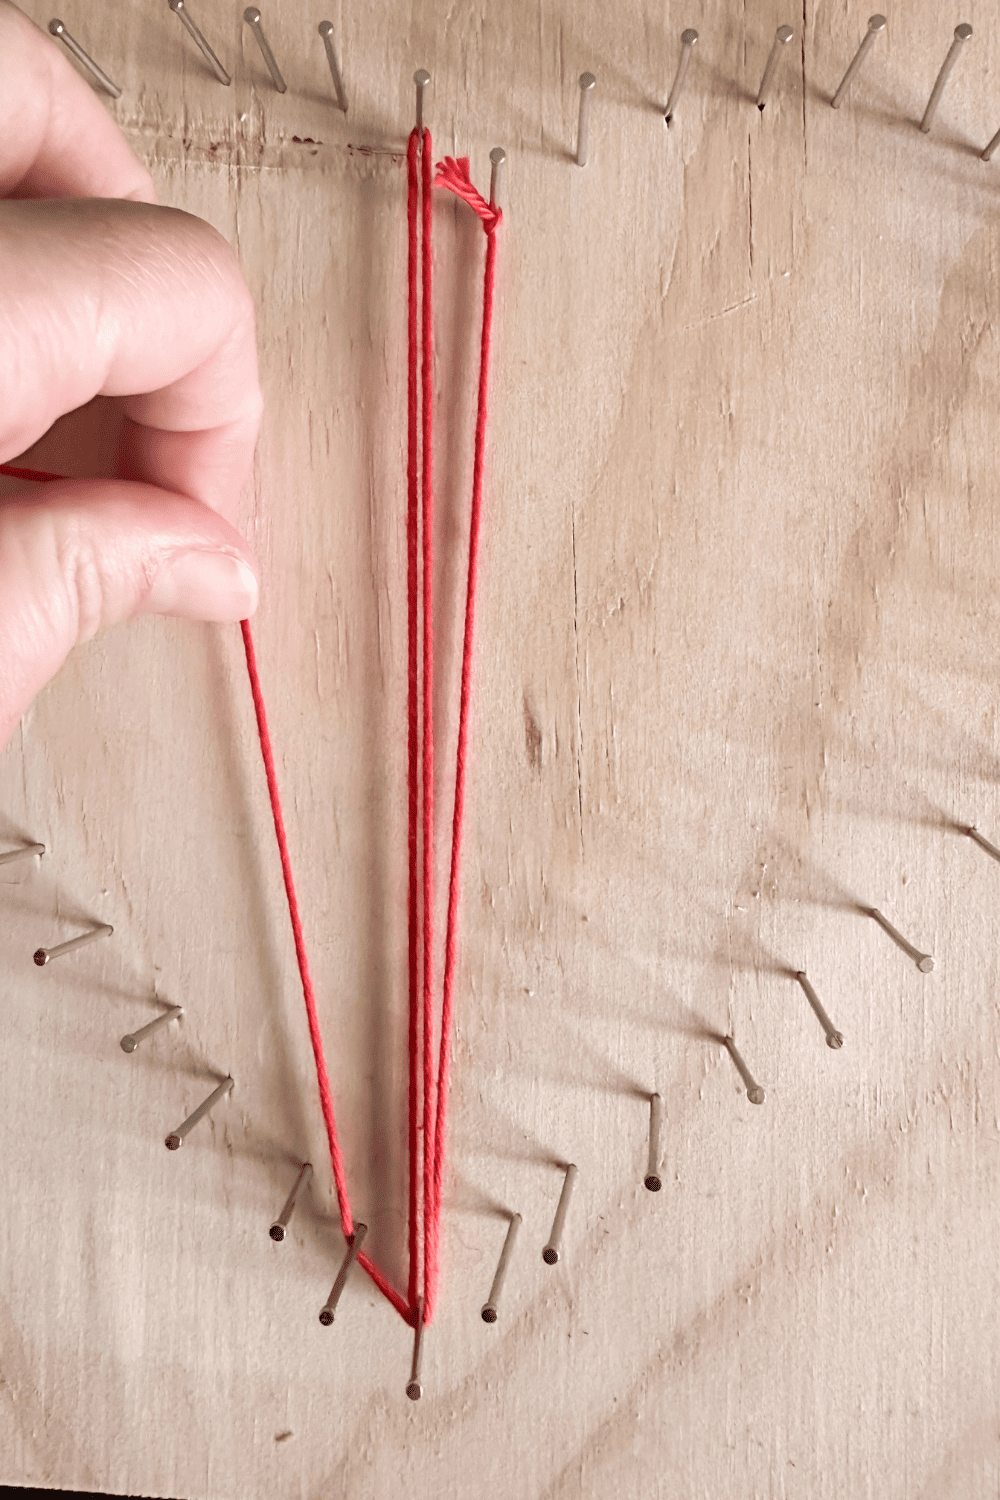
Loop around the top nail and then go back to the same bottom nail that the thread came from. But loop around 2 nails at the bottom and then back up to the nail to the left of the nail that was last threaded at the top.
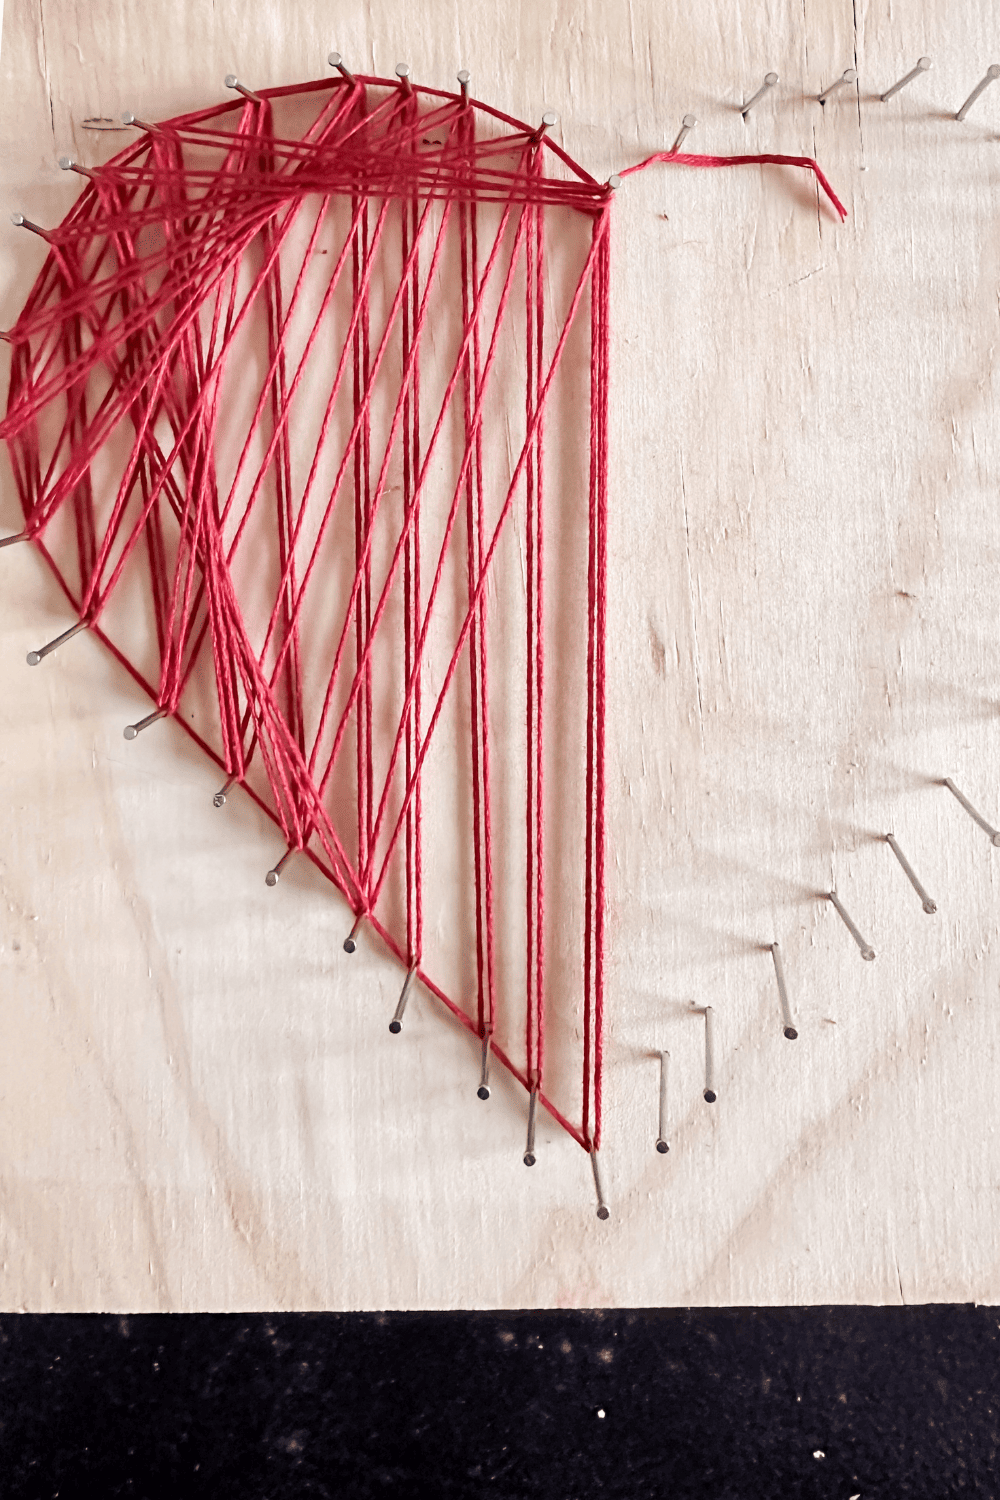
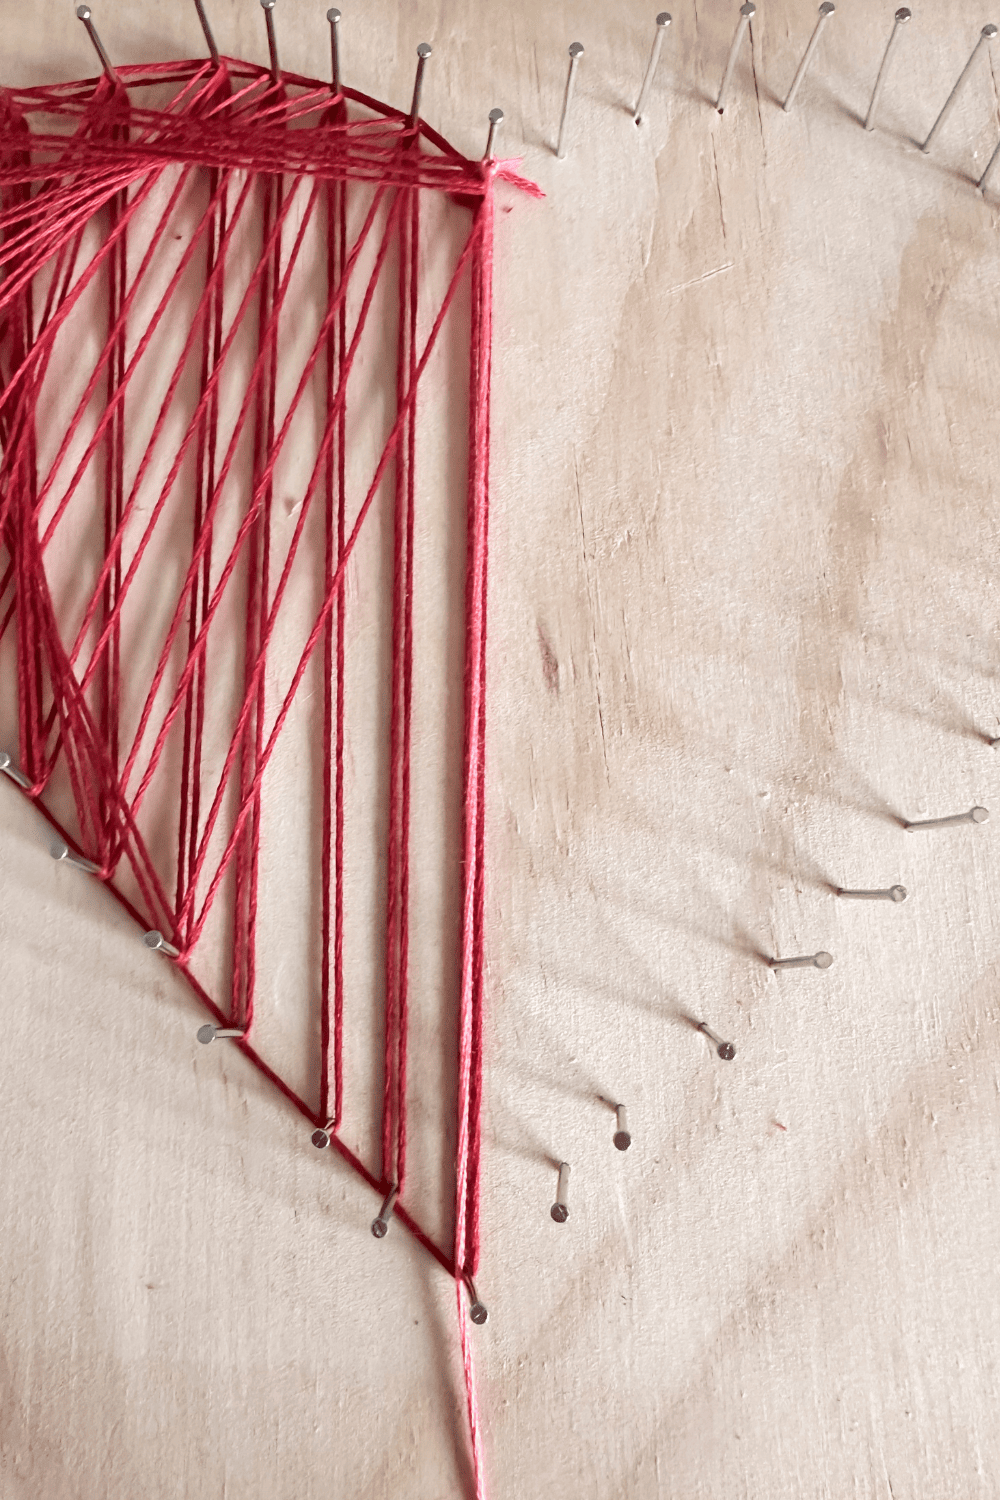
Continue this, back to the bottom, around 2 nails, back up to the top, around the nail next to the threaded one, until the edge of the heart is reached. Then loop the string around the top outside of all the nails and around the center middle nail.
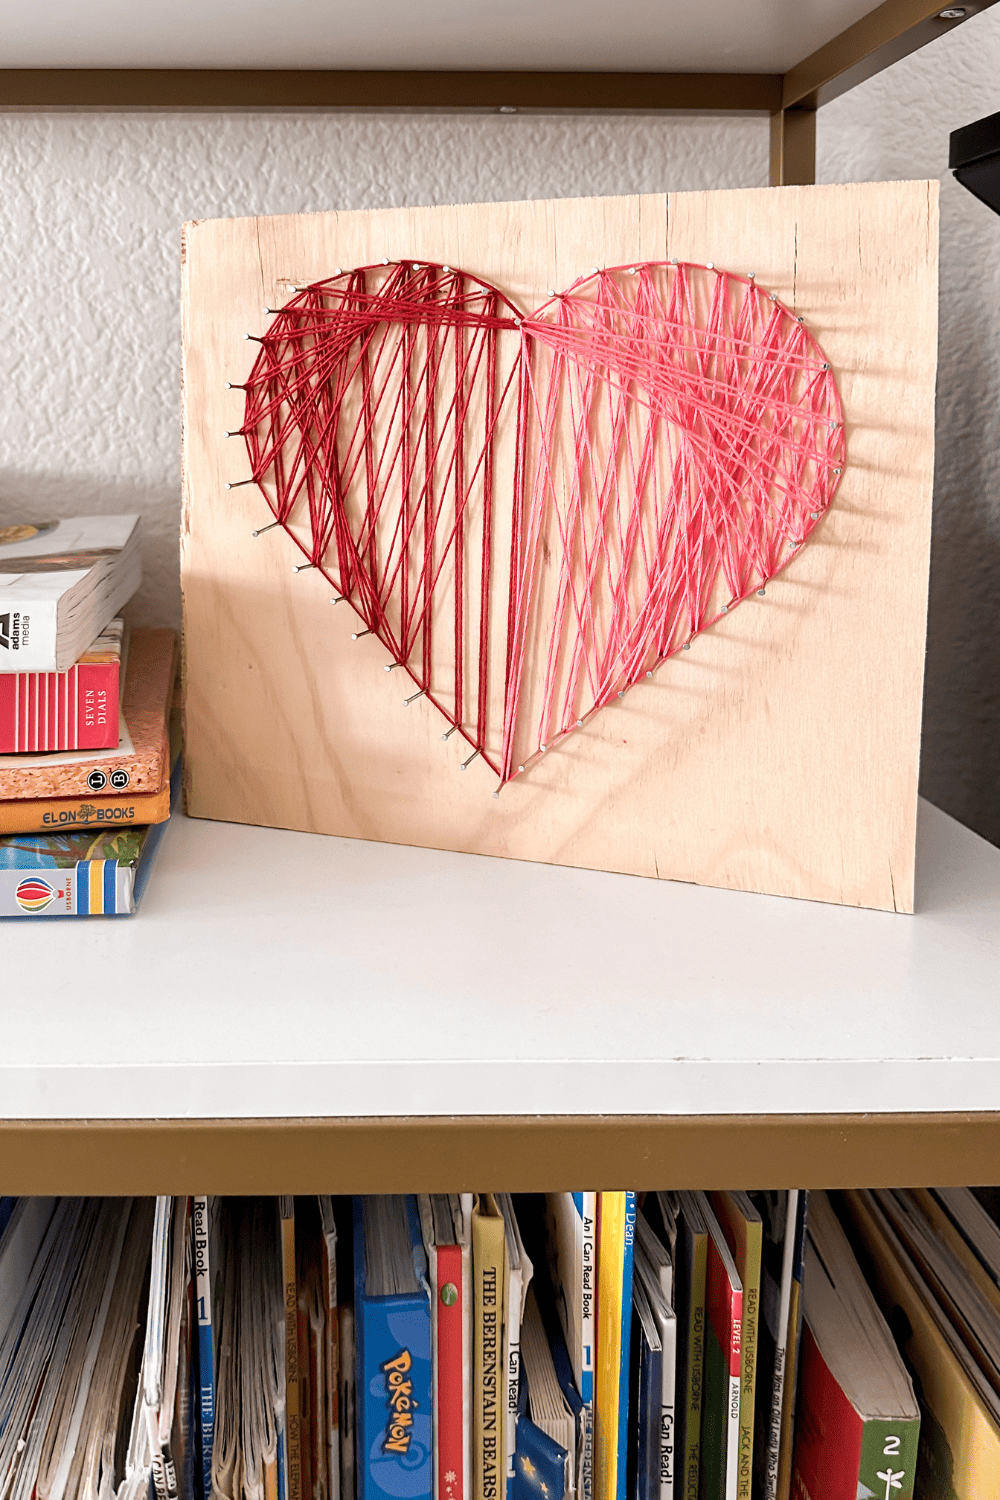
This creates a solid outline around the heart. Then zigzag the thread between the middle and finish it off by looping the thread in a criss cross pattern.
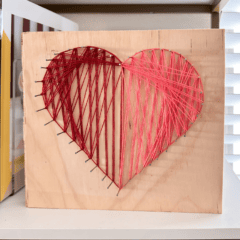
I decided I wanted two colors. If one color is desired, just repeat the same design on the other side. If two colors are desired, tie off the first color on the top center nail, then tie on the second color on the same nail,
One the second color is tied on to the center nail, go straight down to the bottom center nail.
And start looping all over again! I just followed the same pattern that I did on the left hand side, but with the second color of thread.
Heart String Art
Equipment
- 1 Hammer
- 1 Pair of scissors
Supplies
- 2 skein 6 strand embroidery floss red and pink or any colors you want
- 50 pieces 1 inch wire brads
- 1 piece 9 inch x 9 inch 3/4 inch plywood can use 1/2 inch or any scrap wood
- 1 paper heart template approx 8 inches
- 1 roll tape
Instructions
- Tape a paper heart template to the center of the wood.
- Hammer a nail at the top and bottom of the heart and on each side.
- Hammer in nails every 1/2 inch, all the way around the paper heart shape.
- Remove the paper heart, and start to string the embroidery floss. Start with the red embroidery floss to fill in the left side of the heart.
- Starting at the top center nail, make a knot around the nail with your embroidery floss.
- Then go straight down to the bottom middle nail. Wrap it around and back up to the nail to the left of the center top nail.
- Loop around the top nail and then go back to the same bottom nail that the thread came from. But loop around 2 nails at the bottom and then back up to the nail to the left of the nail that was last threaded at the top.
- Continue this, back to the bottom, around 2 nails, back up to the top, around the nail next to the threaded one, until the edge of the heart is reached. Then loop the string around the top outside of all the nails and around the center middle nail.
- Then zigzag the thread between the middle and finish it off by looping the thread in a criss cross pattern.
- Once the desired design is reached, tie off the red embroidery floss on the top center nail, then tie on the pink embroidery floss on the same nail.
- Once the second color is tied on to the center nail, go straight down to the bottom center nail and repeat the same pattern on the right side of the heart that was done with the red floss on the left side.
- Once the desired design is reached, tie off the pink embroidery floss on the top center nail
Love the ideas you see here on Ideas for the Home by Kenarry®? Subscribe today to get our FREE DIY & Craft Planning Calendar, plus our weekly Ideas in Your Inbox newsletter filled with creative tips and exclusive offers!
What’s Next?
If you enjoyed this heart string art then you’ll enjoy these other Valentine’s Day ideas too.

You may also enjoy these Valentine’s Day ideas on Ideas for the Home by Kenarry® –
