Mason Jar LED Lights
THIS POST MAY CONTAIN AFFILIATE LINKS. PLEASE SEE OUR FULL DISCLOSURE POLICY FOR DETAILS.
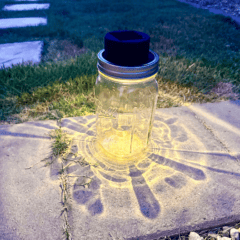
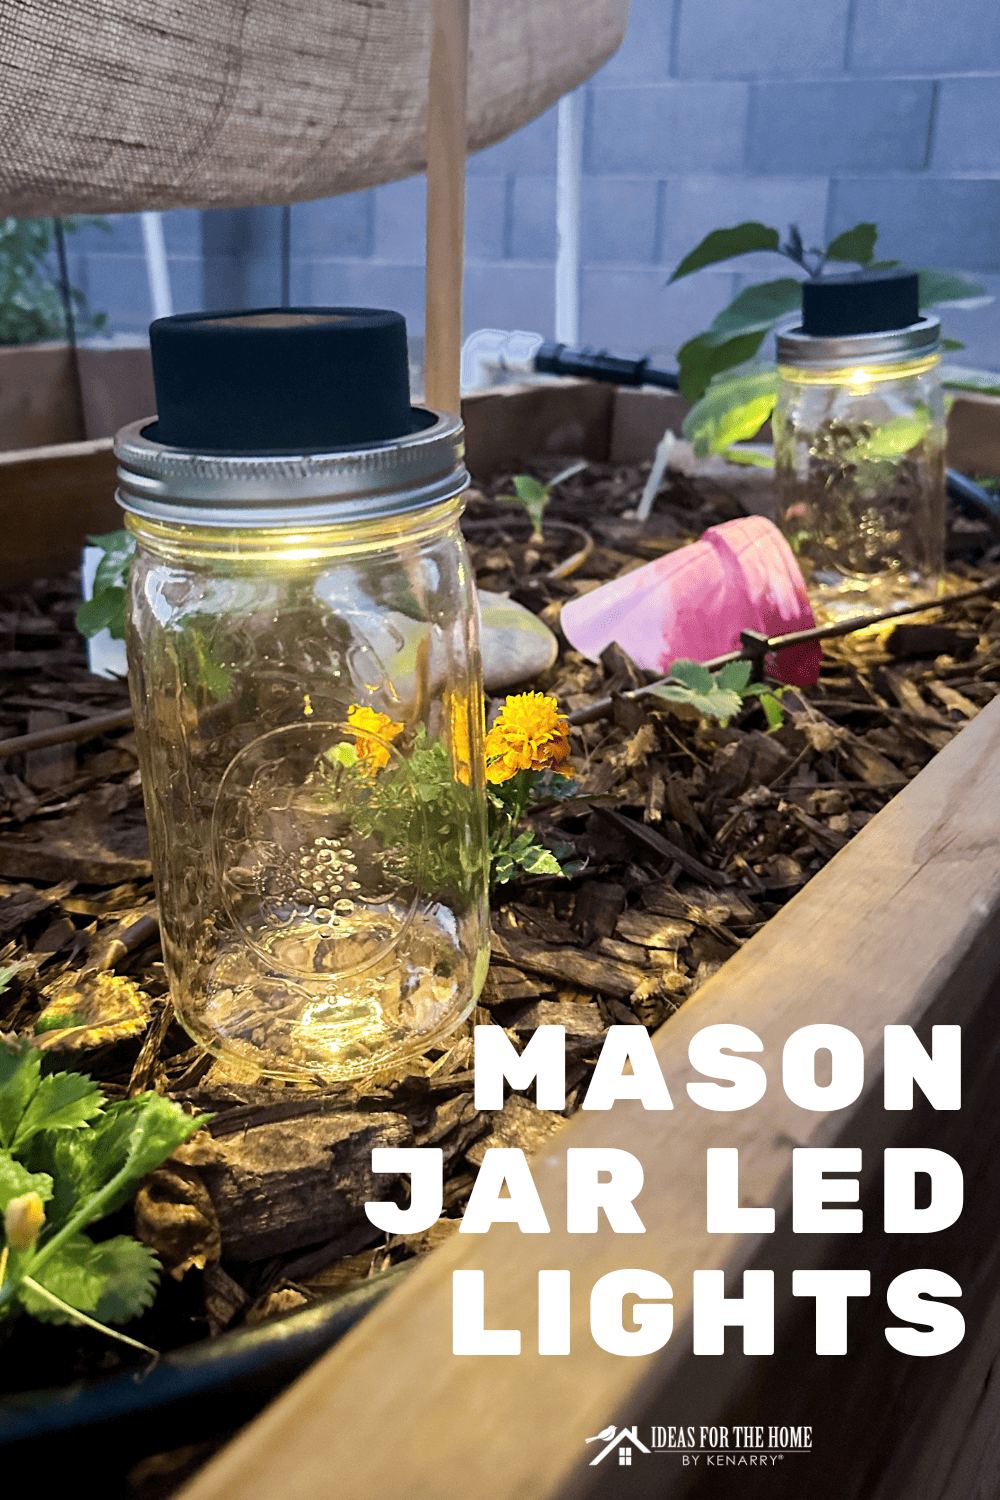
Enjoy these mason jar LED lights as you sit out and enjoy the night. They’re super easy to make and relatively inexpensive upgrade to the traditional LED light.
Hello, I’m Amy and I blog over at amylanham.com. I recently built a garden in our backyard and love every excuse to go out there and check on the plants.
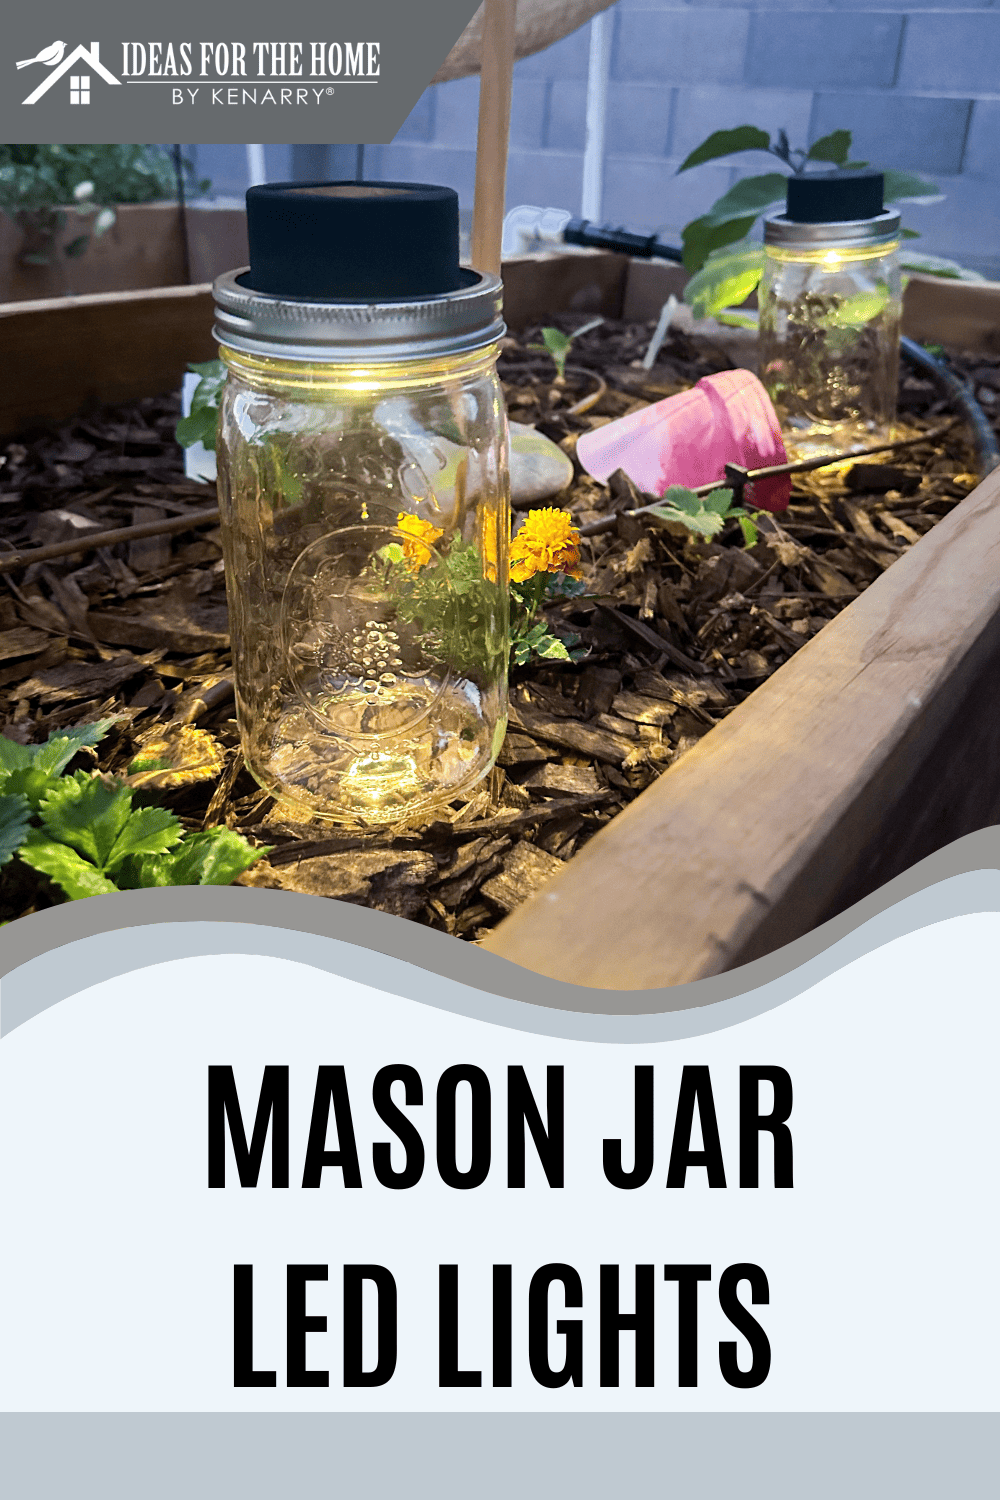
But it’s pretty hard to check on plants at night without some lights! So I whipped up these mason jar LED lights to have some light as a search for bugs at twilight.
How to Make Mason Jar LED Lights
These mason jar LED lights are super simple to make and I love the way the light shines through the glass!
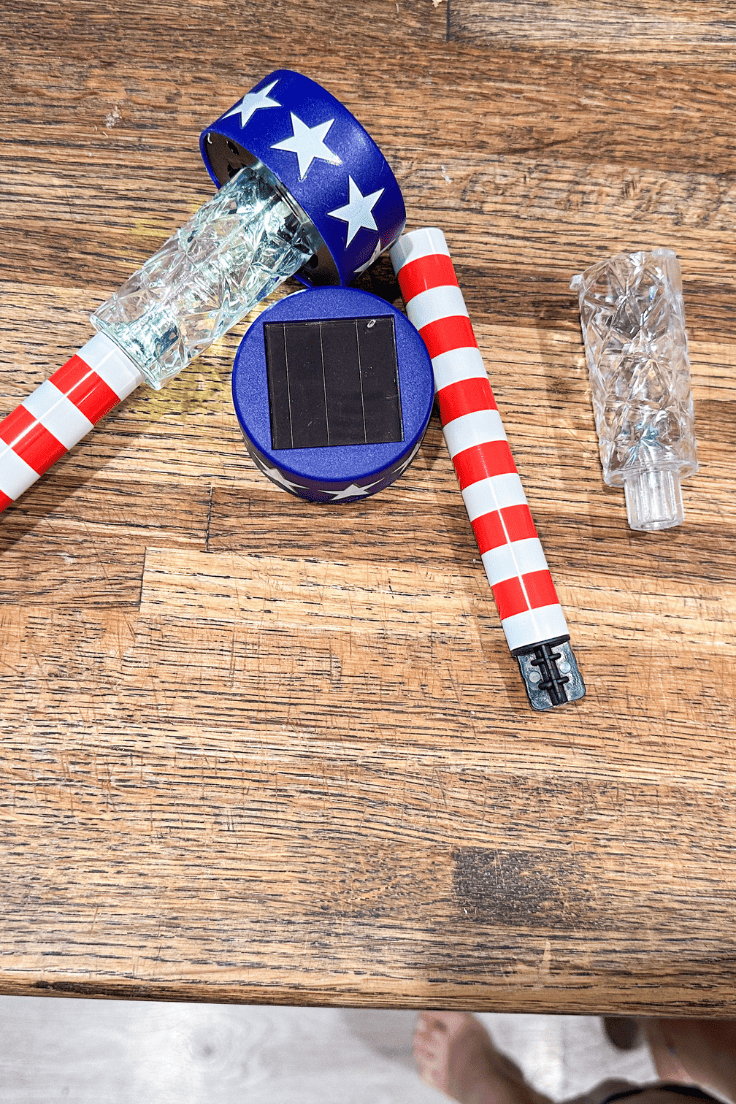
What you need:
Want more ideas like this? Subscribe today to get our weekly Ideas in Your Inbox newsletter plus other exclusive gifts and offers — all for FREE!
DIY Tools Needed:
Supplies Needed:
- Paint
- Mason Jar with lid
- Tape
- Solar Powered LED Lights – I bought mine from Dollar Tree
Mason Jar LED Light Tips:
How to put the hole in the lid
Use a 5/16 drill bit to drill a hole through the aluminum top of the mason jar. It’s helpful to put a wood scrap underneath the top and then use even firm pressure to drill through the lid.
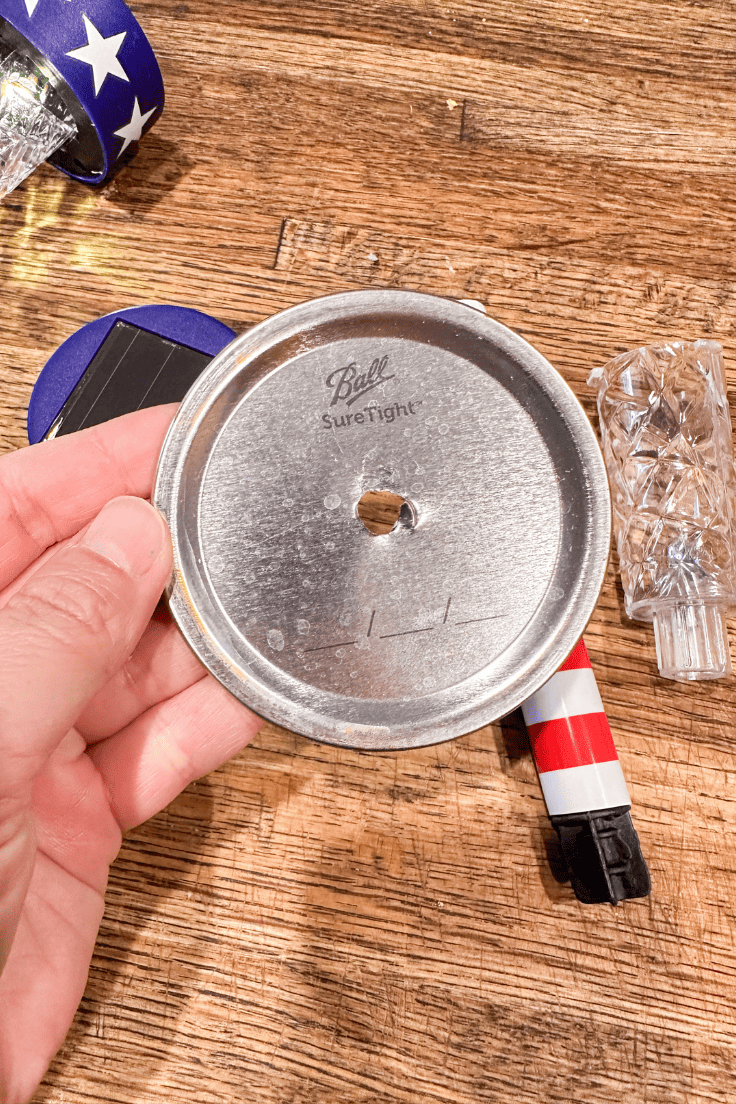
If you don’t have a drill, a screwdriver and hammer can also be used. Put the lid on a piece of scrap wood or other firm surface you don’t mind getting a hole in. Then position the screwdriver in the center of the lid and tap on the end with the hammer until a hole forms.
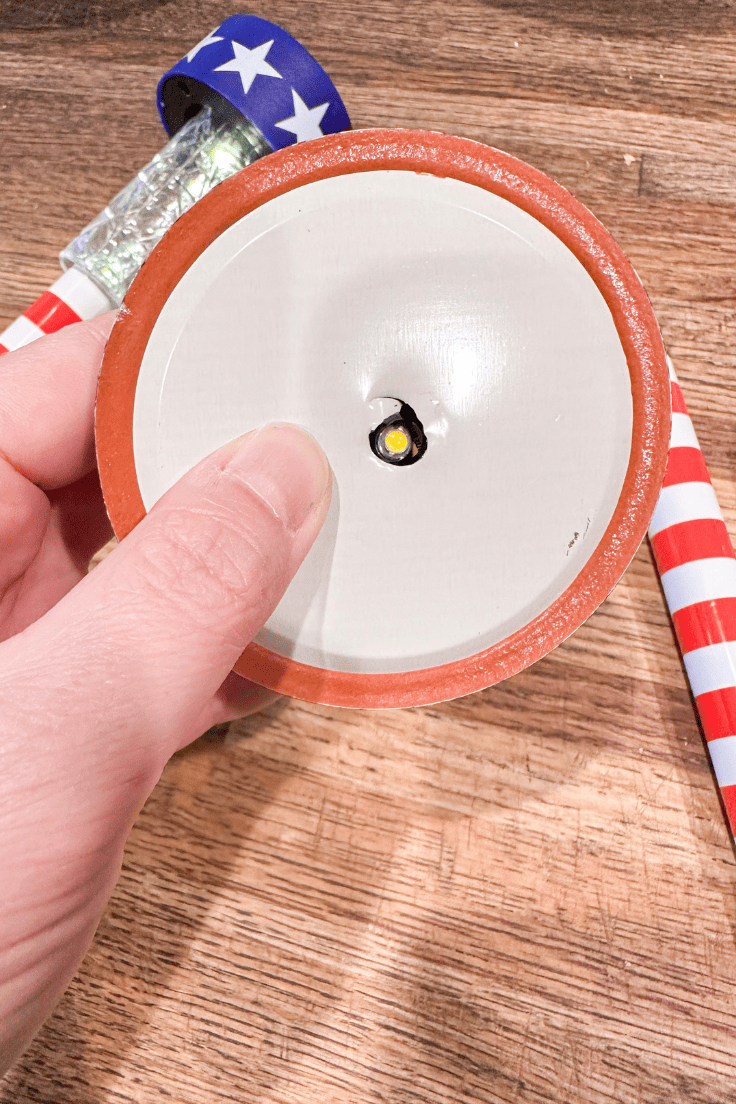
Do i have to paint The Top?
No, I just liked the way it looked better. I wanted the solar light to blend in and I think it’s less obvious when painted.
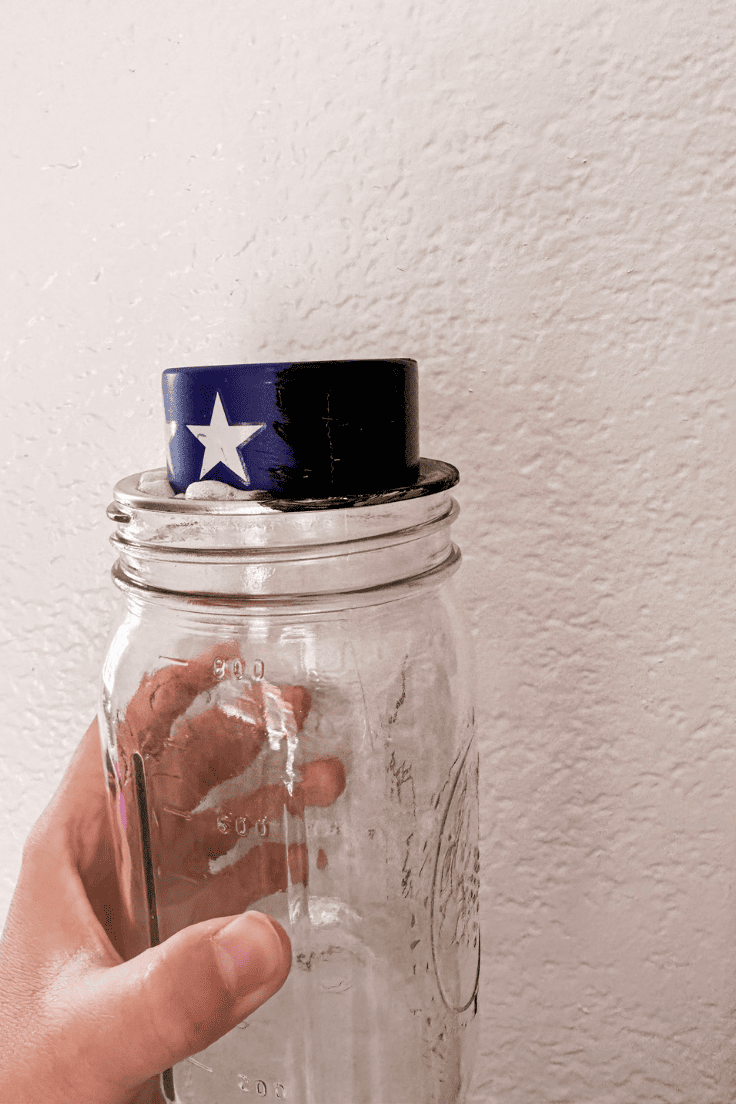
If you decide to paint, use a piece of painter tape to cover the solar panel before painting. Or just paint really carefully ensuring no paint gets on the solar panel.

What size mason jar do I need?
The beauty of attaching the solar light to the top of the jar is it doesn’t matter what size the jar is! So any size mason jar can be used for this project.
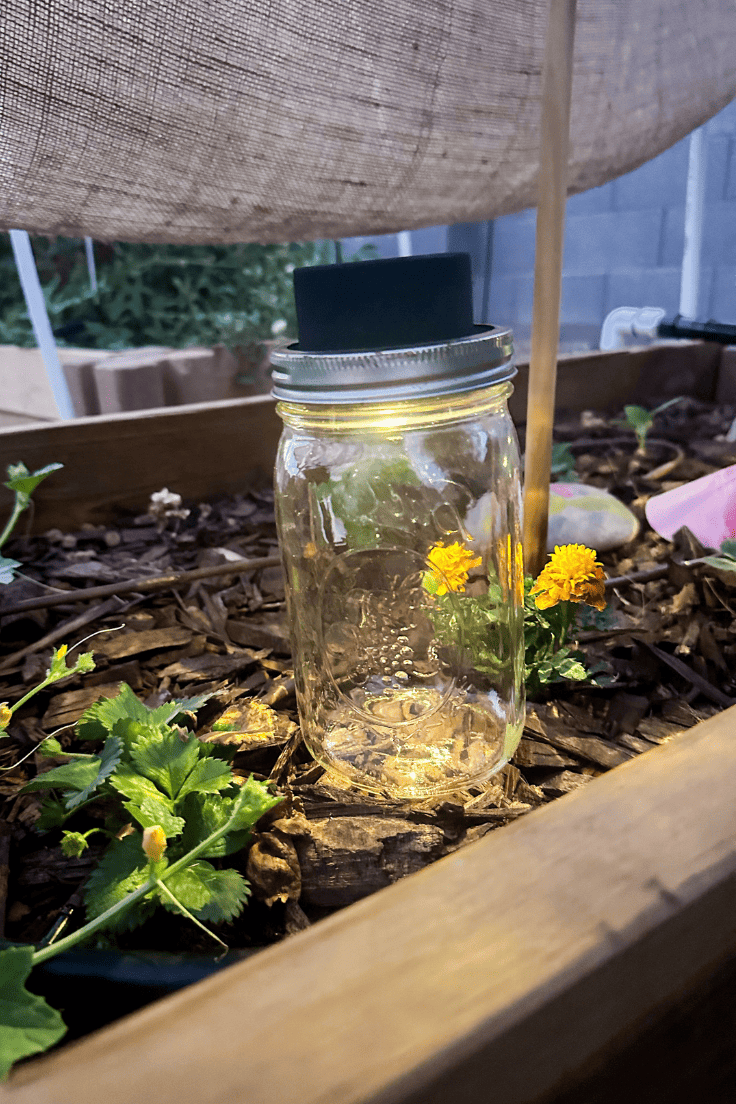
I used the 32 oz wide mouth, Ball jars. The solar light will fit on the top of the wide-mouth jars, better than it will the regular mouth jars.
Won’t the lid rust?
I believe over time that it will rust. The lid being painted should help a little, but I didn’t paint the ring. If you are concerned about rust, spray paint the whole top of the jar to keep it from rusting. I’m not particularly concerned, so I didn’t spray paint the whole top.
Mason Jar LED Lights
Equipment
- 1 Drill with 5/16" drill bit
- 1 Paint Brush
Supplies
- 1 Solar Light
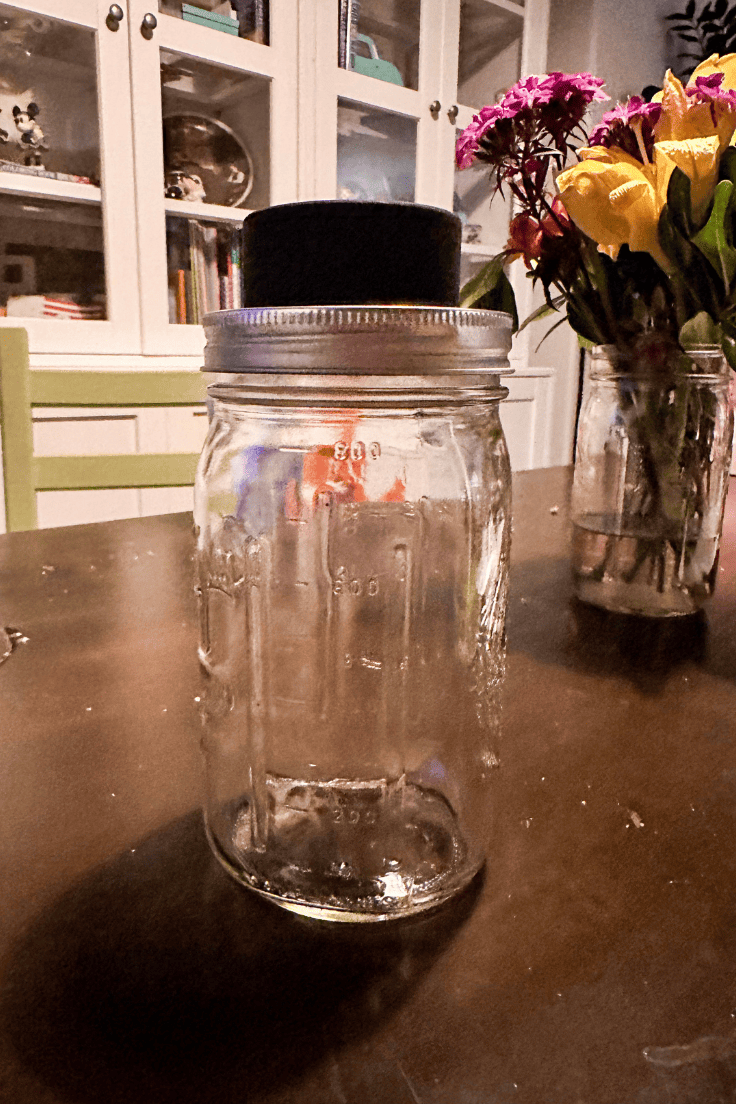
- 1 32 oz wide mouth Mason Jar with Lid
- Super Glue
- Paint
Instructions
- Using a drill with 5/16" drill bit, punch a hole through the lid of the mason jar
- Take apart the solar light, only the top of the light is needed. Ensure the little LED opposite the solar panel will fit through the hole you just drilled in the lid.
- Apply super glue to the LED light side of the solar panel light. Stick the light onto the top of the lid. Make sure the LED light is through the hole drilled in the top of the lid.
- Place some books on the top of the light, to help the glue adhere, and leave alone for an hour or as long as the instructions on the super glue say.
- Once the super glue is cured, paint the lid. Cover the solar panel with tape or paint carefully around it.
- Time to assemble! Put the LED light and lid on top of the mason jar and then attach the ring. Put out in your yard to charge the solar light and enjoy the light at night!
Love the ideas you see here on Ideas for the Home by Kenarry®? Subscribe today to get our FREE DIY & Craft Planning Calendar, plus our weekly Ideas in Your Inbox newsletter filled with creative tips and exclusive offers!
What’s Next?
If you enjoyed these mason jar LED lights, you might enjoy these other backyard garden ideas as well:
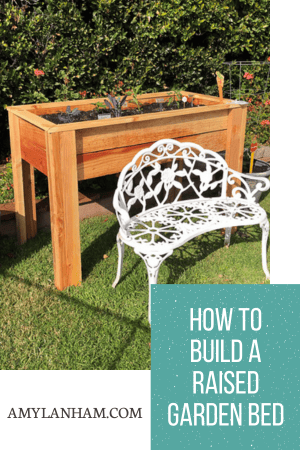
How to Build a Raised Garden Bed
You may also enjoy these garden ideas on Ideas for the Home by Kenarry® –