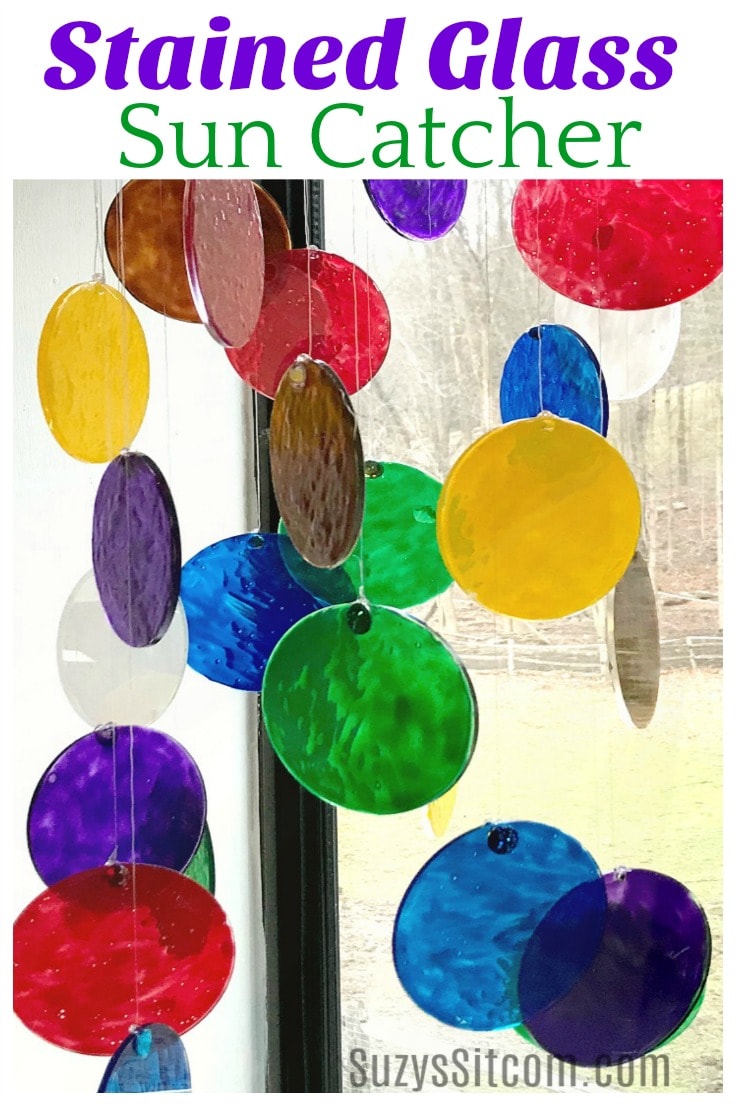
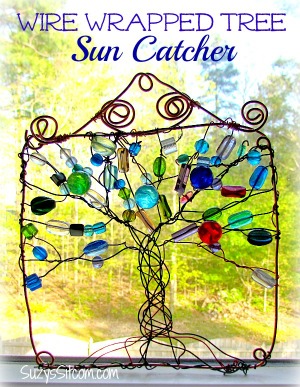
Easy to Make Stained Glass Sun Catcher
THIS POST MAY CONTAIN AFFILIATE LINKS. PLEASE SEE OUR FULL DISCLOSURE POLICY FOR DETAILS.
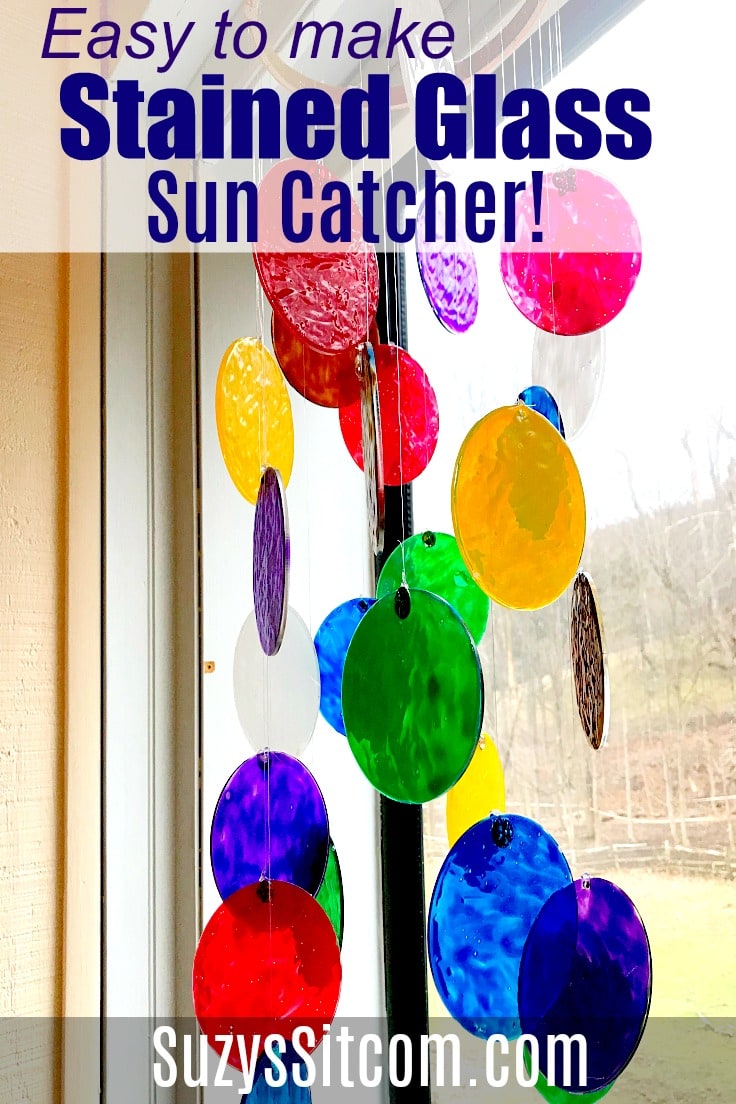
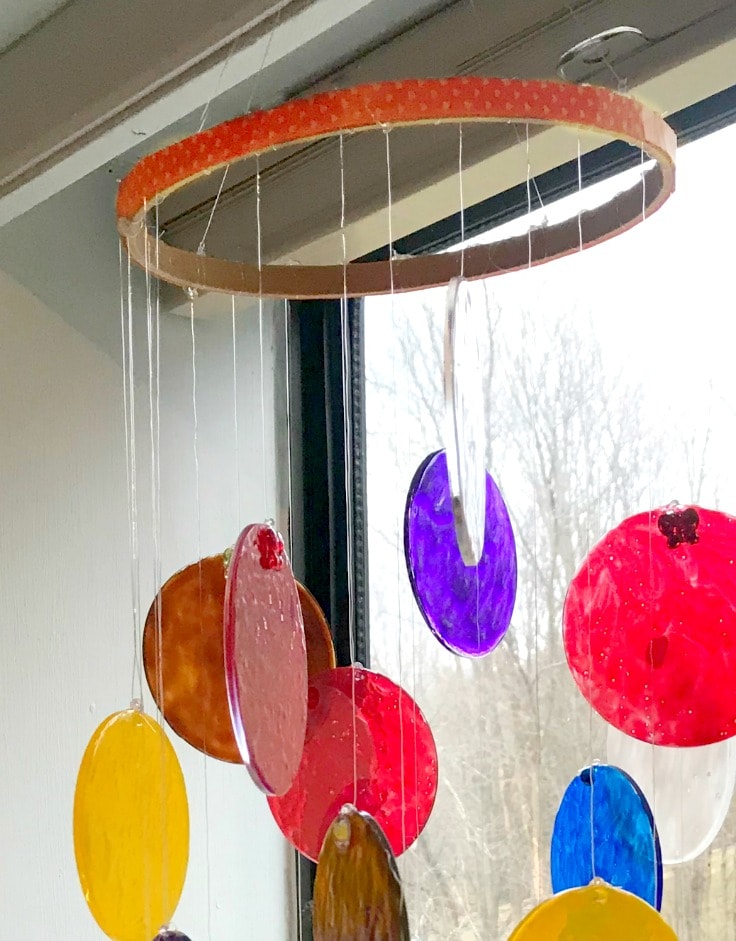
Add a bit of fun color to your home with a beautiful easy to make stained glass sun catcher!
Here we are in the middle of winter and in dire need of some beautiful sunshine. Or at least a bit of color! This is Suzy from Suzy’s Sitcom, and I would love to share my latest project with you. Create an easy to make stained glass sun catcher and brighten up your home decor!
We are currently living in New York and for a southern girl, I’ve seen more snow in the past month than I have in years. Cold weather makes me pine for the sun and what better way to bring the sun inside than to create a beautiful stained glass suncatcher!
Another creative variation on this craft idea is to make a suncatcher using polymer clay. These cactus suncatchers are so easy!
How to make a stained glass sun catcher
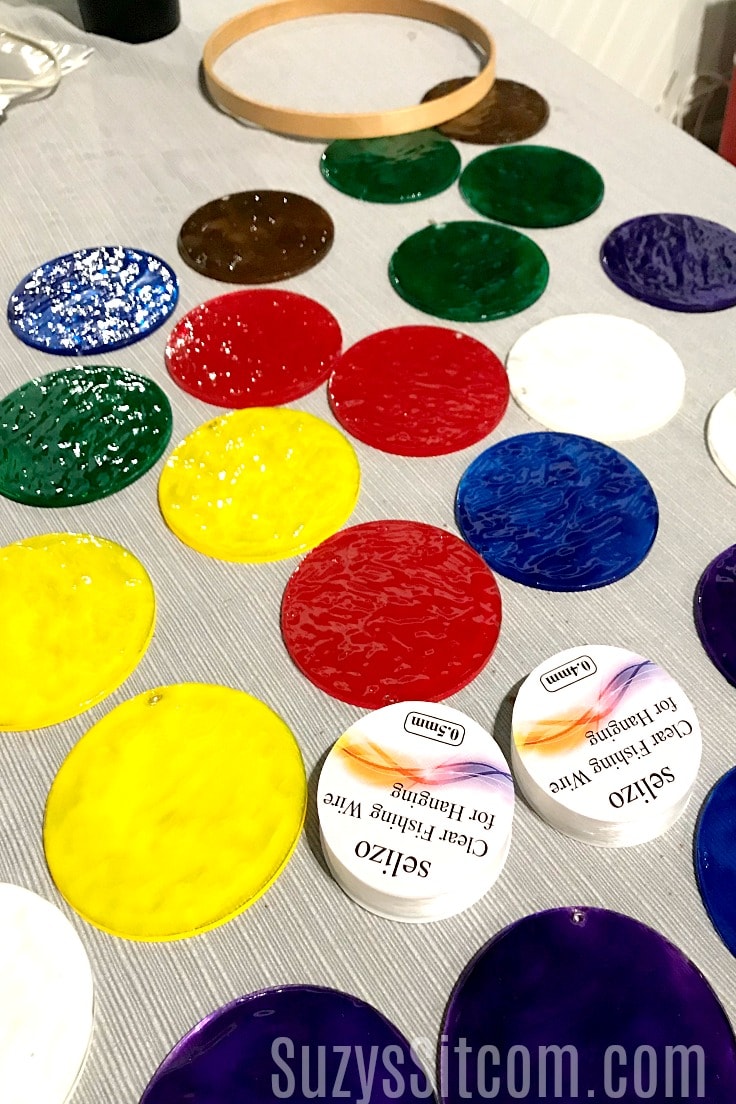
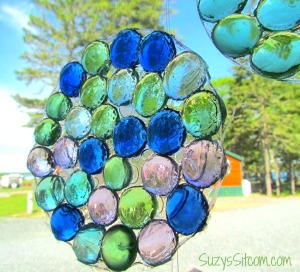
Today, I decided to experiment with glass paints on plastic discs. The technique is simple and the results are vibrant and colorful. The plastic discs come in any size that you would like. I used 3.5-inch diameter, but smaller or larger would work just fine. They are pre-punched and can be purchased online.
What you need:
Want more ideas like this? Subscribe today to get our weekly Ideas in Your Inbox newsletter plus other exclusive gifts and offers — all for FREE!
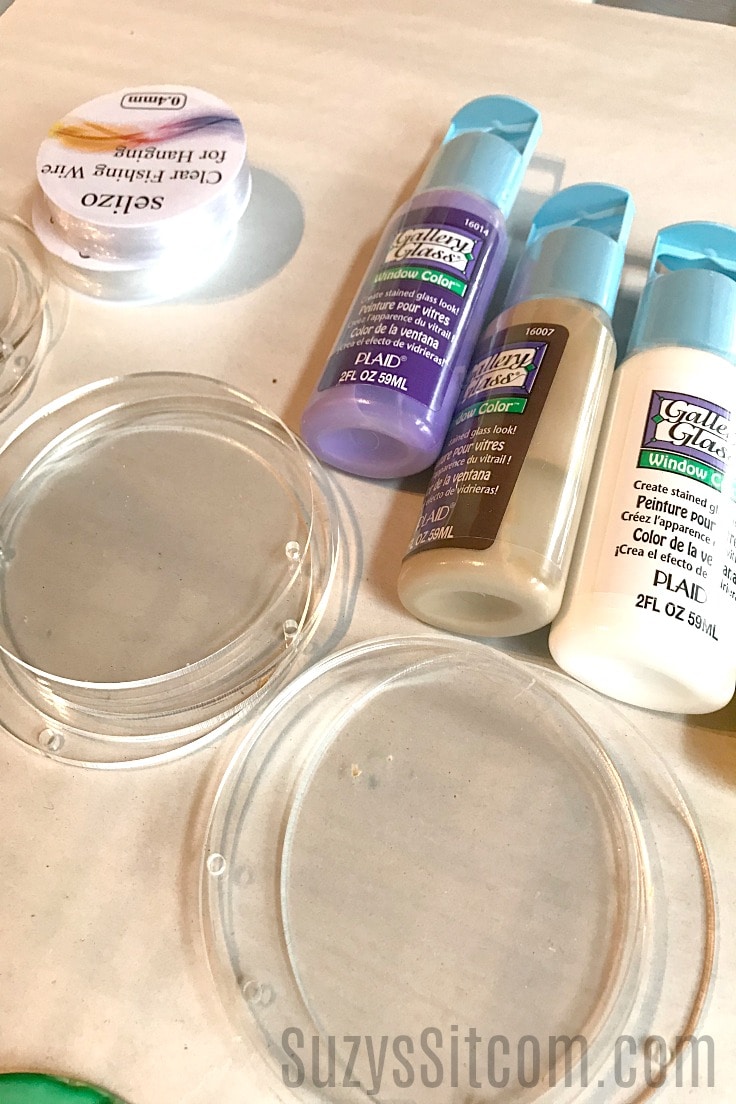
- Set of 25 clear acrylic discs (3.5″ diameter)
- Gallery Glass Window Color
- Fishing wire
- Low Temp Hot Glue Gun and hot glue
- 12″ Embroidery Hoop
- Washi Tape (optional)
- Gem stones (optional)
How to make a stained glass sun catcher:
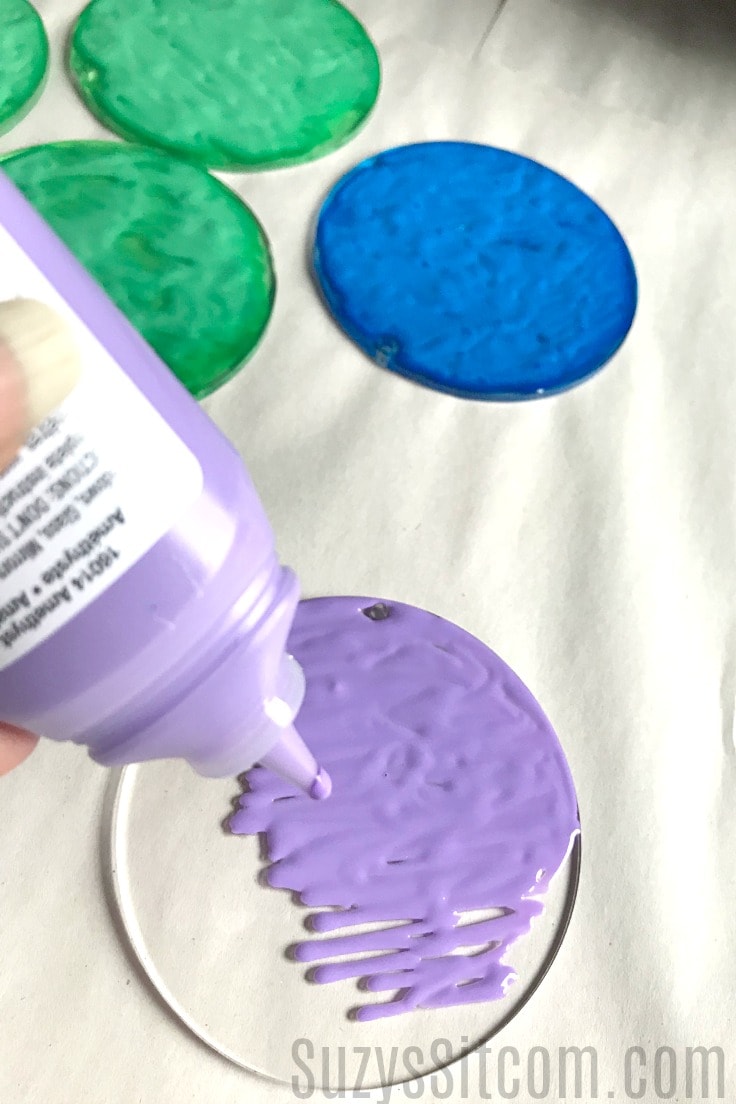
1. Add the stained glass paint to the discs
Adding stained glass paints to the plastic discs is rather simple. You don’t even need a brush! Simply uncap the paint and squeeze it out. It is very important not to shake the paint beforehand. You do not want bubbles in your paint job.
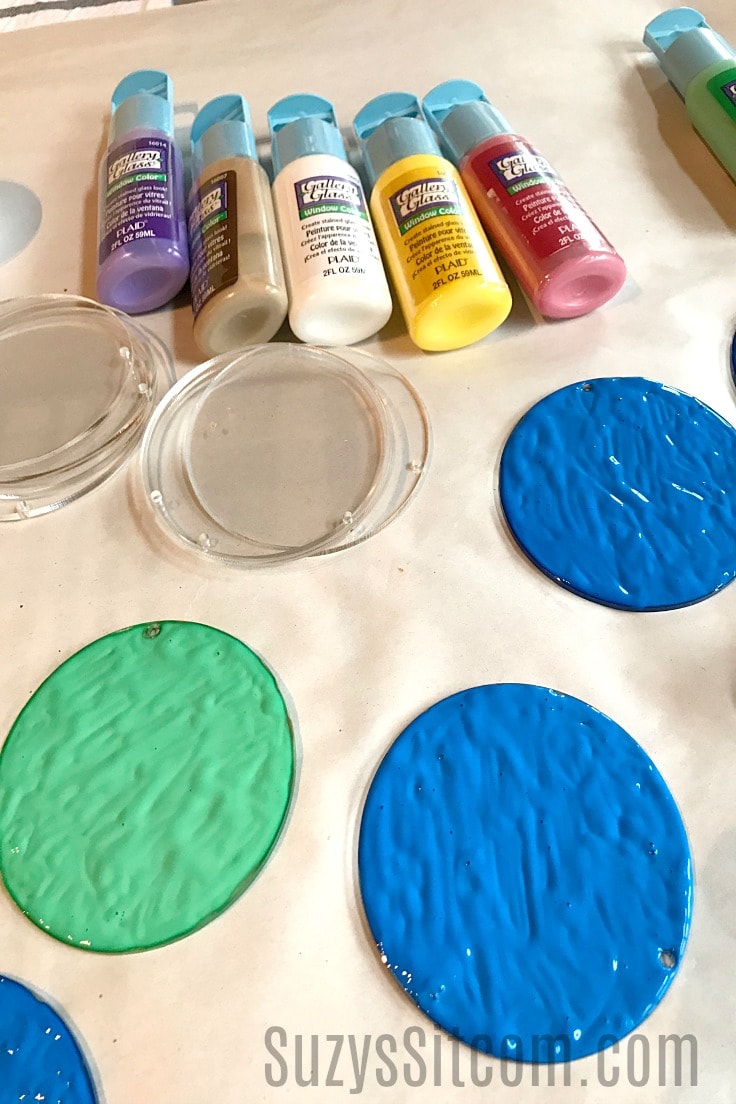
2. coat one side of each disc with paint
You will need to add a thick coat of paint. Allow it to dry for about 8 hours before going to the next step.
Here are a few things that I learned about glass paint while I worked on this project:
- It smells. Now, most paint smells. And I have to tell you that I personally do not mind the smell of paint. But the husband totally does. The project and I ended up getting evicted to the garage. So keep in mind that you might want a bit of ventilation.
- The paint takes at least 8 hours to dry but needs to be in moderate temperatures in order to do so. The garage was way too cold for this project! I managed to move it into the laundry room to dry.
- Some colors needed two coats. Some were just fine. So give yourself some extra time if you would like to add another coat of paint.
3. Create the Stained Glass Sun Catcher
Assemble the rest of your supplies. I chose to use some fishing line for this project. You can always use yarn, string or thread in place of it. The plastic discs are light, resulting in a relatively light finished project.
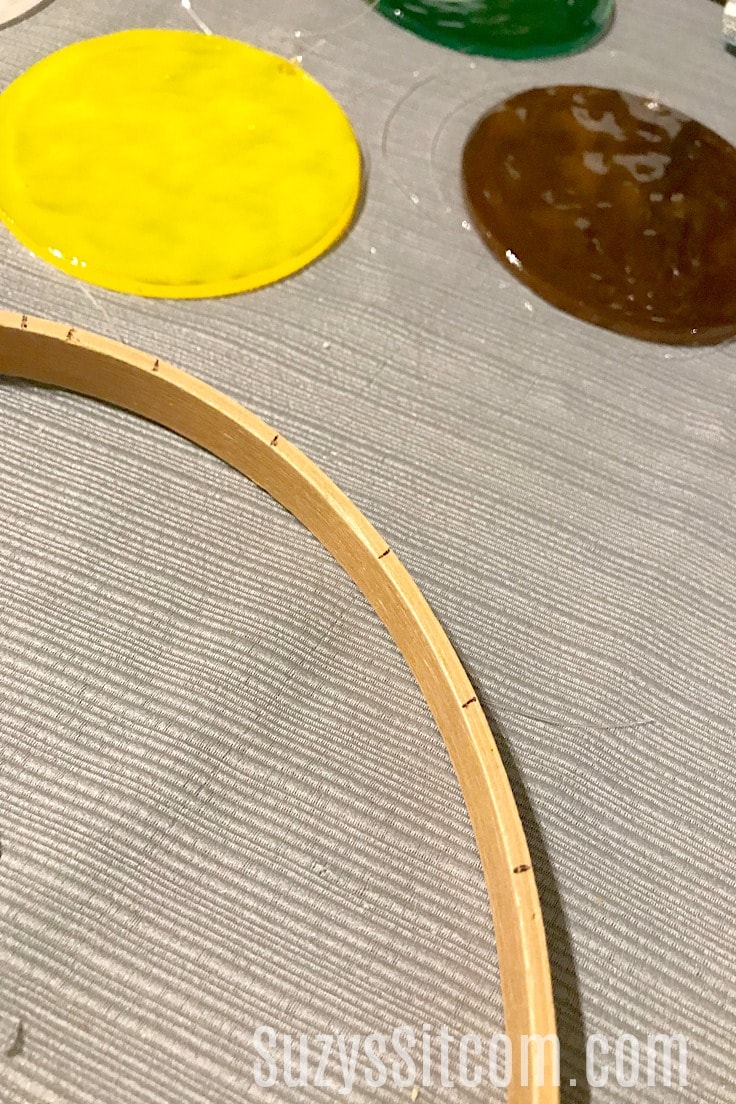
4. mark even spaces on the hoop for hanging
Since I had 25 discs, I marked 25 even spaces on the hoop.
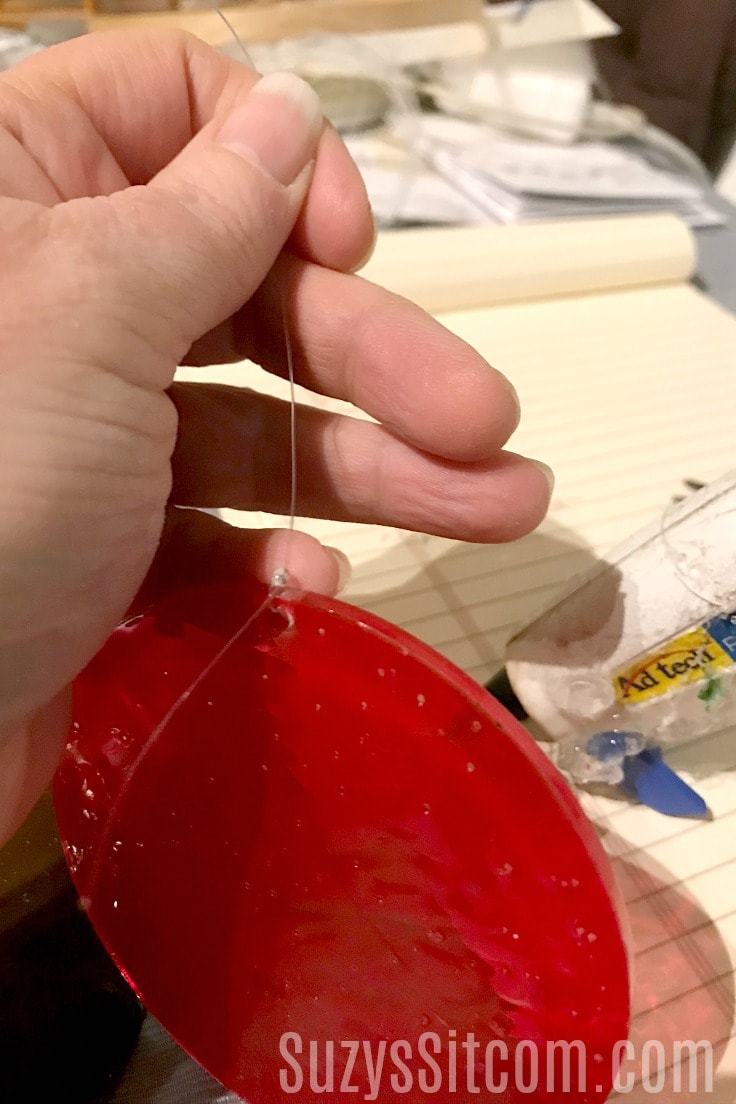
5. Add line to each of the discs
Cut the line into different lengths. My longest length was 20 inches, my shortest was 6 inches. Thread each length through a disc and knot. Add a drop of hot glue to bind the knot. Clip off the small extra piece. Repeat for all 25 discs.
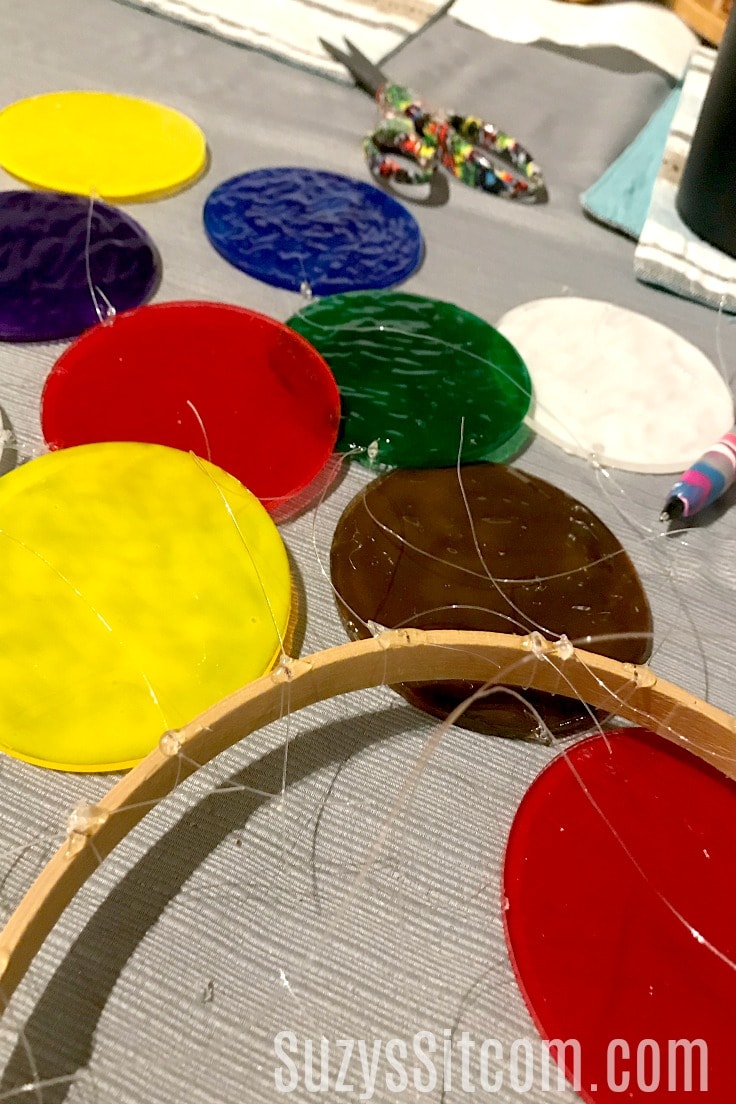
6. attach the lines to the hoop
Using the marks on the hoop, tie each line to the hoop, knot and add a drop of hot glue to bind. Cut off loose ends. Create a hanger by tying two fishing lines to the top of the hoop. Be sure to add a drop of glue to the knots to bind.
7. add final touches
Use Washi tape to cover the outside of the hoop. Using hot glue, add gemstones to the holes in each disc.
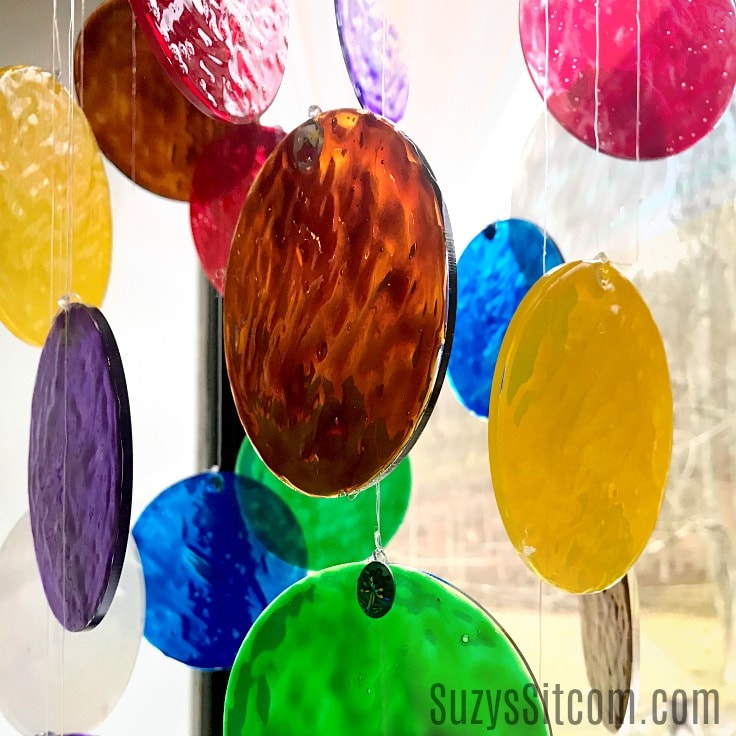
The end result is beautiful color streaming into your windows! I just love this touch of summer in the middle of winter. This project totally put a smile on my face. Create something beautiful for your home decor and bring the sun inside!
Do you love sun catchers?
So do I! You can find many more sun catcher ideas on SuzysSitcom.com! Here are just a few of them…
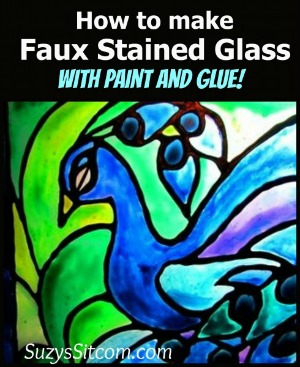
How to make Faux Stained Glass
Easy to Make Glass Sun Catchers
Love the ideas you see here on Ideas for the Home by Kenarry®? Subscribe today to get our FREE DIY & Craft Planning Calendar, plus our weekly Ideas in Your Inbox newsletter filled with creative tips and exclusive offers!
You may also enjoy these painting ideas on Ideas for the Home by Kenarry® –
love the sunny faux glass suncatcher. Where on line did you find the plastic discs?
Hi Joy,
You can find the 3.5 inch plastic disc on Amazon. Here’s the link.
Best wishes,
Carrie
Ideas for the Home by Kenarry
These are very pretty! I was a bit confused: in step 5, you place a line on each disc and knot/glue. Then, in step 6, you tie the line to the hoop and knot/glue. Why not combine the two: run the line through the disk and tie to the hoop; then, knot/glue?
Hi Connie,
You could combine the steps 5 and 6 like you suggested and attach each disk to the string and then to the hoop before moving on to the next disk or you can follow the tutorial as written to attach all the strings to disks first and then attach all the strings to the hoop. It just a matter of personal preference. For craft tutorials, we find it’s best for clarity and simplicity to have separate tasks for each of these actions.
Happy crafting!
Best wishes,
Carrie
Ideas for the Home by Kenarry