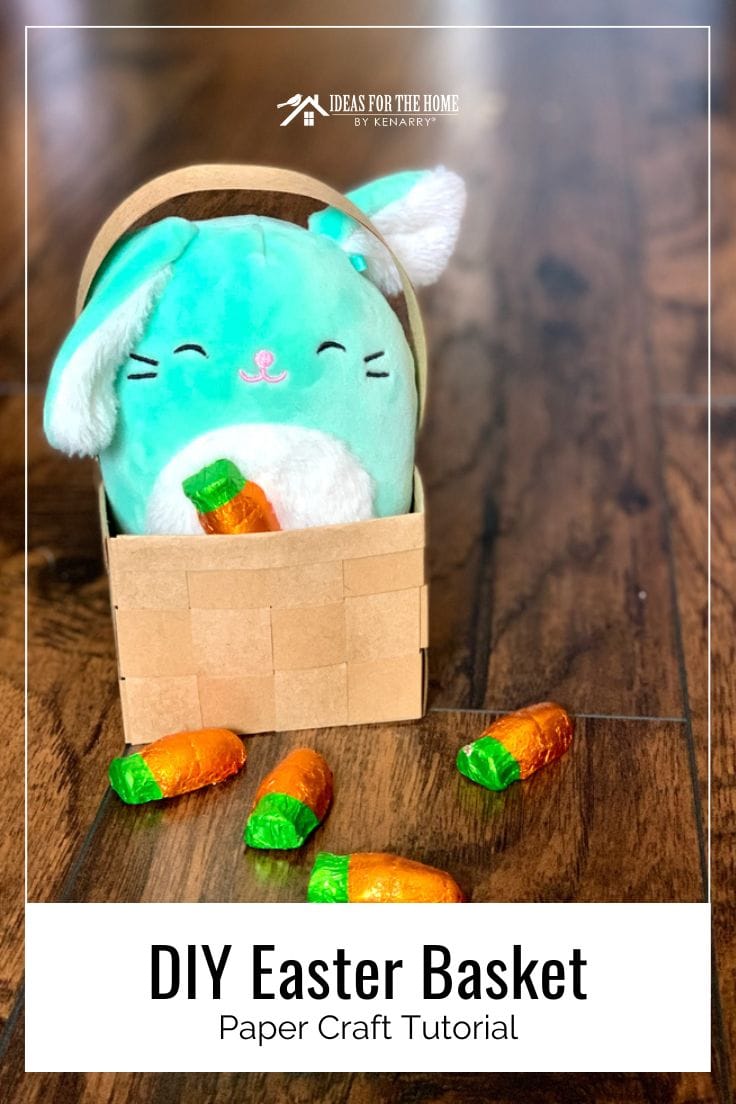
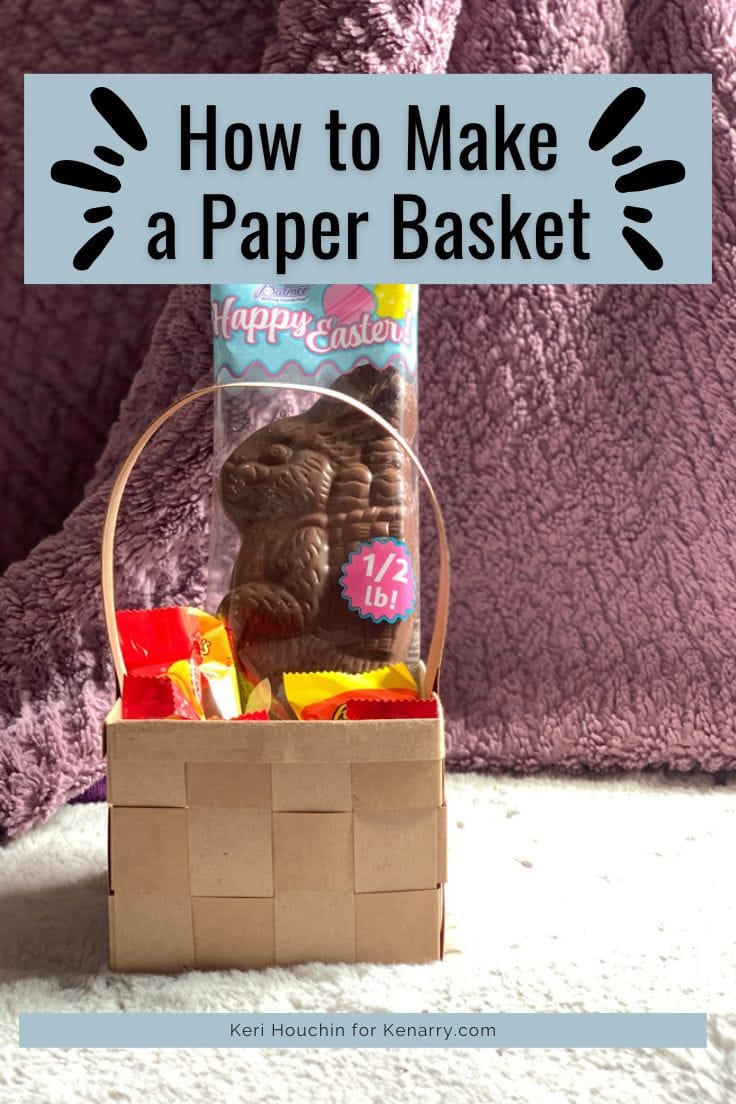
DIY Easter Basket Paper Craft Tutorial
THIS POST MAY CONTAIN AFFILIATE LINKS. PLEASE SEE OUR FULL DISCLOSURE POLICY FOR DETAILS.
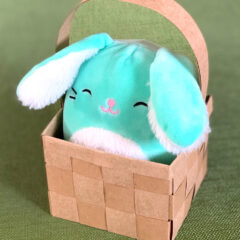
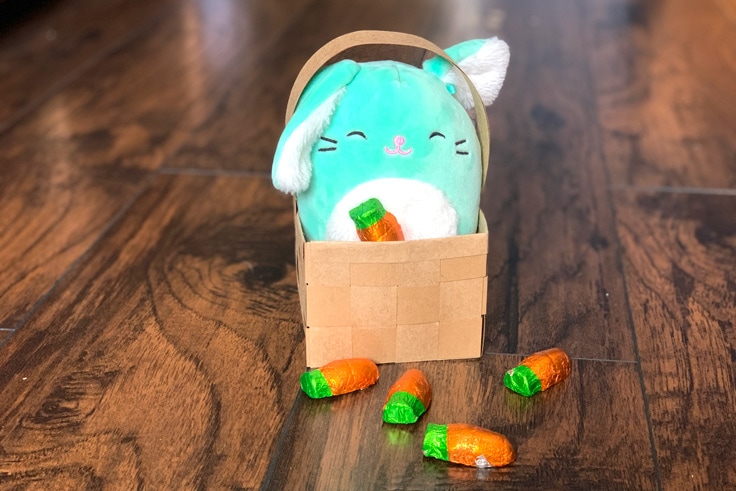
Make a DIY Easter basket from Kraft paper and fill it with treats for a creative handmade gift for kids and adults.
I’m Keri from One Mama’s Daily Drama, sharing a fun and easy paper craft for spring. Learn how to make a DIY Easter basket that’s gorgeous and simple. You may just want to decorate with them all spring long!
If you’re used to purchasing ready-made Easter baskets for your family, you’ll love how easy it is to DIY your own basket for a custom and creative gift. All you need is sturdy paper and a few office supplies to get started.
These are great for not only kids, but also for adults, neighbors, teachers, or anyone who you want to surprise with a little basket of treats!
We used brown Kraft paper, but you can swap it for colorful scrapbook paper or card stock. Make it all one color, or use several to create a unique pattern.
If you’re making this craft with kids, younger ones will probably need a bit of help measuring and cutting. Weaving is a great activity for practicing fine motor skills!
How to Make a DIY Easter Basket
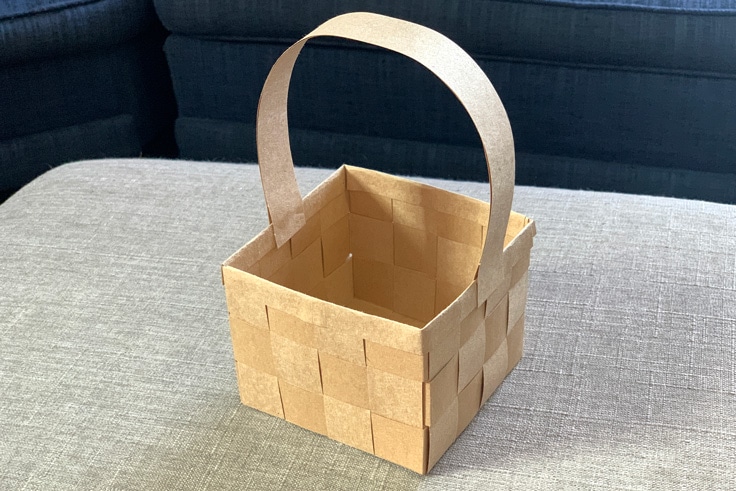
This simple paper craft makes a small 4-inch square basket, but you can easily scale it up larger (or smaller) by adjusting your paper size. To determine your finished basket size, divide the width of your paper by 3.
What you need:
Want more ideas like this? Subscribe today to get our weekly Ideas in Your Inbox newsletter plus other exclusive gifts and offers — all for FREE!
Craft Tools:
Supplies:
These are the supplies you’ll need. All the exact amounts are in the printable card at the bottom of this post.

What to Put in a DIY Easter Basket:
If you need ideas for what to put in an Easter basket after you’ve made it, here are some of our favorites!
Crayons and a mini coloring book
Look for mini packs of crayons in unusual colors (neon? glitter?) and miniature or travel size coloring books, puzzle books, or similar. You could even DIY your own with printables from your favorite bloggers.
Spring activity supplies
In the northern hemisphere, Easter kicks of the new spring season. Get the kids excited about warmer weather with sidewalk chalk, bubbles, or a jump rope – anything that gets them playing outdoors.
Filled Plastic eggs
Fill plastic eggs with a mix of candy and toys, or send your kids on an Easter scavenger hunt. Leave a single clue in the empty basket, with each one leading to the next until they find the final prize!
Plushie stuffed animals
Although your child probably has too many stuffed animals already, it’s hard to resist a soft and cute little face! Look for trendy toys like Squishmallows, Funko plush, and Tsum Tsums.
Small toys
There are plenty of non-candy items to include, like play dough, stickers, or fidgets. Make it a themed basket by including items from your child’s favorite show, a hobby, or a single color.
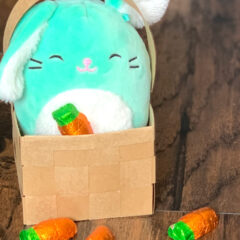
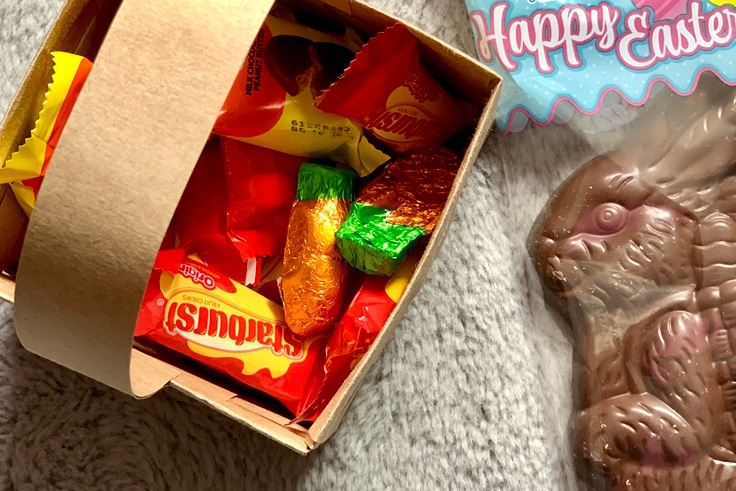
Classic Easter candy
There’s a reason certain candies are classic for Easter. You can’t go wrong with a chocolate bunny, jelly beans, and Cadbury eggs or marshmallow Peeps.
For Teens and adults
You’re never too old to appreciate an Easter basket full of goodies! Look for small, simple treats like bath bombs, fancy pens, nail polish, garden seeds, or sample/travel sized food and cosmetics.
DIY Easter Basket
Equipment
- 1 Pair of scissors
- 1 Ruler
- 1 Pencil
- 8 binder clips or clothespins
Supplies
- 2 sheets kraft paper 12×12-inches
- 1 stick Elmer's glue or craft glue
Instructions
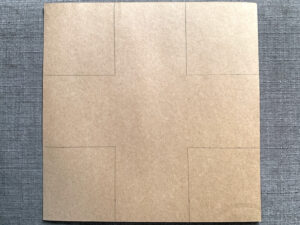
- Draw and cut out the basket base.Start with a 12×12-inch piece of brown Kraft paper. Measure 4 inches from each end, mark with a pencil, and connect the marks to draw a 4-inch square in each corner. Cut out those squares to create a plus sign-shaped base.

- Cut the basket strips.Next, measure and mark 1-inch intervals along all 4 ends. Draw lines and cut each end into a strip. You should have 4 strips on each leg of the plus sign shape.
- Cut the weaving strips.Take a second piece of 12×12-inch paper and cut it into 1-inch strips. You’ll have a dozen that measure 1×12-inches.
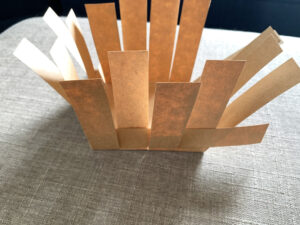
- Crease the basket base and begin weaving.Back at the basket base, fold each of the strips up and crease them. Take one of the 1×12-inch strips and fold it in half. Lining up the corners, begin weaving the long strip between the vertical strips. Repeat with a second strip on the opposite corner, tucking the ends in where they overlap.
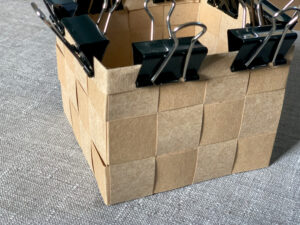
- Continue weaving additional rows.Repeat step 4, adding a second and third row of weaving. Be sure to alternate which corners you start as, as well as the direction between the vertical strips.
- Fold and trim the top of the basket.After 3 rows, you’ll have about an inch of each vertical strip sticking up. Fold each tab down, alternating inward or outward, to secure it against the woven basket sides. Trim each tab by approximately half so that the fold is 1/2-inch or smaller.
- Add the basket trim.Take 2 more 1×12-inch strips and fold them in half lengthwise and crease them well. Fold them again width wise and slide them over the edge of the basket to cover the folded tabs. Use glue to secure it in place and old it with clothespins or binder clips until it has dried.
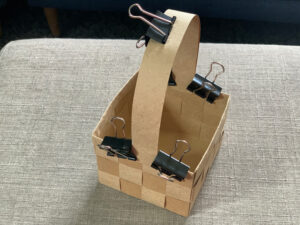
- Attach a handle.When the edge has dried, remove the clips. Use 2 more 1×12-inch strips to make the basket handle. Add a dab of glue to the center, then clip it to hold. Add more glue to the ends and position them on either side of the edge. Use more clips to hold them in place until the glue is dry.


Love the ideas you see here on Ideas for the Home by Kenarry®? Subscribe today to get our FREE DIY & Craft Planning Calendar, plus our weekly Ideas in Your Inbox newsletter filled with creative tips and exclusive offers!
What’s Next?
If you enjoyed making a DIY Easter basket then you’ll enjoy these Easter ideas too.
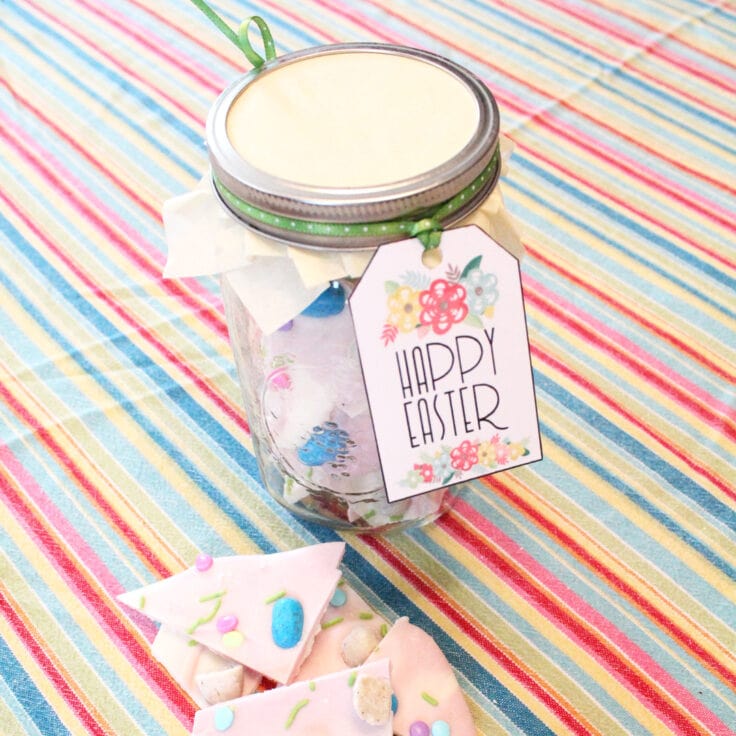
Printable Easter Tag & Homemade Candy Bark
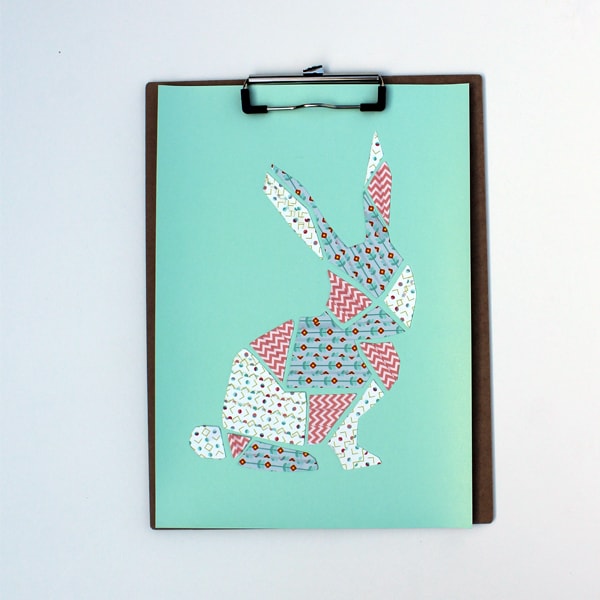
Washi Tape Bunny Art with Printable Template
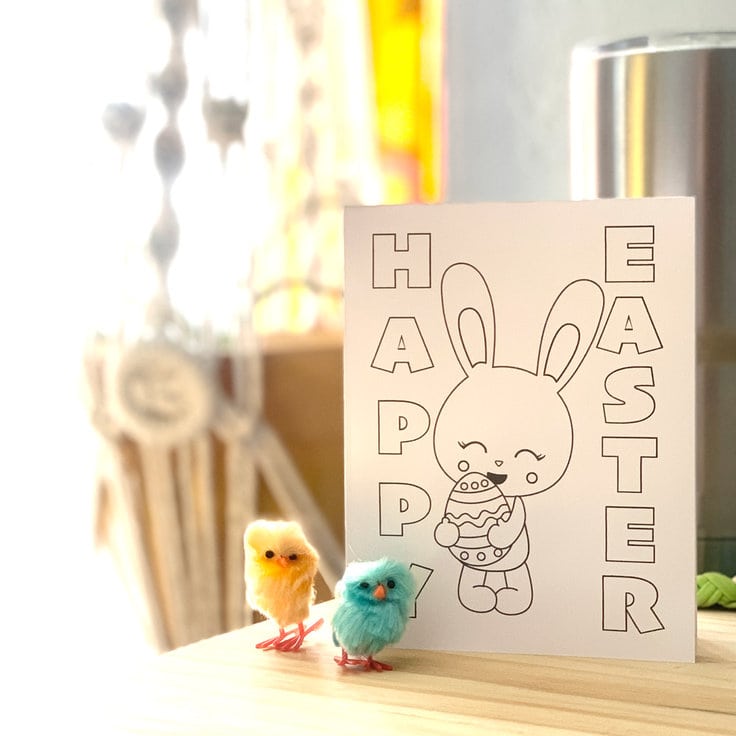
Printable Easter Card to Color
You may also enjoy these Easter ideas on Ideas for the Home by Kenarry® –