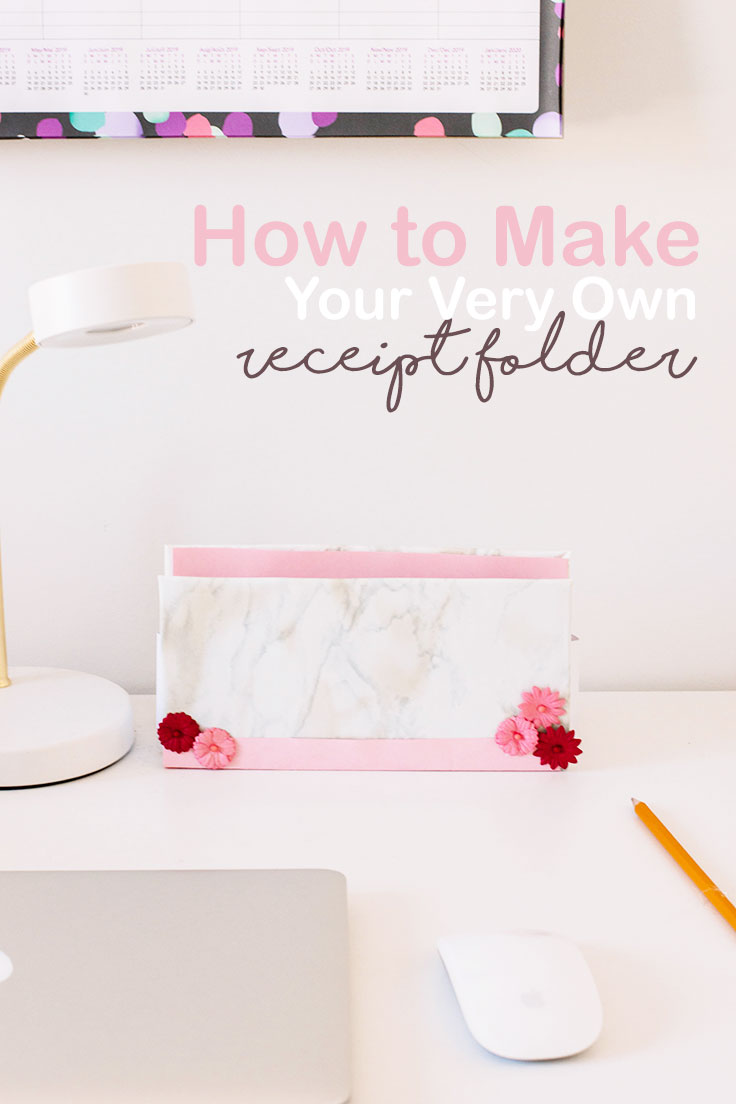
How to Make Your Very Own Receipt Folder
THIS POST MAY CONTAIN AFFILIATE LINKS. PLEASE SEE OUR FULL DISCLOSURE POLICY FOR DETAILS.
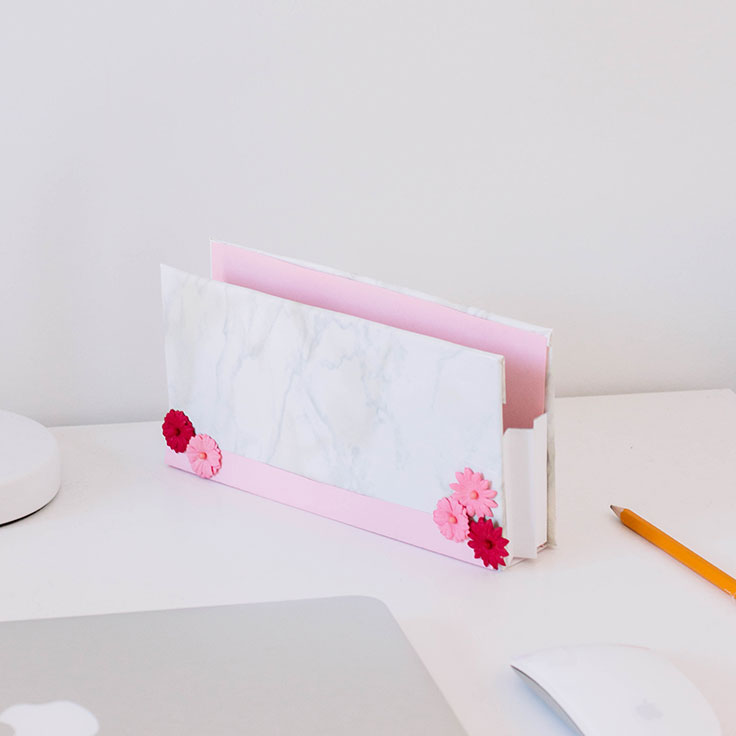
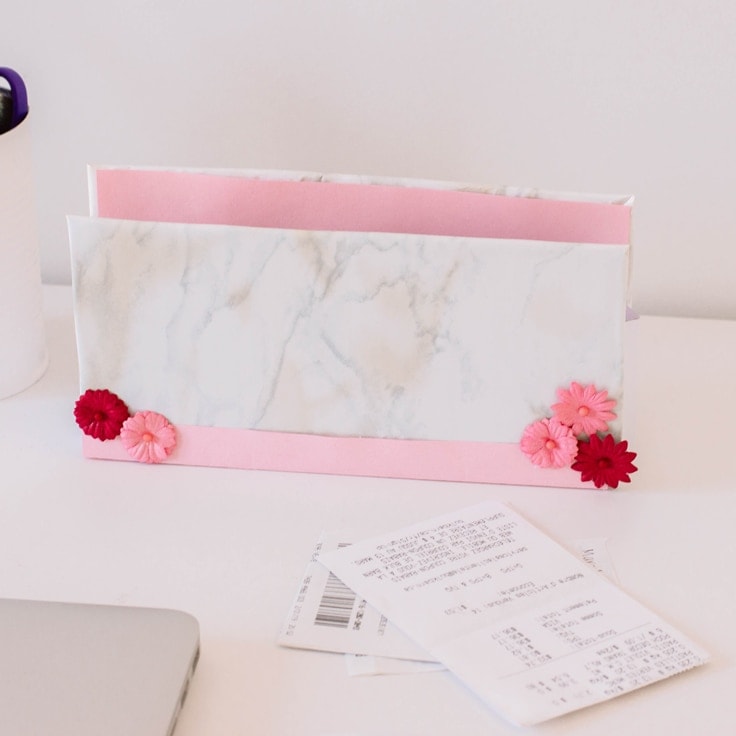
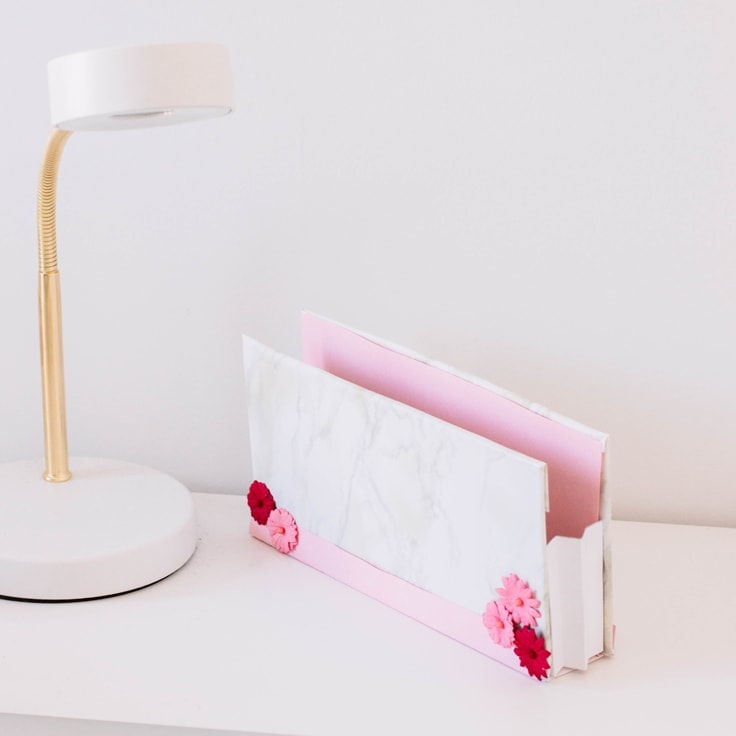
A super simple DIY receipt folder to keep your office organized — and your desk looking cute! All it takes is a few supplies and some imagination.
Hey, Kenarry readers! It’s Lisa here, reporting from Fabulous Habits, and I am so eager to show you my latest creation!
This DIY receipt folder is helping me stay organized… one receipt at a time! (P.S. My accountant will be really proud of me for this one!)
As a WAHM, I constantly have to keep track of my expenses. However, I’m notorious for losing my receipts.
With that being said, I like to think that I’m a pretty organized person. I tend to keep everything in order… except for those darn receipts! Normally, I keep them on my desk for “safekeeping” – but we all know that loose papers sitting freely on a table is never a good idea.
What was the solution I needed? A trusty receipt folder – one that was small enough for my desk and cute enough to go with my decor.
Sure, I could have headed to the local dollar store to purchase one, but the receipt folders I found were totally not my jam. I wanted one to fit the aesthetics of my room and overall decor – so I decided to make my own.
How to Make Your Own Receipt Folder
This super simple DIY receipt folder is made-up of items you probably already have lying around the house.
What you need:
Want more ideas like this? Subscribe today to get our weekly Ideas in Your Inbox newsletter plus other exclusive gifts and offers — all for FREE!
Craft/DIY Tools Needed:
Supplies Needed:
- Cardboard pieces
- 2 sheets of cardstock (one pink and another white)
- Marble contact paper
- Flower embellishments (usually used for scrapbooking)
Instructions:
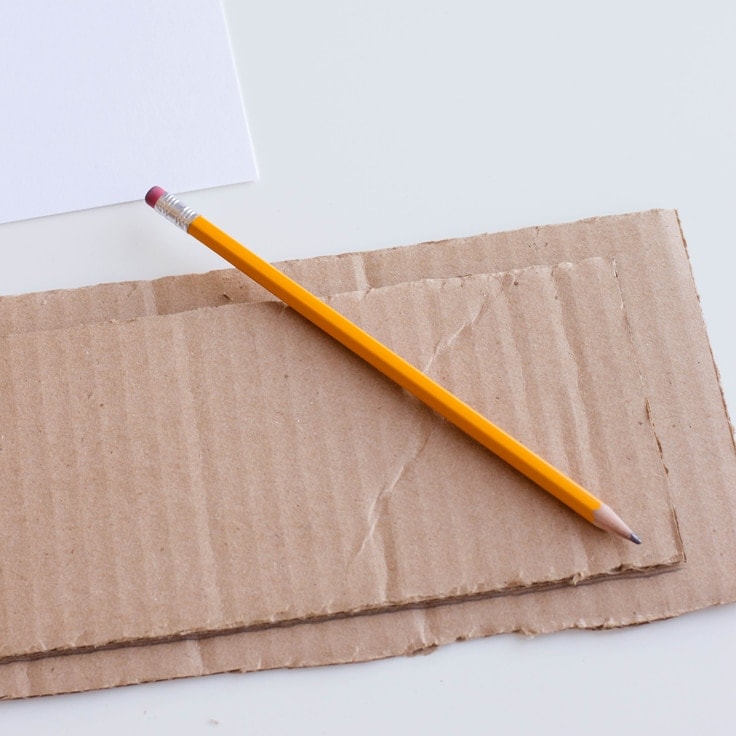
1. Cut the Cardboard
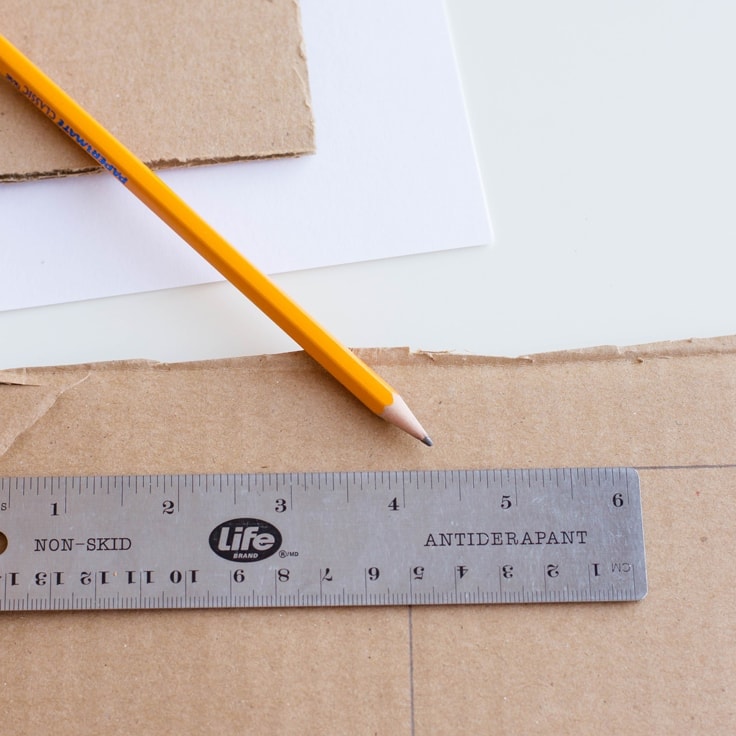
Measure out your cardboard pieces, and cut out rectangles that are 8 inches by 4 inches in size, each.
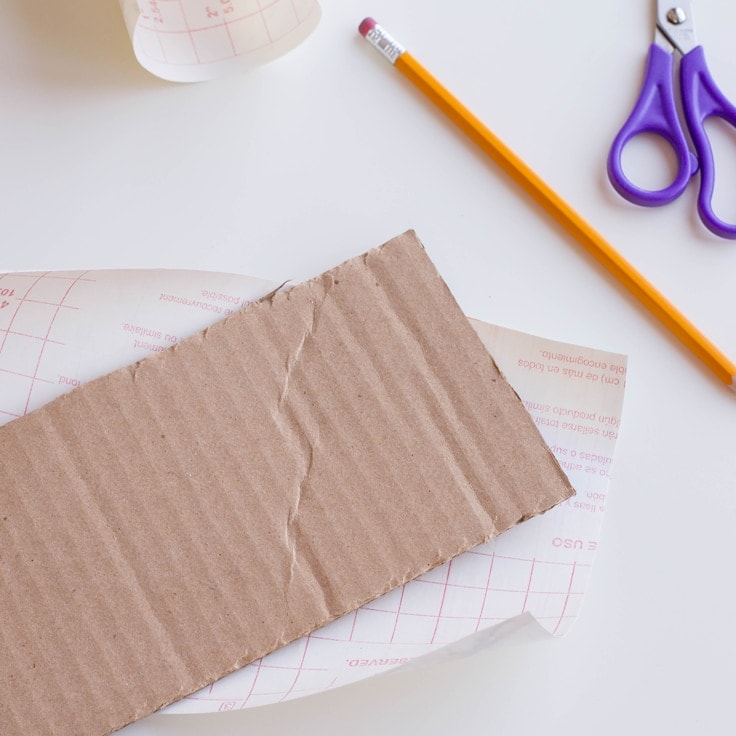
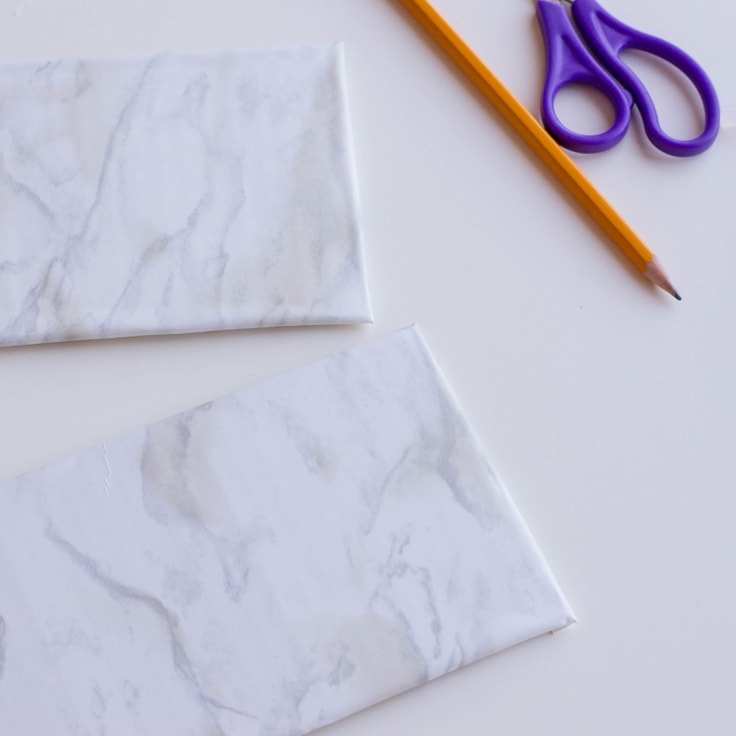
2. Cover Your Cardboard
Measure out your marble contact paper and cover one side of each cardboard piece.
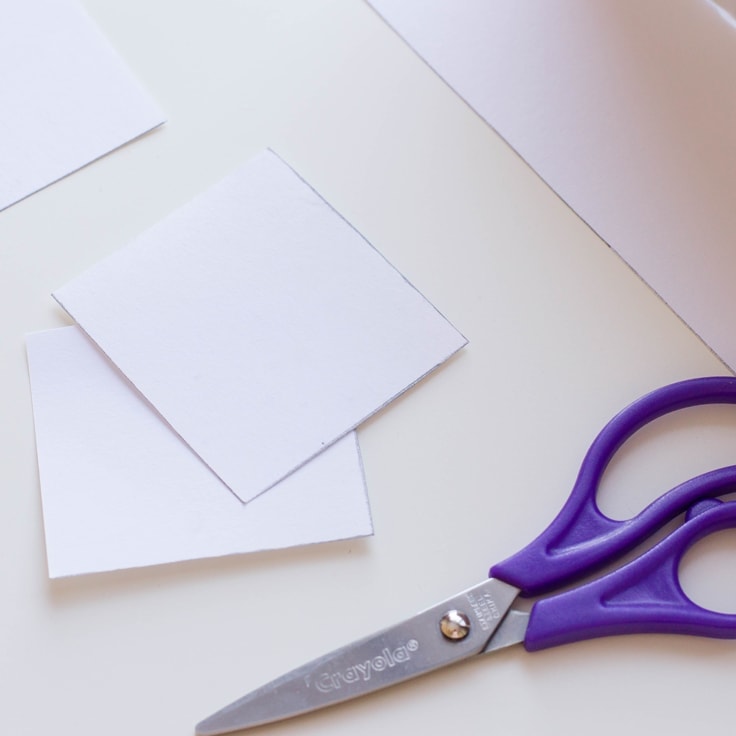
3. Cut the White Cardstock Pieces
Cut out pieces from your white cardstock.
You will need:
- 1 rectangular piece, 8 inches by 2.5 inches
- 2 square pieces, 2.5 inches by 2.5 inches
4. Use The Accordion Fold
Give your two white cardstock squares an accordion fold – with 6 sections in each one.
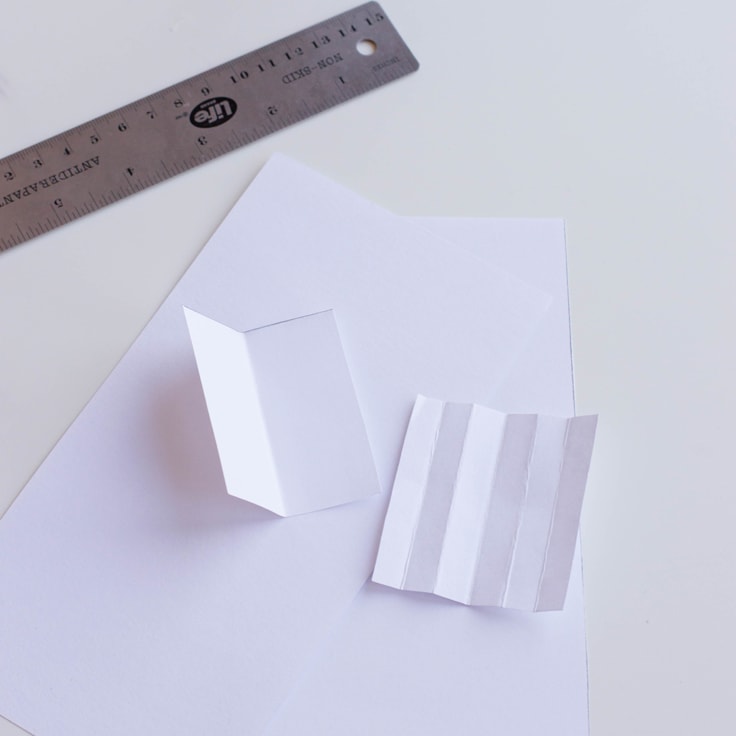
5. Glue the Pieces
Using your hot glue gun, glue one marble cardboard onto one side of your cardstock base (the piece that is 8 inches by 2.5 inches).
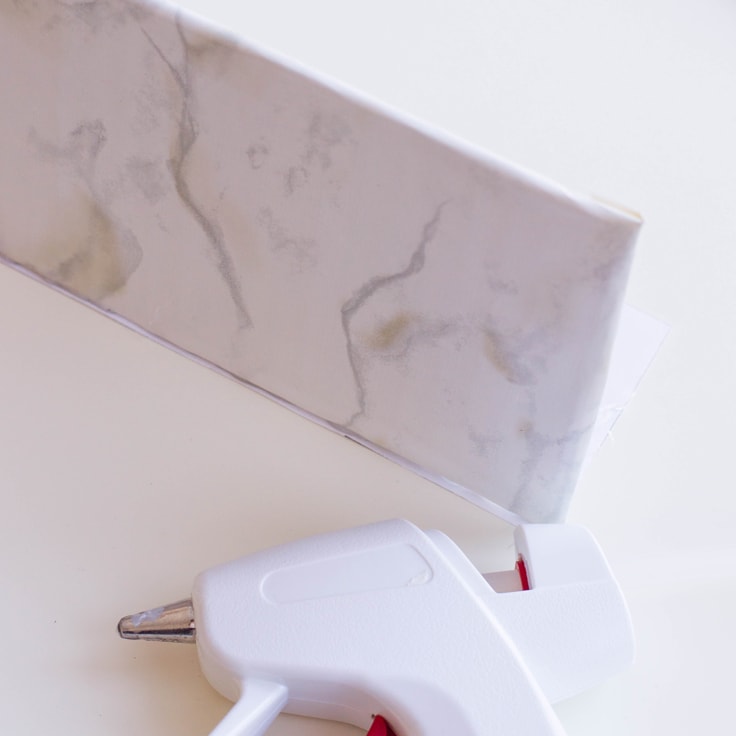
The next pieces to glue are the accordion-folded cardstock squares. One on each side of the marble cardboard
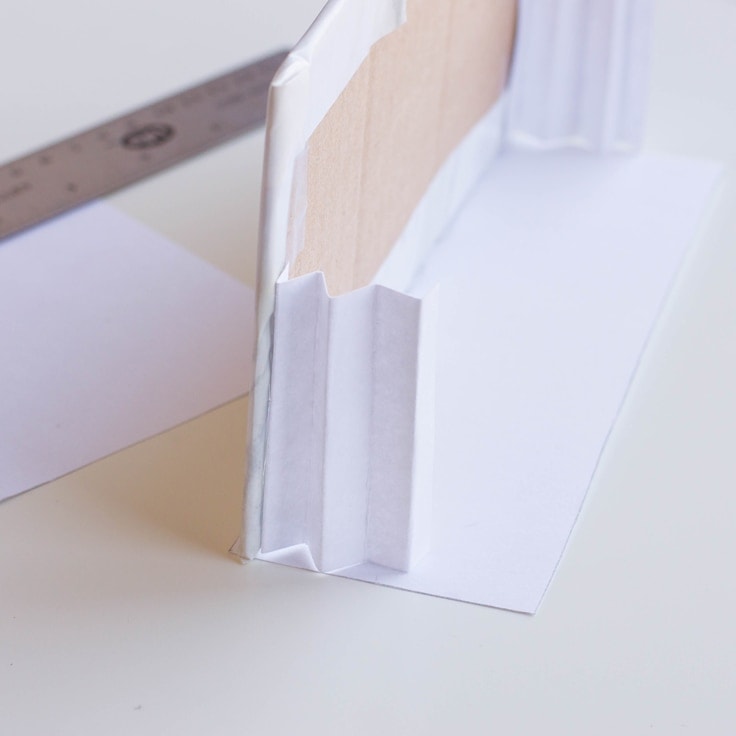
6. Glue The Cardboard Pieces Together
Now, you will glue the second marble cardboard on the base: opposite of your other marble cardboard.
Once it’s glued on the base, glue it to the edges of the accordion pieces.
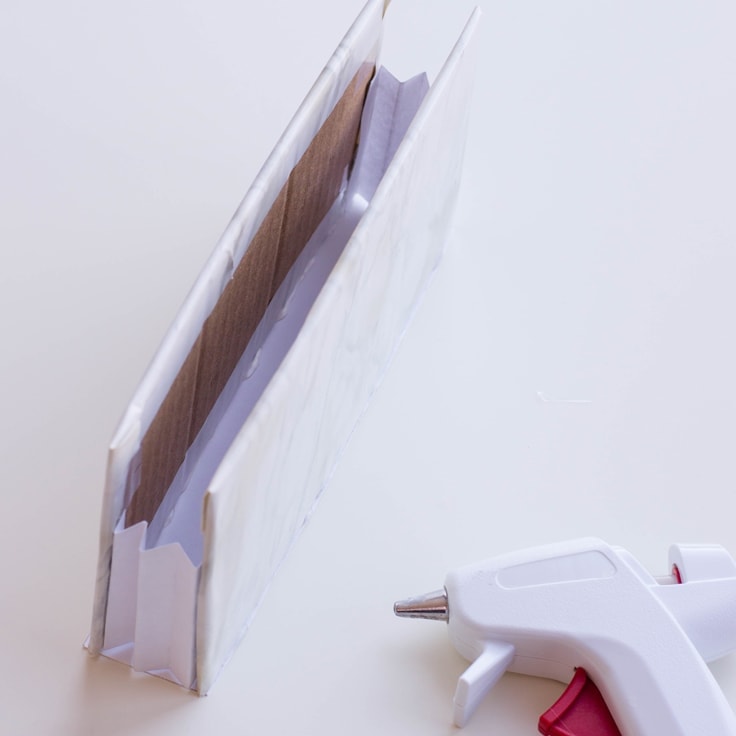
7. Add The Base of the Folder
Cut out 2 pieces from your pink cardstock: two of them being 8 inches by 4 inches and the other, 8 inches by 3 inches.
The 8×3 piece will be the final base for your receipt folder: wrap it around the bottom and secure with a hot glue gun. This will give the bottom of your receipt folder a pretty pink touch.


Glue your 8×4 pink cardstock pieces on the back of your marble cardboard pieces.
7. Glue on Flower Embellishments
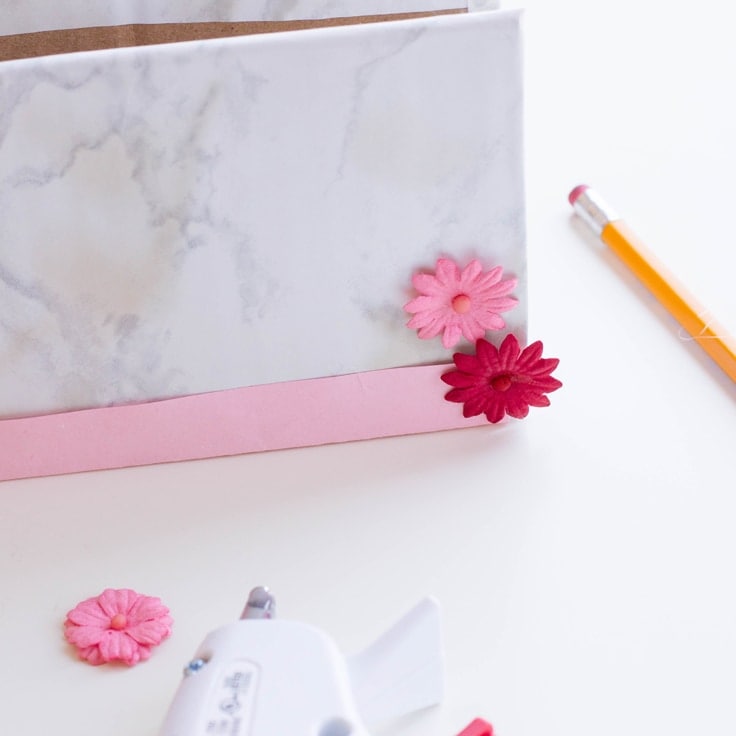
Glue on flower embellishments to decorate your newly-made receipt folder – have fun!
Love the ideas you see here on Ideas for the Home by Kenarry®? Subscribe today to get our weekly Ideas in Your Inbox newsletter plus other exclusive gifts and offers — all for FREE!
What’s Next?
5 Ways to Stay Organized in the Office
You may also enjoy these home office ideas on Kenarry:


