How to Decoupage Soap with Mod Podge
THIS POST MAY CONTAIN AFFILIATE LINKS. PLEASE SEE OUR FULL DISCLOSURE POLICY FOR DETAILS.
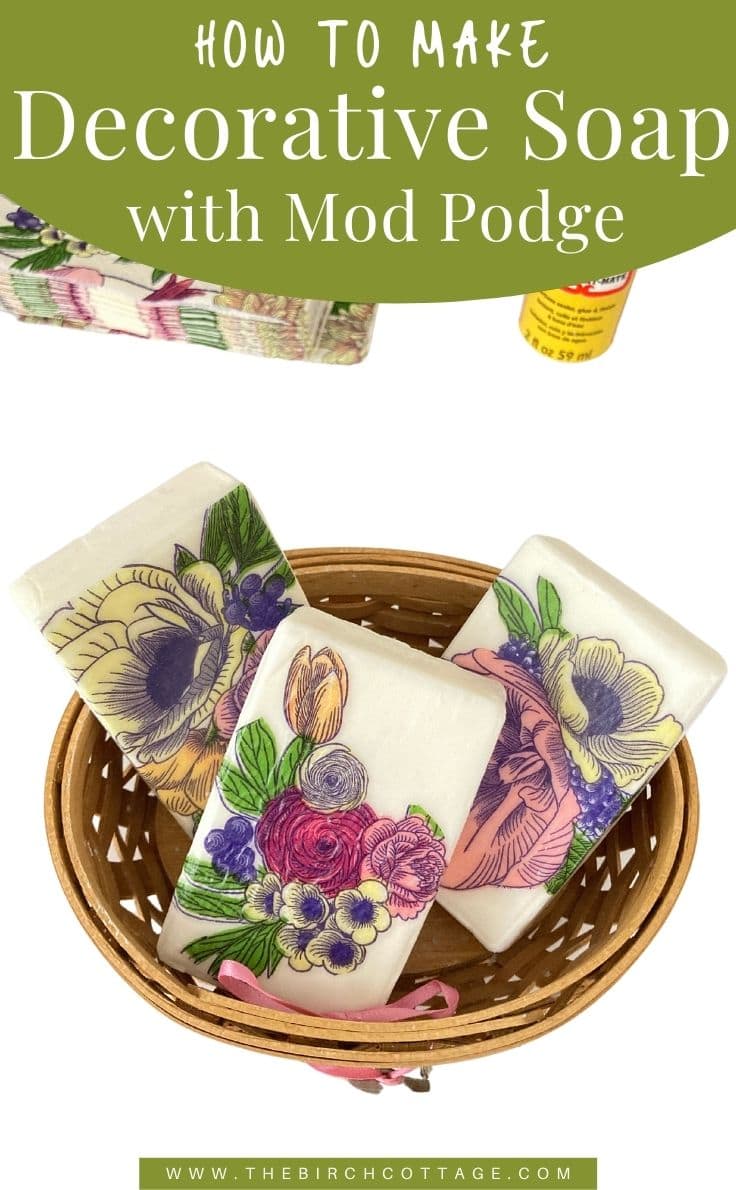
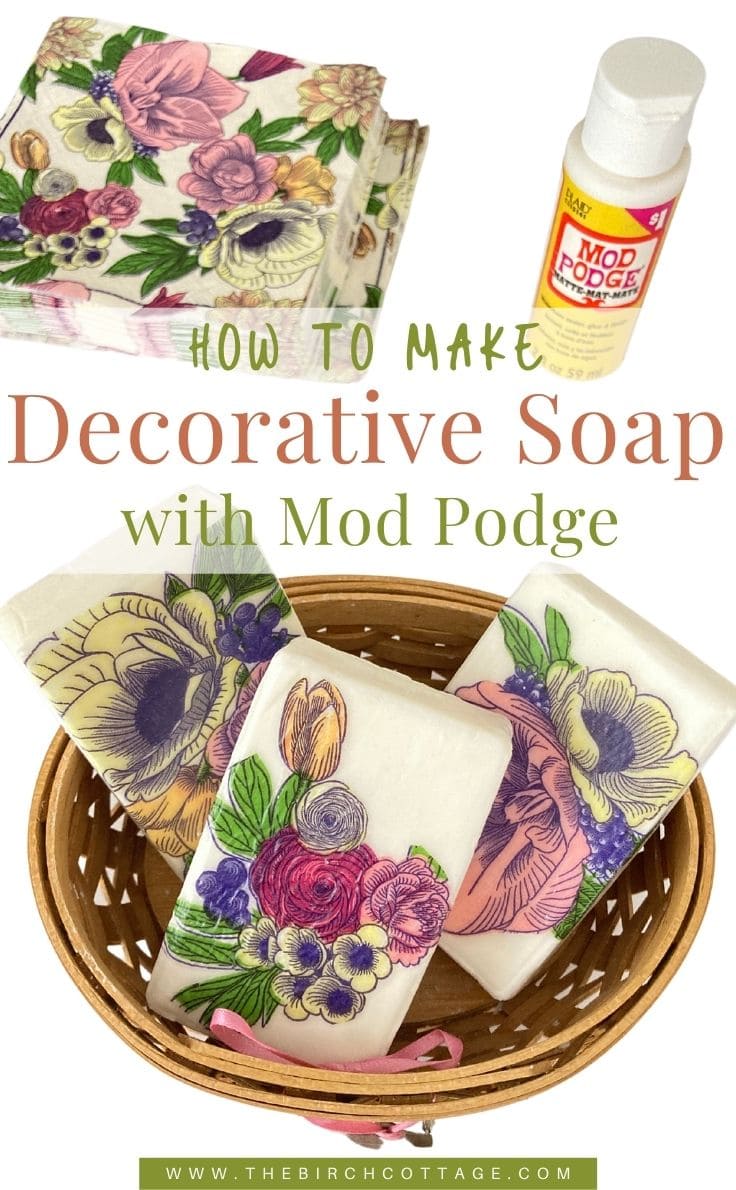
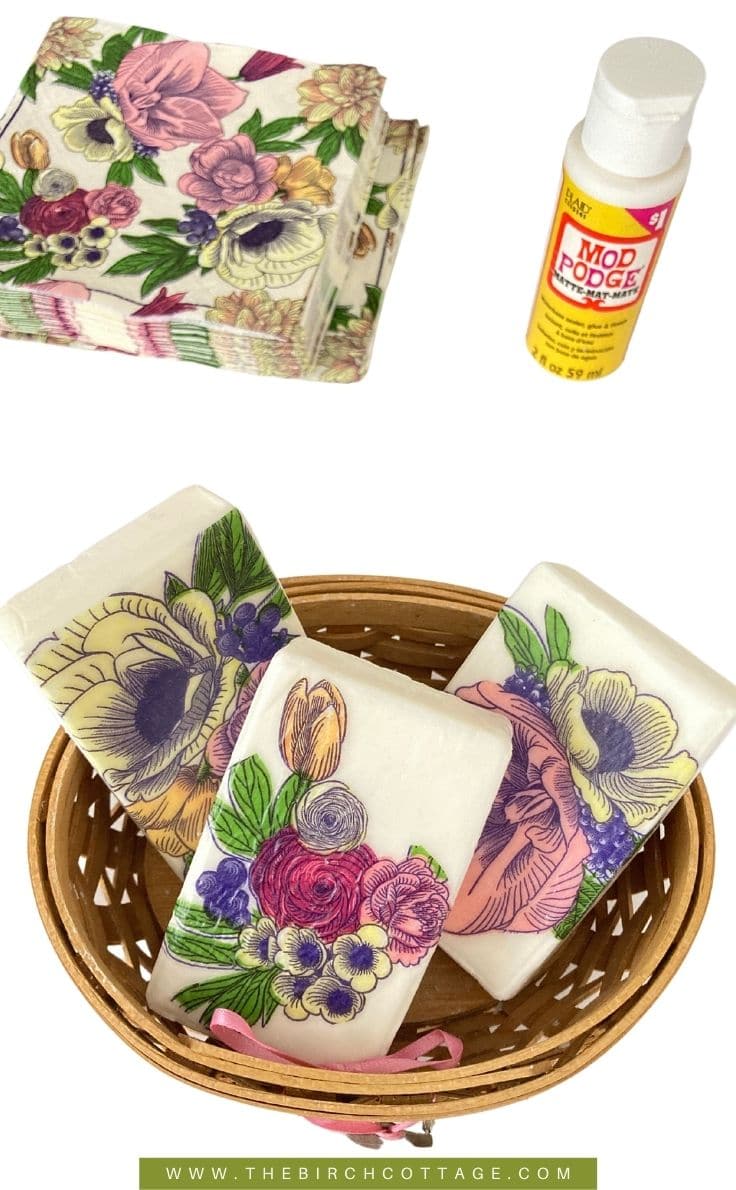
Learn how to decoupage bar soap with Mod Podge to create a timeless bridal shower favor, Christmas gift, hostess gift, or to add a decorative touch to your guest bathroom.
Hello, Kenarry readers! I’m Pam from The Birch Cottage, and I’m back again this month sharing with you an easy craft idea. When you see how easy and fun it is to Decoupage Bar Soap with Mod Podge, you’ll be wanting to decoupage all the things!
Decoupage is a fun, easy, and safe way to create decorative soap. And using a trusted product like Mod Podge helps to ensure your crafting success.
Although once you decoupage soap with Mod Podge, you just might think that decorative soap is too pretty to use! However, don’t let its beautiful looks fool you because you definitely CAN use the decorative soap!
How to Decoupage Bar Soap with Mod Podge
I clearly am not the inventor of this easy and clever way to decorate soap, but I do love easy craft projects. In fact, this craft project is so easy, you can get the kiddos involved.
And, as I said, decorative soap makes for a lovely, thoughtful, and downright useful handmade gift!
What is Mod Podge?
If you aren’t familiar with the Mod Podge brand of decoupage from Plaid®, you might be wondering just what is Mod Podge anyway.
Well, Mod Podge by Plaid has been around since 1967. It is an all-in-one, glue, sealer, and finish. Mod Podge dries clear and quickly. This decoupage glue comes in a variety of finishes such as gloss, matte, glitter, satin, outdoor, dishwasher safe, and more!
Mod Podge is used in so many DIY craft projects, like:
And so much more!!
What you need:
Want more ideas like this? Subscribe today to get our weekly Ideas in Your Inbox newsletter plus other exclusive gifts and offers — all for FREE!
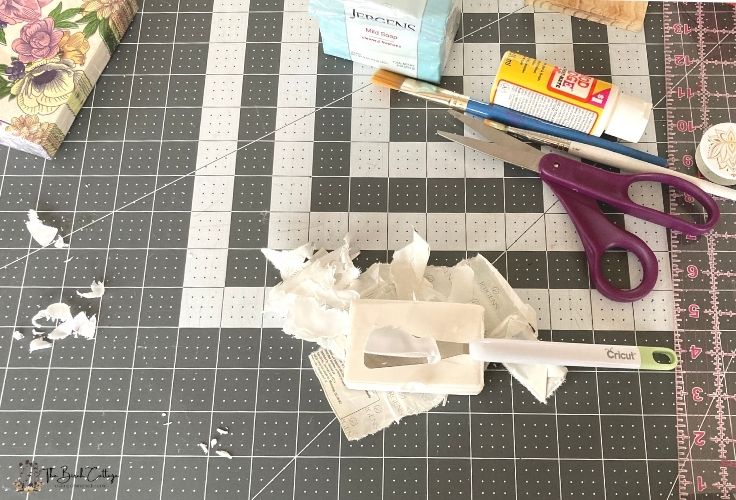
Craft Tools Needed:
Supplies Needed:
- Mod Podge (matte or glossy)
- Bar of Soap (I used Ivory from Dollar Tree)
- Decorative napkins
- Paper towels
- Bowl of water
- Wax paper, butcher’s paper, or parchment paper (optional)
- Ribbon or twine (optional)
Video Tutorial
If you prefer to learn by video, then you may find this video tutorial helpful on How to Decoupage Soap with Mod Podge.
Tips on how to Decoupage Soap with Mod Podge:
Here are some helpful tips on what you need to know before you make decorative soap with Mod Podge.
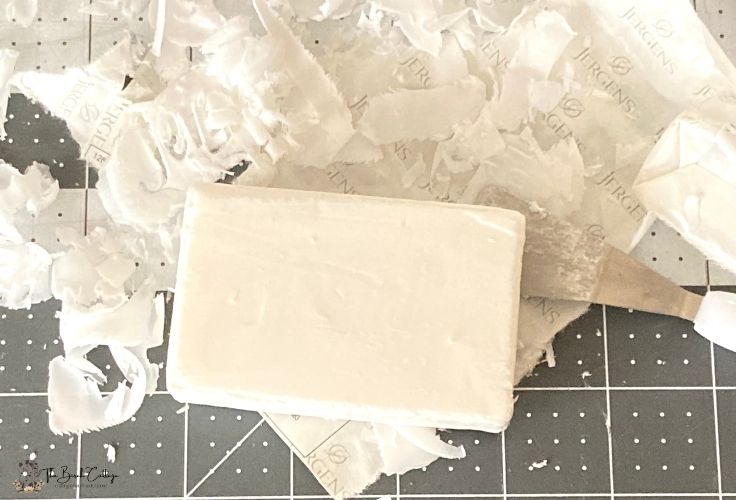
Use Soap with Flat Sides
Some soaps are curved or rounded. It’s easier to decoupage on a flat surface.
Then most soaps have the brand name, flowers, or some other design on the face of the soap. For best results, you’ll need to resect (a fancy word that means to remove part of the soap) the soap. You can easily do this with a craft knife. In fact, I used one of my Cricut tools.
Separate the Layers
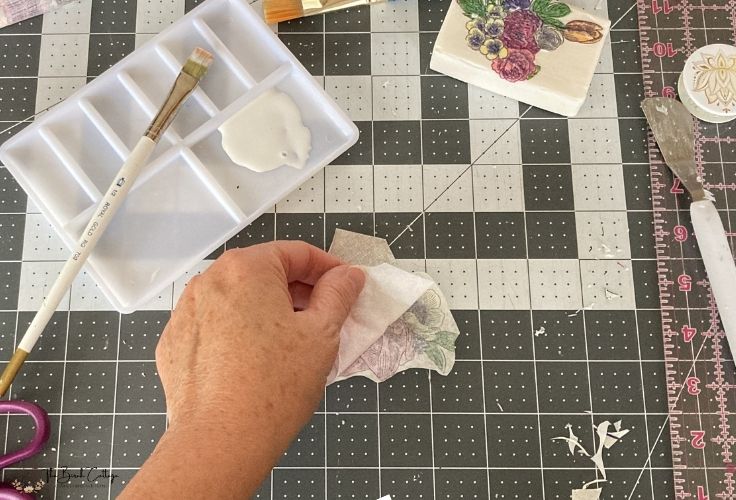
If you are following along with this tutorial and are using paper napkins to decorate your soap, you will want to separate the napkin layers. Napkins typically come in two- or three-layers. You want the paper to be as thin as possible, so separating the layers is a must.
Also, if you are cutting out shapes in your napkins, like the outline of a flower, it’s easier to separate the layers after you cut out the shapes.
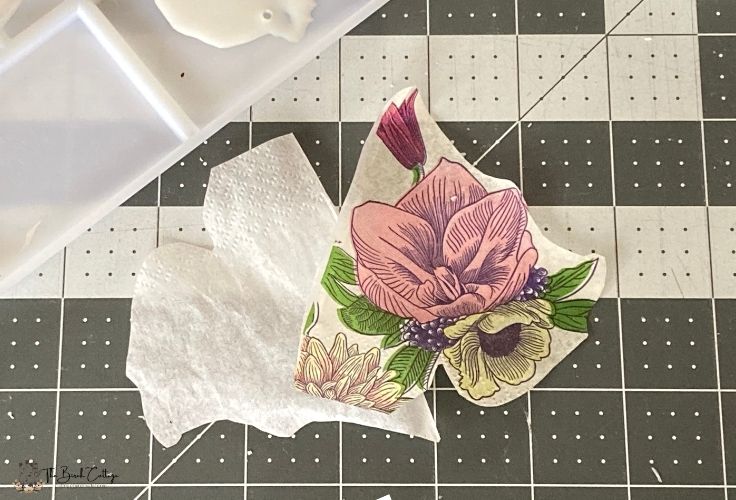
Trim the Design
When you cut out the design that you’re going to decoupage to your soap, you’ll want to trim as much of the unwanted parts of the napkin and as close to the design as you can.
Use a Bristle Brush
Apply an even coat of Mod Podge using a bristle brush. You can use a foam applicator; however, you’ll create fewer brush marks when using light pressure and a bristle brush.
Apply Glue to Glue
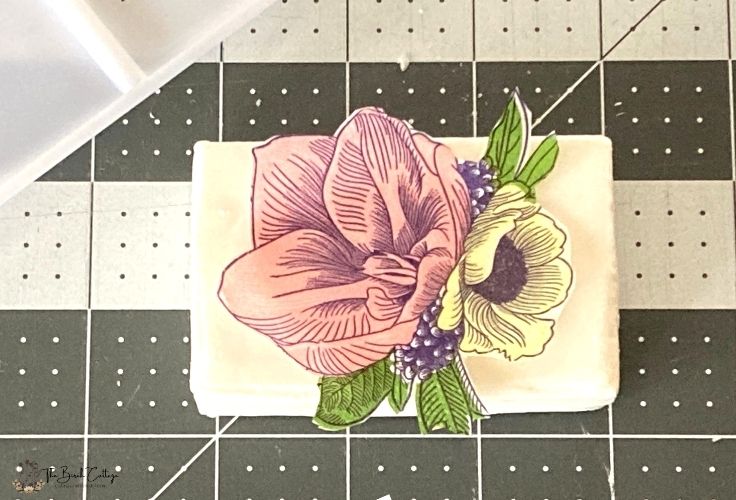
To make positioning your pieces easier, it’s best to position “glue to glue” when decoupaging. In other words, apply a layer of Mod Podge to the surface of the soap and to the back of your napkin.
Smooth from the Center Outwards
When you are smoothing the paper napkin on the bar of soap, smooth from the center outwards using dry fingertips.
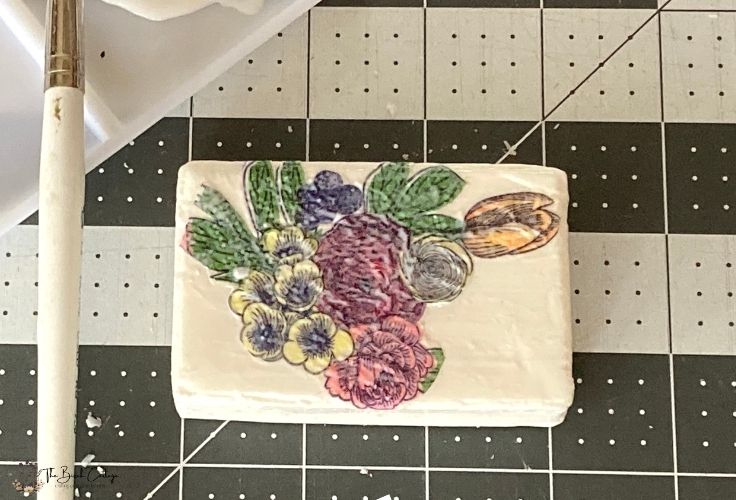
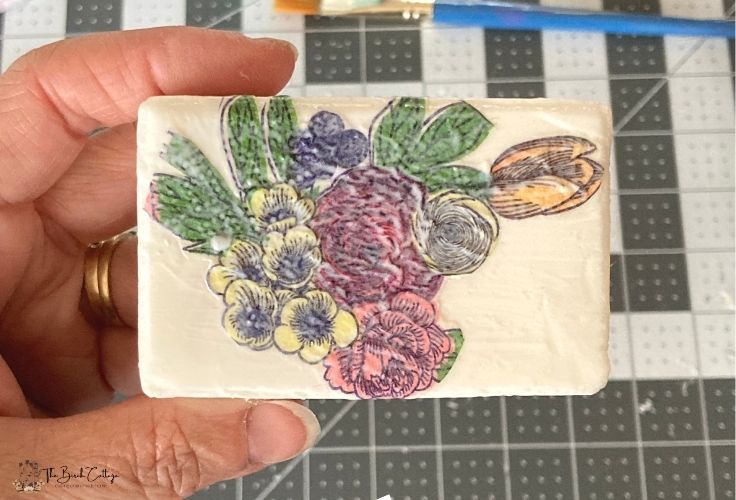
Apply 2-3 Coats of Mod Podge
To secure the napkin to the soap and to provide protection in the form of a sealant, you’ll need to apply 2-3 coats of Mod Podge. Just be sure to allow the Mod Podge to dry for 15-20 minutes in between coats.
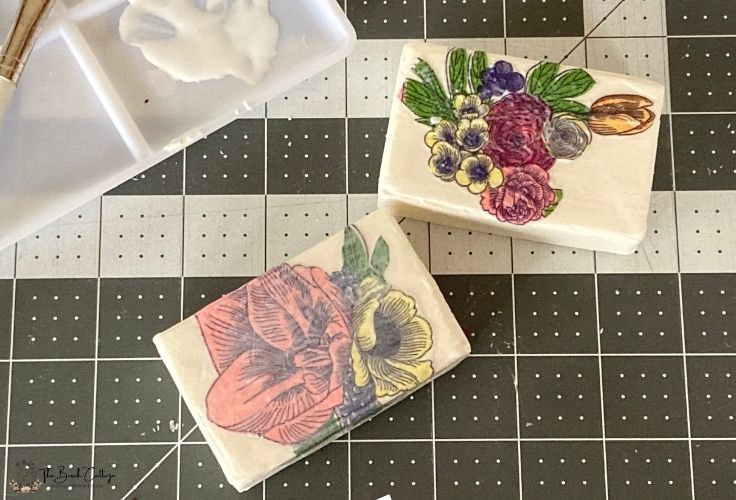
Allow for Dry Time
When you apply Mod Podge to the top of your napkin, it will take several coats (see my previous tip). I typically use three coats. It’s important to allow at least 15-20 minutes in between coats. (I may have said that already, but it is important.)
Keep a Damp Paper Towel Handy
A damp paper towel will come in handy for gently removing excess Mod Podge.
How to Decoupage Soap with Mod Podge
Equipment
- scissors
- bristle paint brush
Supplies
- Mod Podge matte or glossy
- 1 bar soap
- 1 decorative paper napkin
- 1 paper towel
- 1 bowl water
- 1 piece parchment paper
- ribbon
Instructions
- Gather your supplies and protect your work surface.
- Open your bars of soap and resect, if necessary. I found my Cricut scraper tool worked really well to smooth out the tops of the bars of soap.
- Cut out the parts of your napkin that you want to apply to the bar of soap. Be sure to cut closely around the design
- Gently separate the napkin layers.
- Decide exactly where you want to place the designs on your soap and apply a thin layer of Mod Podge to that area on the soap.
- Apply a thin layer of Mod Podge to the top of the cut-out design. Work from the center outwards to avoid tearing the napkin.
- Make sure your fingers are clean and dry, then positing the design on the soap. Gently smooth out the design with your fingers. Again, working from the center out.
- Apply a thin layer of Mod Podge to the top of the design. Allow to dry 15-20 minutes.
- Apply a second layer of Mod Podge. Again, allow to dry 15-20 minutes.
- Then apply a third layer of Mod Podge. Allow to completely dry.
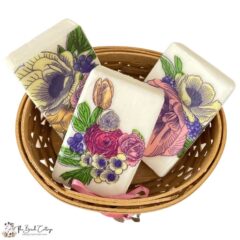
- Your decorative soap is now ready to gift or use. To gift your decorative soap, you can wrap a strip of wax paper, parchment paper, or butcher’s paper around the soap and secure with a ribbon. I cut my parchment paper 2” wide by 7” long and used baker's twine to secure (and add a decorative touch).
Love the ideas you see here on Ideas for the Home by Kenarry®? Subscribe today to get our FREE DIY & Craft Planning Calendar, plus our weekly Ideas in Your Inbox newsletter filled with creative tips and exclusive offers!
What’s Next?
If you like fun, easy, and thoughtful handmade gifts like this Decoupaged Bar Soap with Mod Podge craft idea, you might also like these ideas from The Birch Cottage blog:
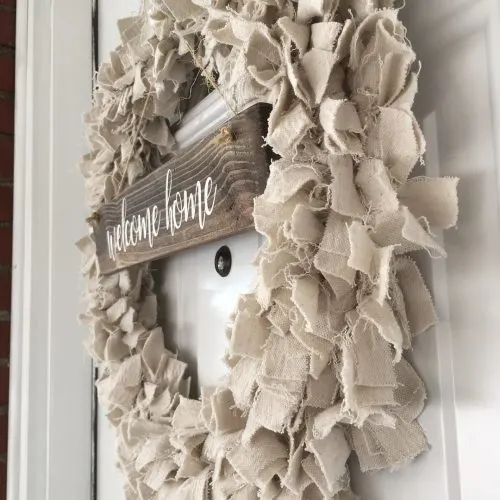
DIY Rag Wreath Using Drop Cloth
DIY Ice Preventative Spray for Your Car

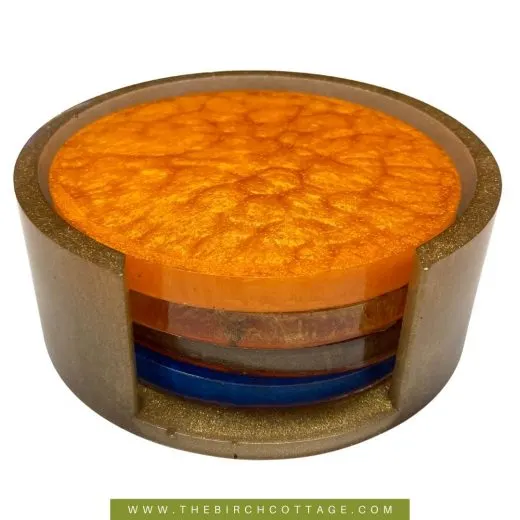
Easy to Make Epoxy Resin Coasters
You may also enjoy these decoupage ideas on Ideas for the Home by Kenarry® –