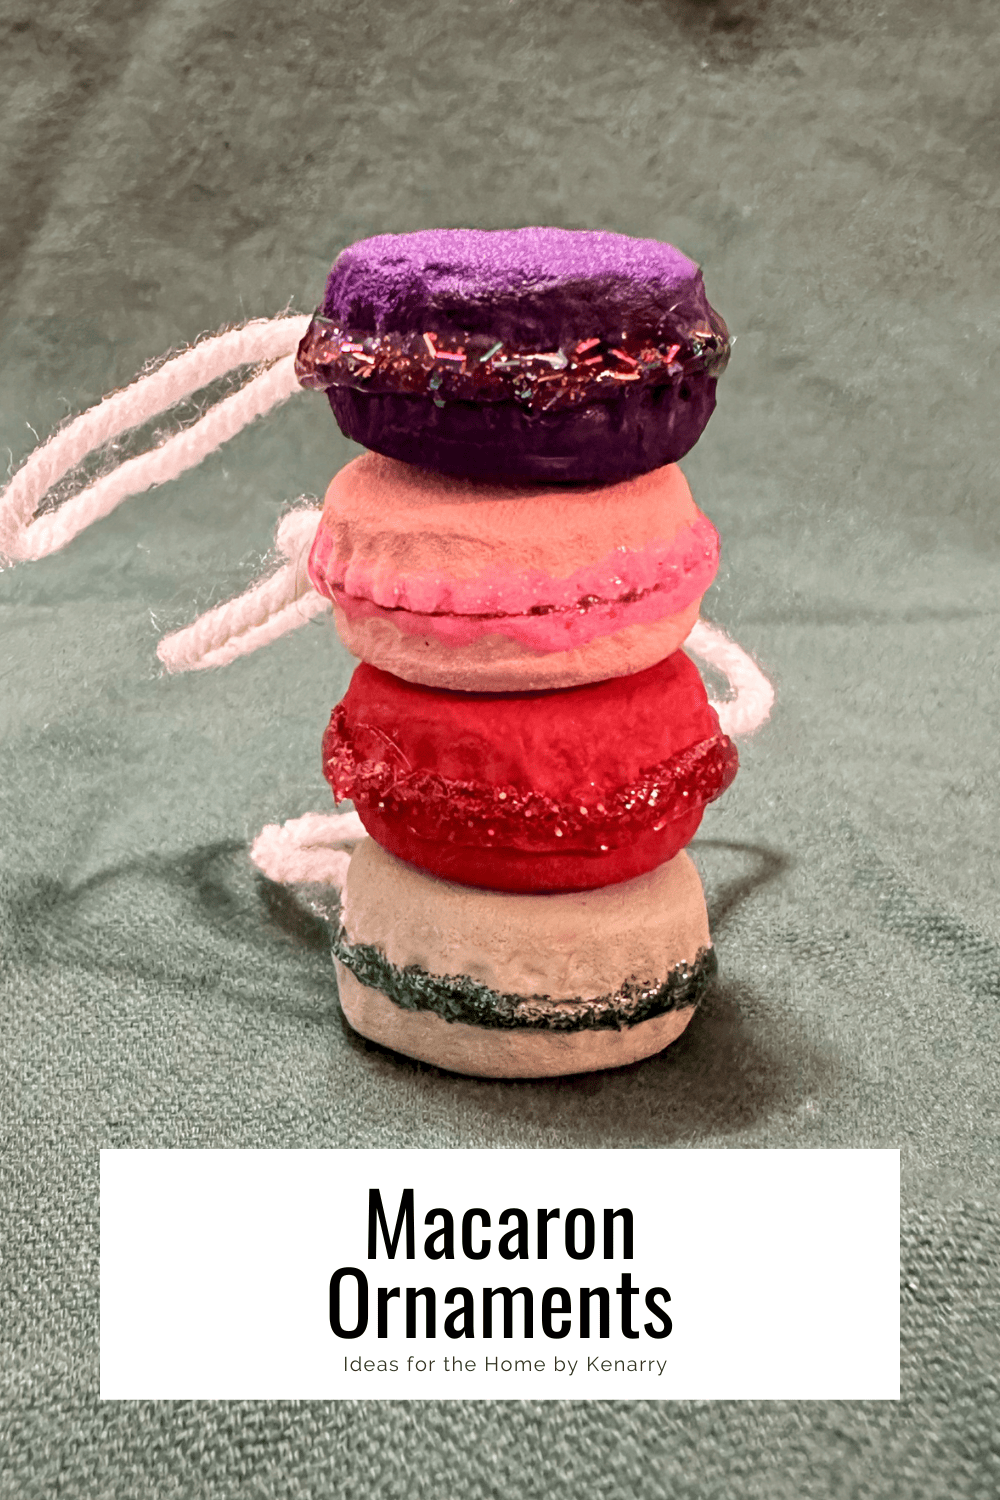
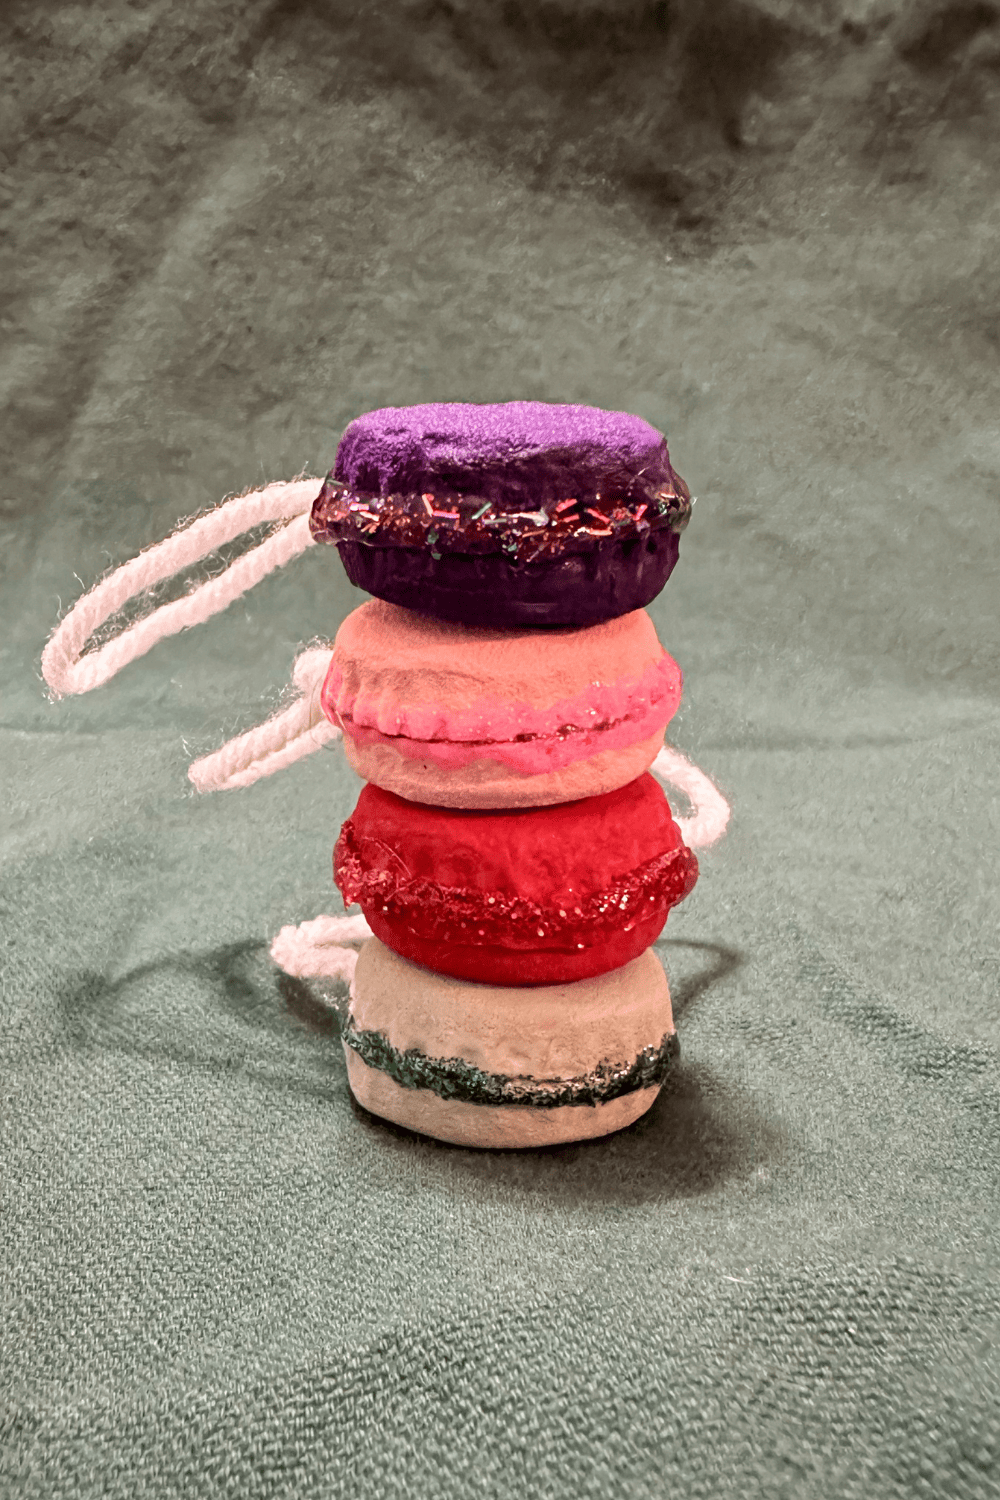
Macaron Ornaments
THIS POST MAY CONTAIN AFFILIATE LINKS. PLEASE SEE OUR FULL DISCLOSURE POLICY FOR DETAILS.
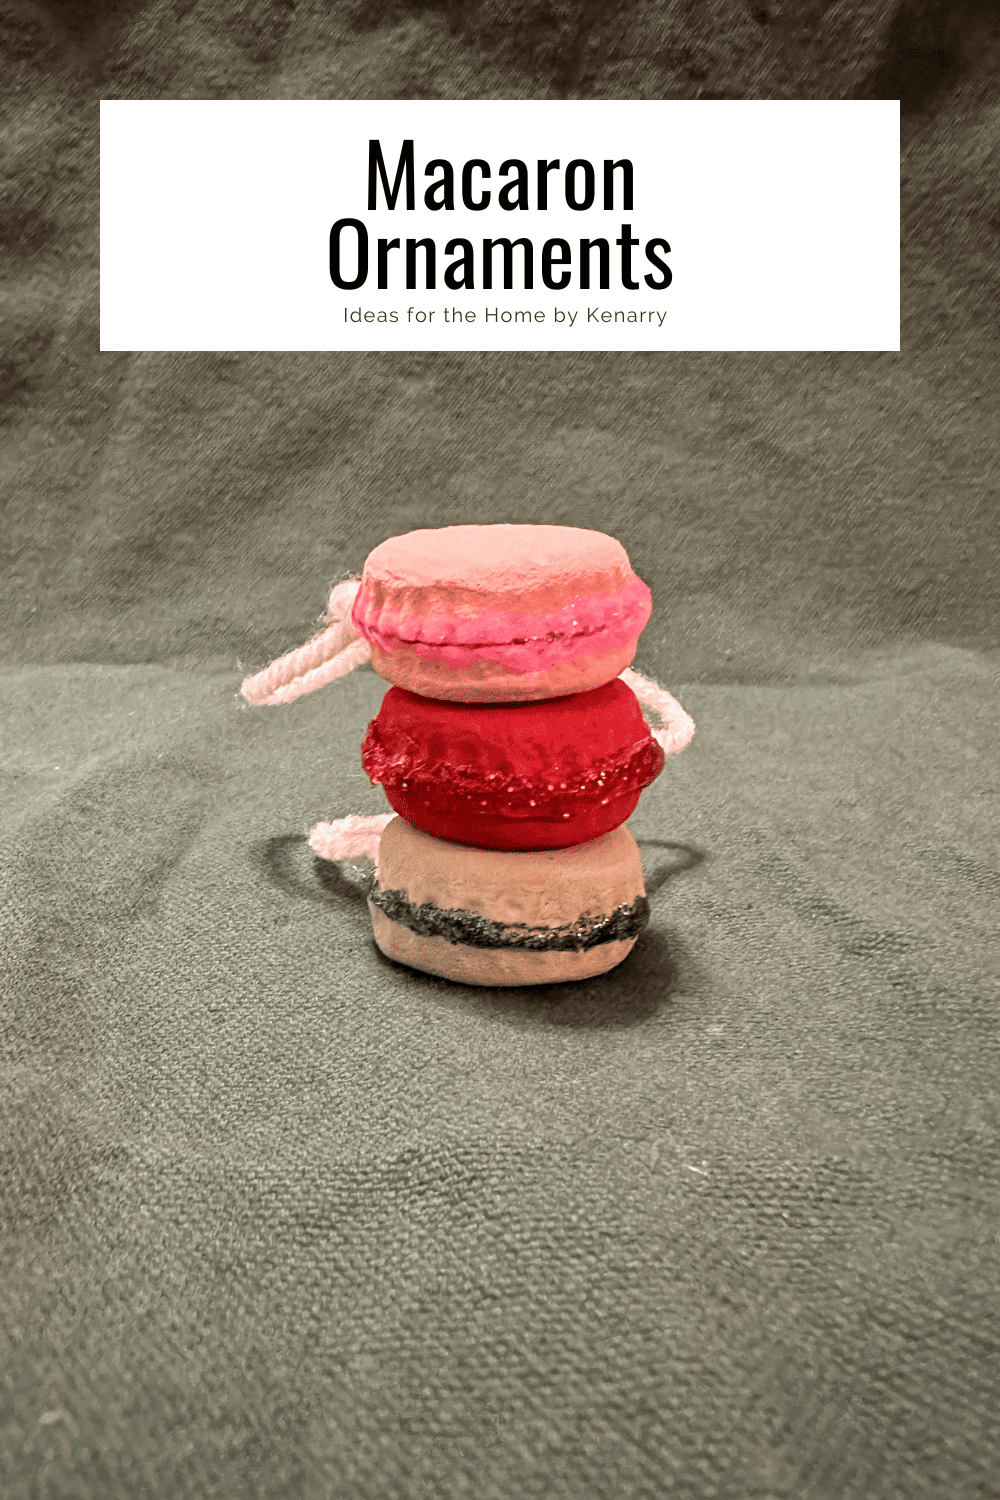
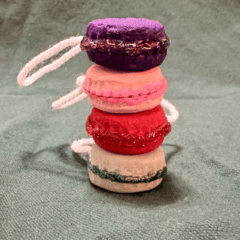
Make these adorable and simple macaron ornaments using supplies you already have around the house!
Hello! I’m Amy and I blog at amylanham.com about crafts, DIY, and home decor. I have always love crafting so much. But usually am on a budget. If I can turn something that is destined for the landfill into something crafty, than I’m going to do it.
This year, I really want to do a candy Christmas tree. So when planning out my Christmas decor, I try to think of ways that I can make the ornaments inexpensively instead of buying everything new.
I’ve used bottle caps for all sorts of crafts over the year. But they make especially cute Christmas ornaments! These macaron ornaments are no exception.
How to Make Macaron Ornaments
You only need a few supplies to make these macaron ornaments and I already had everything I needed at home, making this a zero cost project, which is my favorite type of project!
What you need:
Want more ideas like this? Subscribe today to get our weekly Ideas in Your Inbox newsletter plus other exclusive gifts and offers — all for FREE!
Craft Tools Needed:
Supplies Needed:
These are the ingredients you’ll need. All the exact amounts are in the printable card at the bottom of this post.
- Bottle Caps
- Acrylic Paint
- Baking Soda
- Yarn
- Sand Paper
Macaron Ornament Tips:
Why should I use baking soda?
Baking soda helps to make the paint thicker. Without baking soda, more coats will be needed.
The baking soda also helps to give the paint a matte look. Which I think is better for an ornament of this nature.
Without the baking soda, the ornament will be really shiny and will look painted. Since the paint is thicker it gives the ornament a more dough look. Since this is supposed to resemble a cookie, I think the dough look is really cool and authentic.
The baking soda also helps to fill in the ridges in the bottle caps. This isn’t entirely necessary, but I like that it helps them to not be so pronounced.
Mix the Baking Soda with the paint, or sprinkle it on top?
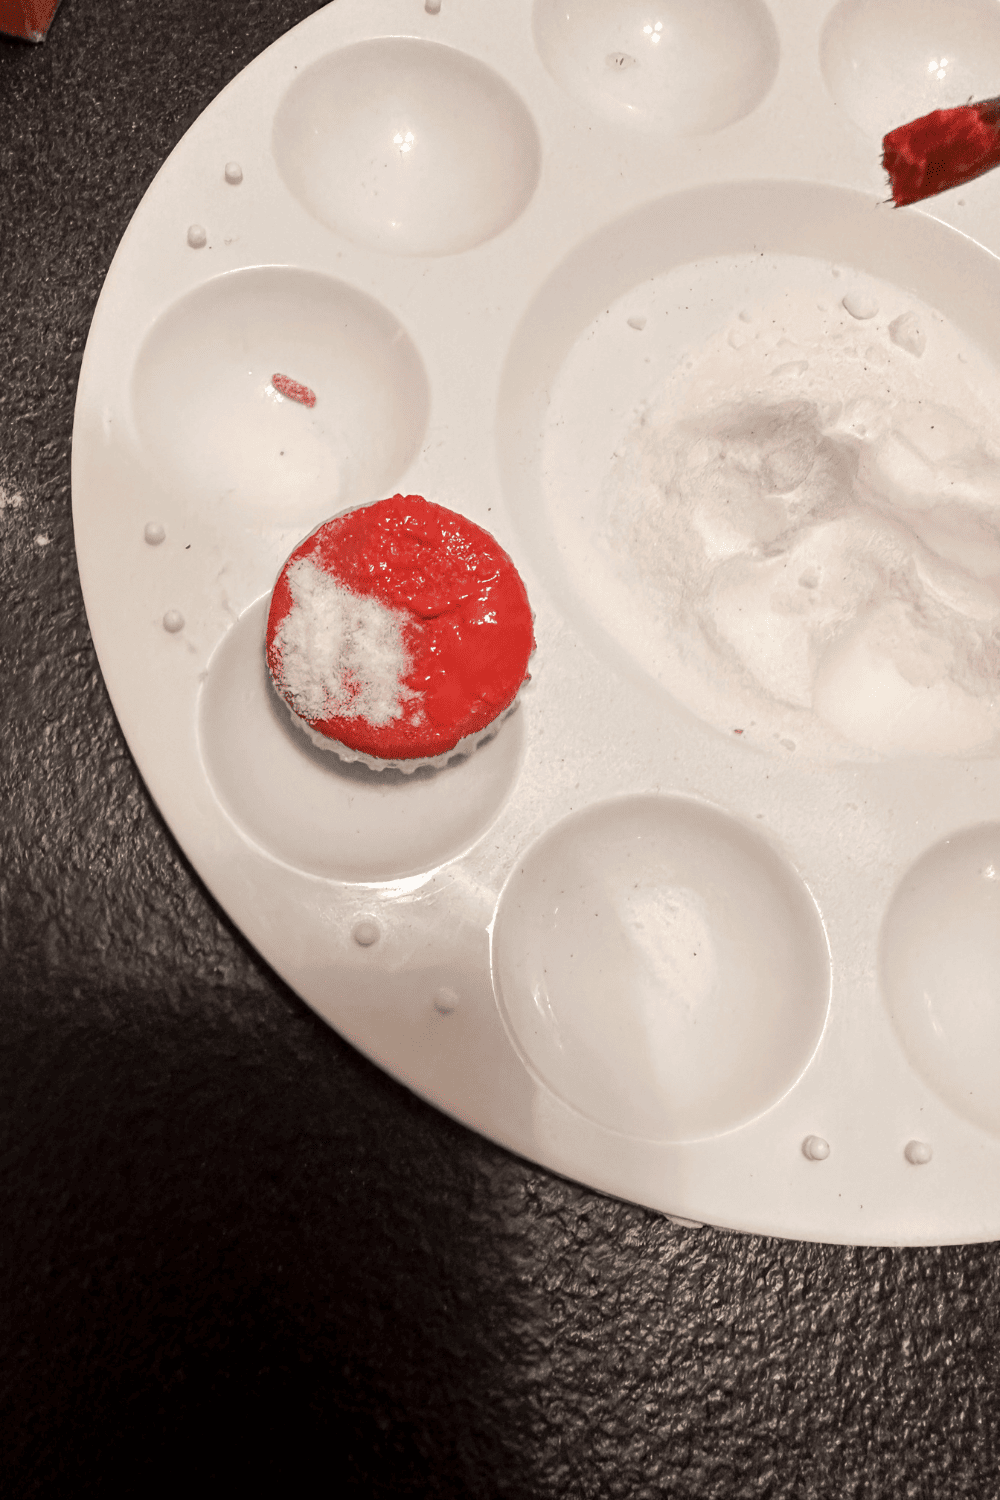
This is up to you, I did it both ways. Personally, I prefer the look of painting one quick coat, sprinkling the baking soda on while the paint is still wet, and then patting the baking soda with more wet paint.
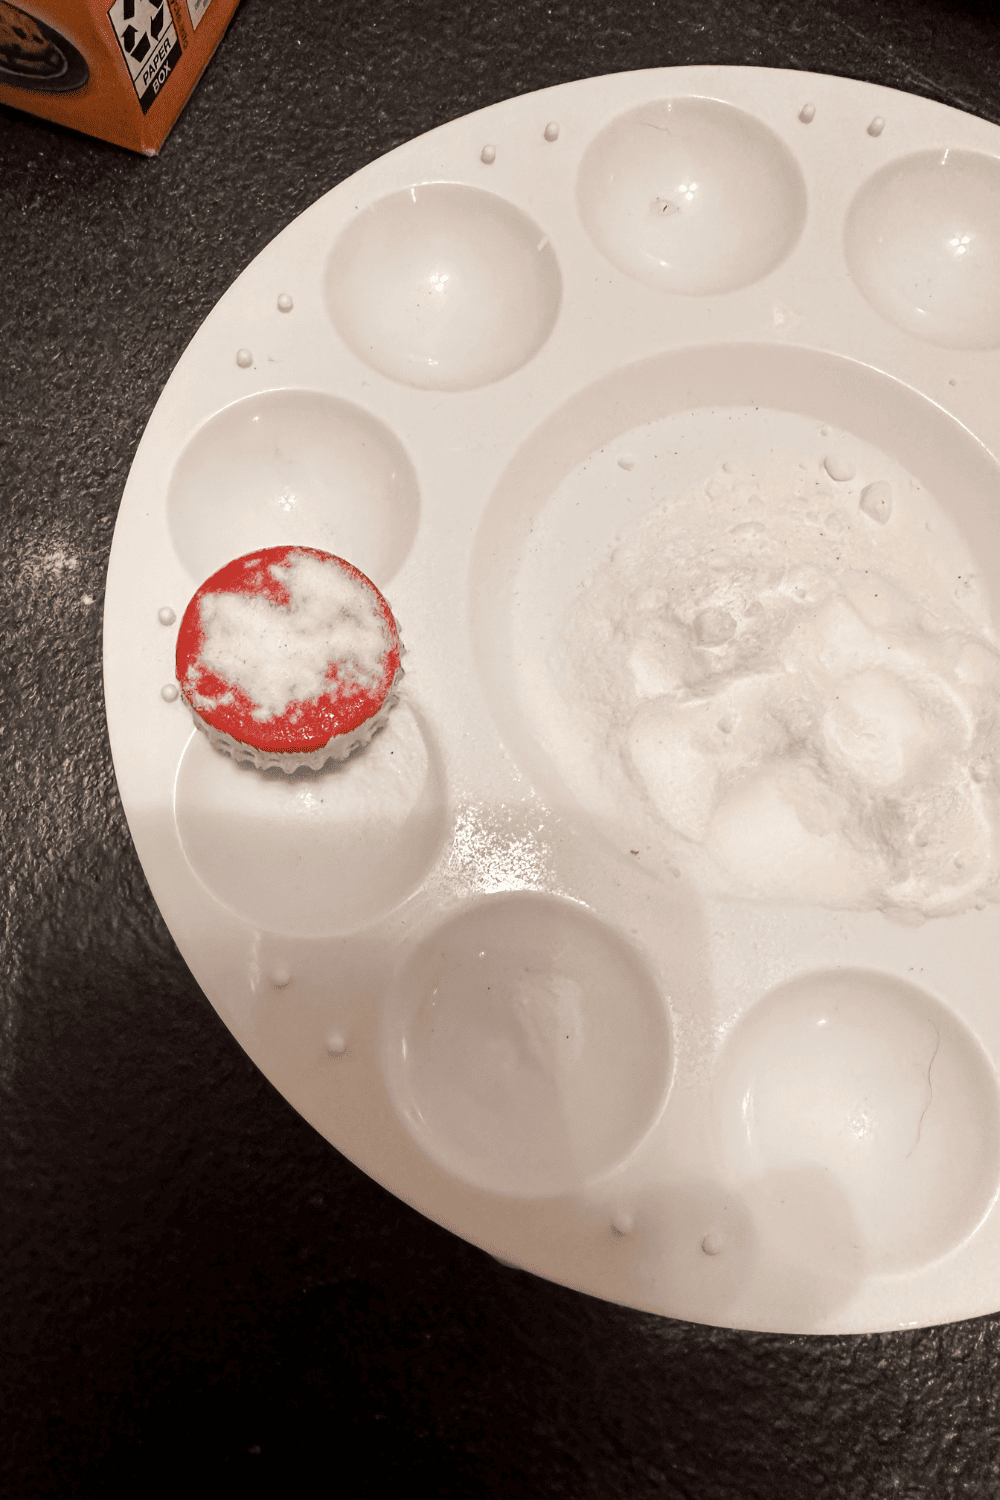
This helped there to be a good baking soda to paint ratio. Because I wanted the final look to be thick and dough like, there is a lot of baking soda to paint. Sprinkling it on the top uses less baking soda and allows me more control over how thick I want the paint to be.
Adding the baking soda directly to the paint means there will be less baking soda and the paint isn’t as thick.
Why sand the bottle caps?
Sanding the bottle caps helps the paint to stick better. I would not skip sanding the bottle caps. Without this step the paint will not adhere as well and will be harder to even apply to the bottle caps.

Sanding firt ensures there is a rough surface for the paint to stick to.
Macaron Ornaments
Equipment
- 1 glue gun
- 1 Pair of scissors
- 1 Sanding Paper
- paint brushes
Supplies
- 10 Bottle Caps
- 5 colors Acrylic Paint any colors
- 5 pieces Yarn
- Baking Powder
- 5 colors Glitter Glue
Instructions
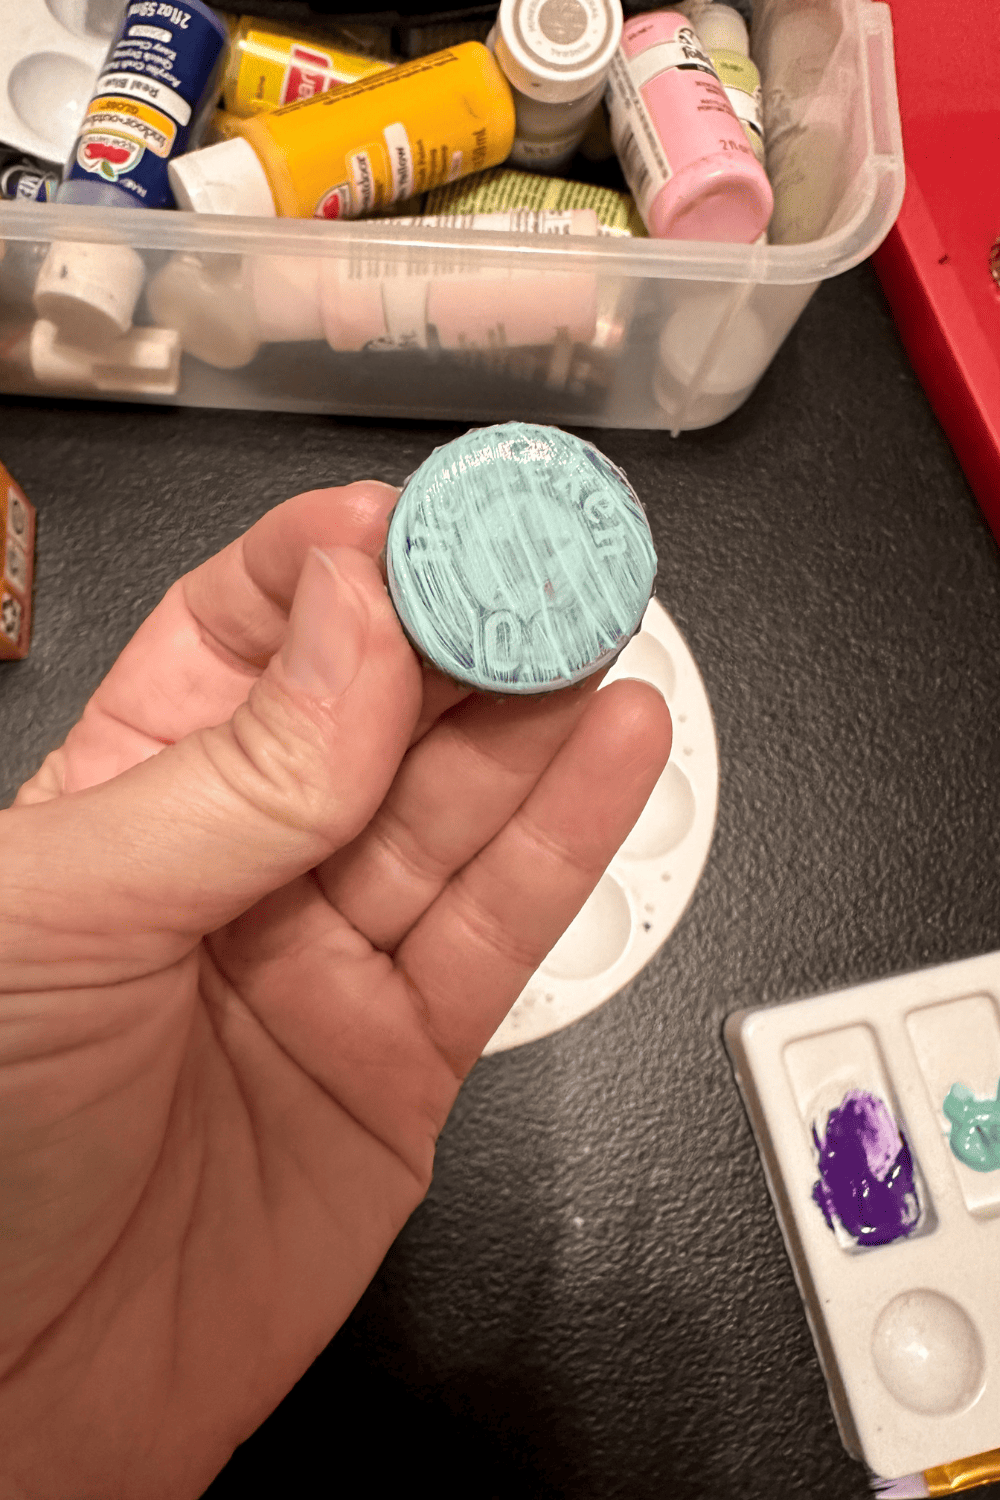
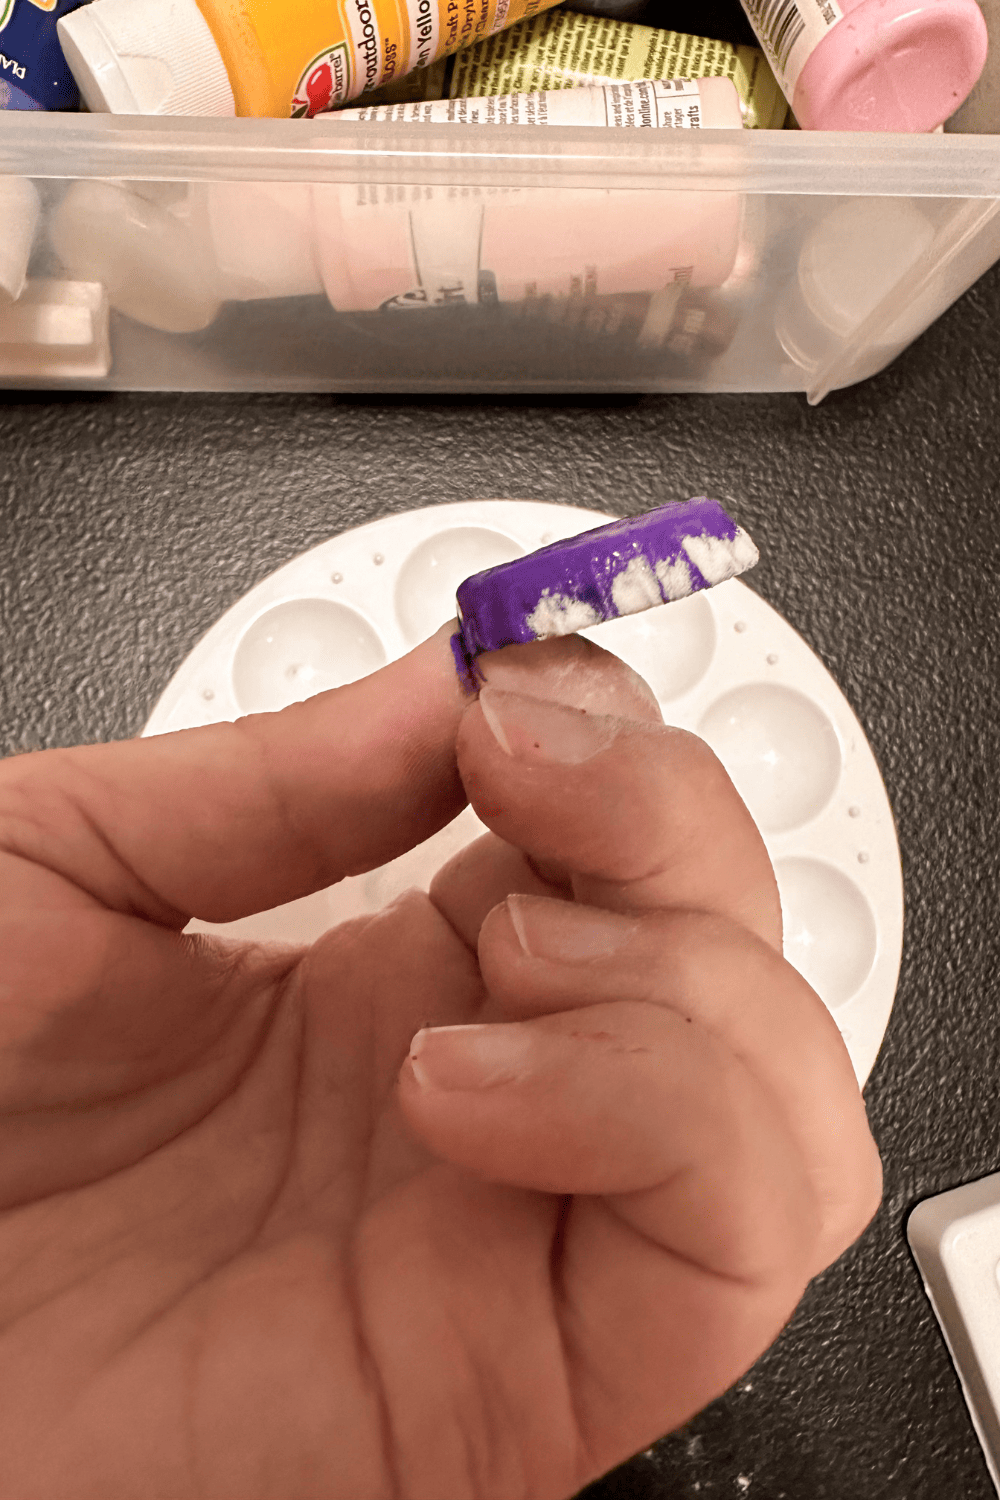
- Sand the tops and edges of the bottle caps, just enough to scuff them up.
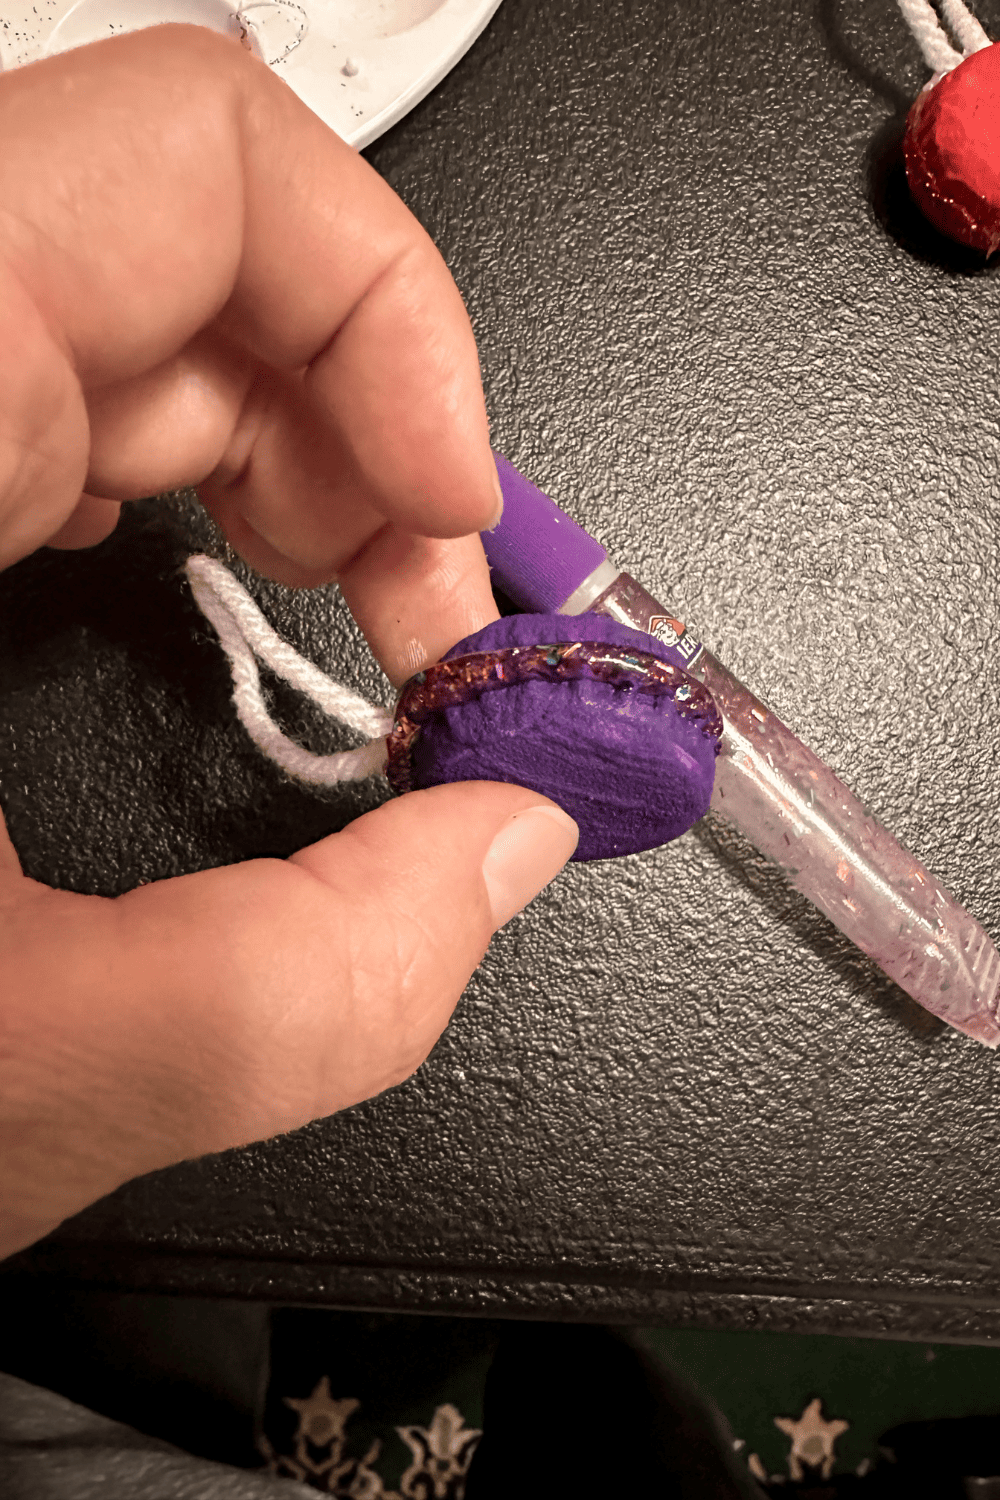
- Paint 2 bottle caps in the same color. Apply a thin coat. While it is still wet, sprinkle with baking soda. Immediately add more paint, dabbing to mix and apply the paint over the baking soda. Smooth out the top of the bottle cap. Make sure to apply paint to the sides too. Can gloop the baking soda and paint on to hide the ridges. Allow bottle caps to dry.
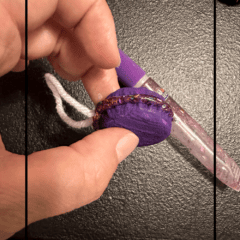
- Once dry, hot glue two bottle caps of the same color with a yarn loop sticking out the top for hanging.
- Then use glitter glue around the center of the two bottle caps, to hide the seam and create the macaron filling.
Love the ideas you see here on Ideas for the Home by Kenarry®? Subscribe today to get our FREE DIY & Craft Planning Calendar, plus our weekly Ideas in Your Inbox newsletter filled with creative tips and exclusive offers!
What’s Next?
If you enjoyed this Christmas craft, you might enjoy these other Christmas crafts too.
You may also enjoy these Christmas ideas on Ideas for the Home by Kenarry® –