How To Etch Glass At Home
THIS POST MAY CONTAIN AFFILIATE LINKS. PLEASE SEE OUR FULL DISCLOSURE POLICY FOR DETAILS.
Are you on the lookout for a fun, easy to make gift idea? Learn how to etch glass at home and create beautiful etched baking dishes. A unique gift idea that has lots of fun possibilities!
Etching glass at home is a simple process. All you need is some etching cream and a few fun stencils and you can create some amazing unique gifts. I tried out the technique of glass etching on some baking pans and was surprised at how easy it was to do.
This is Suzy from SuzysSitcom and I’d love to show you how to etch glass at home. I’m always on the lookout for fun craft ideas and this one was not only super simple, but the end result will be wonderful gifts.
Create a fun, etched baking pan and fill it with homemade cookies, or baking mix, wooden spoons and a recipe book. Wrap it with a bow and there you go!
How to Etch Glass at home
Clear glass baking pans are easy to find at most any large store. You will find that they all will have embossed writing on the bottom. Don’t worry about that too much. Once the baking dishes are etched, it really will not be that noticeable.
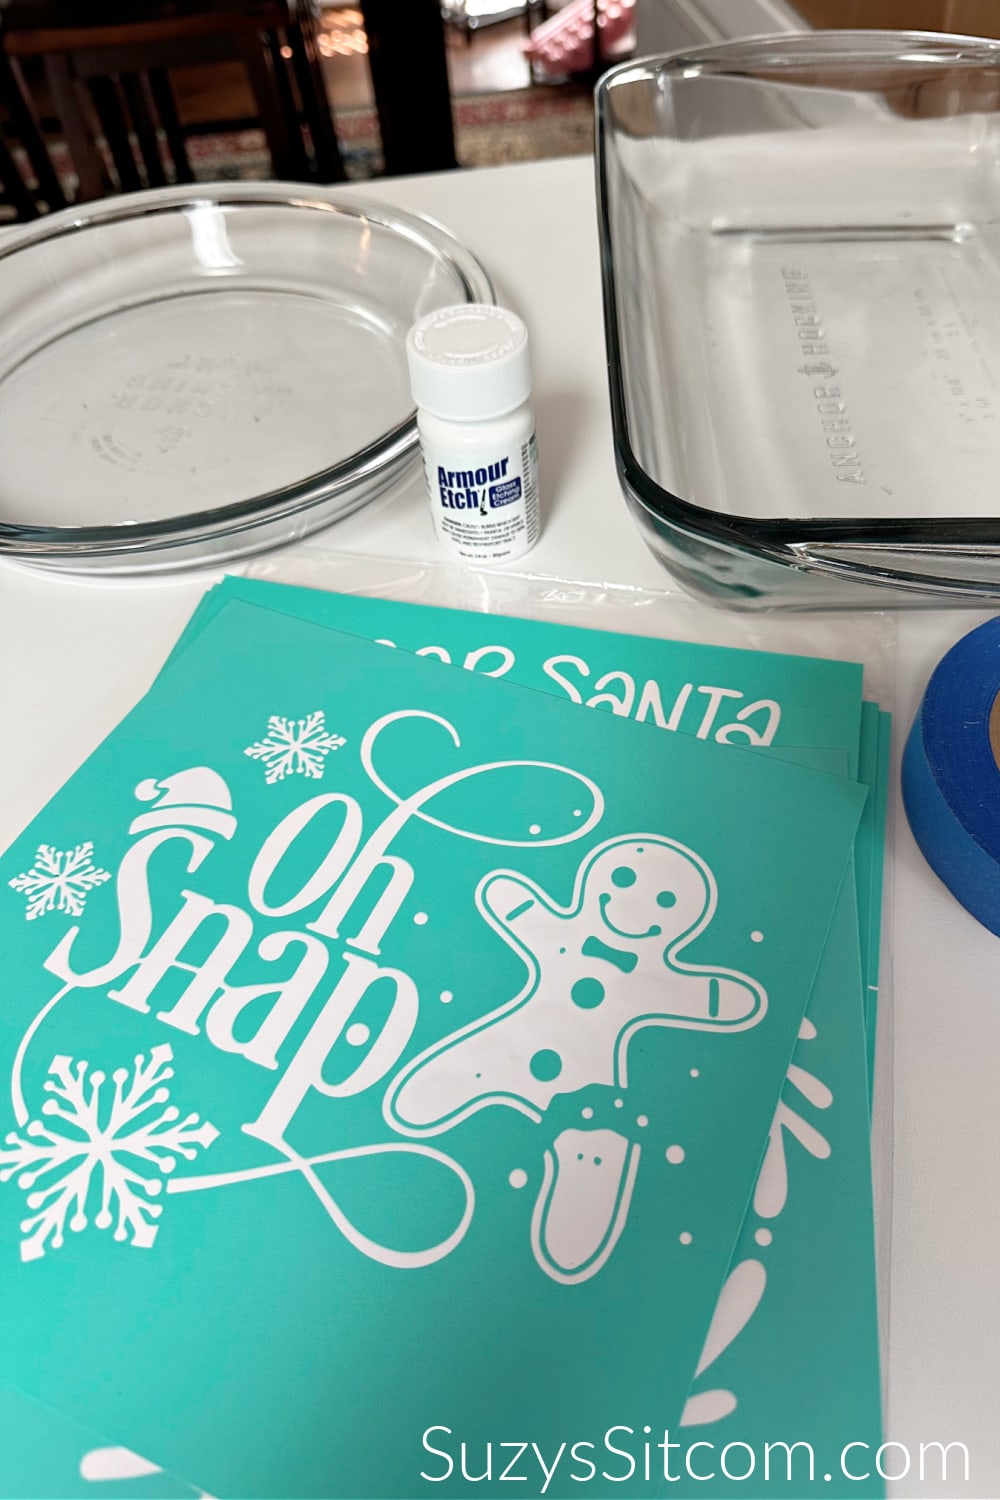
What you need:
Want more ideas like this? Subscribe today to get our weekly Ideas in Your Inbox newsletter plus other exclusive gifts and offers — all for FREE!
Glass Etching Tips:
Prepare your glass for etching
Be sure that your glass pans are clean and dry before beginning.
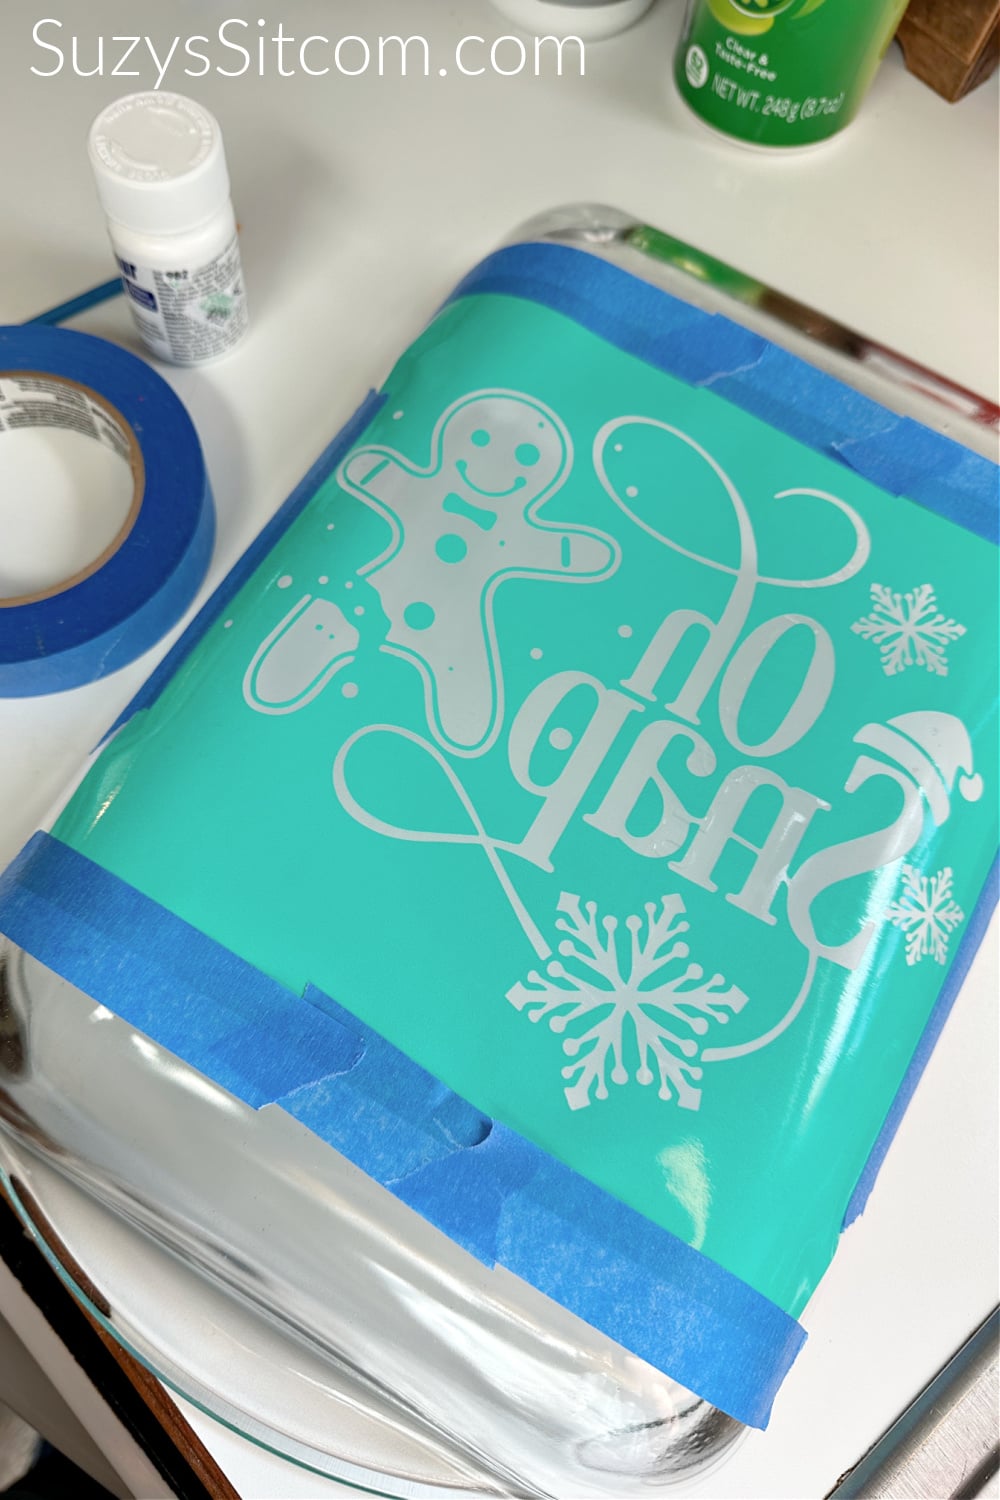
When etching glass baking dishes and any other glass that will come into contact with food, you want to etch on the outside of the glass, or underside of the dish. This allows you to cook food in the bakeware normally without any harm to the etching. In the process of etching, a very thin layer of glass is removed and that area becomes susceptible to staining from food.
This means you have to reverse your stencil. Since the stencils that I had purchased only have adhesive on one side, I reversed the stencil and taped it down on all four sides with painters tape.
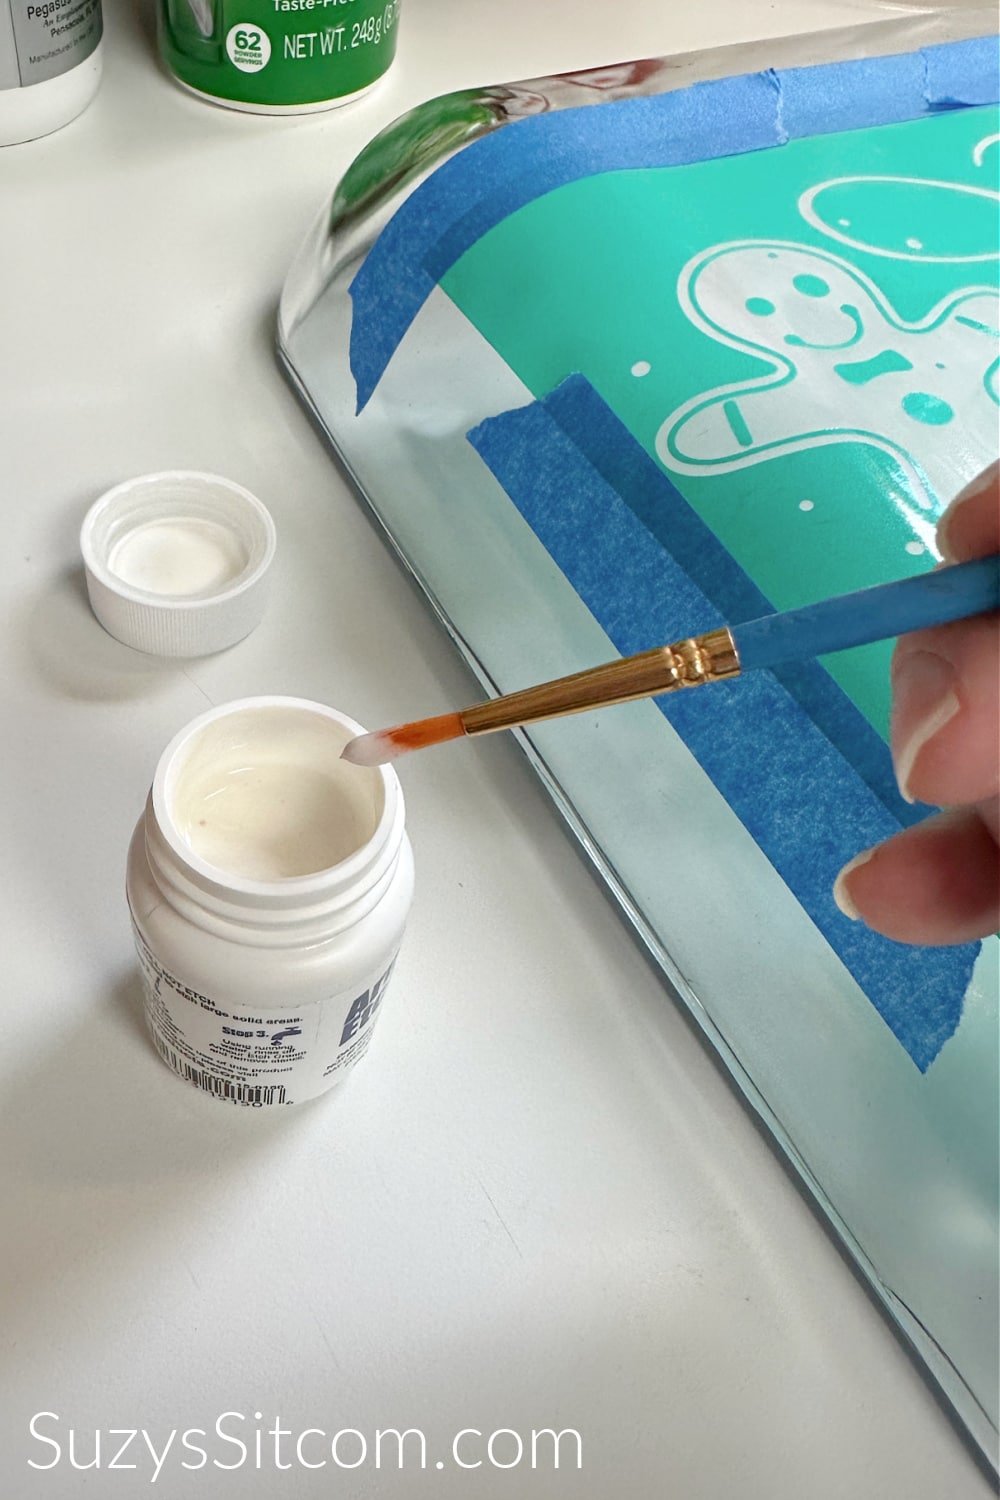
Add Etching Cream
Now add a layer of etching cream using a paint brush to the stencil. Be sure to read the safety precautions and what to do if get some cream on you. You should be fine if you wear gloves, an apron, and eye protection while you’re working with the etching cream. This is not a project to do around young children.
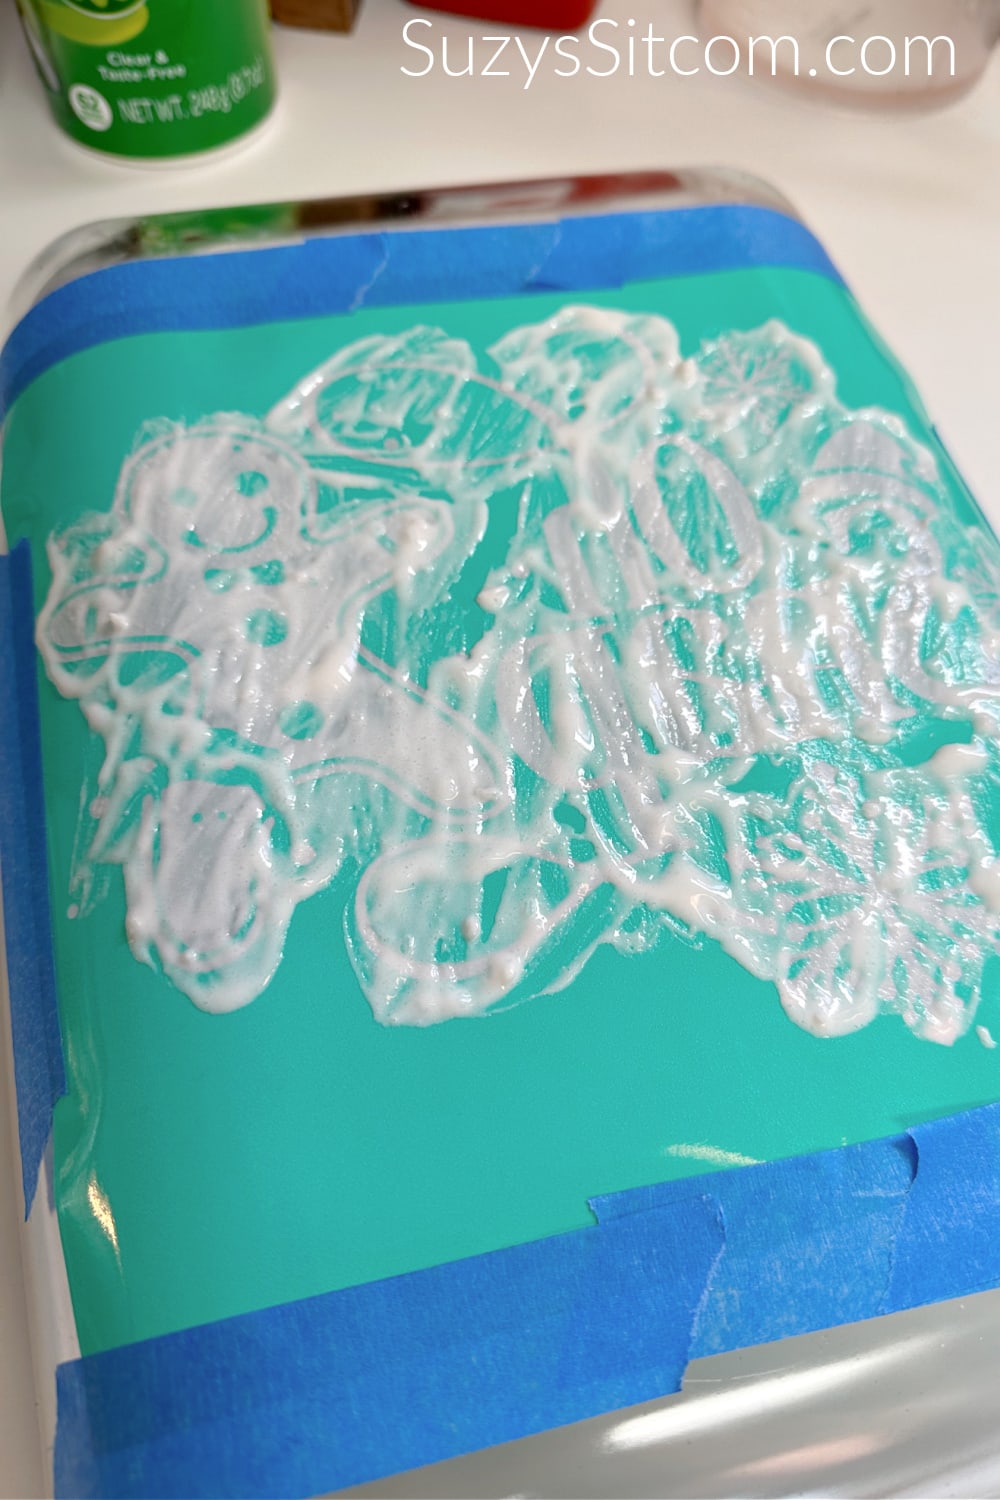
Add a nice, thick layer of etching cream to the stenciled area and allow to sit on your glass for 3 to 5 minutes.
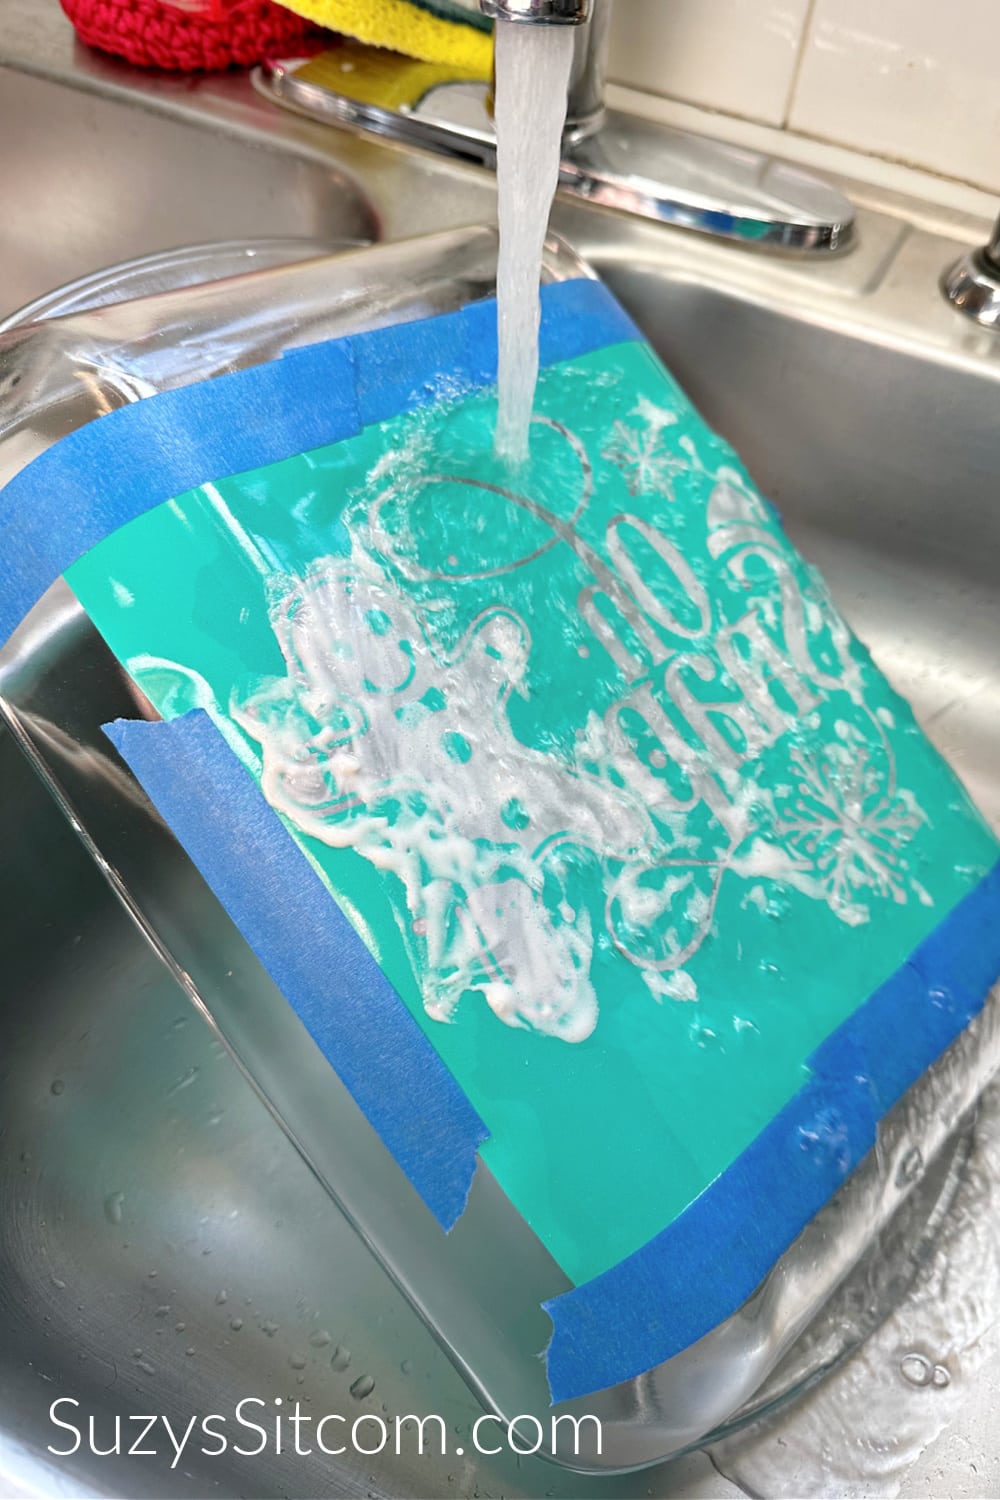
Rinse off Etching Cream
Thoroughly rinse off the etching cream with luke warm running water. You can wash the etching cream off directly into a stainless steel sink without harming the sink. But if you have a porcelain sink, I would recommend placing a bucket in the sink to wash the cream off into.
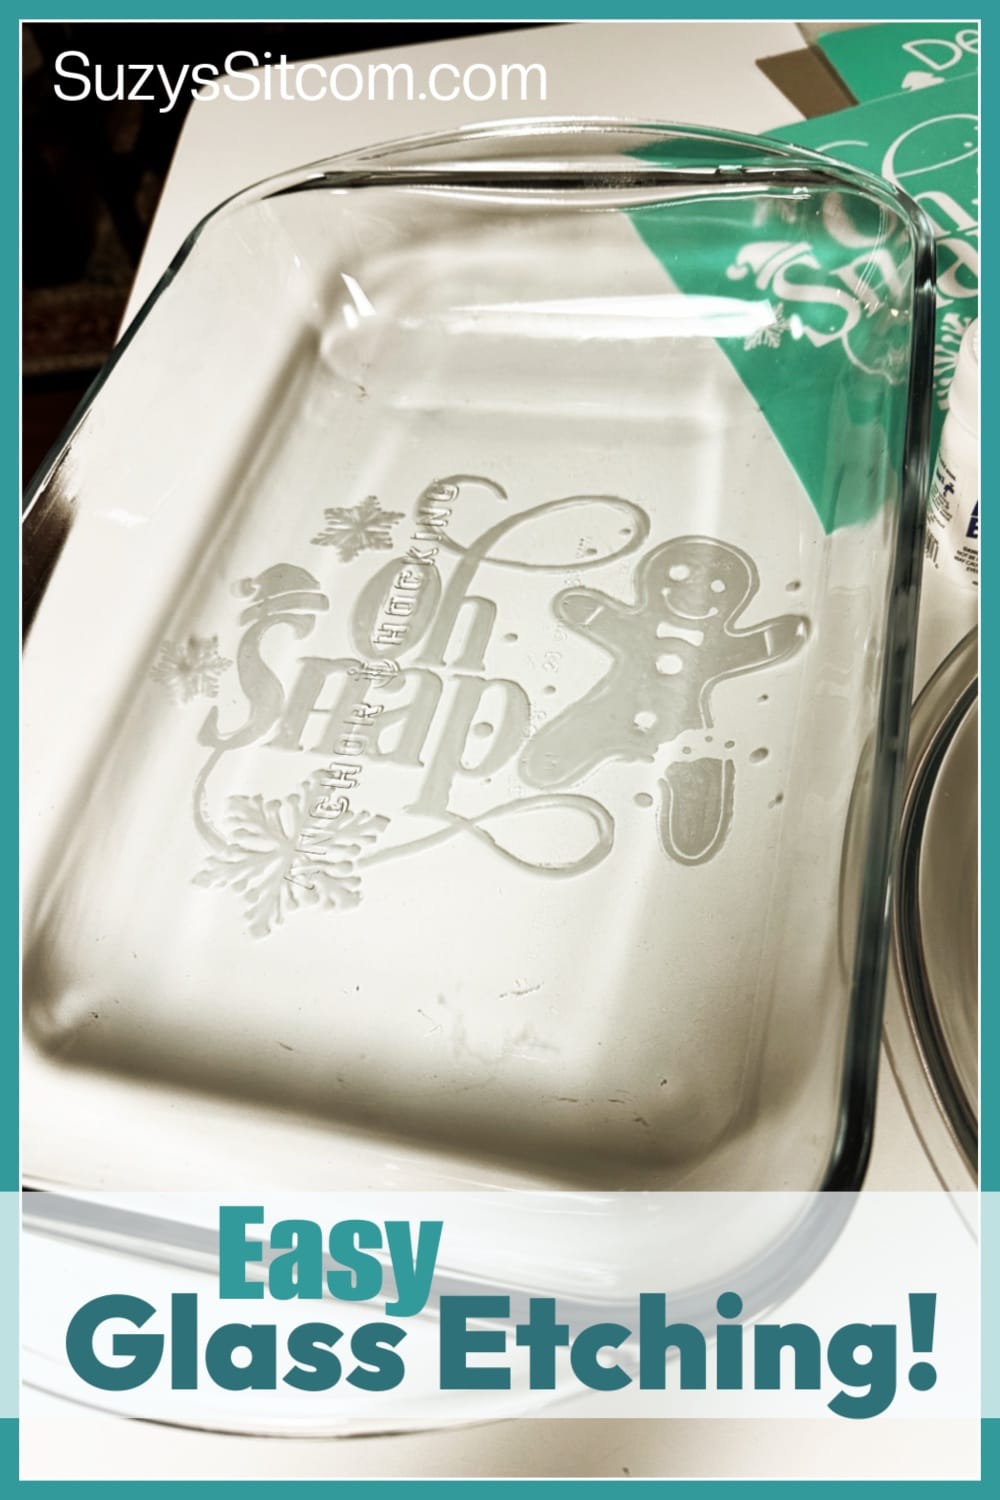
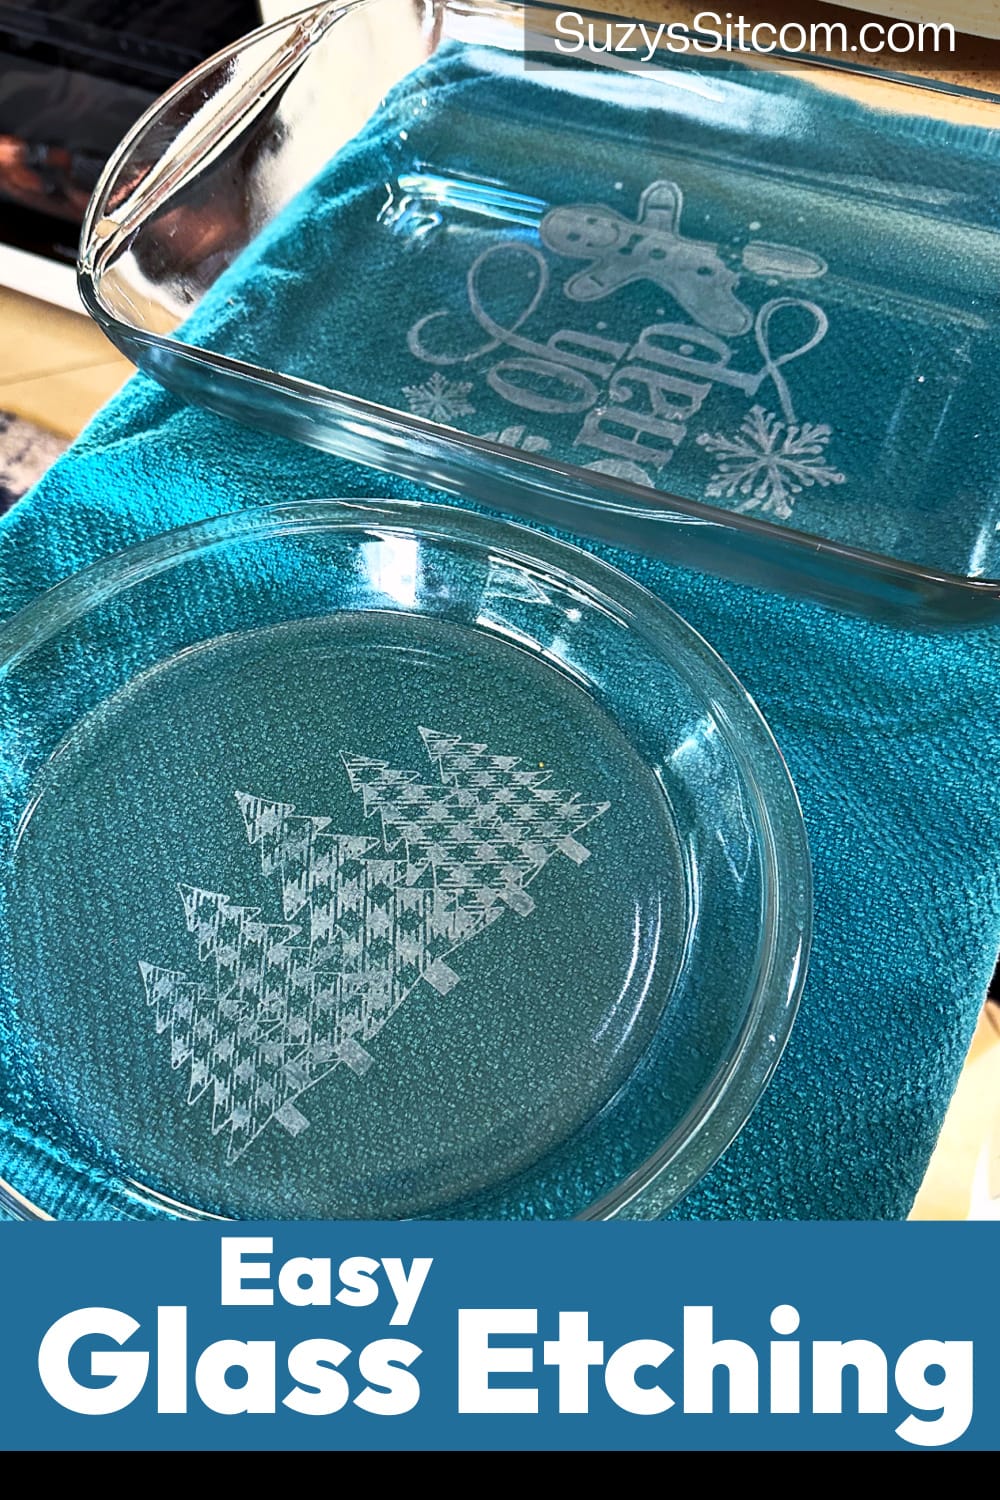
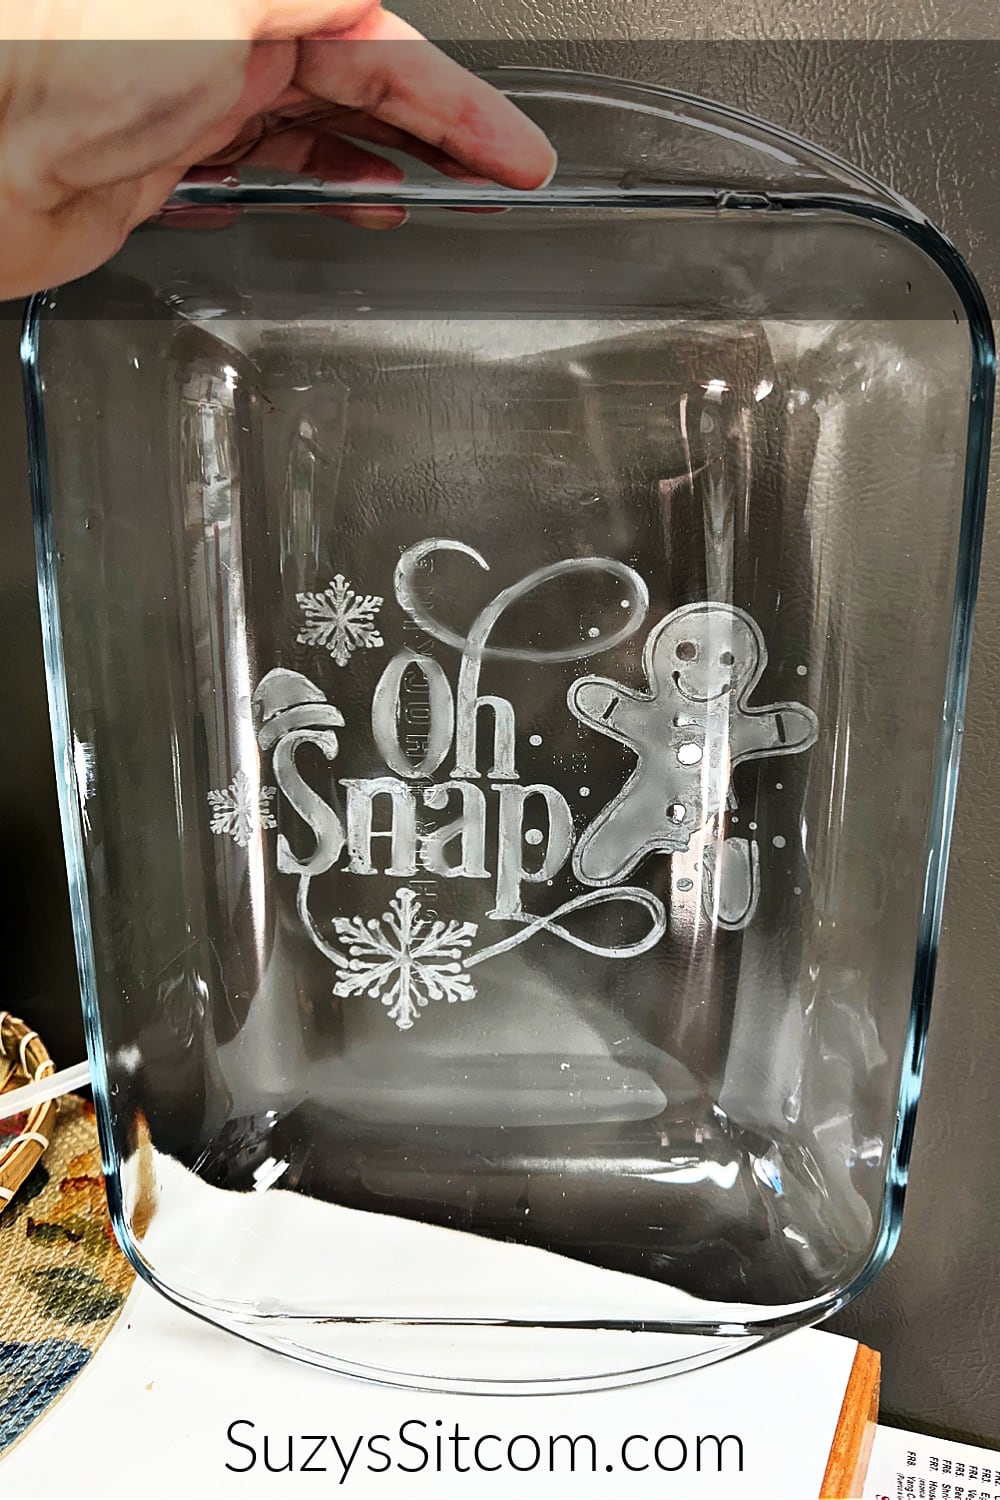
My first etching actually turned out pretty well. It was a bit blurry in some areas where the cream went under the stencil. I was still happy with this one, but wanted to try one with the stencil not reversed so that I could utilize the adhesive on the stencil.
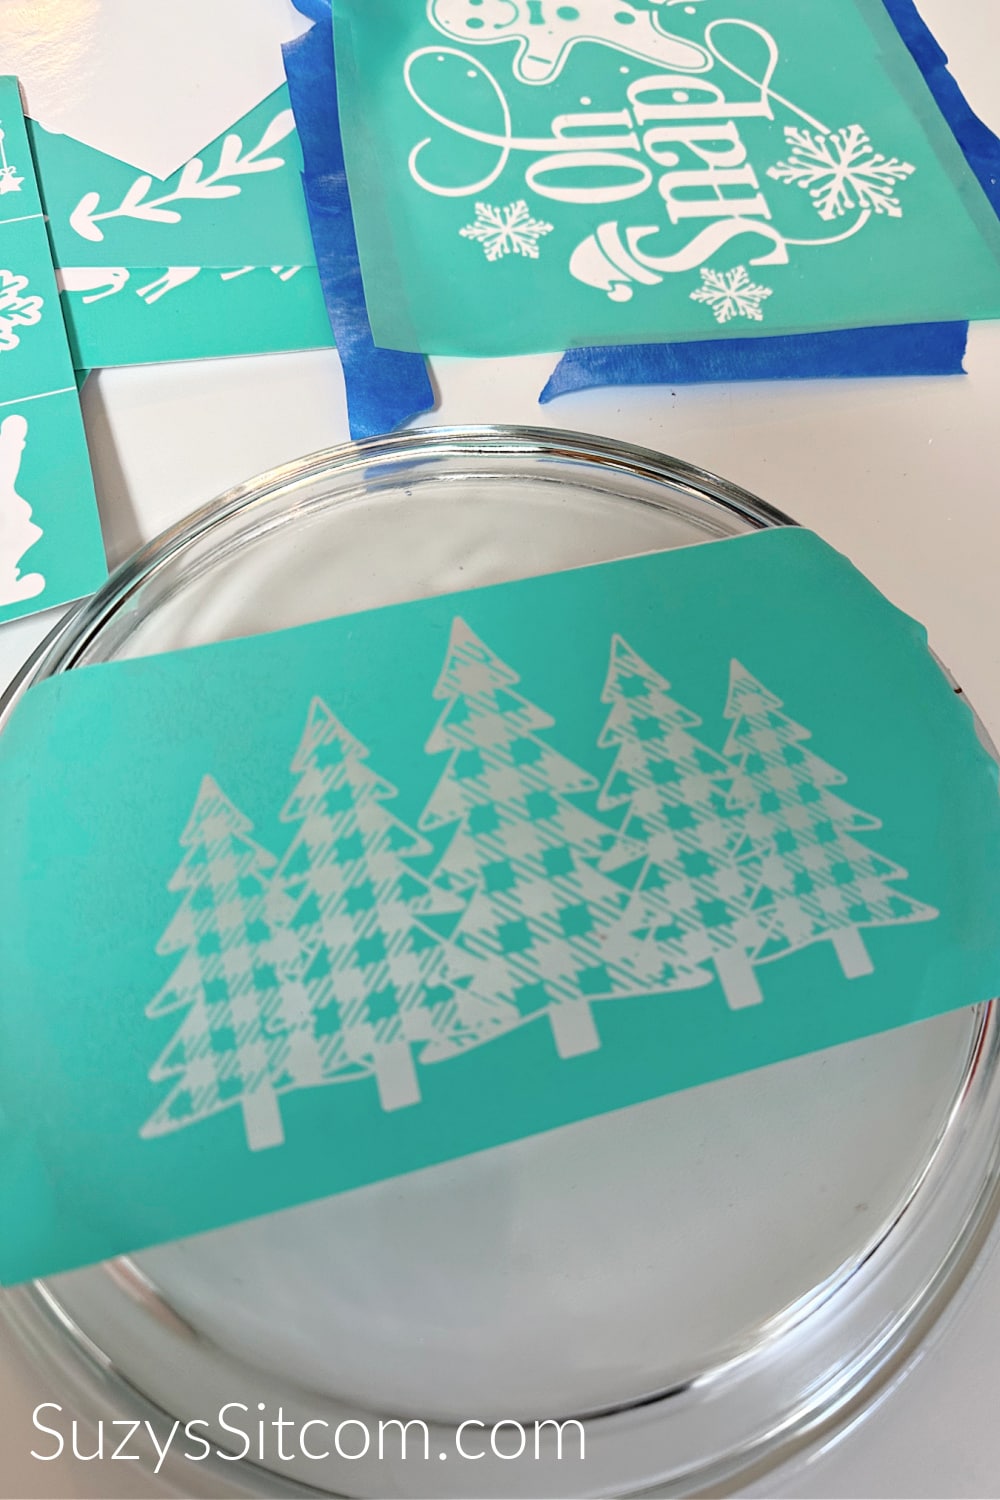
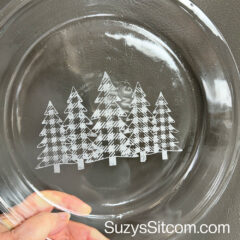
For this baking pan, I chose a stencil that had no wording on it and could easily be used not reversed. I applied the stencil with the adhesive side against the bottom of the baking pan and then followed all of the etching steps listed above.
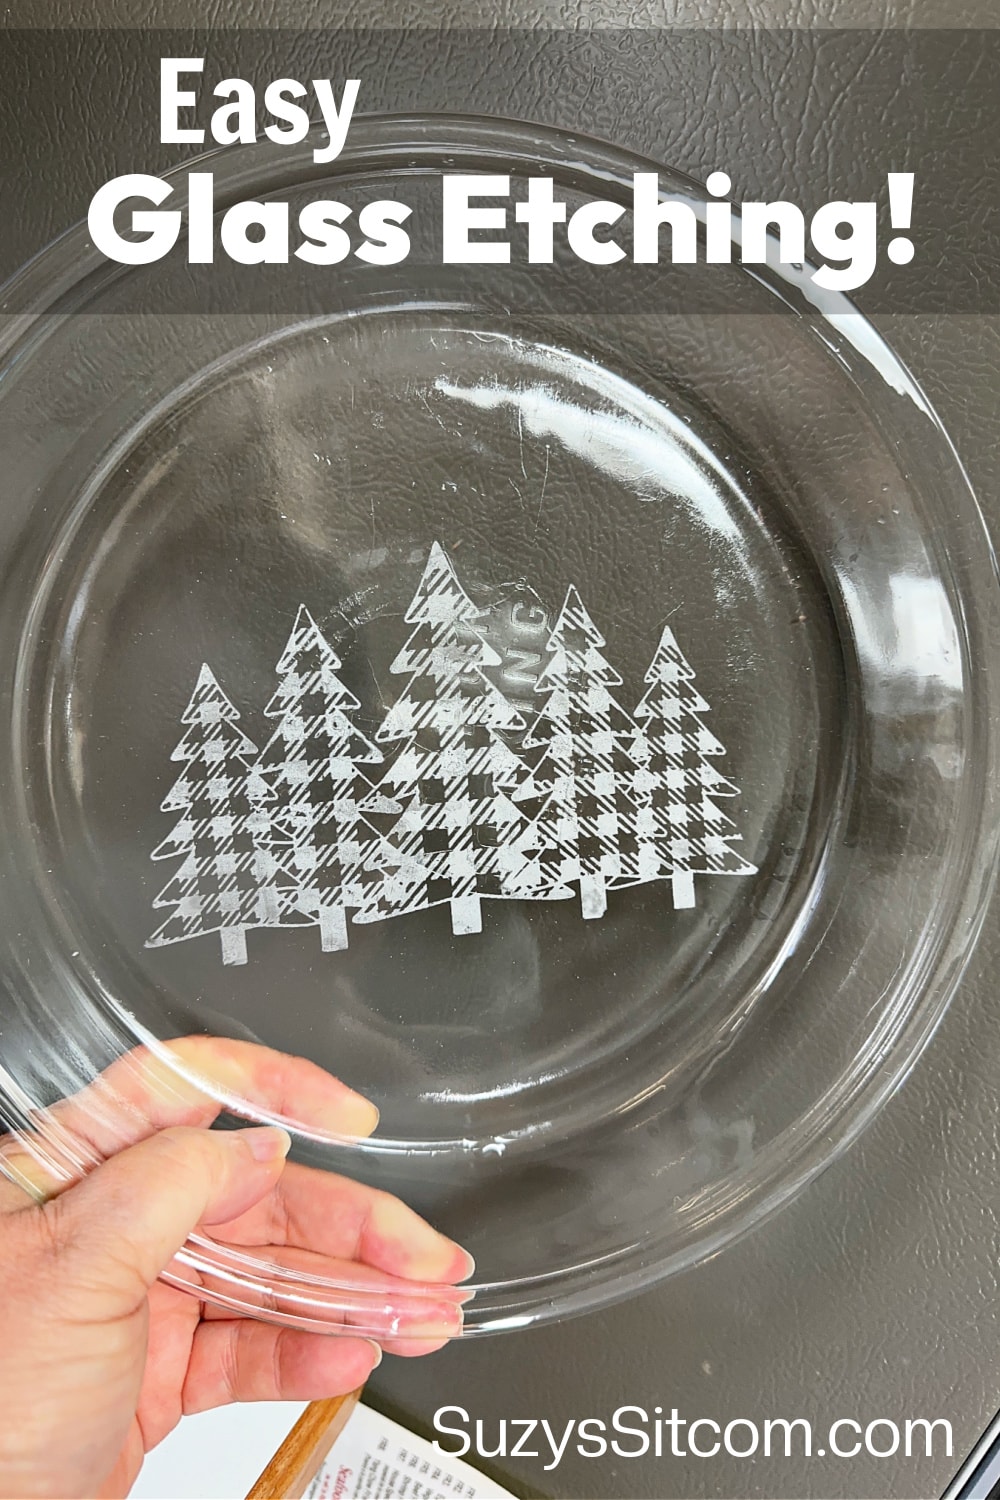
With the stencil adhering tightly to the glass, this etching came out much cleaner.
Pretty sweet, right? Now for a great gift idea, pair it up with some fresh made brownies, a couple wooden spoons, maybe a recipe book. What a nice gift!
How to Etch Glass at Home
Equipment
- 1 Paint Brush
- 1 Painters Tape
Supplies
- 2 ea Clear Glass Baking Pans
- 1 ea. Etching Cream
- 1 set Adhesive Stencils
Instructions
- Prepare your glass for etching. Be sure glass is clean and dry.
- Etch on the outside or bottom of the baking dish. This requires you to reverse your stencil.
- Tape stencil down with painters tape if you are having to put the side without adhesive against the glass in order to reverse your stencil. If you do not have to reverse the stencil, apply the stencil to the glass using the adhesive on the stencil.
- Add etching cream to the stenciled areas with the brush in a thick coat. Be sure to follow safety instructions on the etching cream.
- Allow the cream to sit on the glass for 5 minutes.
- Use luke warm running water to rinse the etching cream from the glass.
- Remove stencil and dry the pan with a towel.
Love the ideas you see here on Ideas for the Home by Kenarry®? Subscribe today to get our FREE DIY & Craft Planning Calendar, plus our weekly Ideas in Your Inbox newsletter filled with creative tips and exclusive offers!
Love Unique Craft Ideas?
If you enjoyed learning how to etch glass at home, then you may enjoy some of these other fun to make ideas made with glass!
How to Make Faux Stained Glass with Paint and Glue

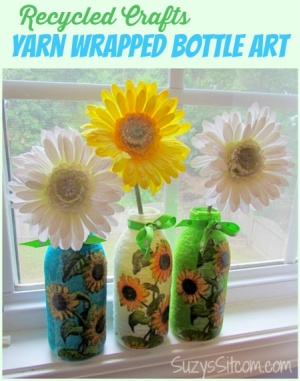
Make Beautiful Vases with Recycled Glass Bottles
You may also enjoy these nature-themed ideas on Ideas for the Home by Kenarry® –