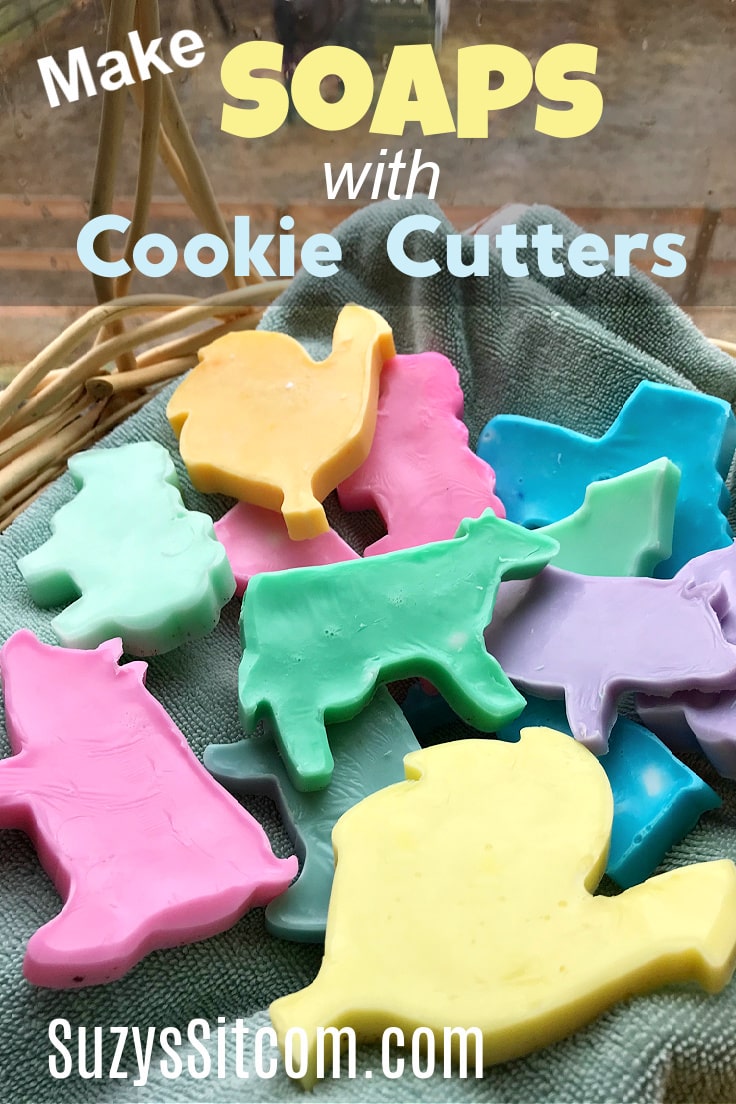
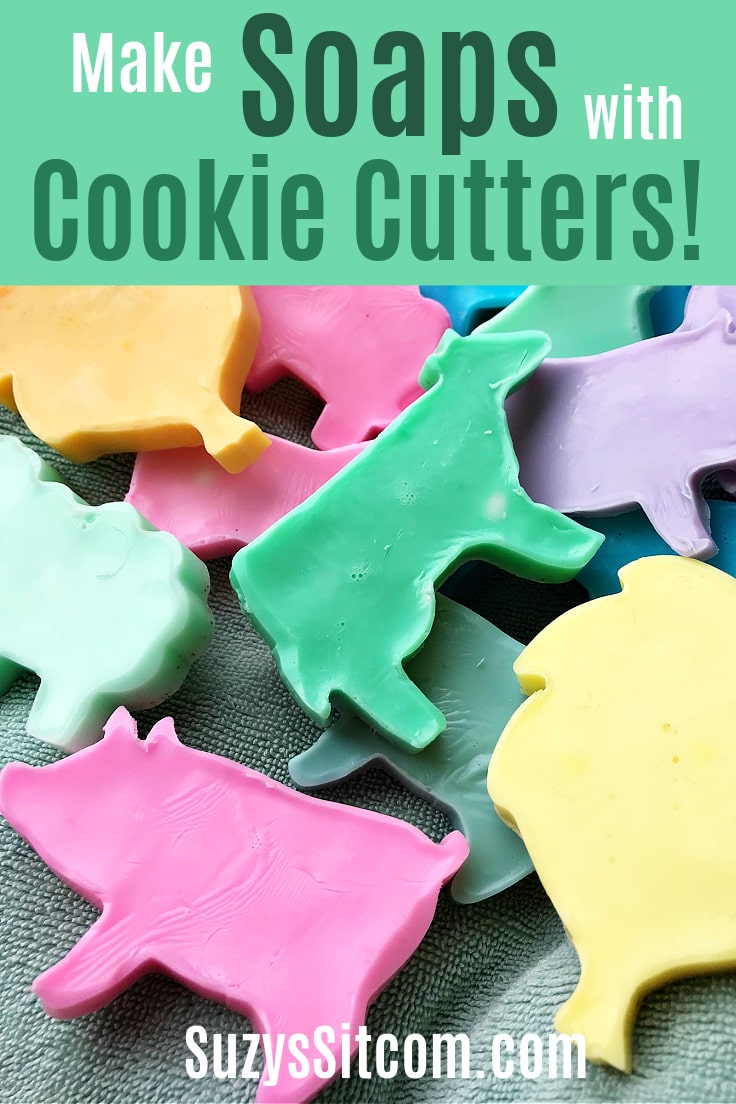
How To Make Melt And Pour Soaps With Cookie Cutters
THIS POST MAY CONTAIN AFFILIATE LINKS. PLEASE SEE OUR FULL DISCLOSURE POLICY FOR DETAILS.
Make fun and unique melt and pour soaps with cookie cutters! This easy project utilizes melt and pour soap and metal cookie cutters to create a fun variety of soap shapes. These make great gifts and add a touch of whimsey to your home decor.
Making gift soaps with melt and pour soap base is very simple and there are so many possibilities for fun shapes using cookie cutters. You are limited only by your imagination!
Want more ideas like this? Subscribe today to get our weekly Ideas in Your Inbox newsletter plus other exclusive gifts and offers — all for FREE!
There is a huge variety of melt and pour soaps out there from clear glycerin soap to the wonderfully silky shea butter soap that I used for this project. There are also lots of choices for coloring and even adding scents. We’ve even got a tutorial for how to make marbled melt and pour soaps!
The great thing about melt and pour is the simplicity. Simply, melt it and pour it!
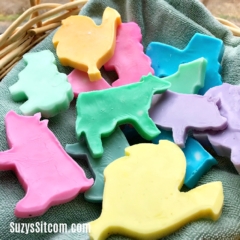
This is Suzy from Suzy’s Sitcom, and I’d love to show you how I created these fun farm animal soaps with cookie cutters.
How to make Melt and Pour soaps with cookie cutters
A few months ago, I found a whimsical pack of metal cookie cutters in the shapes of farm animals. Perfect for my farmhouse! Being a crafter at heart, I’ve made just about everything but cookies with them! A few months ago, I made Cinnamon Ornaments with my cookie cutters. Now, let’s make some soaps!
The entire tutorial is in a printable card at the bottom of this post. But first, here is a little bit of info about the tools and supplies you’ll need.

What you need:
Steps
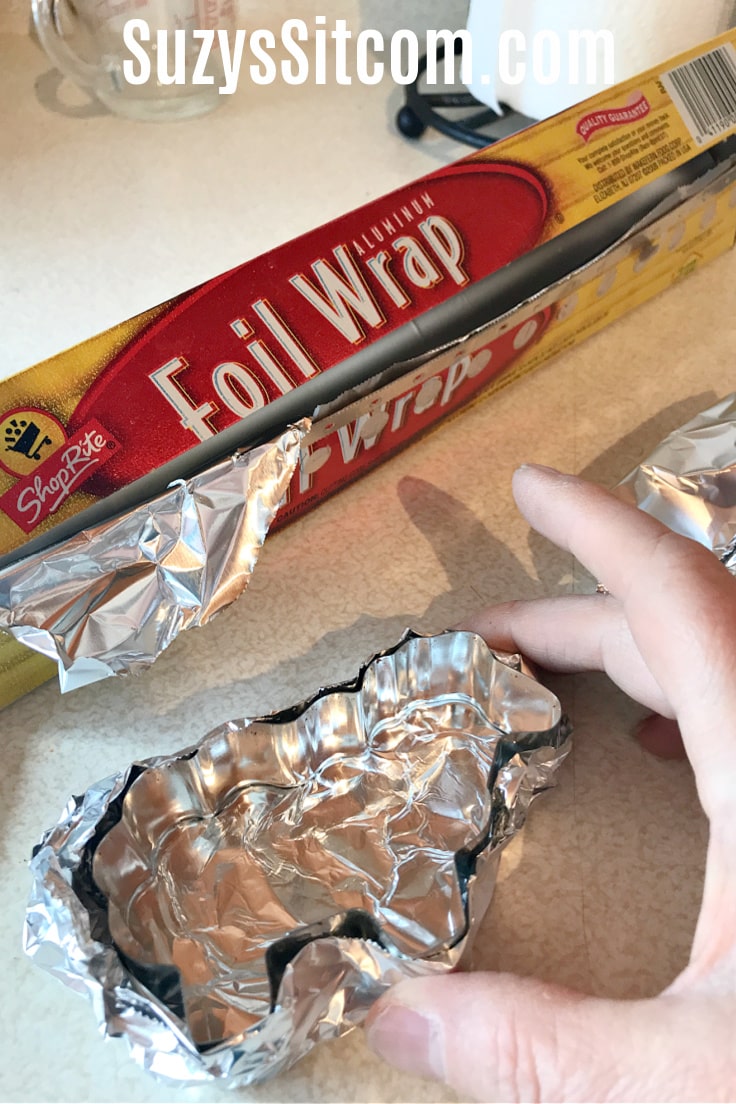
prepare the cookie cutter
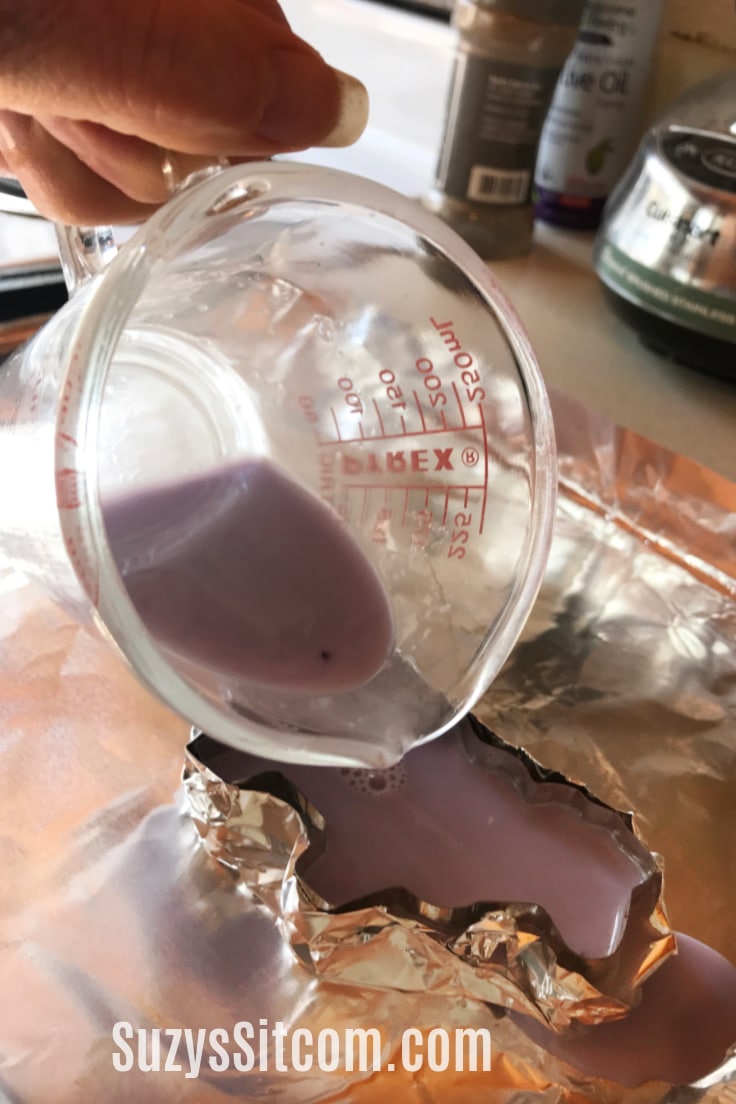
Metal cookie cutters were my simple solution to this project, rather than purchasing soap molds. In order to make the cookie-cutter perform as a mold, prepare it for soap pouring by tearing off a piece of aluminum foil and wrapping it around the back of the cutter. Be sure there is about an inch of foil up over the sides of the cutter.
prepare the soap base
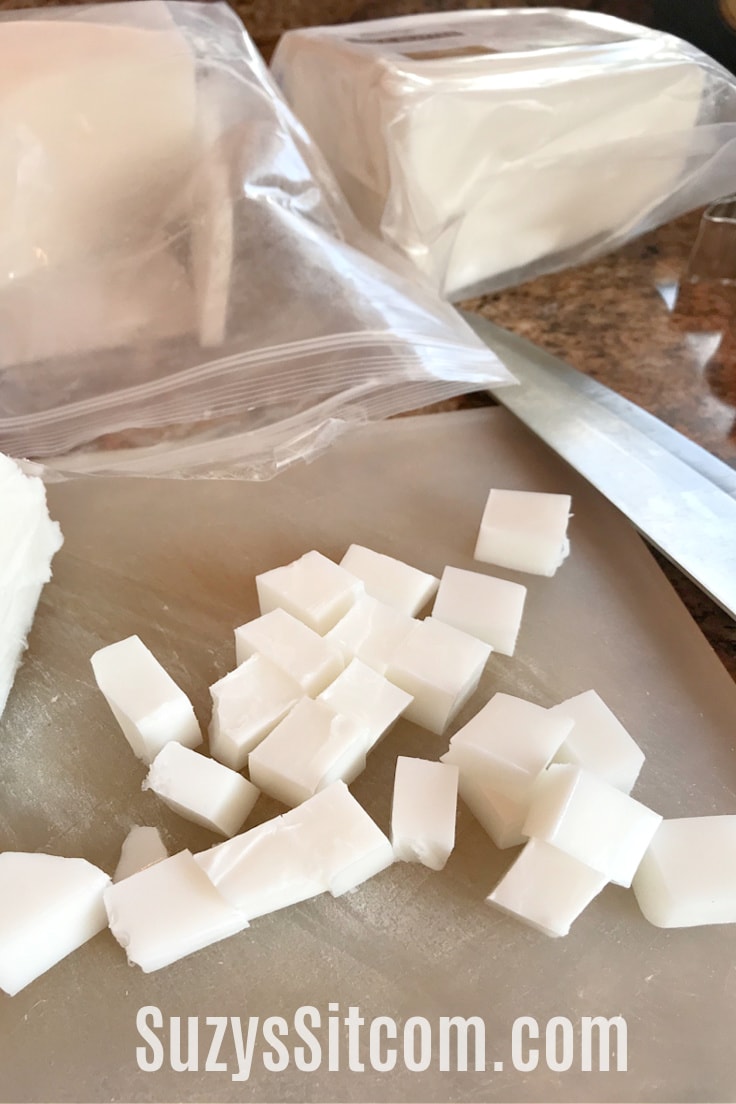
Melt and pour soaps are offered in many varieties and usually come in the form of a block of soap. I chose shea butter soap for my project, but any form of melt and pour soap will work. Using a sharp knife, cut up about 3/4 cup of soap into 1/2″ pieces. Place into a measuring cup for easy pouring.
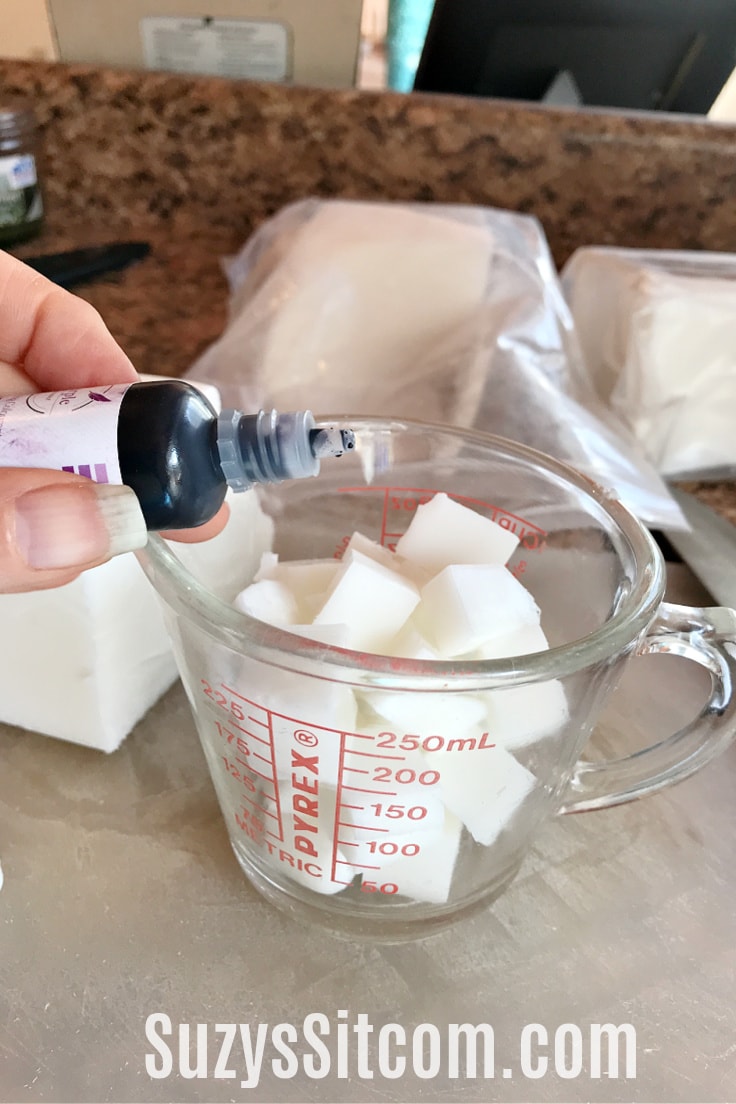
Add color to the soap using skin-safe soap dyes. The set that I chose comes in dropper bottles. A little bit goes a long way. For the pastel colors that I wanted, just two drops of soap dye were needed for 3/4 cups of soap cubes.
It is also at this stage that you could add in scents. Since these soaps are ultimately for my granddaughter, I chose to go unscented.
pouring the soap
Place the measuring cup of soap cubes into the microwave on high for 13 seconds. Stir. There may be a few small pieces left unmelted (they will melt as it sits for a few minutes). Allow the melted soap to sit for about 2 minutes before pouring into the cookie-cutter mold.
Pour into the mold. Be prepared, some melted soap will escape the sides of the cookie cutter and end up in the foil lip. You can minimize this by placing a weight on top of the cutter. I used a soup can. Allow the soap to fully set before going to the next step- about 30 minutes. (Placing it in the freezer will speed up the setting time).
Un-moulding the soap
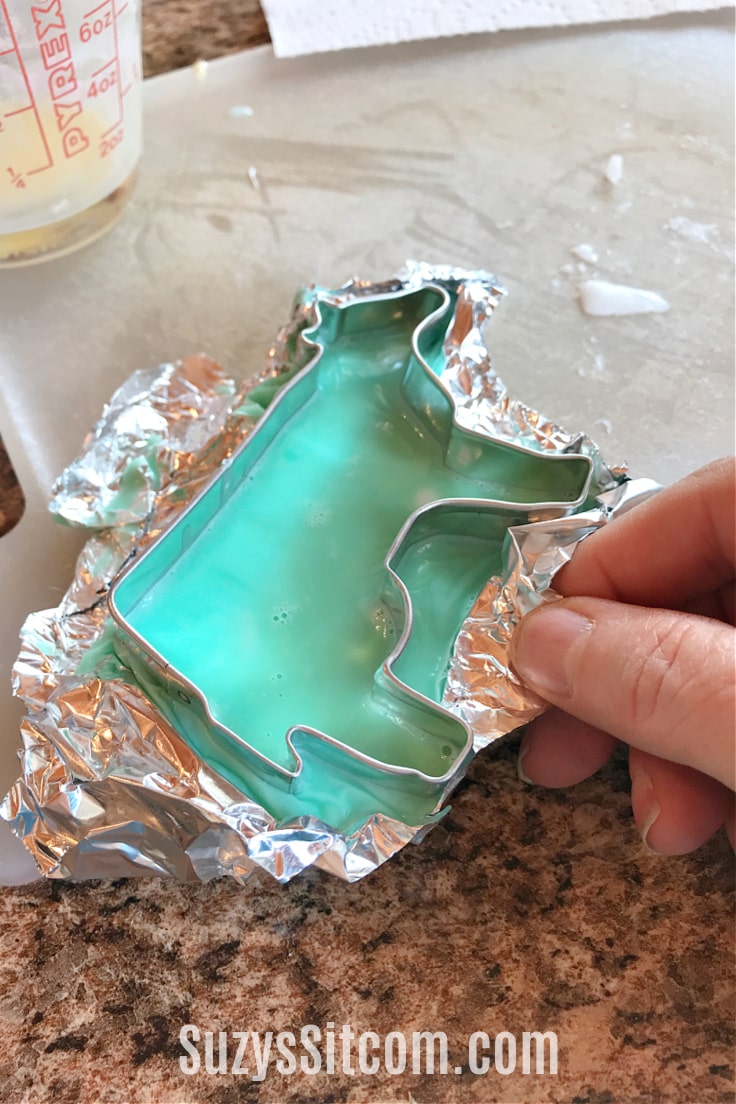
Once the soap has fully set, begin by peeling off the foil. Remove the excess soap from the outside of the cutter (you can remelt this soap and use it again). Gently push the soap out of the cookie-cutter mold.
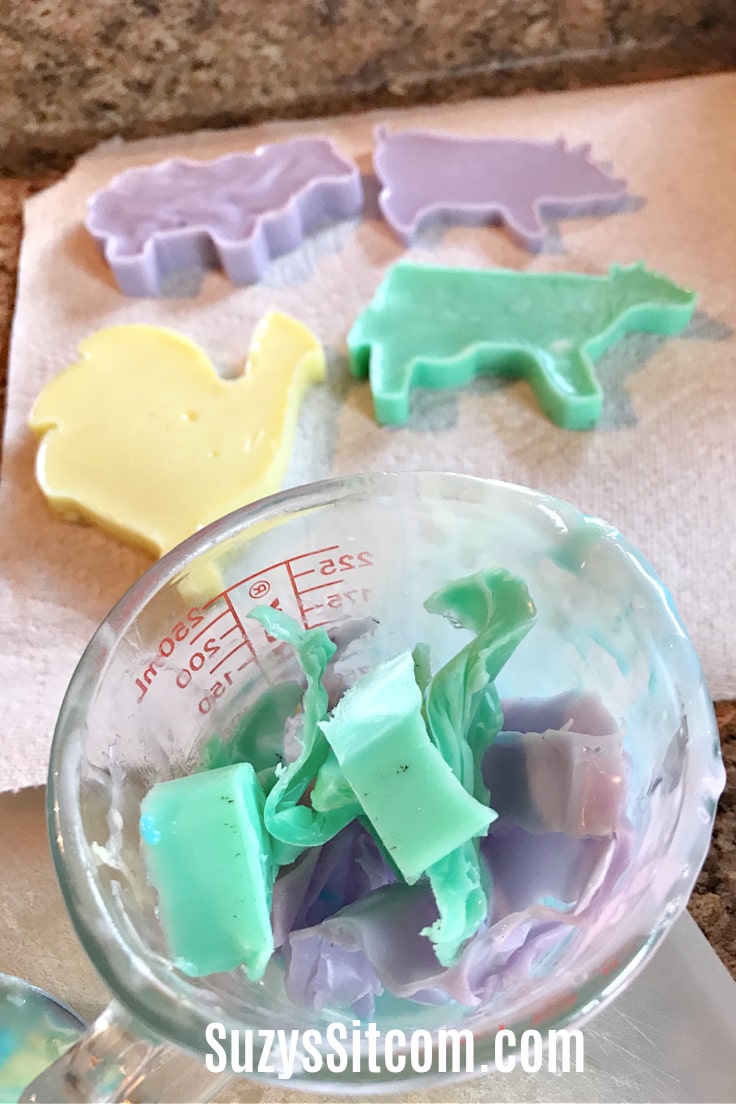
One of the great things about melt and pour soap is that any extra scraps can be remelted and used again!
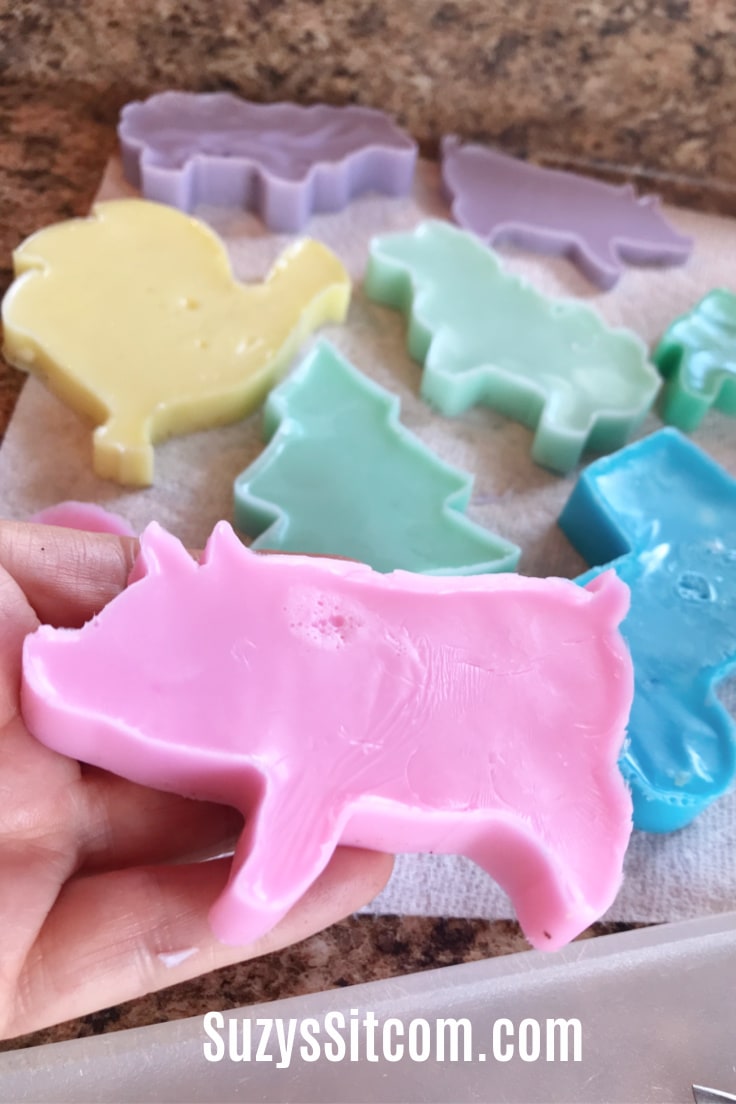
The finished soaps can be trimmed if need be. I used a knife to trim off the rough edges. Lots of fun and colorful farm animals! Perfect for gifts or to add a whimsical touch to your home decor!
I just love how the soaps turned out and can’t wait to wrap them up and give them to my granddaughter. It will be like giving her a piece of the farm to enjoy!
Here’s the printable card with everything you need to know about how to create fun soaps with cookie cutters!
How to Make Melt and Pour Soaps with Cookie Cutters
Equipment
- Glass Measuring Cup
Supplies
- 2 lb Melt and Pour Shea Butter Soap Base
- 1 ea Skin safe soap dye
- 1 set Metal Cookie Cutters
- 1 roll Aluminum Foil
Instructions
- Prepare the cookie cutters by wrapping the backs in foil. Be sure to leave about 1" lip of foil around outside of the cookie cutter.
- Cut the soap base into 1/2" squares. Place about 3/4 cup of soap squares into measuring cup.
- Add a couple drops of soap dye.
- Place in microwave on high for 13 seconds.
- Allow the melted soap base to sit for about 2 minutes before pouring.
- Pour soap base into the cookie cutter mold. Allow to set for about 30 minutes. (Placing in the freezer will shorten the setting time).
- Peel foil off of cookie cutter, remove extra soap and gently push the soap out of the cookie cutter mold.
Love the ideas you see here on Ideas for the Home by Kenarry®? Subscribe today to get our weekly Ideas in Your Inbox newsletter plus other exclusive gifts and offers — all for FREE!
do you love soap crafts?
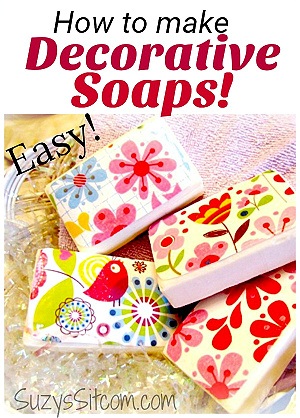
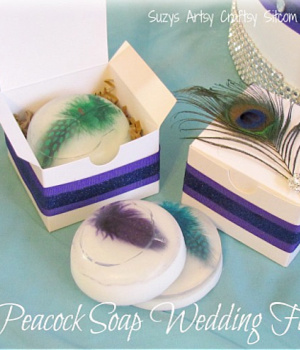
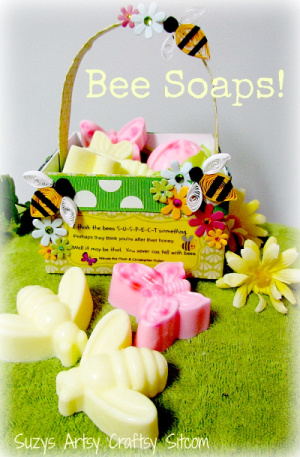
Here are 3 more fun soap craft projects from Suzy‘s Sitcom!
Easy to make Peacock Soap Wedding Favors
Make a Pretty Bee Soap Gift Basket!
You may also enjoy these 3 soap crafting ideas on Ideas for the Home by Kenarry® –