DIY Framed Chalkboard from An Old Picture Frame
THIS POST MAY CONTAIN AFFILIATE LINKS. PLEASE SEE OUR FULL DISCLOSURE POLICY FOR DETAILS.
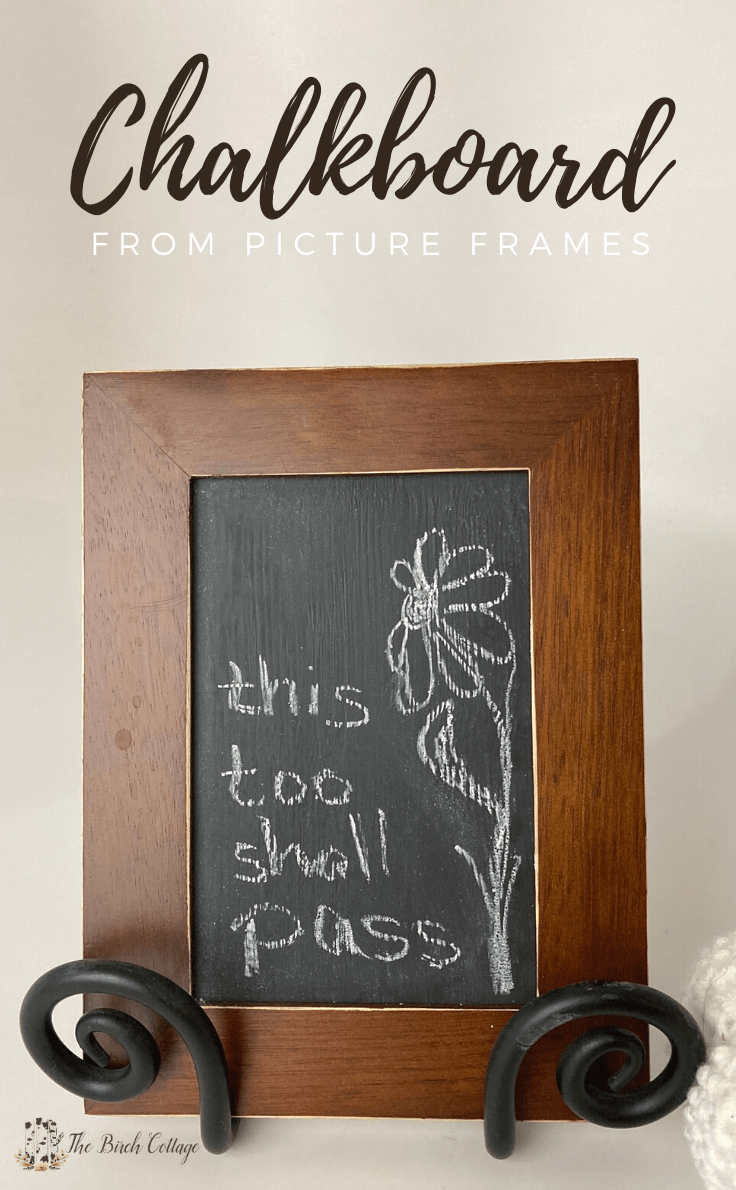
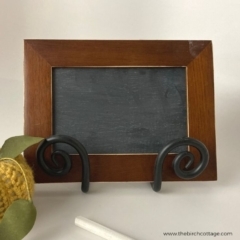
Create this DIY framed chalkboard from an old or thrifted picture frame to add warmth, charm and functionality to your home.
Hello, Ideas for the Home readers! I’m Pam from The Birch Cottage, and I’m back again this month sharing an easy tutorial on how to turn an old or thrifted picture frame into a DIY framed chalkboard.
Chalkboards and chalkboard themed décor is not only trendy, but timeless. Chalkboards add warmth to a home and people are just drawn to chalkboards. Just think about it. When was the last time you saw a chalkboard and a piece of chalk and resisted writing, doodling or drawing on the chalkboard?
Clearly, I’m not the only one who likes chalkboards. You can walk the aisles of your favorite home décor or craft supply store and find chalkboard themed everything. In fact, chalkboards are showing up in homes, stores, wedding receptions, baby showers and backyard barbecues.
How to Make your very own framed chalkboard
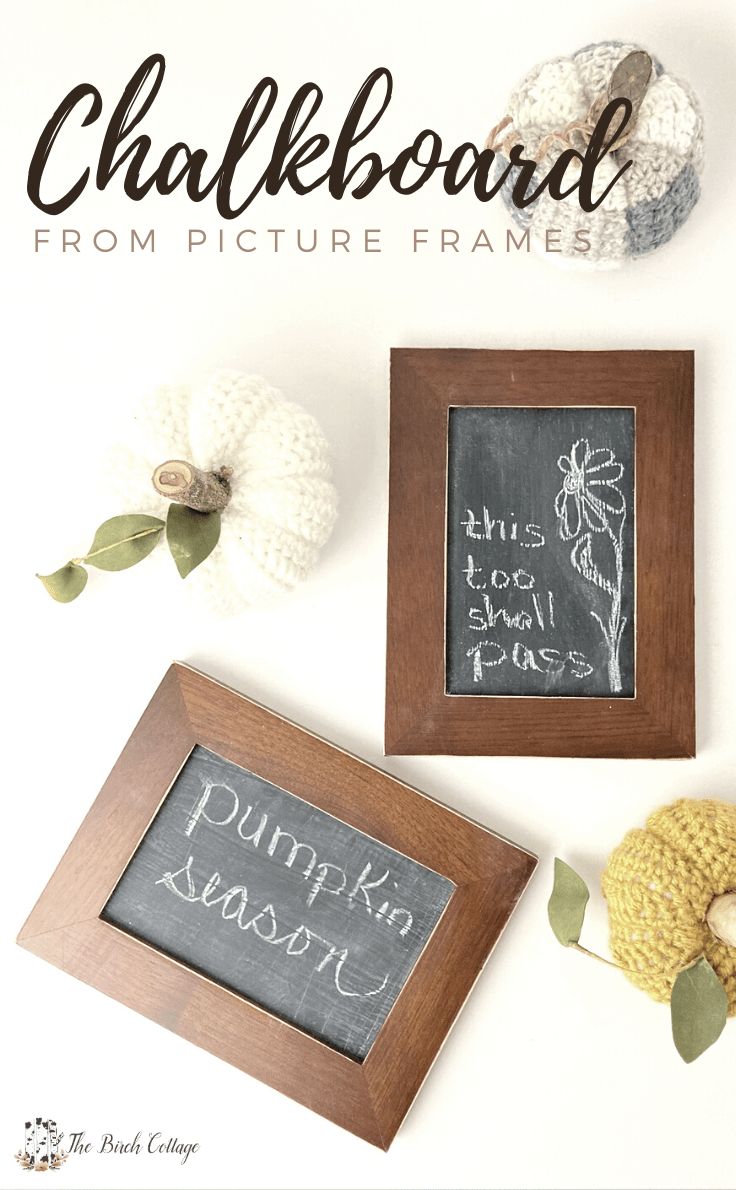
You can DIY your very own framed chalkboard using any picture frame with a glass insert. Your picture frame can be as small or as large as you want. In fact, thrift stores are a fantastically inexpensive source for picture frames of all sizes.
In the tutorial I’m sharing with you, you’ll notice I have three small frames and one larger frame. The smaller frames were actually a trio of frames that were hinged together. I removed the hinges and distressed the edges of the frames a little bit. The larger frame was actually handmade by my husband’s grandfather.
What you need:
So, let’s take a look at what you’ll need to make DIY framed chalkboards!
Want more ideas like this? Subscribe today to get our weekly Ideas in Your Inbox newsletter plus other exclusive gifts and offers — all for FREE!
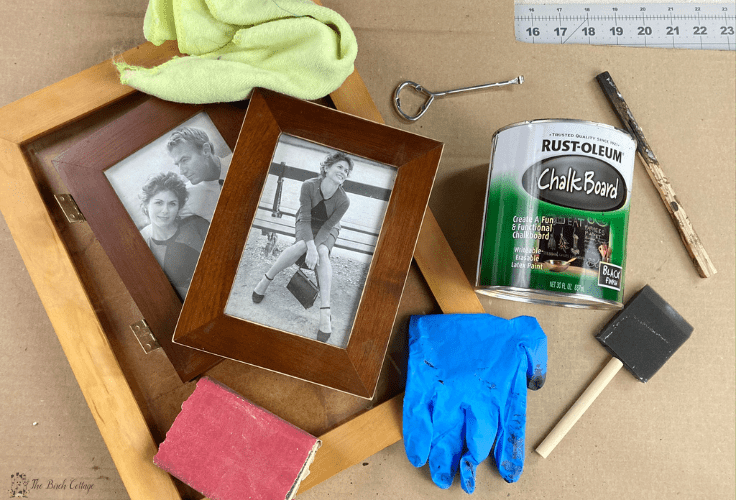
Supplies Needed
These are the ingredients you’ll need. All the exact amounts are in the printable card at the bottom of this post.
- picture frame (old frames, new frames, thrift store frames)
- chalkboard paint
- foam paint brush
- sand paper
- clean cloth
- rubbing alcohol
- paper towels
- latex-free gloves
- chalk
You’ll also find it helpful to have a paint can opener and paint stirrer.
DIY Framed Chalkboard Video Instructions
DIY Framed chalkboard tips:
Start with clean surfaces
The first thing you’ll want to do is to take the picture frame apart and remove the glass. Remove any dust or dirt from the frame and set it aside.
Then, be sure to clean the glass. I like to clean with soap and water first and then after lightly sanding, I’ll wipe the glass off with a little bit of rubbing alcohol and a paper towel.
Paint the picture frame
Once you’ve cleaned the picture frame, you can paint it, distress it or even add gold leaf. Painting the frame first will give the frame plenty of time to dry while you work on creating your chalkboard.
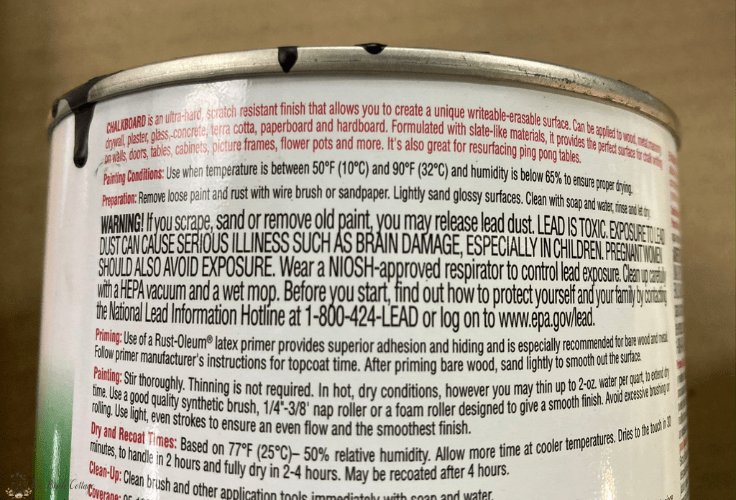
Read the instructions
Even though I have created more DIY framed chalkboards than I can recount and I’m giving you the very best advice, it’s important for you to read the instructions provided by the chalkboard paint manufacturer.
apply thin coats of chalkboard paint
When you apply the chalkboard paint, use thin coats of paint. I typically use three coats of paint, allowing for the paint to completely dry between layers. You also will want to paint each layer in specific and opposite directions.
season the chalkboard
Before you use the chalkboard, you’ll want to be sure to season it. Otherwise, the first thing you write on the chalkboard will be permanently etched on the chalkboard. Directions for how to season a chalkboard are provided below.
DIY Framed Chalkboard from an Old Picture Frame
Ingredients
- 1 picture frame with glass insert
- 1 chalkboard paint
- 1 foam paint brush
- 1 80 grit sand paper
- 1 stick of chalk
Instructions
Prepare the Picture Frame
- Disassemble the picture frame by removing the back, any photographs and the glass front.
- Clean the picture frame, if necessary. If you want to paint the frame, you should do so now and set it aside.
Clean the Glass
- Clean the glass with soap and warm water. Rinse and dry thoroughly.
Lightly Sand
- With 80 girt sand paper, lightly sand the glass. Use a clean cloth or dry paint brush to remove any dust.
- Use rubbing alcohol and a paper towel to clean the glass before painting.
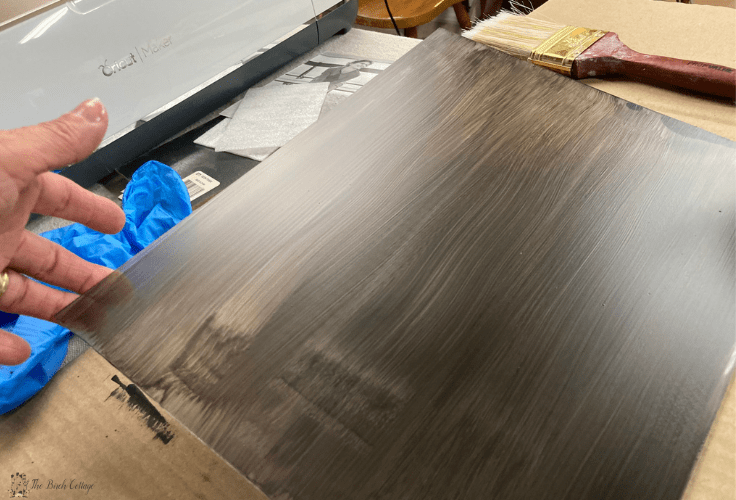
Paint the Glass
- Using a foam paint brush, apply a thin coat of chalkboard paint to the glass. Be sure to brush in one direction. Allow the paint to dry completely (about 30 minutes).
- Apply a second thin coat of paint in the opposite direction. Allow the paint to dry completely.
- Apply a third thin coat of paint, if desired or necessary. Allow the paint to completely dry for at least 24 hours.
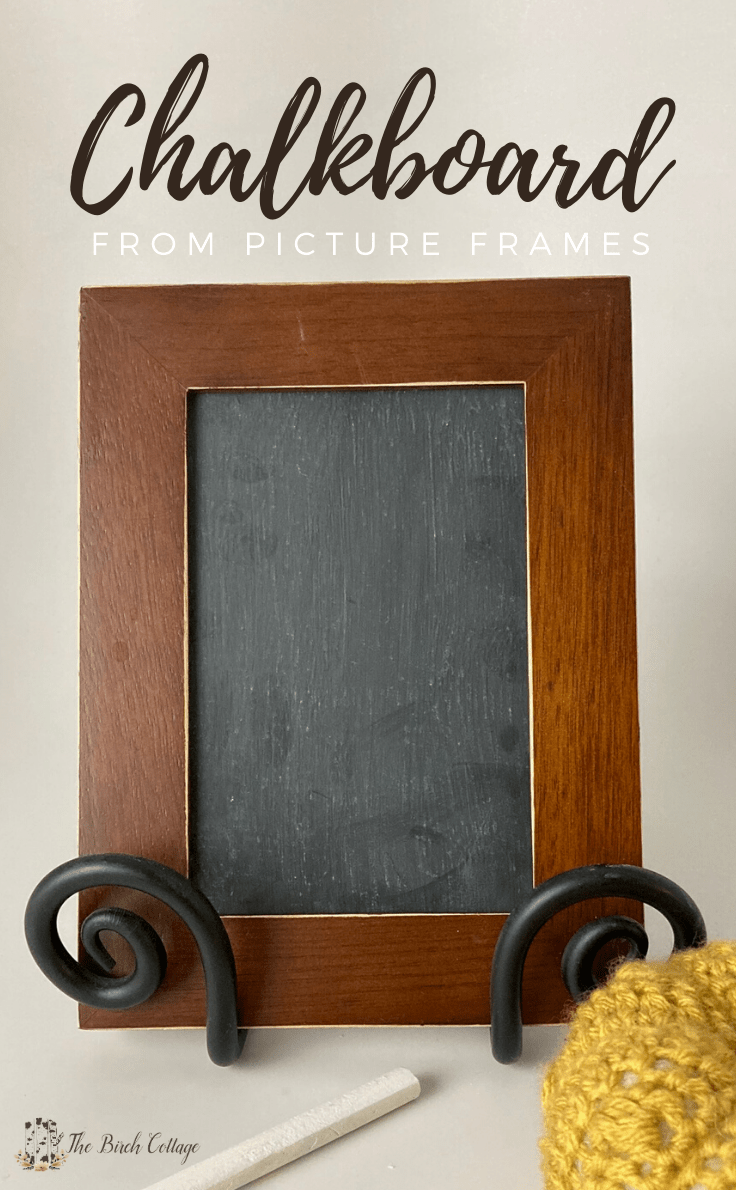
Season the Chalkboard
- Once the chalkboard has completely dried, you'll season the chalkboard by taking a piece of chalk and rubbing the side of it against the chalkboard surface. Completely coat the chalkboard.
- Wipe the chalkboard off with a damp cloth. Your chalkboard is now ready to use!
Love the ideas you see here on Ideas for the Home by Kenarry®? Subscribe today to get our FREE DIY & Craft Planning Calendar, plus our weekly Ideas in Your Inbox newsletter filled with creative tips and exclusive offers!
What’s Next?
If you enjoyed this DIY Framed Chalkboard from an Old Picture Frame tutorial, you might also like these crafty ideas from The Birch Cottage:
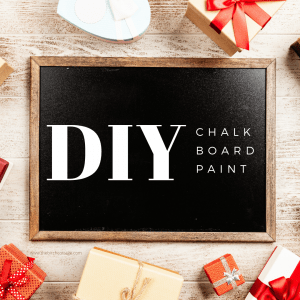
Make Your Own Chalkboard Paint
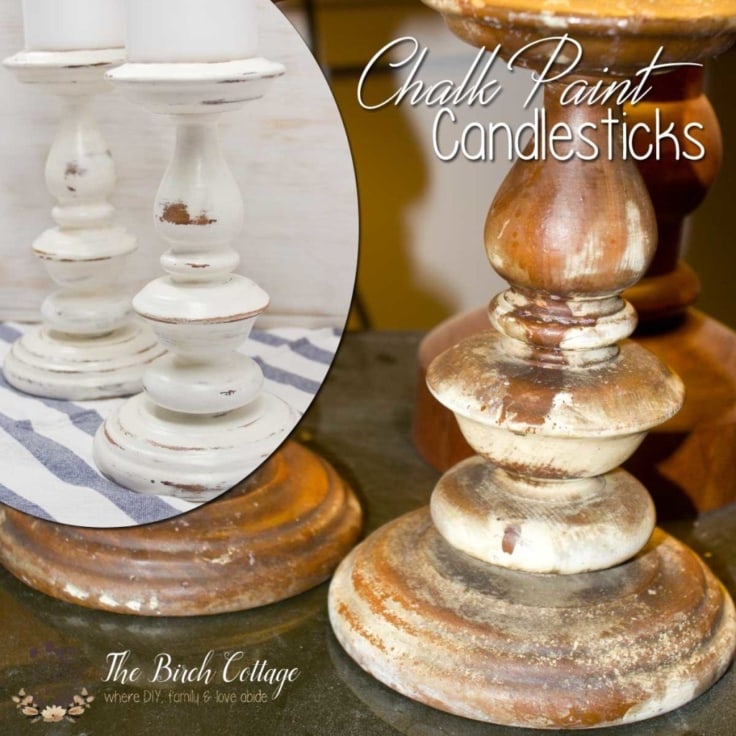
Give New Life to Candlesticks with Chalk Paint
Wood Tray from Repurposed Fence Pickets
You may also enjoy these chalkboard themed ideas on Ideas for the Home by Kenarry® –