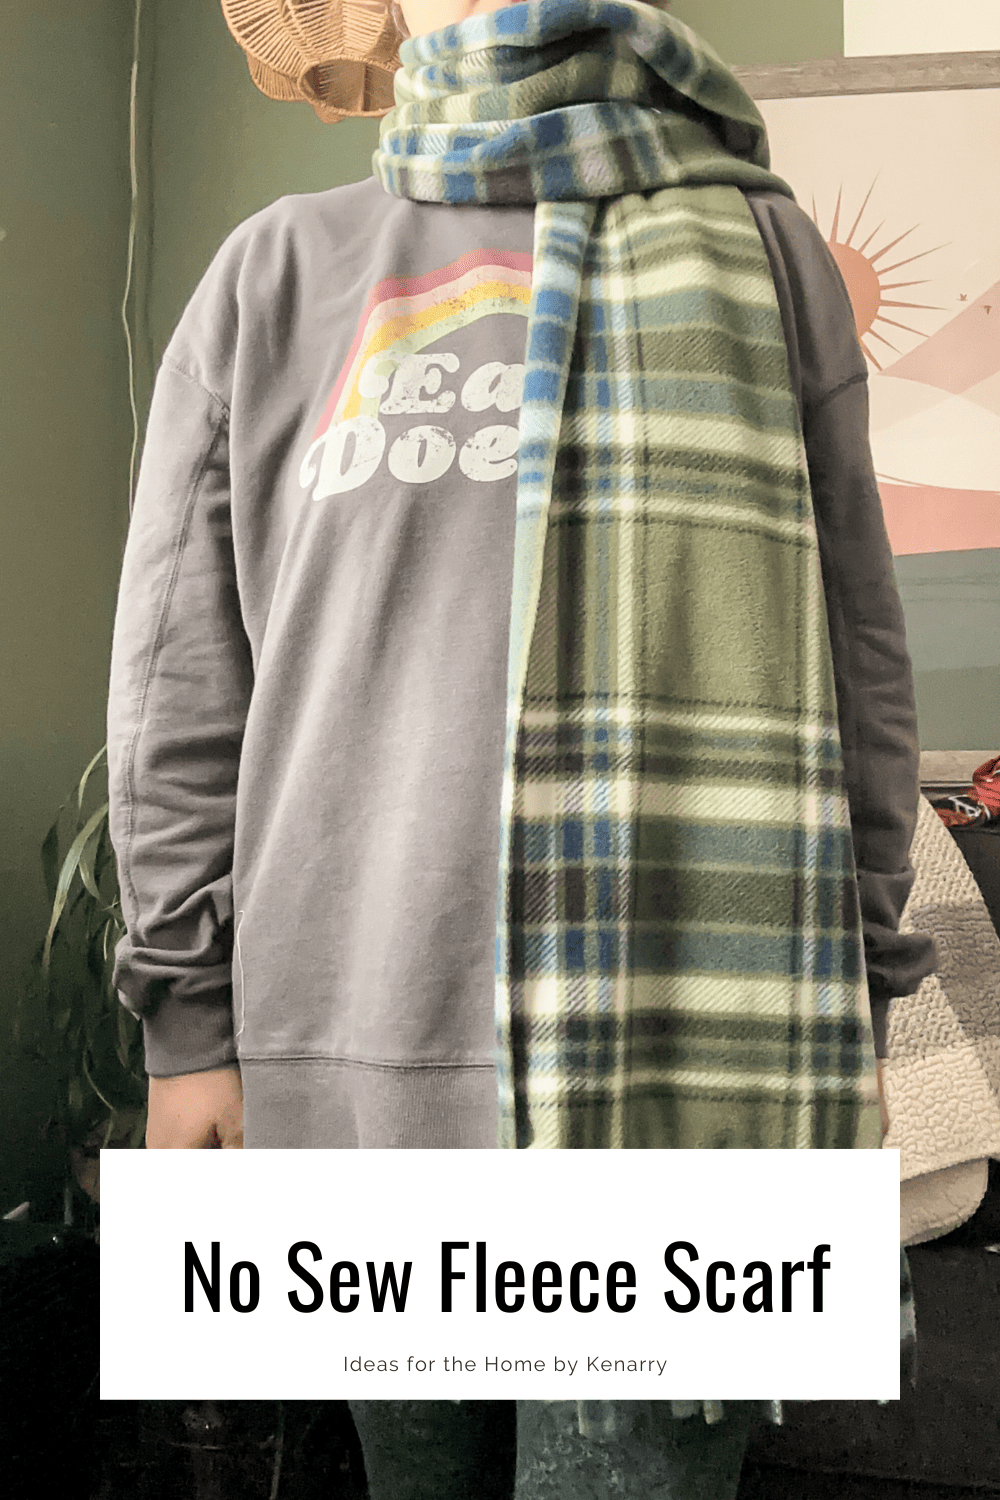
No Sew Fleece Scarf
THIS POST MAY CONTAIN AFFILIATE LINKS. PLEASE SEE OUR FULL DISCLOSURE POLICY FOR DETAILS.
This no sew fleece scarf will be the easiest thing you make all year! They make great gifts and can be made in so many different colors.
Hello, I’m Amy and I blog over at amylanham.com. I love making easy and simple DIYs and gifts for my friends and family.

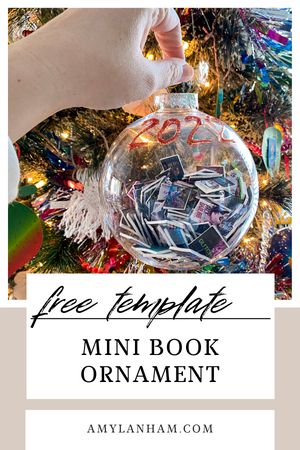
Every year for Christmas, I try to make special gifts for everyone in my family. Sometimes it’s a photo book, an ornament, or artwork. But I try to make something that people will actually use and won’t add to their clutter.
It’s winter time and it’s getting colder, so I thought these no sew fleece scarves would be the perfect gift to give everyone this year. Bonus they’re super easy to make a fairly inexpensive per scarf.
How to Make a no sew fleece scarf
This no sew fleece scarf is incredibly easy to make! You only need a few supplies and probably have most of them already.
What you need:
Want more ideas like this? Subscribe today to get our weekly Ideas in Your Inbox newsletter plus other exclusive gifts and offers — all for FREE!
Craft Tools Needed:
- Fabric Scissors
- Rotary Cutter (optional)
- Sharpie
Supplies Needed:
These are the ingredients you’ll need. All the exact amounts are in the printable card at the bottom of this post.
- Fleece Fabric
- Ruler
- Something round
No Sew Fleece Scarf Tips:
scarf width
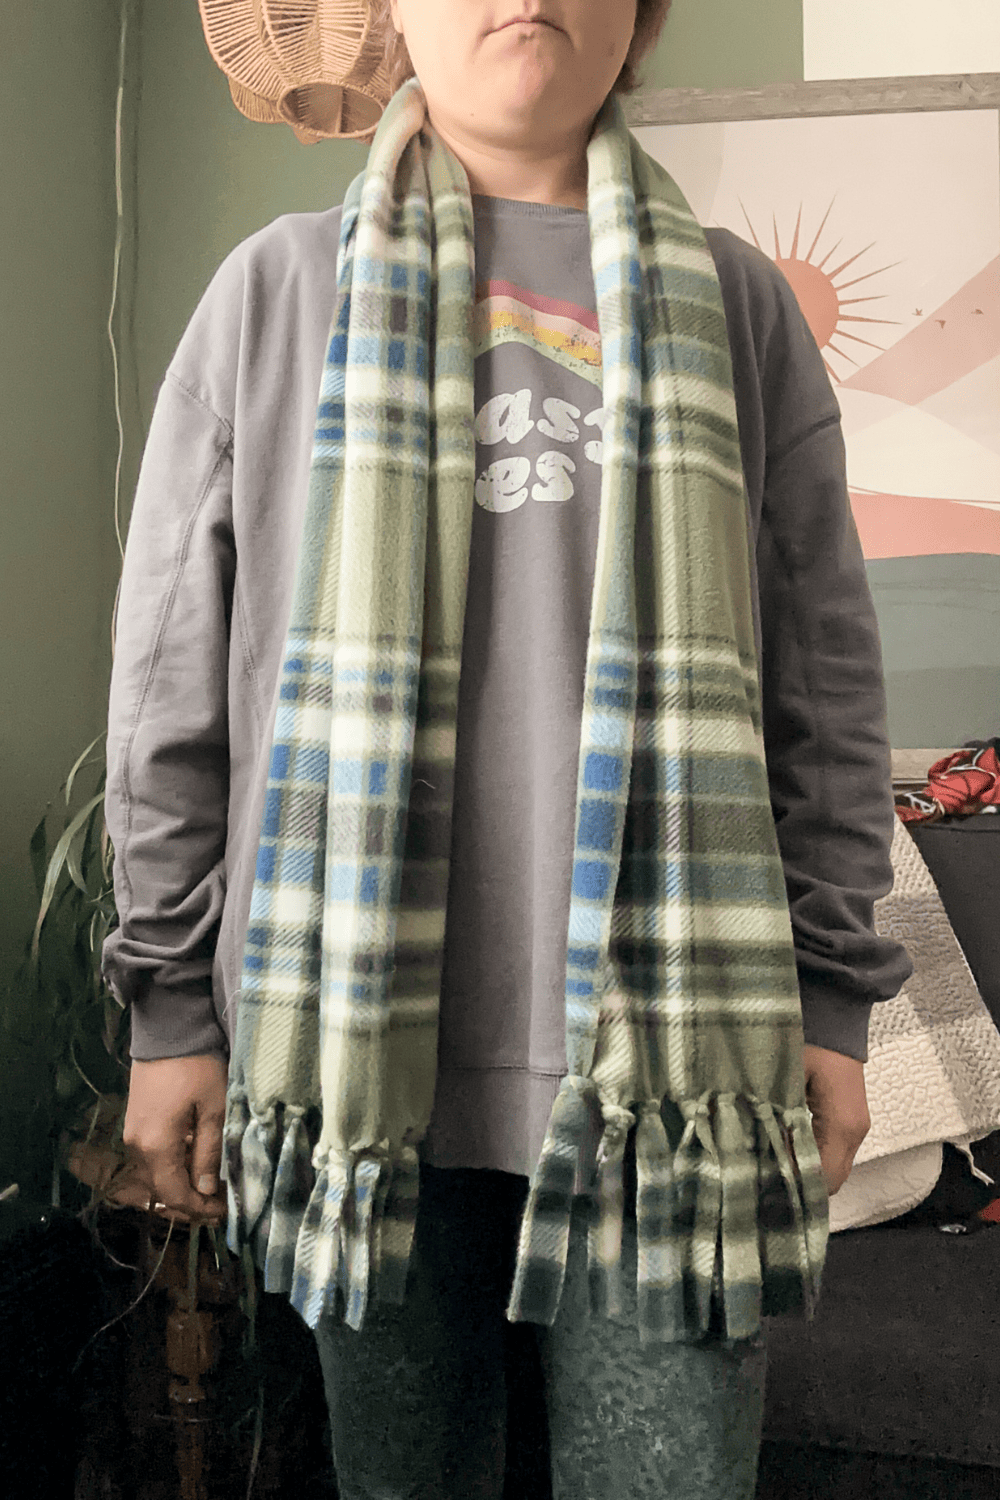
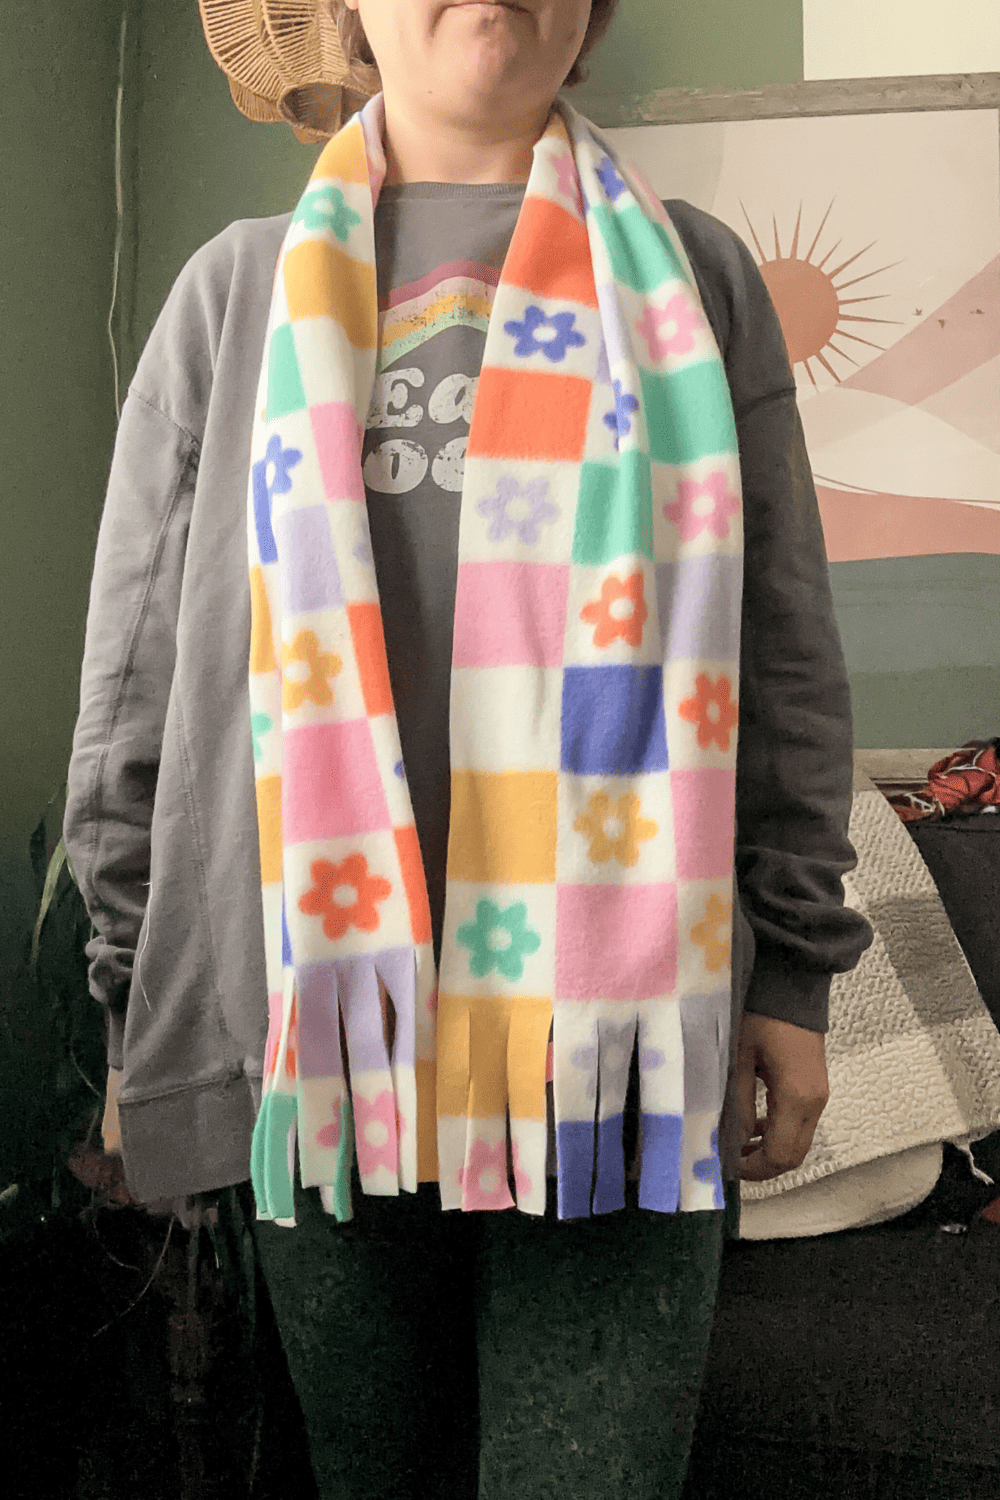
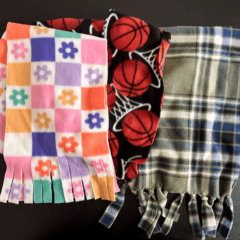
The width is really up to you and how you want the scarf to lay. I made scarves 8-9 inches wide and 12 inches wide.
I personally like the 12 inch wide scarf because you can fold it over a little bit or scrunch it up. It also leaves you with extra material to cover your face. My face is always freezing, so I like to use a scarf to also cover my face, so the wider size works better for this.
The 8 inch scarves are on the thinner side, but you can get more scarves out of one piece of fabric. So it really depends on what you want. I would not recommend going any thinner than 8 inches and probably no thicker than 15 inches.
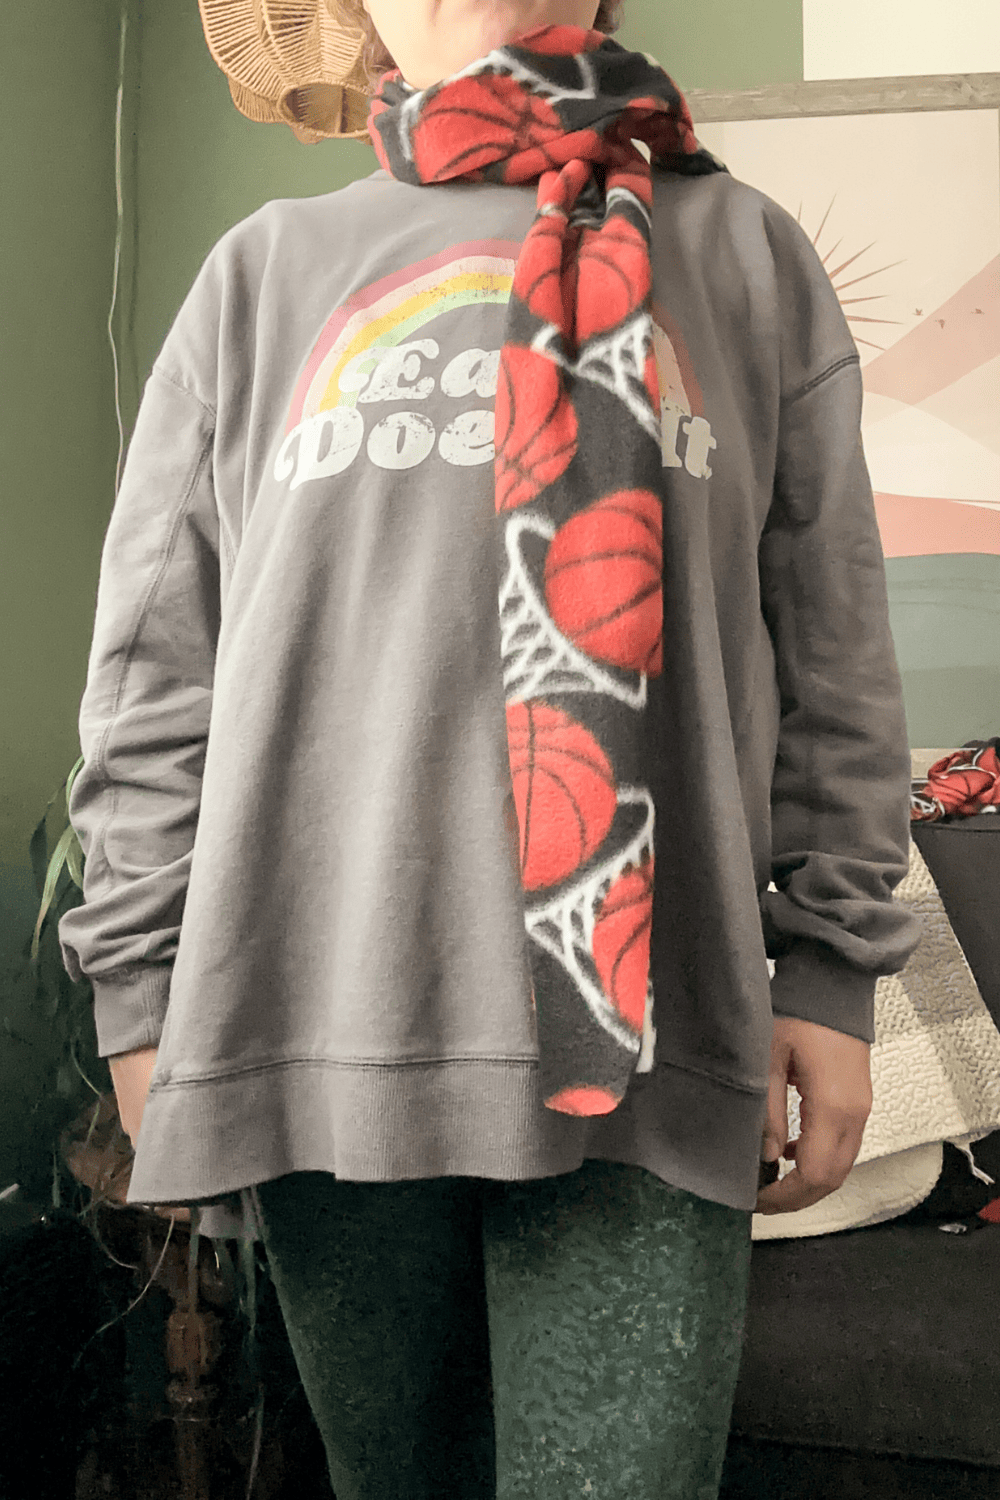
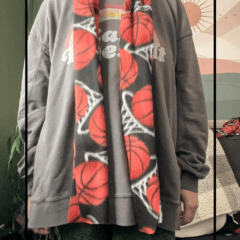
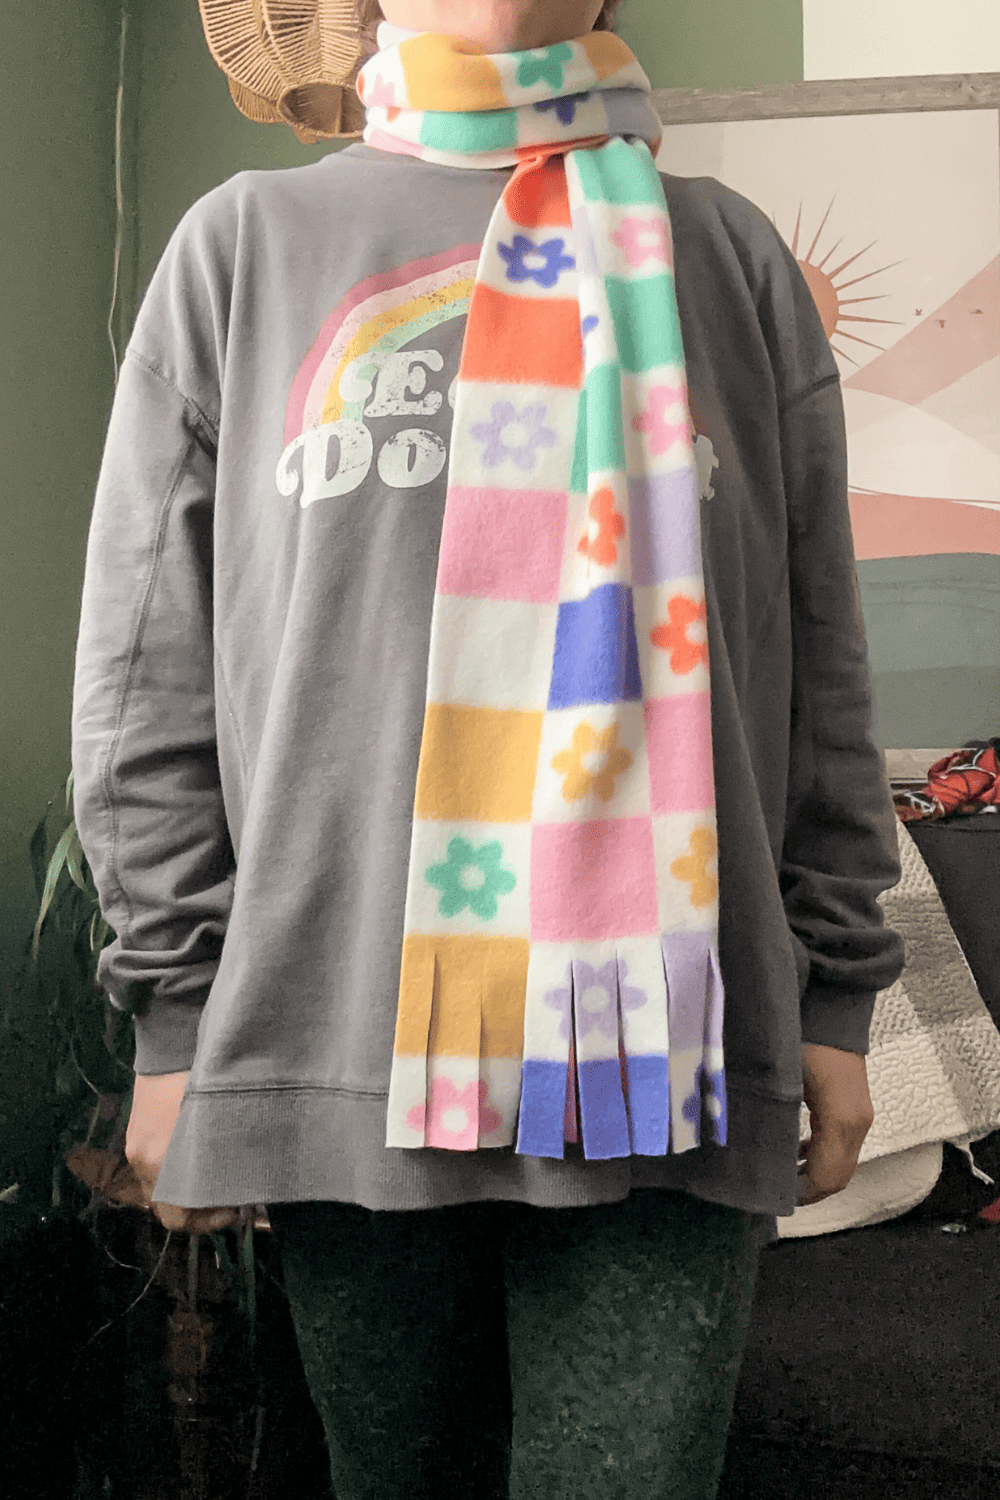
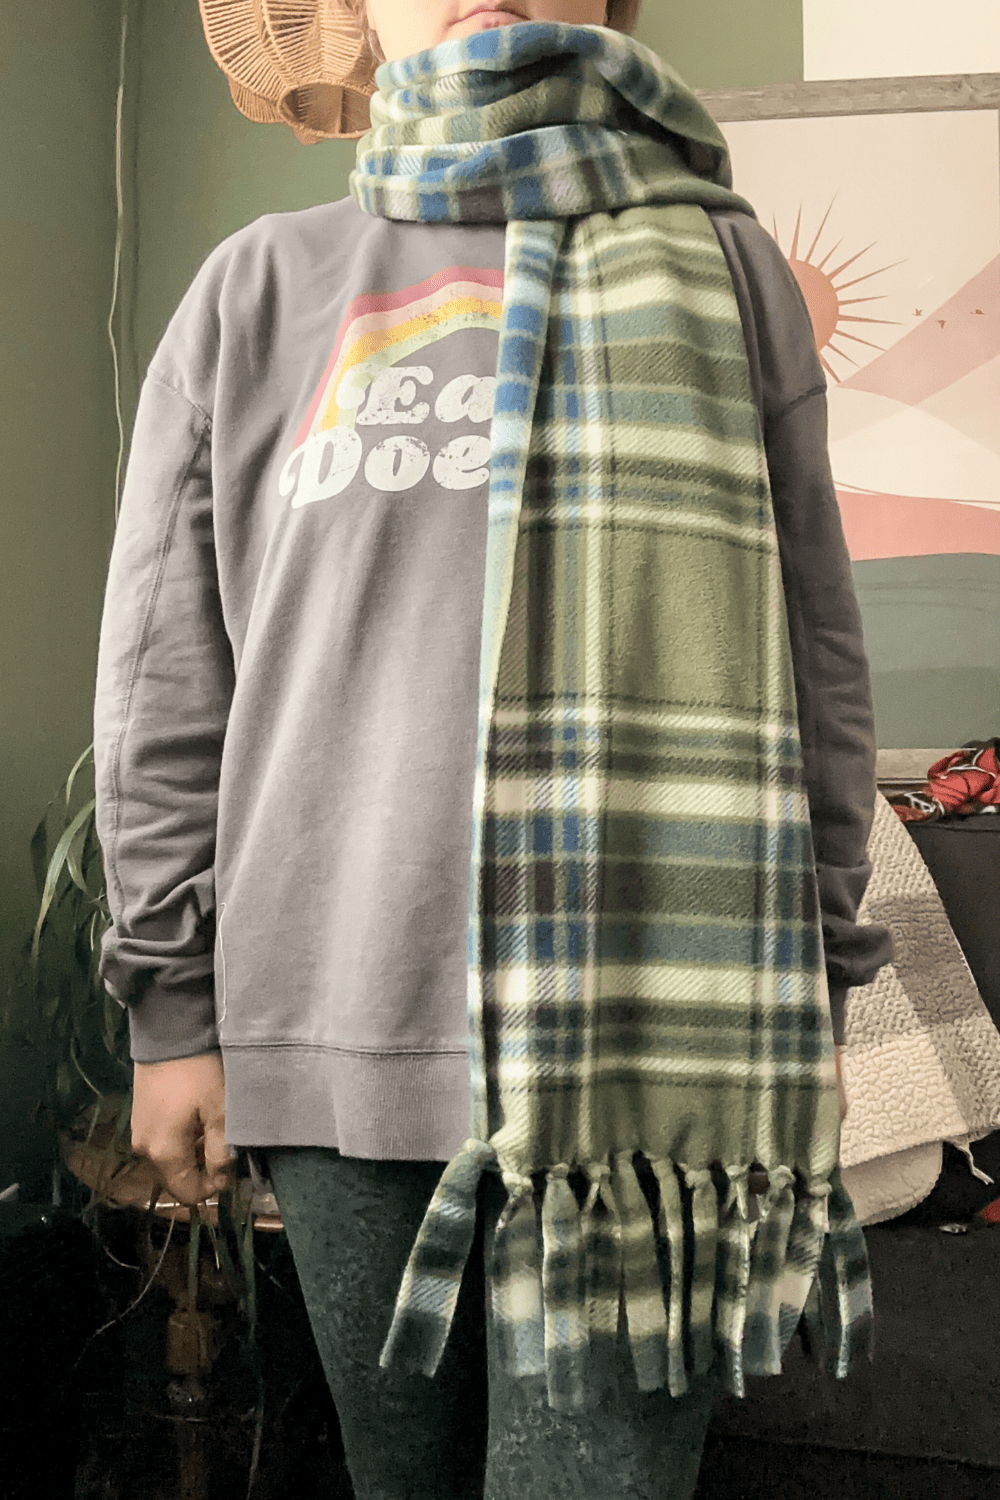
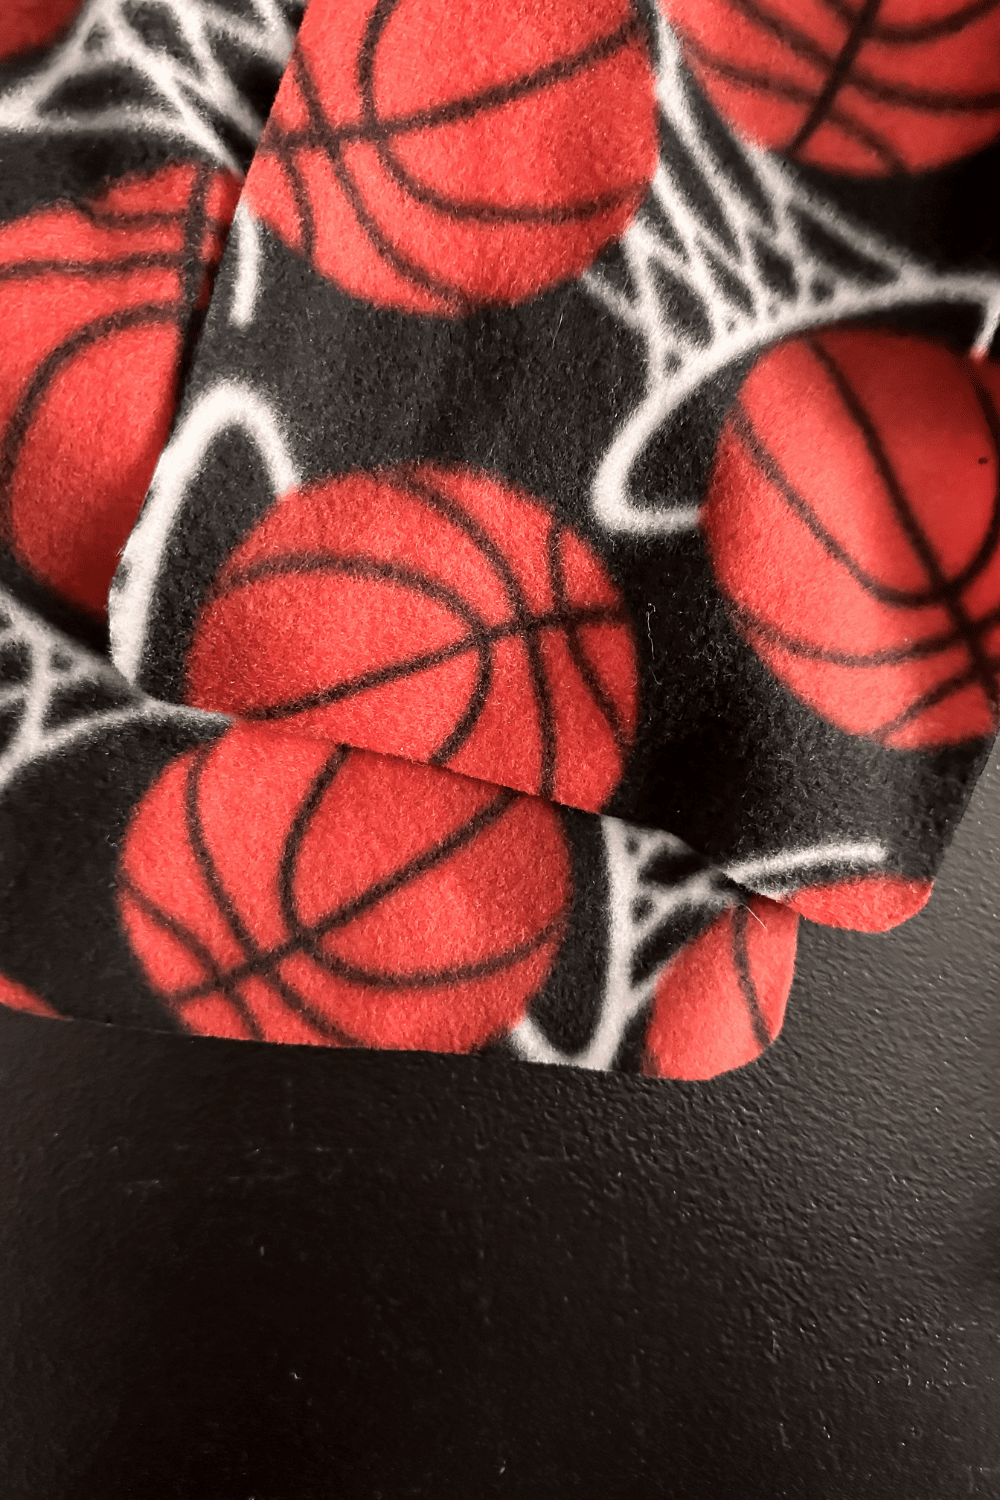
In the photos above, the basketball scarf is 8 inches, the colorful scarf is around 9.5 inches, and the green scarf is 12 inches.
scarf length
I got each fabric in 2 yards. 2 yard or 70-72 inch length is a good length for an adult scarf.
If making a kids scarf you’ll want it to be shorter. For my kids ages 5 and 7, I made their scarves 60 inches in length. If the kids is older or taller you can do the scarf a little longer as well.
You want the scarf to hit mid stomach/waist when worn wrapped around the neck and not longer so that it doesn’t wrap around their legs.
cutting straight
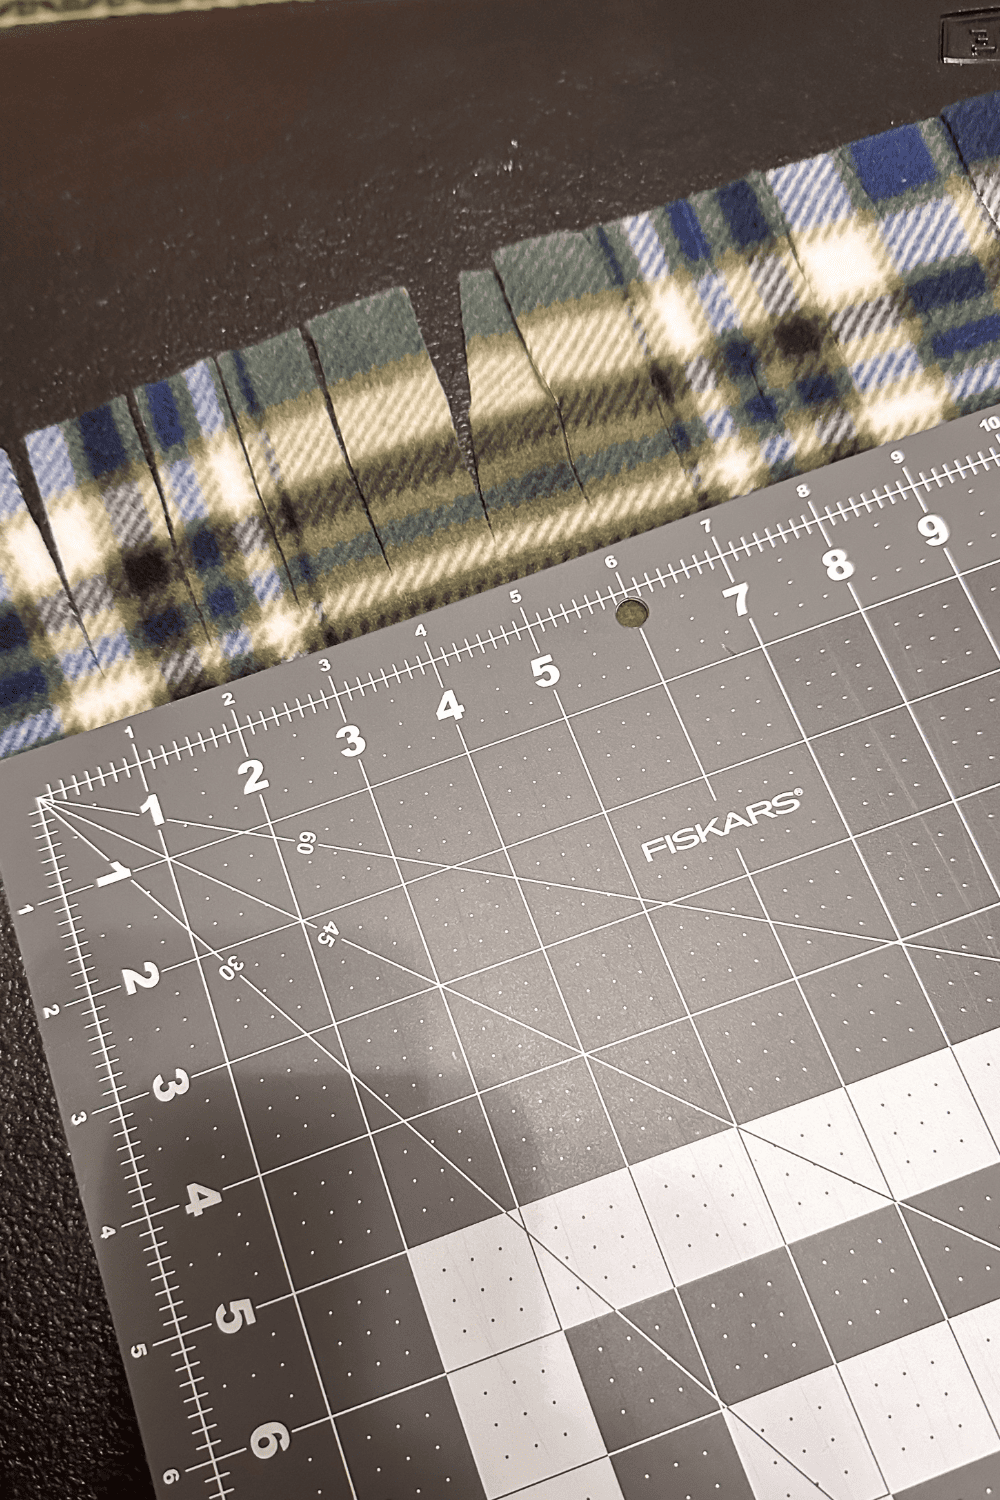
Cutting straight is extremely difficult! I always struggle. My biggest tip is to buy a fabric that has horizontal and vertical lines. These lines make it easy to cut straight.
Patterns can be printed crooked on the fabric, so even if you cut a straight like the pattern could still end up being crooked. I prefer for the pattern to look straight, so this may mean creating new angles and having a crooked raw edge.
Again, having a fabric that already has lines in it makes creating a straight line and pattern easier. If the pattern doesn’t have lines in it: use a ruler and sharpie to create marks at the same width all the way down your fabric. Then use a straight edge and rotary cutter to follow those marks. This should give a straight line.
But if all else fails, remember it doesn’t really matter. A scarf is worn around the neck and will be bunched up a little bit. Not having a perfectly straight line won’t matter. It will still keep you warm and look really cute while doing it!
Sometimes we let worries such as these keep us from crafting. We worry what other people will think or that it won’t be good enough. Remember you (and maybe a social media comment section) are the harshest critic.
A scarf with a slightly crooked edge will still keep you just as warm.
finishing the scarf
The scarf can be finished in three ways: round the corners, fringe, or knotted fringe. I think I like the fringe the best, but they all look great!
For the rounded corners, take a cup or other round object and put it on the corner of the scarf. Use a sharpie and the cup to trace the rounded corners. Then use sharp fabric scissors to cut the sharpie mark.
For the fringe, make 3-4 inch slits along the bottom, approximately one inch apart on both sides of the scarf.
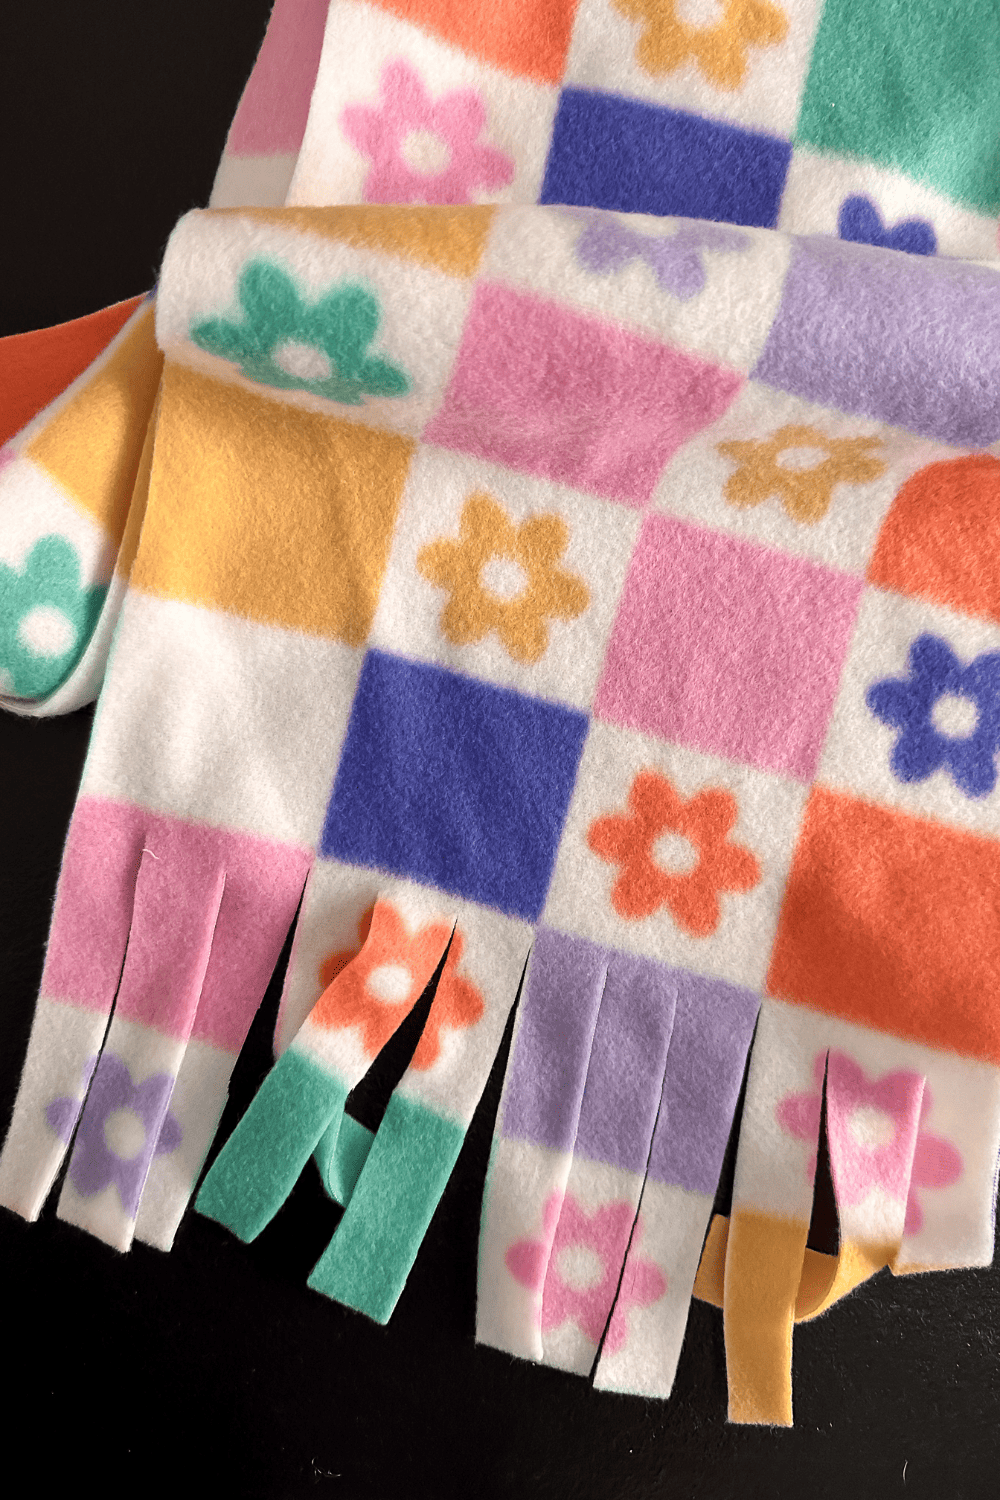
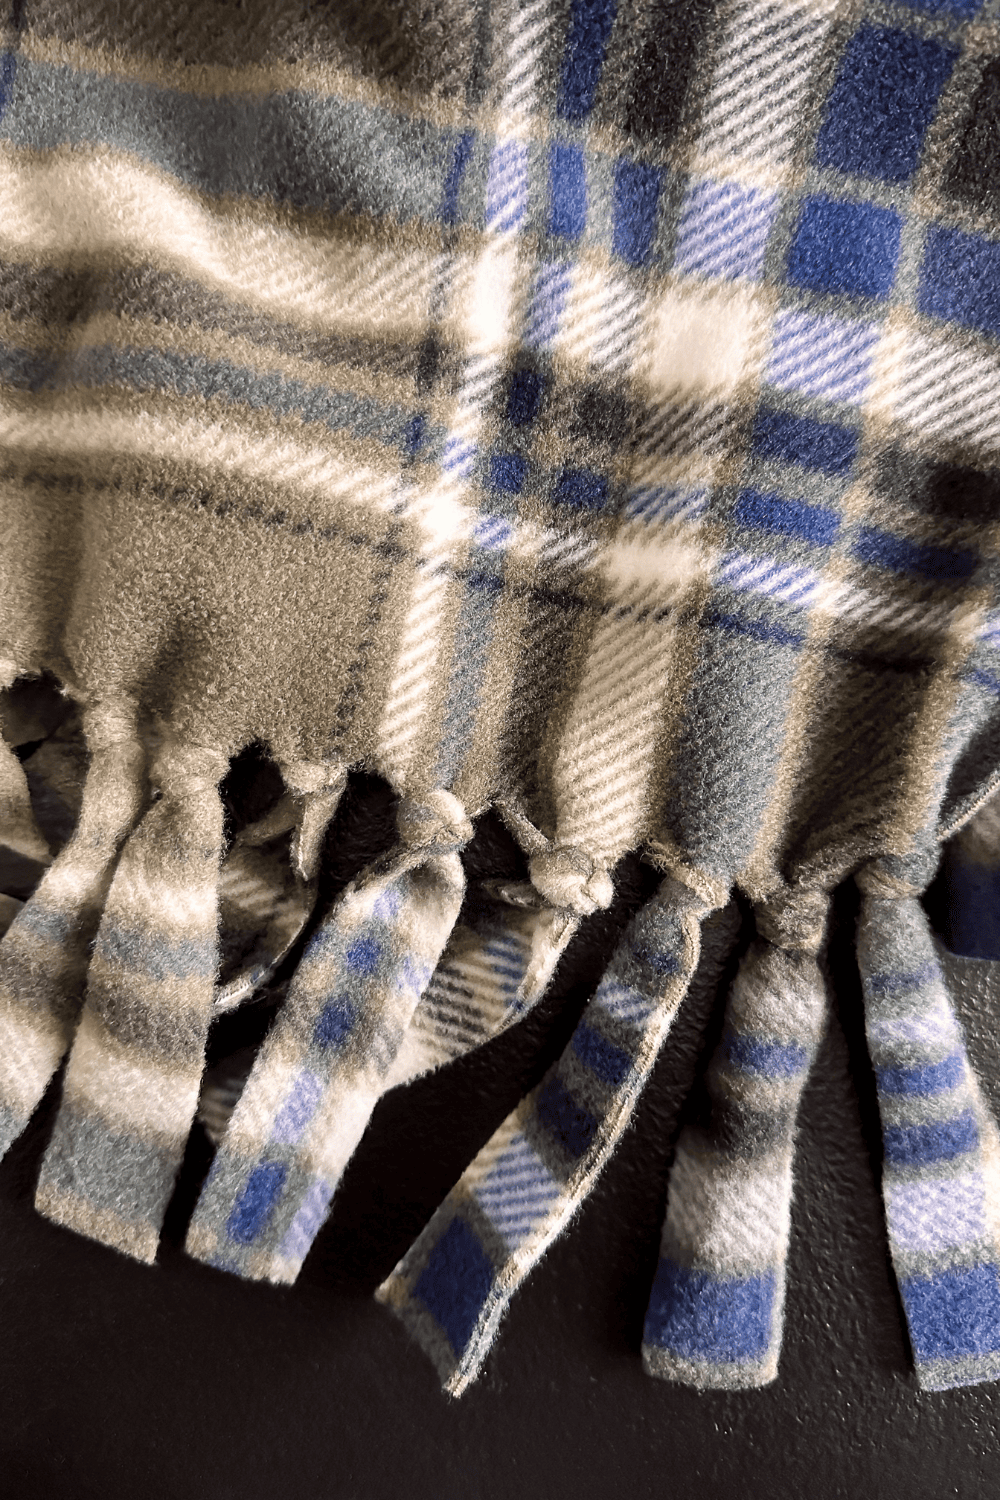
For the knotted fringe, make 4-5 inch slits along the bottom, approximately one inch apart, on both sides of the scarf.
Then take one strip and loop it around itself to make a knot at the top of the fringe. Continue knotting all the strips. Once all the knots are done, gently pull the fabric so the knots aren’t all bunched up.
No Sew Fleece Scarf
Equipment
- 1 Pair Of Fabric Scissors
- 1 rotary cutter
Supplies
- 1 piece Fleece Fabric 2 yards long
- 1 round cup
- 1 Sharpie
- 1 Ruler
Instructions
- Cut off the salve edge using fabric scissors or a rotary cutter.
- Use a ruler to measure the width you want your scarf, then cut your fabric to that width.
- Continue to measure and cut all the way across your fabric. You should be able to get 4-6 scarves depending on the width of the scarves.
- Finish the scarf:For the rounded corners, take a cup or other round object and put it on the corner of the scarf. Use a sharpie and the cup to trace the rounded corners. Then use sharp fabric scissors to cut the sharpie mark.For the fringe, make 3-4 inch slits along the bottom, approximately one inch apart on both sides of the scarf.For the knotted fringe, make 4-5 inch slits along the bottom, approximately one inch apart, on both sides of the scarf. Then take one strip and loop it around itself to make a knot at the top of the fringe. Continue knotting all the strips. Once all the knots are done, gently pull the fabric so the knots aren't all bunched up.
Love the ideas you see here on Ideas for the Home by Kenarry®? Subscribe today to get our FREE DIY & Craft Planning Calendar, plus our weekly Ideas in Your Inbox newsletter filled with creative tips and exclusive offers!
What’s Next?
If you enjoyed learning how to make a scarf without sewing or knitting, then here are some more winter and holiday ideas you’ll enjoy next!
You may also enjoy these Christmas ideas on Ideas for the Home by Kenarry® –