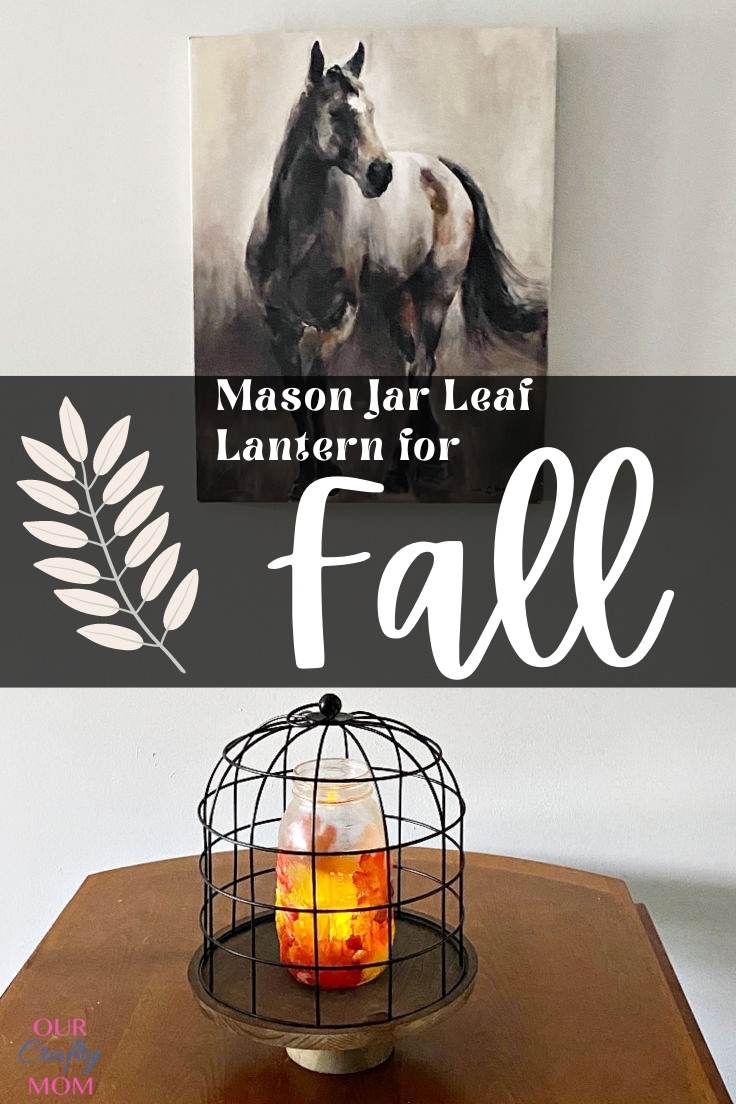
Mason Jar Leaf Lanterns for Fall
THIS POST MAY CONTAIN AFFILIATE LINKS. PLEASE SEE OUR FULL DISCLOSURE POLICY FOR DETAILS.
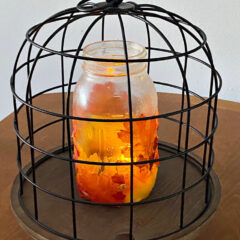
Mason jar leaf lanterns are the perfect way to add a touch of Fall décor to your home. They are easy to make and only require a few simple supplies.
Hello! Michelle here from Our Crafty Mom sharing my first fall craft of the season! One of the easiest ways to decorate for any season is to use mason jars.
They are inexpensive, easy to find and so versatile. I’m super happy with how these mason jar leaf lanterns turned out.
They are the perfect way to add a touch of fall décor to your home. Plus, they make great gifts! So gather up your supplies and get ready to create some beautiful leaf lanterns.
If you have more mason jars left over, make some mason jar LED lights, next! They add charm to your patio.
How to Make Mason Jar Leaf Lanterns
You can make up several of these leaf lanterns in under an hour, minus drying time. I really wanted to use the large quart-size mason jars for this project, but I couldn’t find them for a good price.
The jars at the dollar store were a little small. Then I happened to be in Target when I spotted a case of 12 mason jars for under $15! I scooped that box right up!
Let’s get to this simple tutorial.
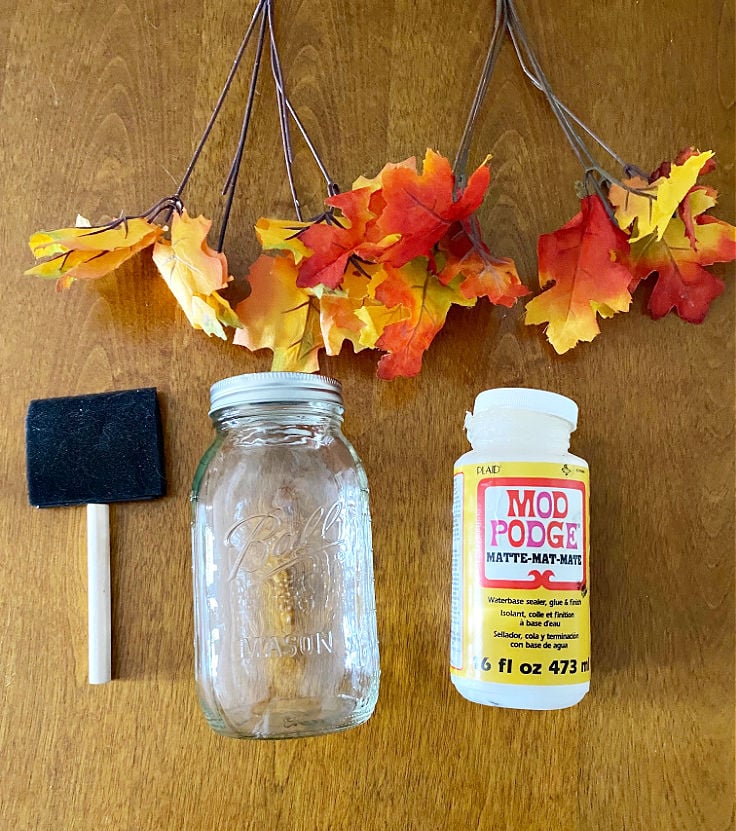
What you need:
Want more ideas like this? Subscribe today to get our weekly Ideas in Your Inbox newsletter plus other exclusive gifts and offers — all for FREE!
Craft Tools Needed:
Supplies Needed:
These are the ingredients you’ll need. All the exact amounts are in the printable card at the bottom of this post.
Mason Jar Leaf Lanterns
Step 1. Clean the Mason Jar
It’s important to clean the mason jar with rubbing alcohol to remove any dust, oils, or fingerprints. You won’t be covering the entire jar so you want to ensure there are no spots.
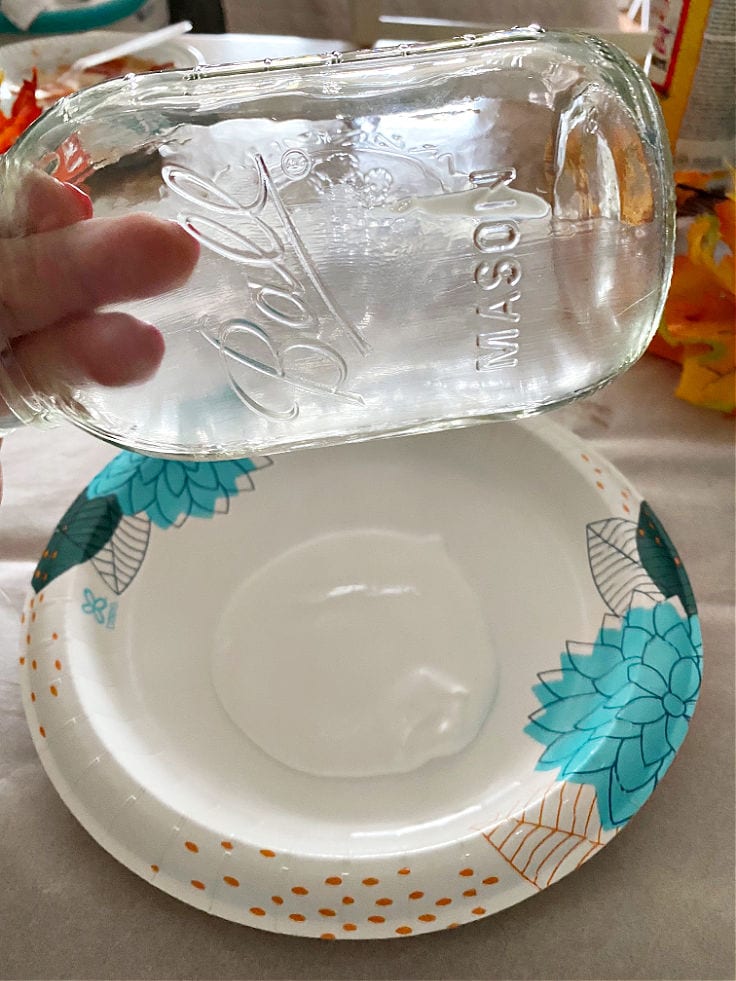
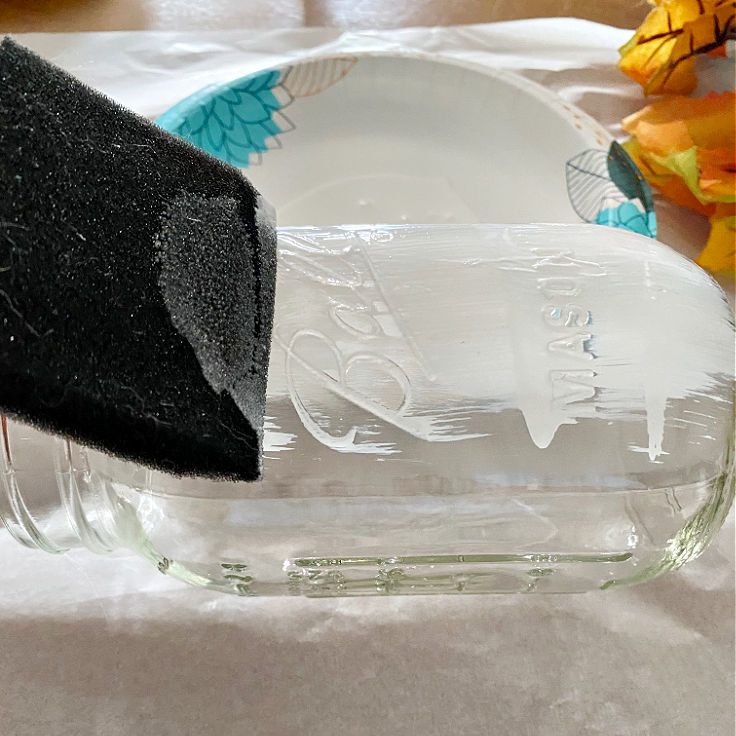
Step 2. Brush Mod Podge on Mason Jar
Next, use a foam brush to cover the mason jar with Mod Podge. It’s best to work in sections and let the Mod Podge get a little tacky. A minute or two is all you need.
Step 3. Remove Stems From The Leaves
You want the leaves to lay flat on the mason jar, so you do need to remove the wire or plastic stems on the leaves.
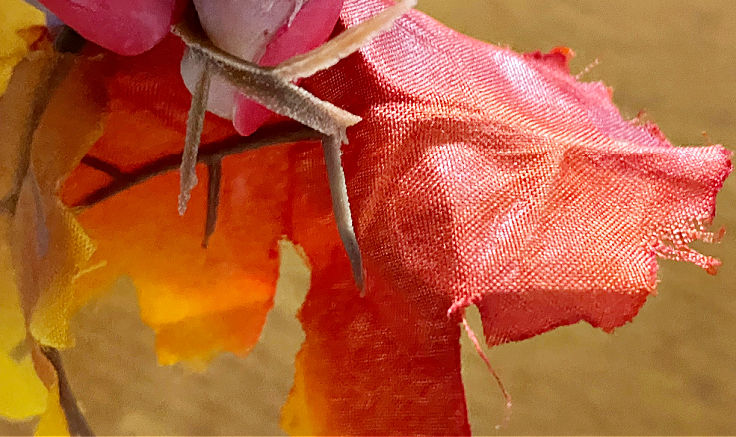
It’s easier than I thought. Cut the bottom of the stem and pull it away from the leaves. If you have any trouble you can use scissors to cut under the stem.
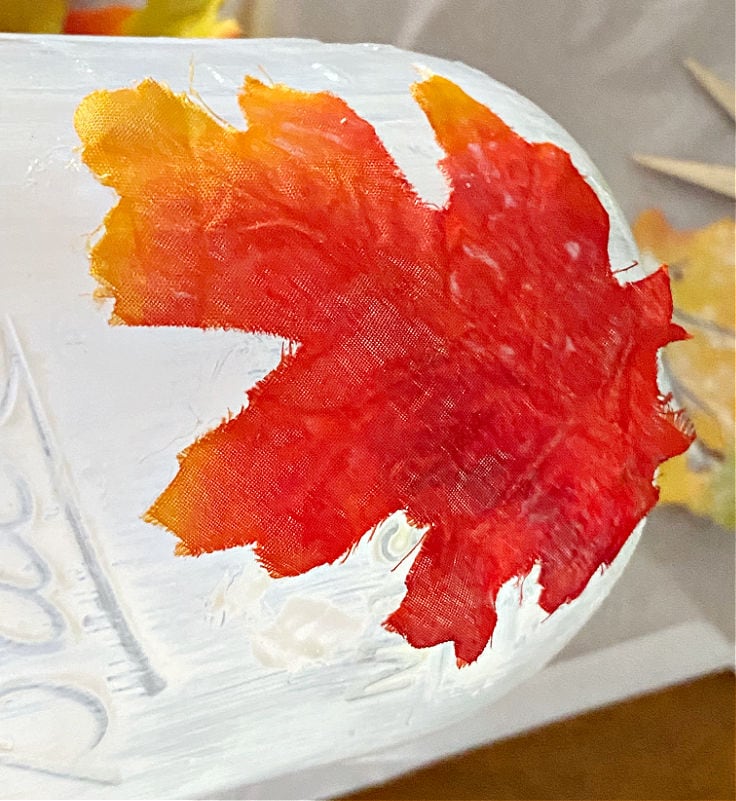
Step 4. Add Leaves To Mason Jar
Place Mod Podge on the back of each leaf and place it onto the mason jar. You can use your fingertips to press it down and secure it to the jar.
Step 5. Continue adding leaves
Continue to add fall leaves on top of the mason jar with Mod Podge. There is no right or wrong as far as placement. Use your creativity and place them wherever you like.
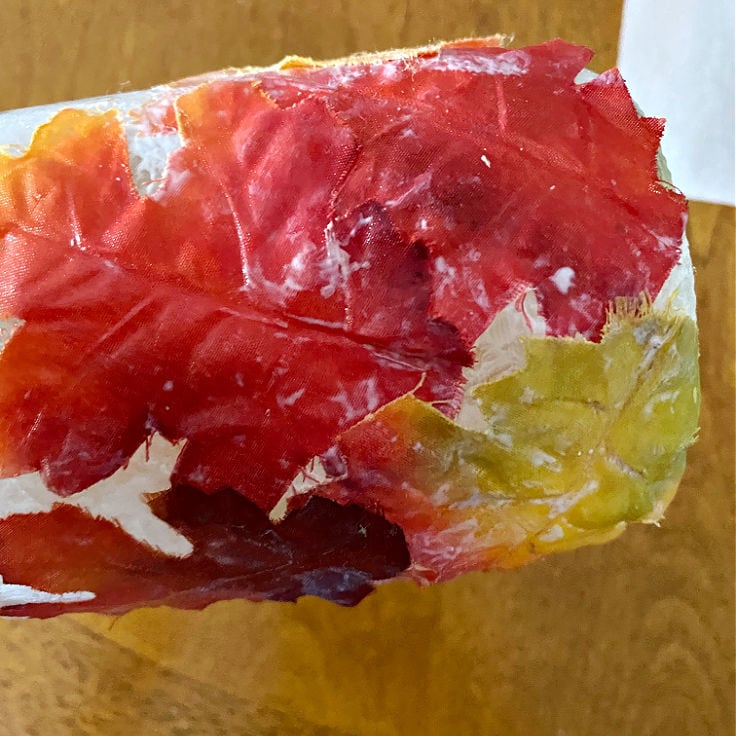
The one tip I have for leaf placement is not to cover the entire jar. We want this to be a lantern; the light won’t shine through the jar if you add too many leaves.
I recommend covering maybe the bottom half.
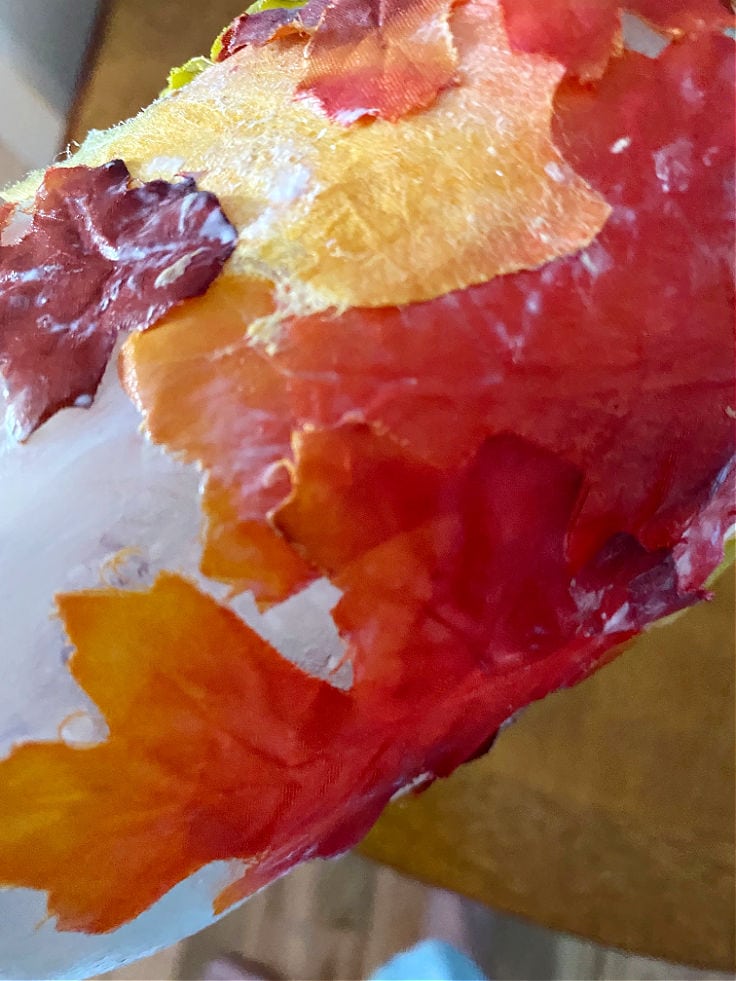
Step 6. Add a Top Coat of Mod Podge
Once you have all the leaves where you want them, add a top layer of Mod Podge. You don’t have to go too heavy.
I like how the leaves have a little dimension if some of the edges are raised, but it’s completely up to you. That is the fun thing about creating. You can decorate however you like.
Step 7. Let Dry Overnight
Depending on how much you use, the mod podge will be dry to touch in about an hour or so. It will dry clear, which is one of the things I love about Mod Podge crafts.
I recommend letting it dry overnight just to be safe.
Step 8. Add A Tea Light Candle
All that’s left now is to add a tea light candle, and you’re ready to display your beautiful mason jar fall leaf lantern! See how simple that was?
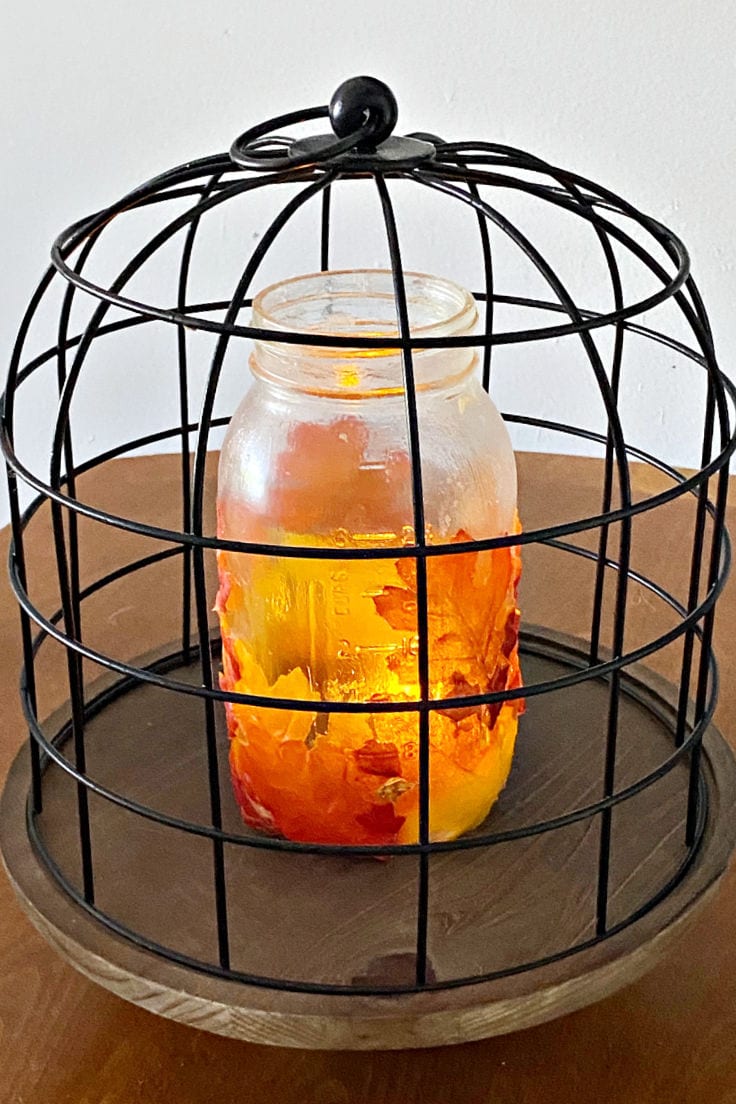
I prefer to use battery-operated candles. You can use a regular tea light if you don’t have Mod Podge on the inside of the jar. But, it’s easier to place the battery-operated candle in the mason jar.

Mason Jar Leaf Lantern
Equipment
- scissors
Supplies
- Fall leaves
- Mod Podge
- Foam Brush
- Mason Jar
- Battery-operated tea candles
Instructions
- Clean the mason jar with rubbing alcohol.
- Use a foam brush to cover the mason jar with mod podge.
- Remove the wire or plastic stems on the leaves.
- Place mod podge on the back of each leaf and place it onto the mason jar.
- Continue to add fall leaves on top of the mason jar with mod podge.
- Add a top layer of mod podge.
- Let dry overnight.
- Add a tea light and enjoy your new lantern!
Love the ideas you see here on Ideas for the Home by Kenarry®? Subscribe today to get our FREE DIY & Craft Planning Calendar, plus our weekly Ideas in Your Inbox newsletter filled with creative tips and exclusive offers!
What’s Next?
If you enjoyed this mason jar leaf lantern, then you’ll enjoy these mason jar crafts too!

Mason Jar Christmas Centerpiece


You may also enjoy these mason jar ideas on Ideas for the Home by Kenarry® –