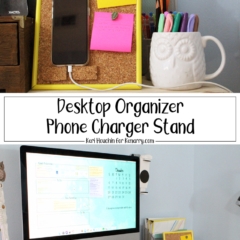
Pretty DIY Phone Stand And Cork Bulletin Board
THIS POST MAY CONTAIN AFFILIATE LINKS. PLEASE SEE OUR FULL DISCLOSURE POLICY FOR DETAILS.
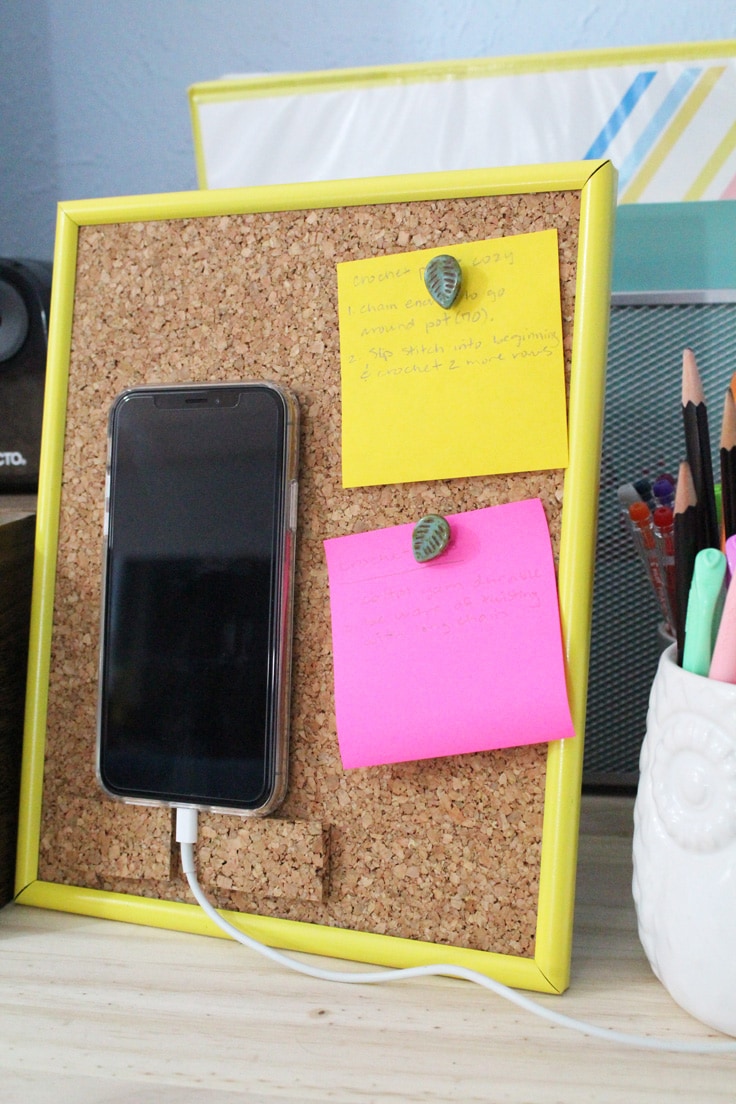
Make a DIY phone stand that works as a phone charger holder and a desktop cork board. Your home office never looked so cute!
Whether you work from home or just need to organize your family command center, this DIY phone stand is a pretty and practical solution. I’m Keri from One Mama’s Daily Drama and finding easy and budget-friendly ways to keep my family organized is something I’m passionate about.
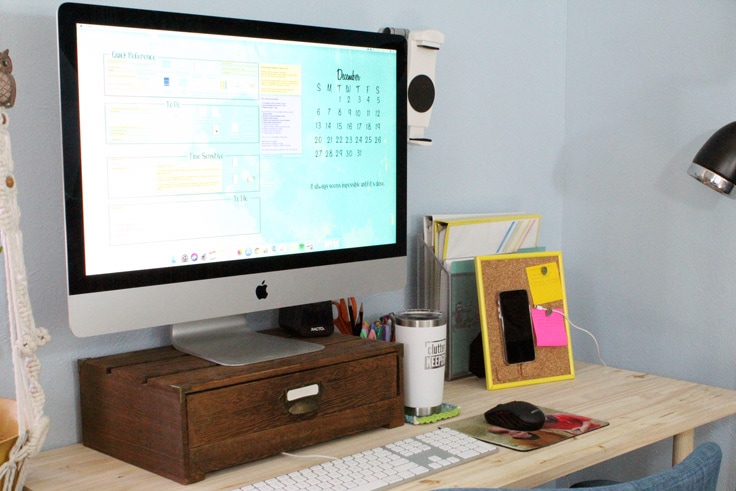
I work from home and I’m constantly looking for ways to make sure my work life and home life don’t bleed together too much. That means setting regular work hours and having a designated workspace. (It’s just a desk in the corner of my living room – nothing big or fancy.)
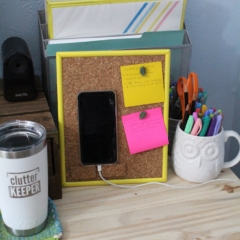
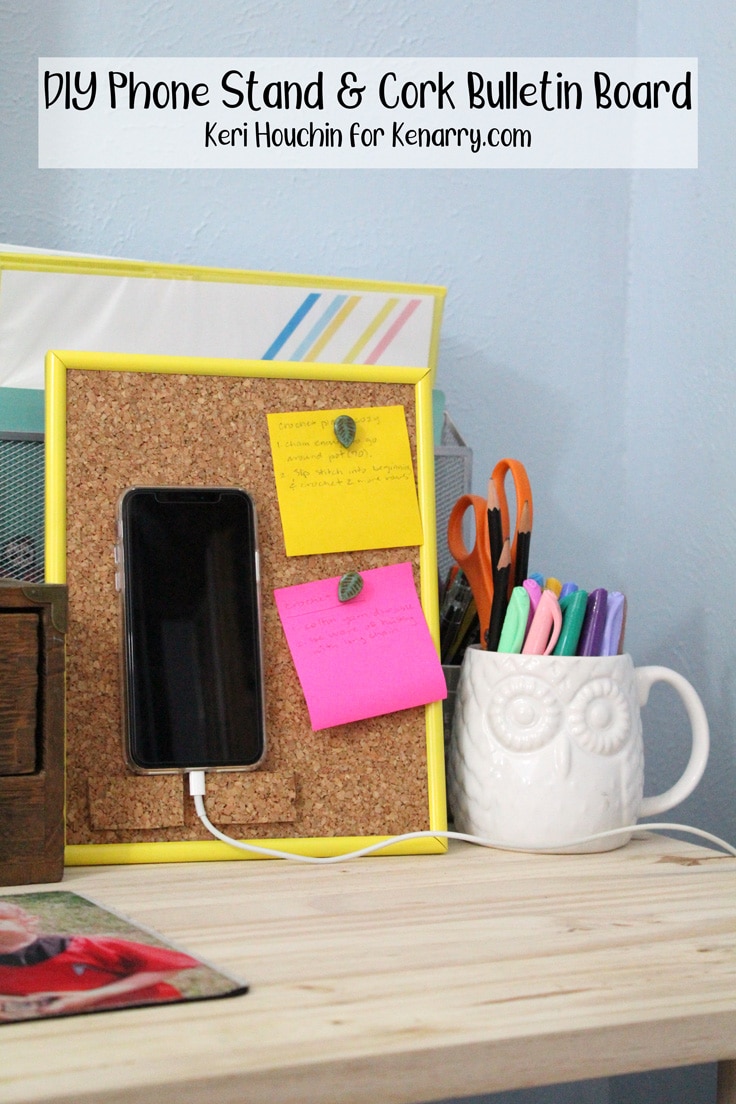
Having a designated phone stand on your desk is also handy for charging your phone during the day. This one is a bit cuter than most of the makeshift phone stands I’ve tried – and it doubles as a framed corkboard to keep up with notes and memos.
How to Make a DIY Phone Stand
This project is very flexible! Customize it to match your office or home decor and fit your desktop, whether that’s big or small.
What you need:
Want more ideas like this? Subscribe today to get our weekly Ideas in Your Inbox newsletter plus other exclusive gifts and offers — all for FREE!
Craft/DIY Tools Needed:
Supplies or Ingredients Needed:
- Photo frame
- Spray paint
- Newspaper or cardboard to protect your painting area
- Corkboard piece
- Thumbtacks
- Beads
Easy DIY Phone Stand Tips:
Photo Frames
Craft and home stores often have sales on photo frames, so you can usually pick up a new one inexpensively. If you want something really unique or cheap, check out your local thrift stores.
My photo frame is 8×10-inches, but this framed cork board will work with any size frame. Just make sure that it has a back support stand.
Cork Board
If the natural brown isn’t your style, you can paint your framed cork board. Use spray paint for a few really thin coats and paint the cork pieces separately from the frame.
Cork is really porous, so most types of glue will work. I used hot glue, but you can also try craft glue, superglue, or the stronger E6000 adhesive. Just check the glue bottle to make sure it is intended to work with cork.

Cutting Tools
I love my self-healing cutting mat and use it for all kinds of projects, but if you don’t have one then a kitchen cutting board will work too.
The same goes for the rotary cutter. It’s so handy, but a heavy-duty pair of scissors will work in a pinch as long as you’re cutting through thin cork board. Mine is about a quarter-inch thick.
Bulletin Board Pins
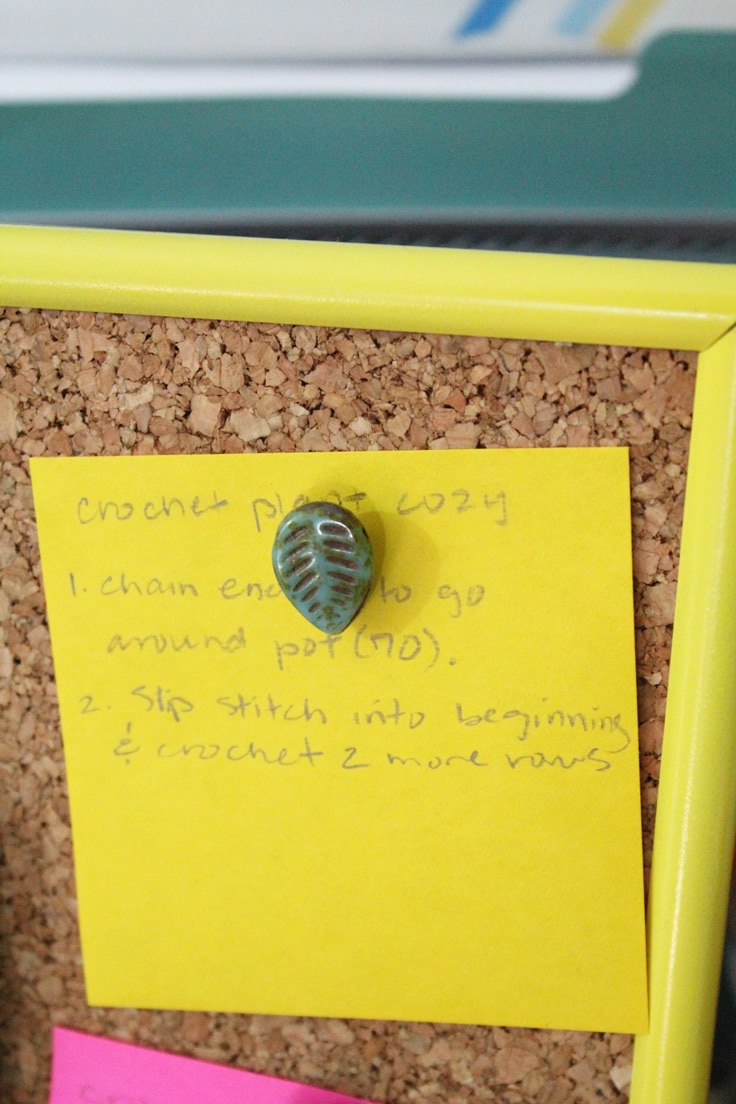
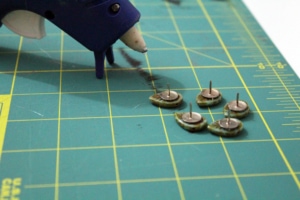
You can, of course, use any thumbtacks or pushpins to attach paper notes to the bulletin board area. It’s super easy to make your own, though, by hot-gluing flat metal thumbtacks to the back of a larger object. I used half-inch leaf beads, but you could also make them with buttons, broken jewelry pieces, or charms. Model some from clay, bake up a batch of shrinking plastic, or create tiny perler bead designs!
DIY Phone Stand
Equipment
- rotary cutter
- self-healing cutting mat
- hot glue gun & glue sticks
Supplies
- 1 tabletop photo frame 8×10 inches
- 1 spray paint yellow
- 1 cork board 12×12 inches; 1/4 inch thick
- 10 metal thumbtacks
- 5 large beads
Instructions
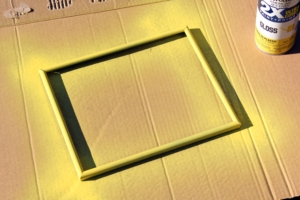
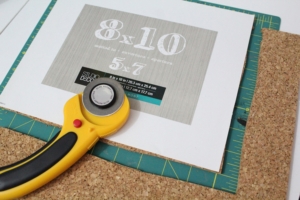
- Paint the photo frame.Start by taking apart the photo frame and painting it. Take out the backing, the glass, and any paper. Protect your painting area and spray several thin coats onto the frame. Let it dry according to your paint can, usually 30 minutes to an hour.

- Cut the cork board.While you’re waiting for the paint to dry, use the pieces you removed from the frame to trim the cork board to fit. Set the backing on top of the cork with the cutting mat underneath, then cut around it with the rotary cutter.
- Make the DIY cork board pins.You can use any pins that work with a cork board, but I thought it would be fun to DIY some. To make these, simply hot glue beads or buttons onto flat thumbtacks.
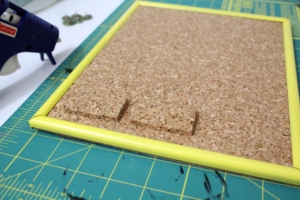
- Assemble the cork board frame.When the frame is dry, slide the cork inside where the glass was. Trim the edges if necessary to get it to fit. Use the scraps to make two more pieces of cork that measure 2×1 inches. Hot glue these onto the front of your cork board near the bottom on one side. Leave enough space between for the phone charger cord. Slide the back of the frame in.
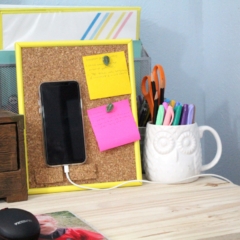
- Set up your desktop phone stand.Stand the frame up on your desk, a nightstand, or wherever you prefer to charge your phone. The phone should be able to stand on the little cork bits and when you plug in the charger, the cord can run through the little gap.

Love the ideas you see here on Ideas for the Home by Kenarry®? Subscribe today to get our FREE DIY & Craft Planning Calendar, plus our weekly Ideas in Your Inbox newsletter filled with creative tips and exclusive offers!
What’s Next?
If you enjoyed making a DIY phone stand then you’ll enjoy these home office organizing ideas too.
Six Things to Put in a Family Command Center

Desktop Organizing Wallpaper Download
You may also enjoy these easy cork craft ideas on Ideas for the Home by Kenarry® –